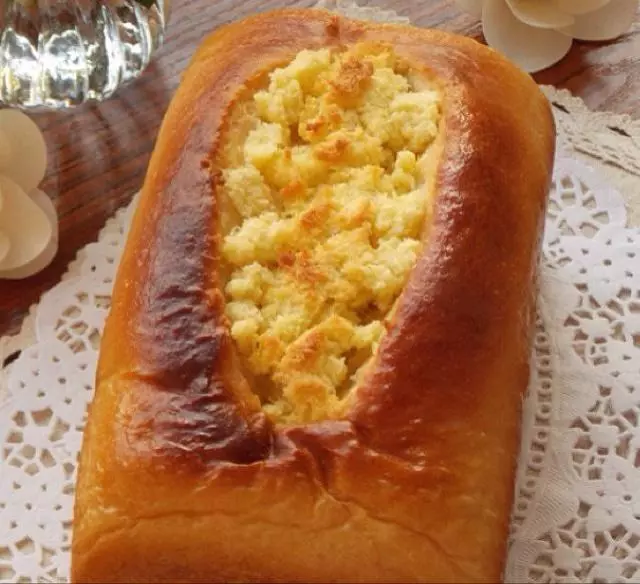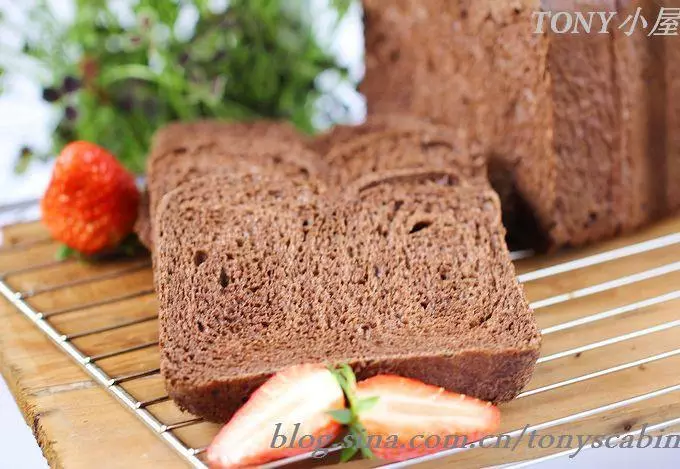
原料
高筋面粉(金象): 600g, 牛奶: 310g, 白糖: 75g, 盐: 4g, 酵母: 5g, 鸡蛋: 2个, 黄油: 60g
步骤
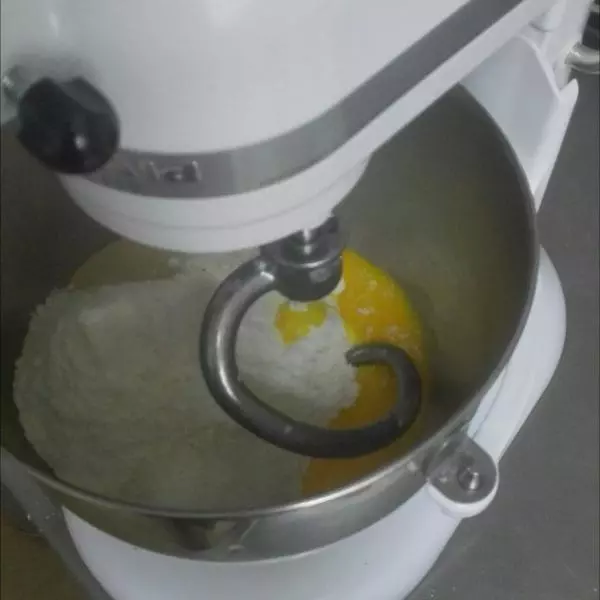
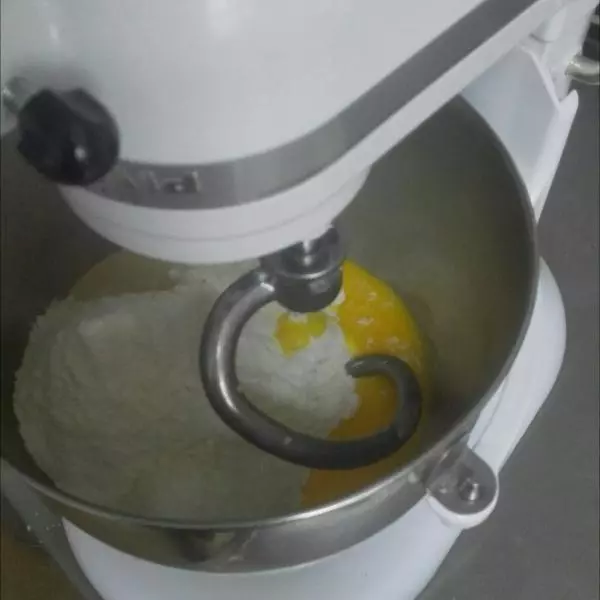
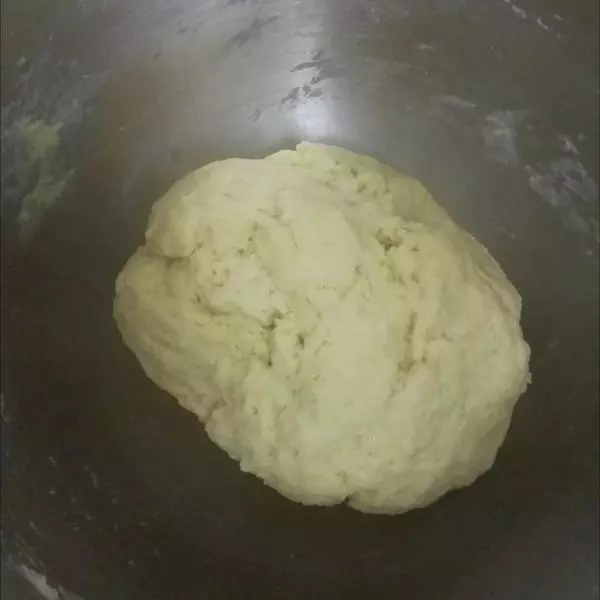
1除了黄油和牛奶其他所有材料丢进厨师机。然后先放入四分之一牛奶(个人经验,厨师机和面的话,最好是逐步加液体,一次加足经常出现面团不成型的情况)。厨师机2档启动和面,后逐步加入牛奶,直到形成黏黏的面团,面团要湿一些,才有可能做出手套膜。
2面团用保鲜膜包好,放在冰箱冷却10分钟。
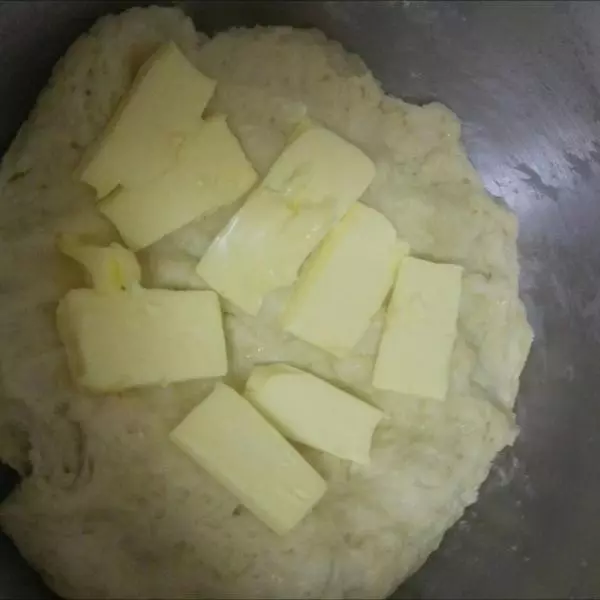
3黄油切成薄片待用。面团从冰箱取出后,压成厚面饼状,将黄油贴在面上,尽量用面团包住黄油后,再次丢进厨师机。
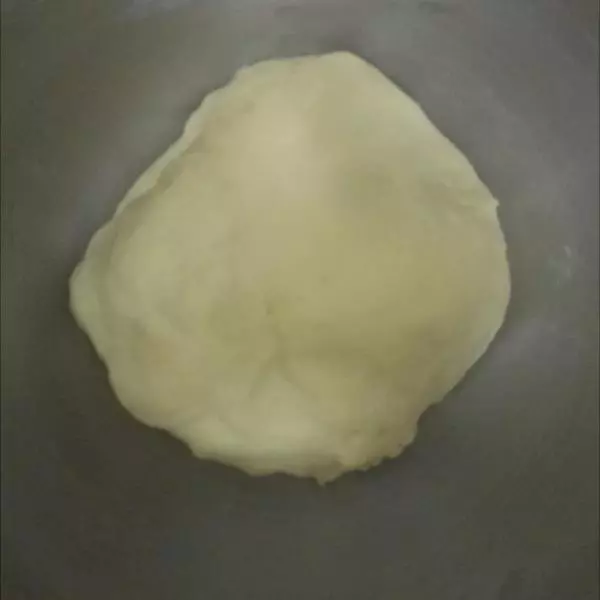
42档3分钟,4档5分钟,面团就做好了

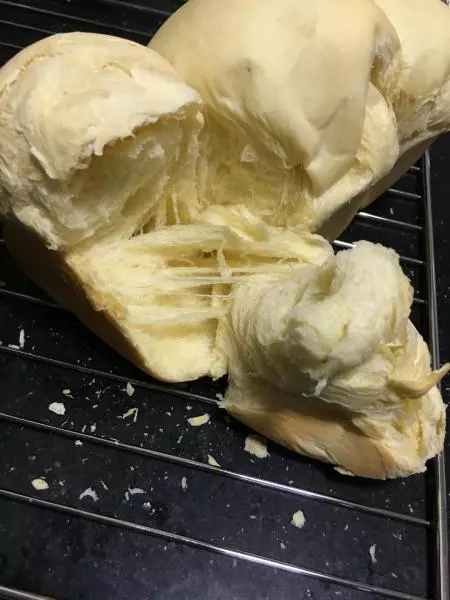
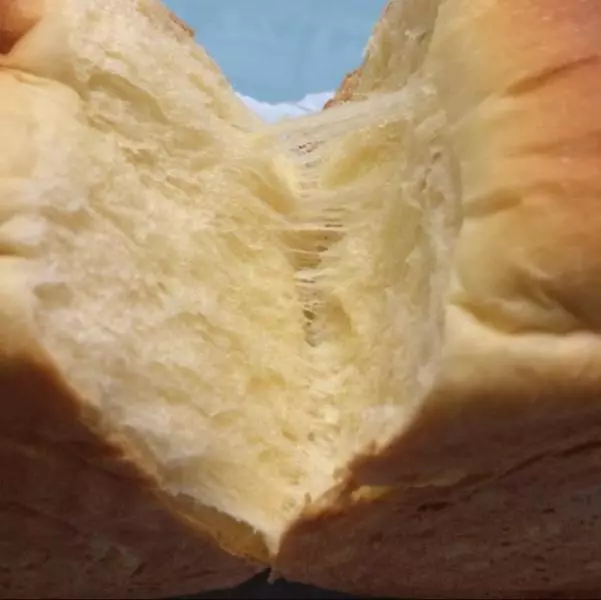
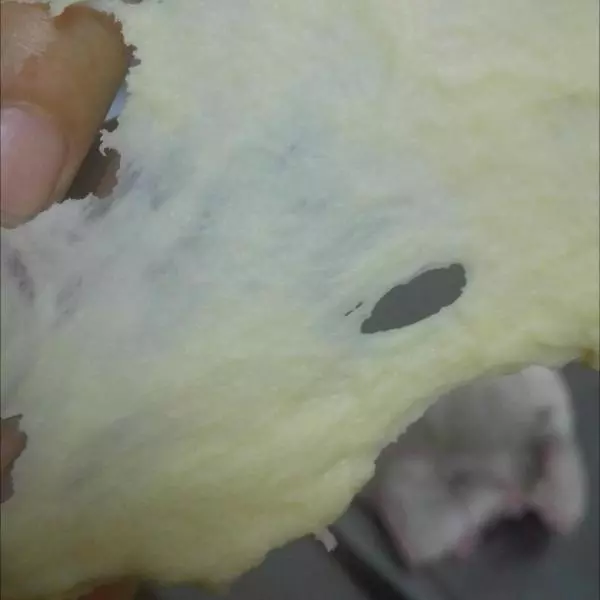
5取出一小坨面团,拉伸开,理想状态是手套膜,今天还是太成功,关于手套膜的制作,可以找一下其他人的菜谱。不过即便没有做到手套膜,这个拉升程度做出的面包也很松软了。
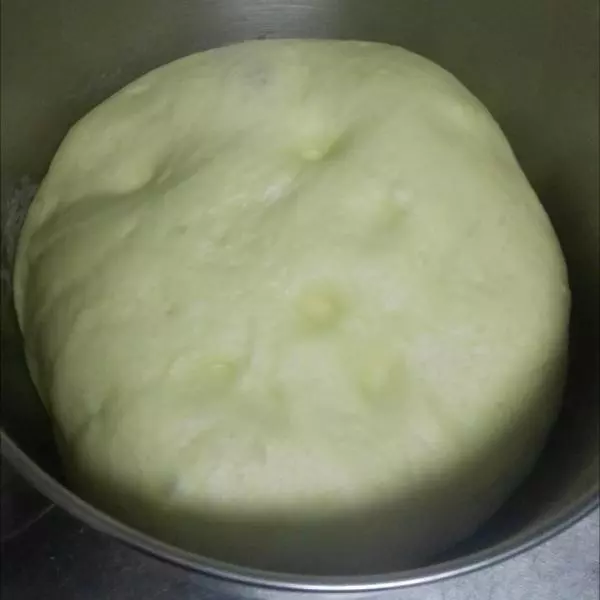
6面团盖上保鲜膜后,先放入冰箱1小时后,再放置常温下发酵。(目前30度的室温会加速发酵,而发得越慢,风味越佳,所以先放冰箱)
7大约经过1.5至2个小时后,面团变成2倍大,面团倍按下后不回弹。
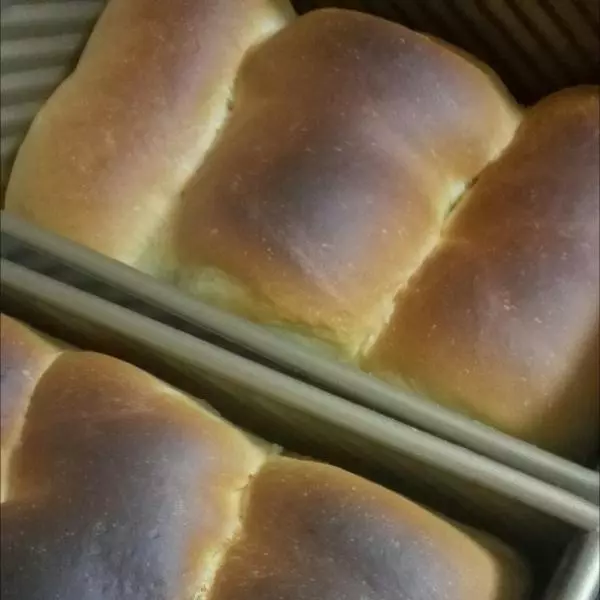
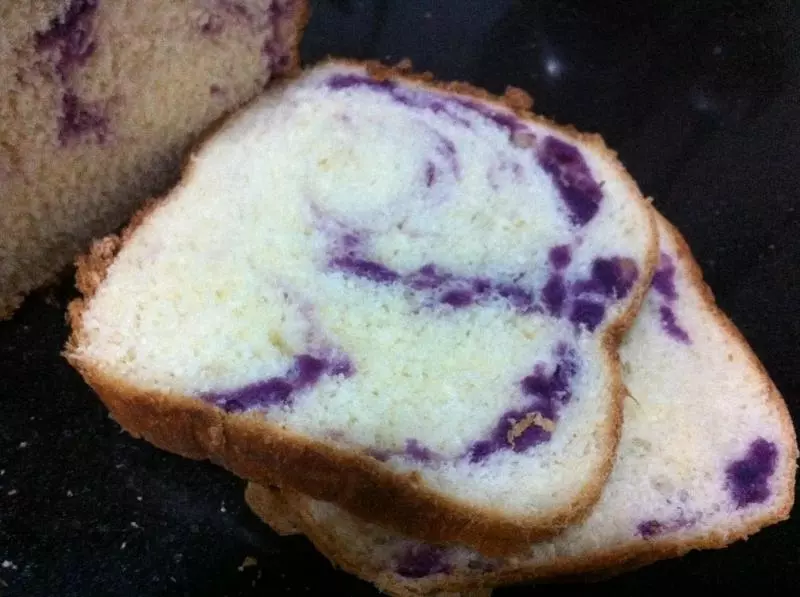
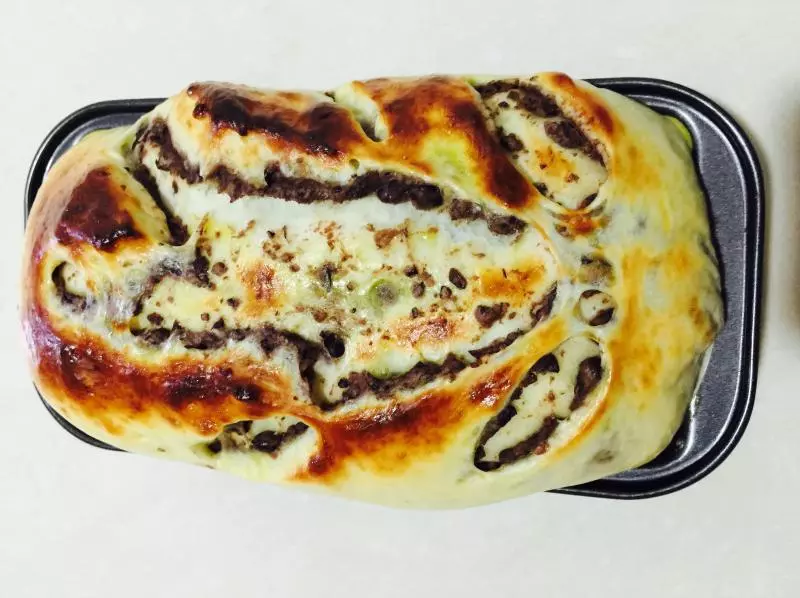
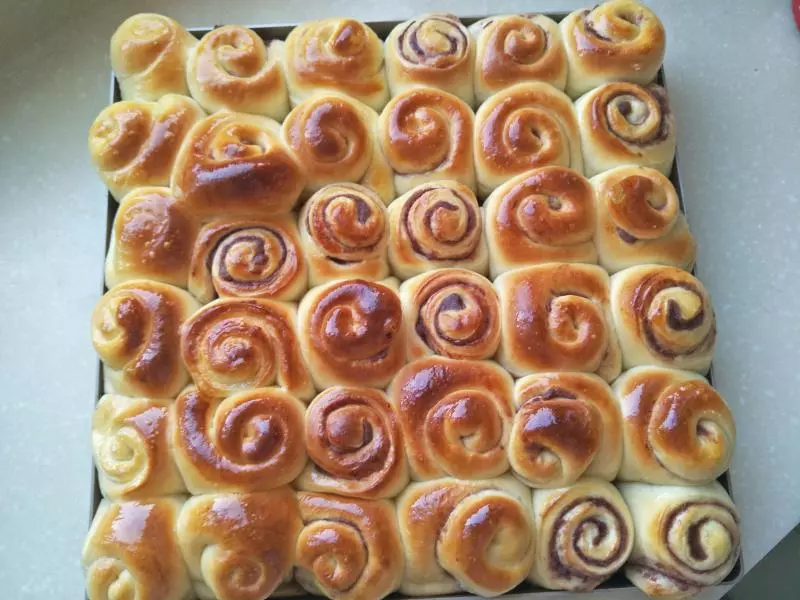
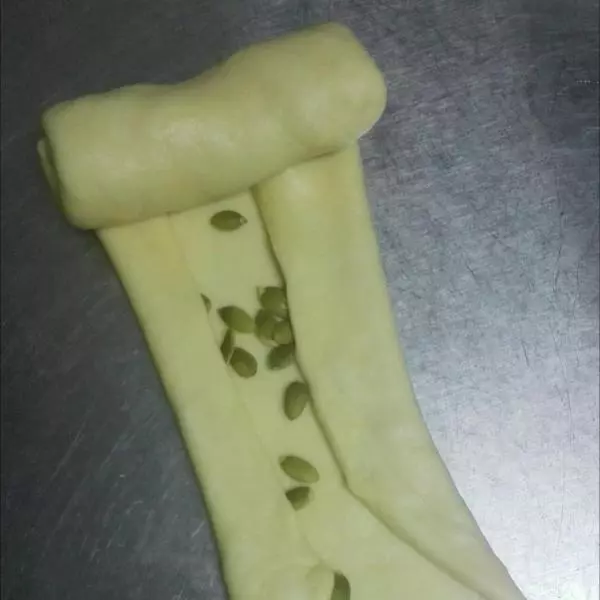
8排气整形,家里有南瓜子就丢了一些进去,可以按照个人口味加入葡萄干等。
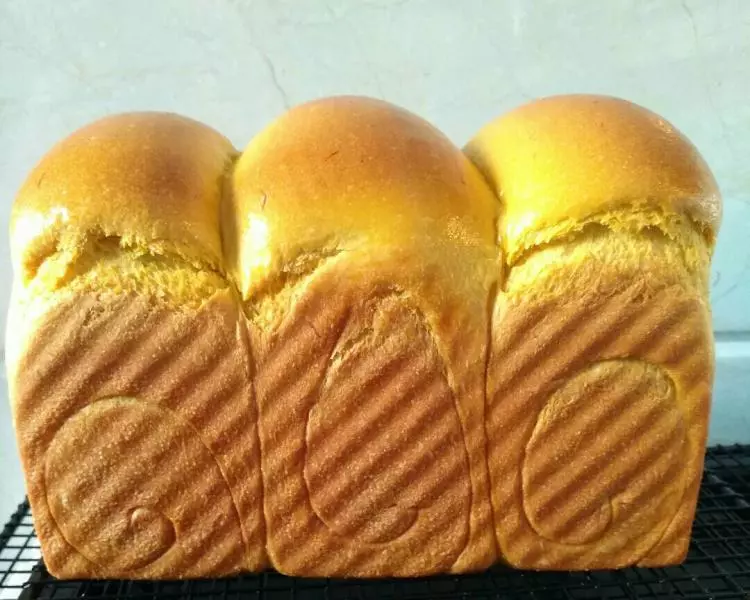
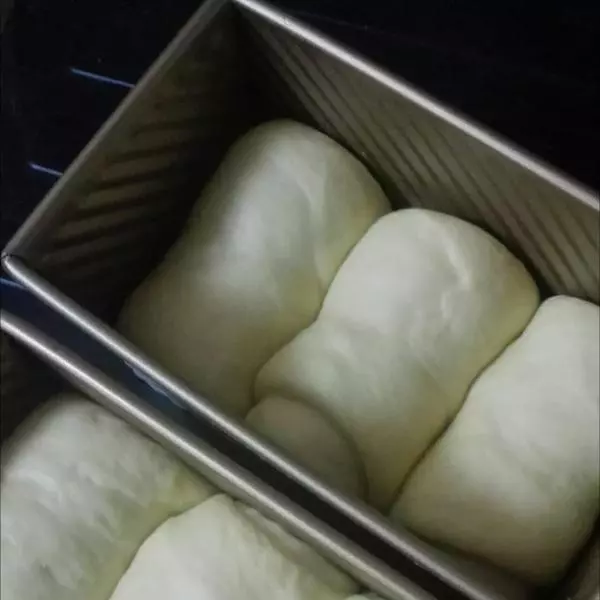
9将整形好的面团放入土司盒,再次发酵

10静置,待整形后的面团发到8份满,大约需要40分钟。烤箱预热
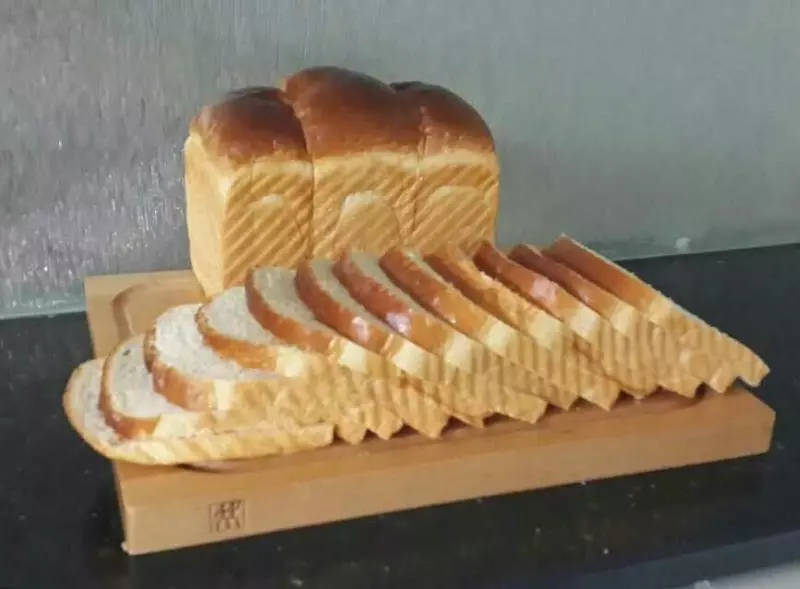
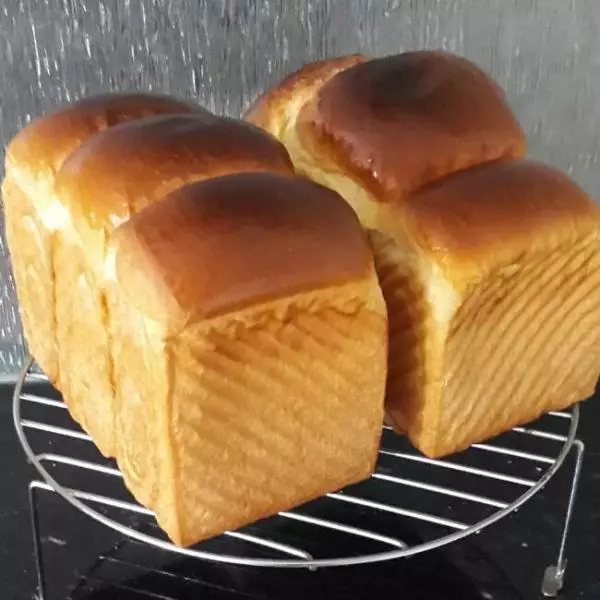
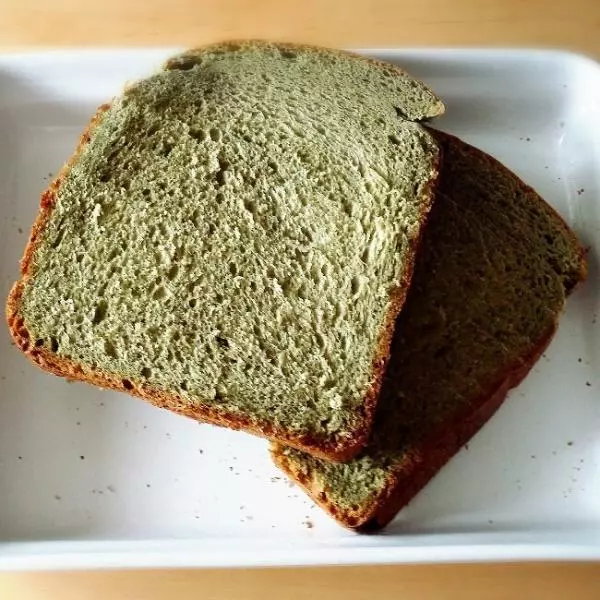
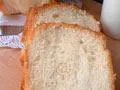
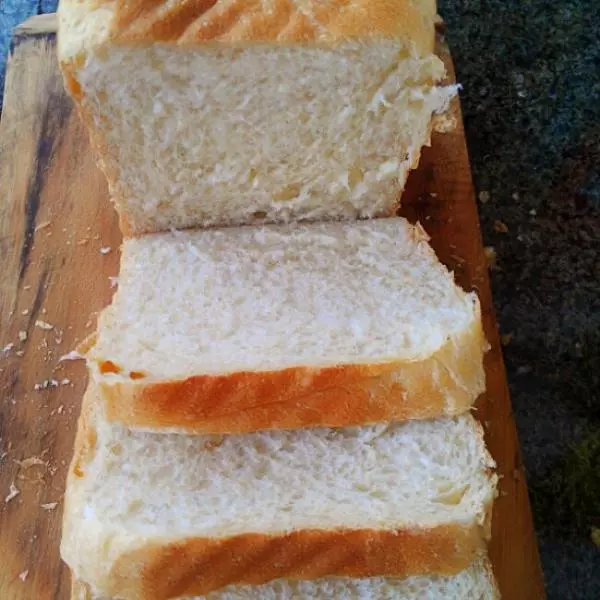
11180度上下火30分钟后再下火180度5分钟,大功告成!隔天吃,口感还是非常松软!