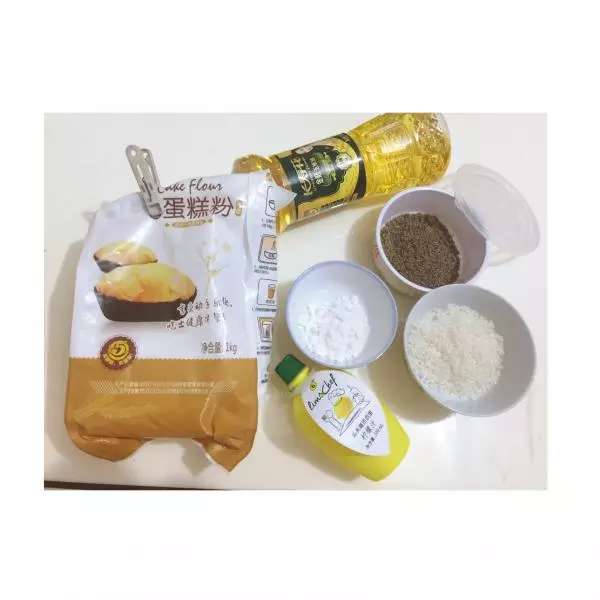
原料
鸡蛋: 5个, 低筋面粉: 100克, 糖粉(蛋黄糊): 30克, 白砂糖(蛋白霜): 70克, 水: 30克, 柠檬汁: 35克, 泡打粉: 2克, 薰衣草粉末: 适量
步骤
1准备好材料
2蛋清分离
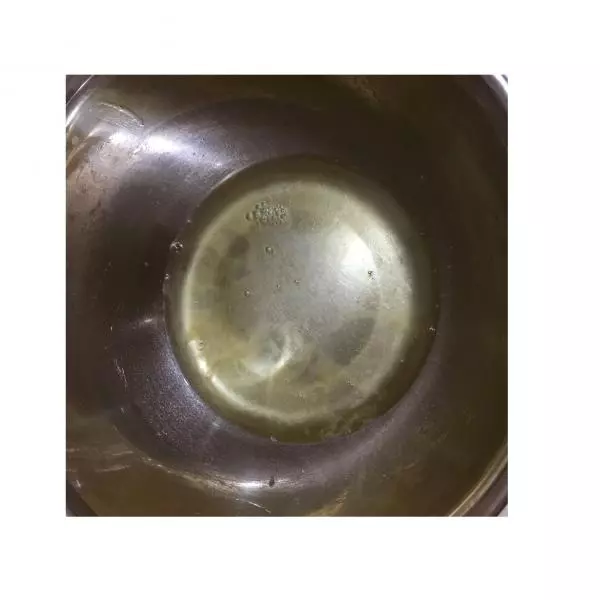
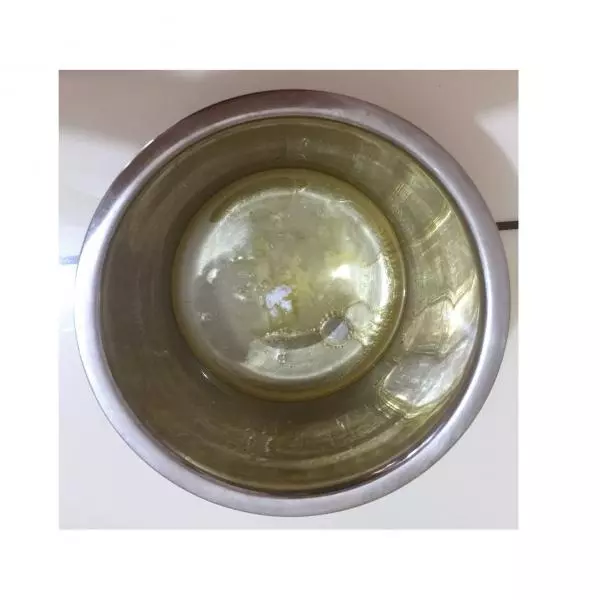
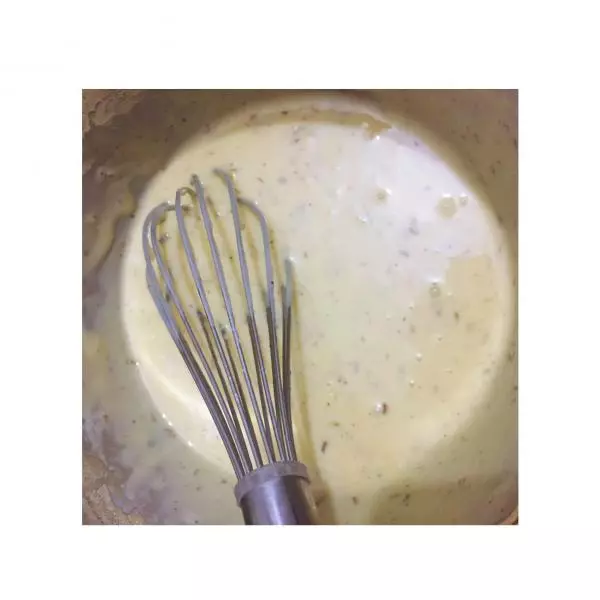
3油、水、柠檬汁、糖粉混合搅拌均匀
4加入薰衣草粉末
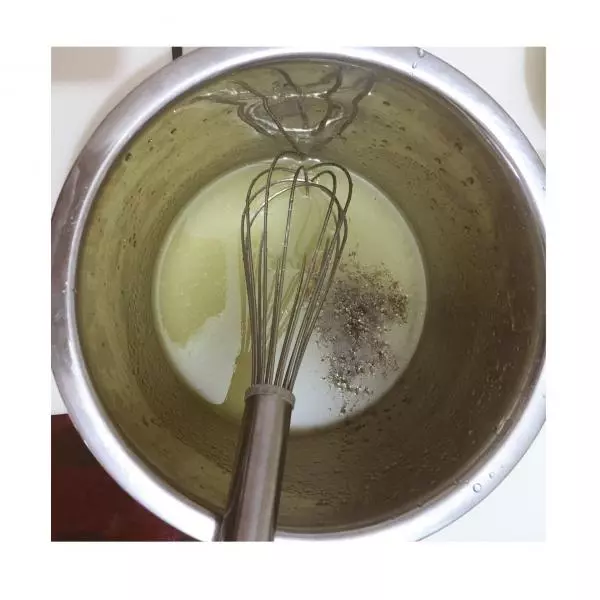
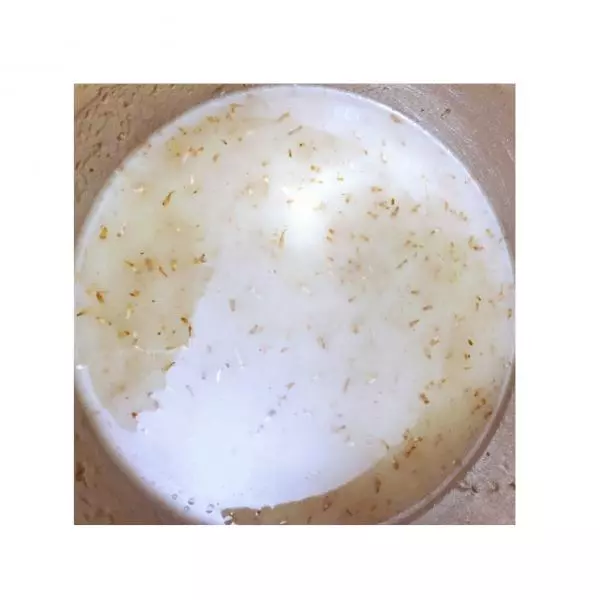
5搅拌均匀
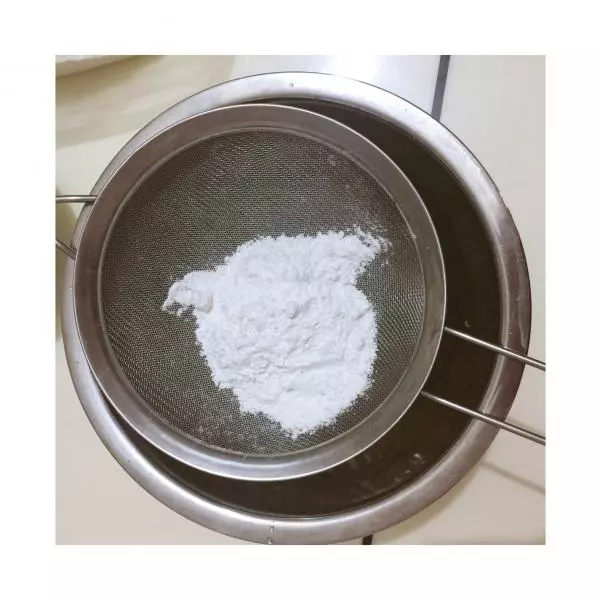
6筛入低粉拌匀均匀
7加入蛋液
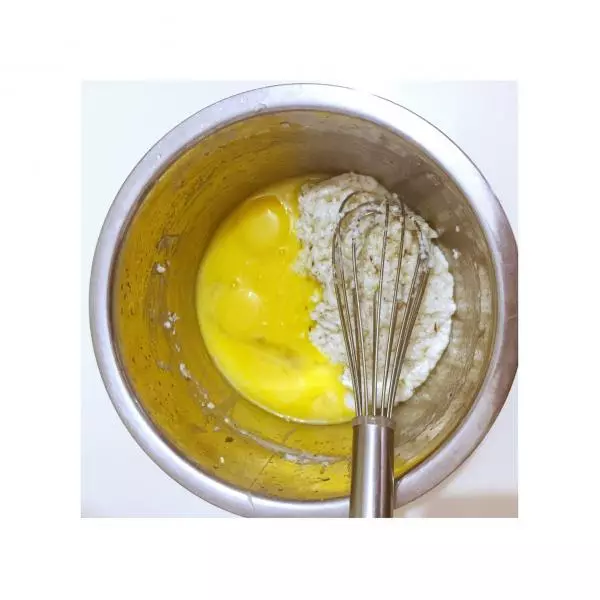
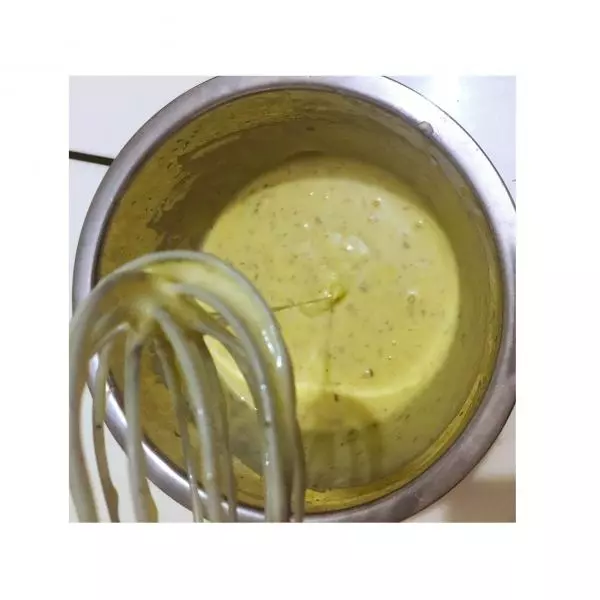
8搅拌均匀成蛋黄糊
9拌好的蛋黄糊状态如图
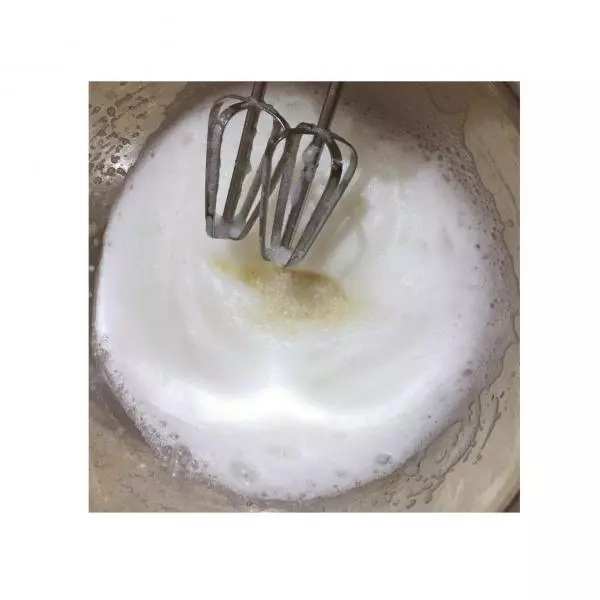
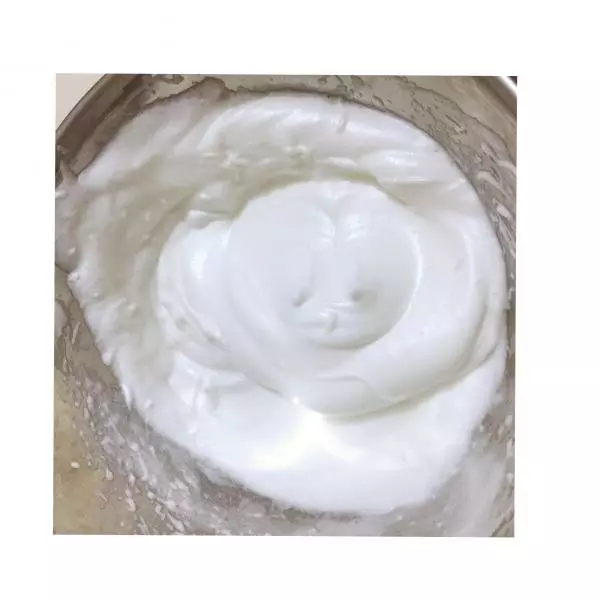
10打发蛋白,加入几滴柠檬汁,砂糖分三次加入蛋白中打发至干性发泡状态
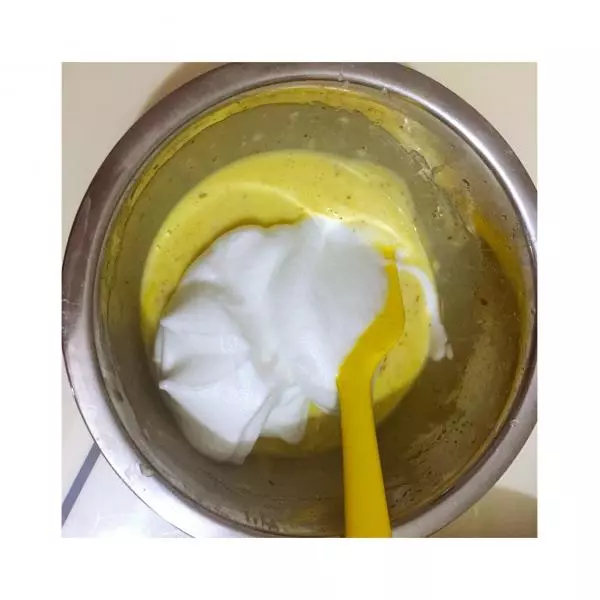
11打发好的蛋白霜
12将蛋白霜分三次加入蛋黄糊中搅拌均匀
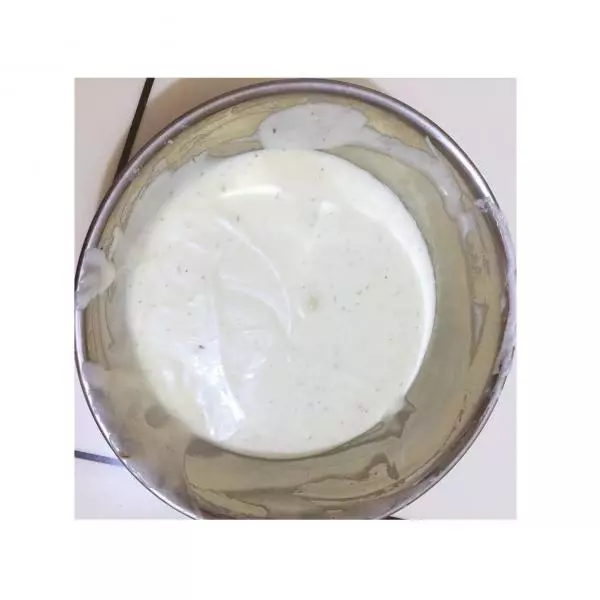
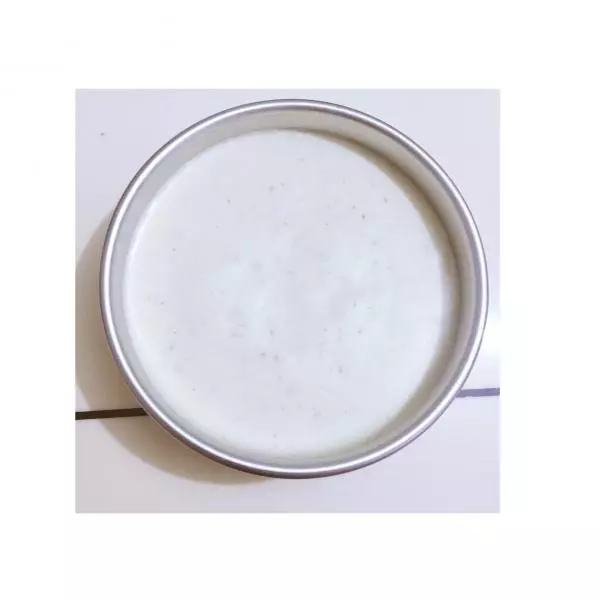
13拌好的蛋糕糊
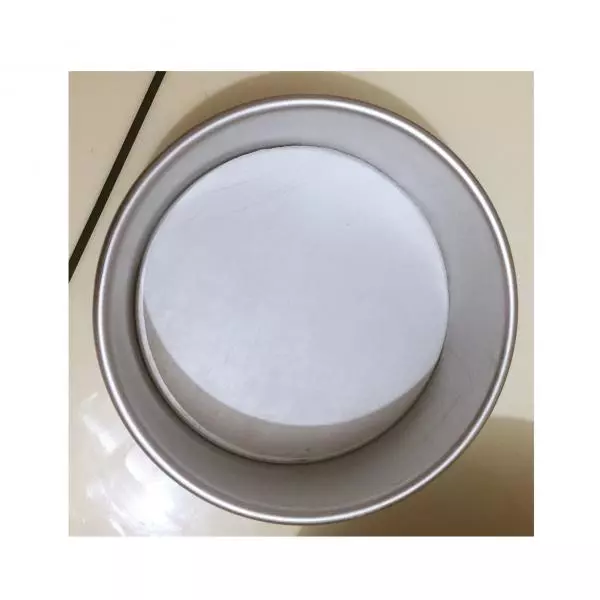
148寸模具中铺上油纸
15将蛋糕糊从高处往下倒入模具中
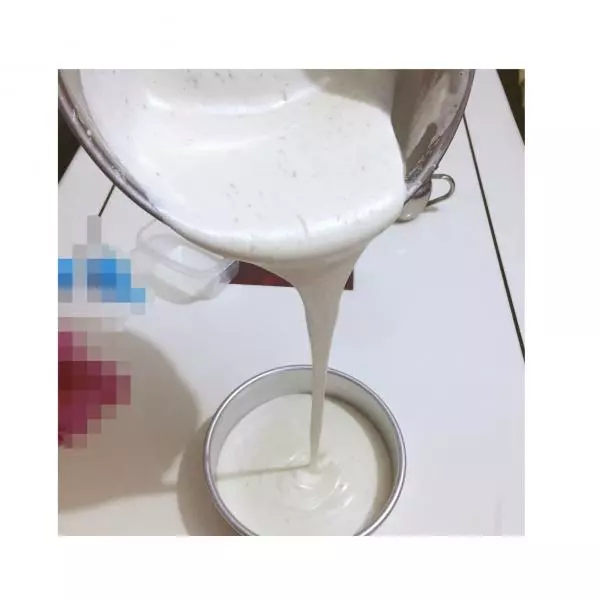
16震动几下震出气泡
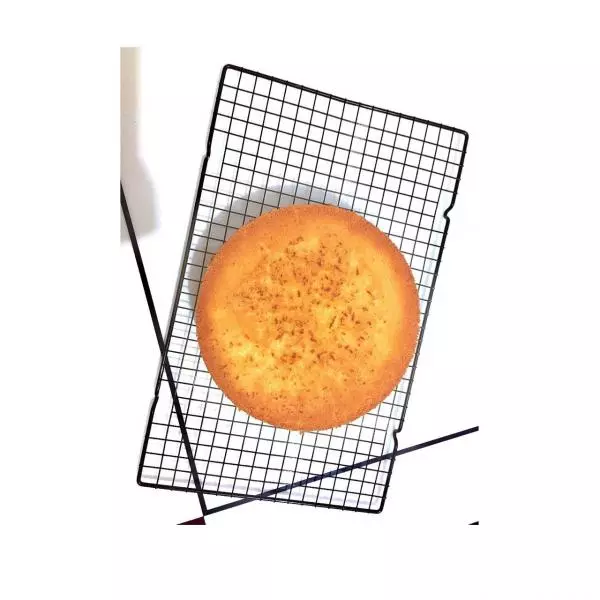
17放入预热好的烤箱中下层,上下火175度,烤52-60分钟

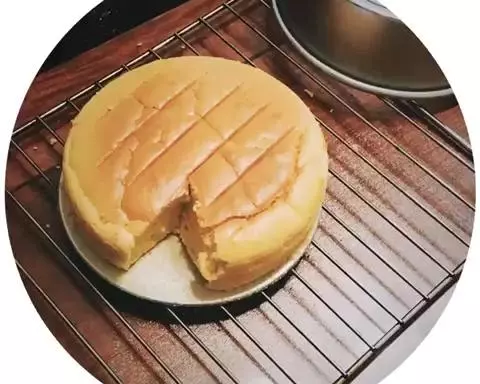
18烤好的蛋糕取出倒扣在冷却网中,冷却后脱模
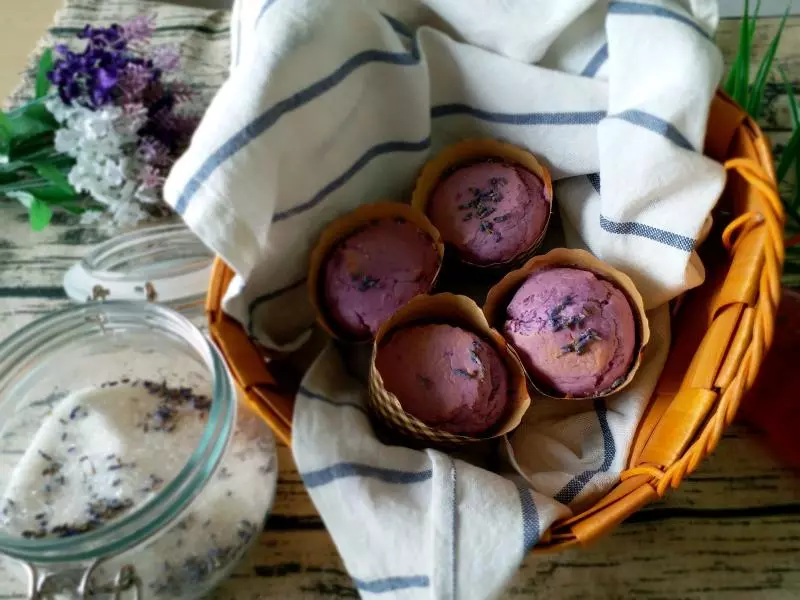
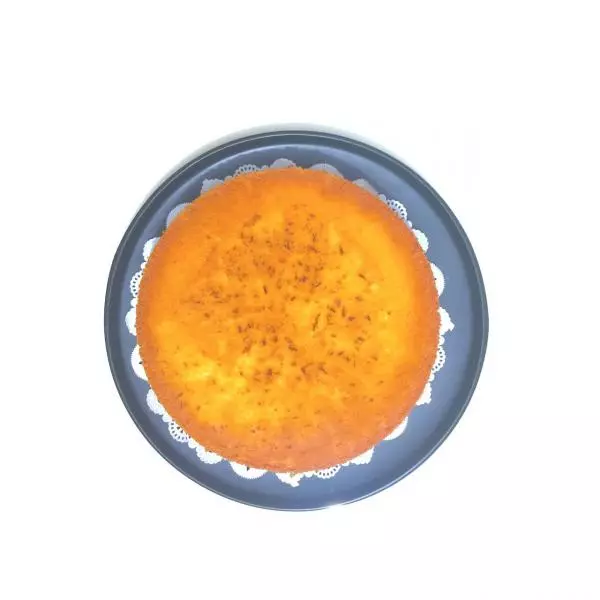
19成品照
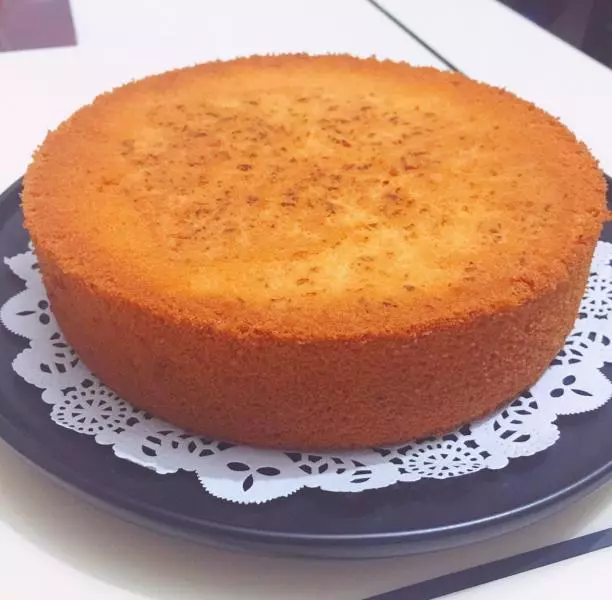
20成品照2

21切块食用~开吃咯(o^^o)~

小技巧
薰衣草打成粉末口感更好~