原料
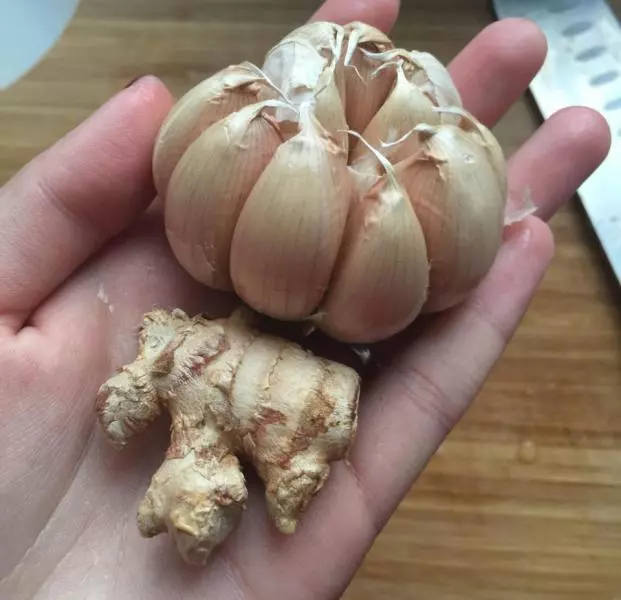
秋葵: 10个, 大蒜: 4瓣儿, 生姜: 3片, 酱油: , 蚝油: , 芝麻油: , 厨邦香酱:
步骤
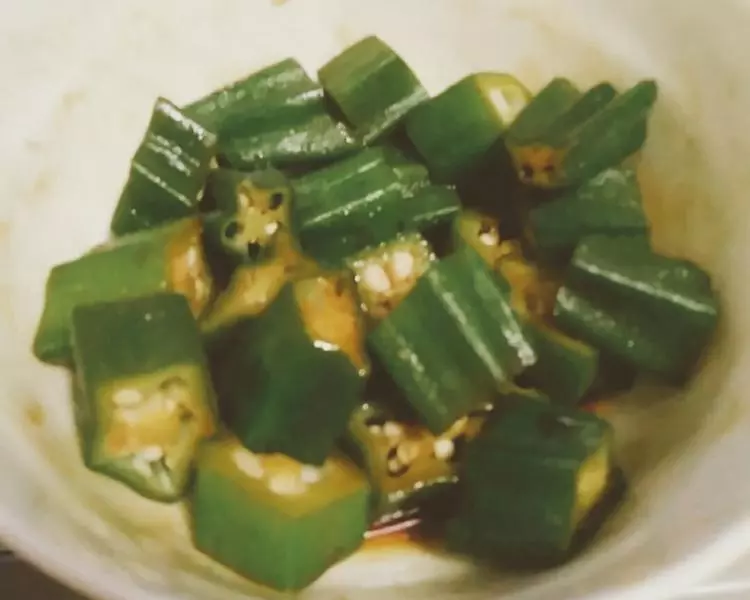
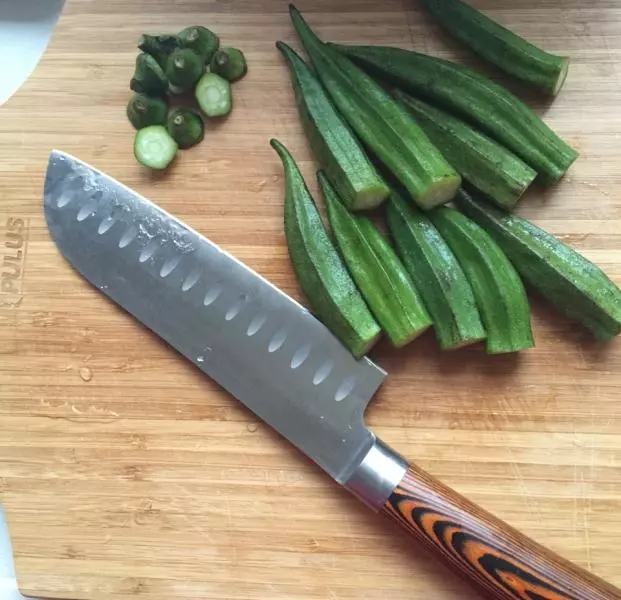
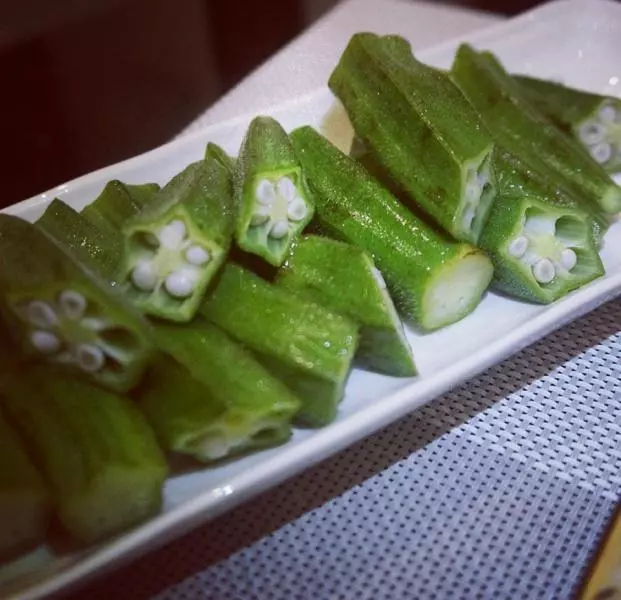
1秋葵洗净去头(我把尾也去了一点,那种胖一点没有尖尾巴的可以不去尾~),斜刀切两节,以前妈妈做的不切,我又作了,我知道=_=
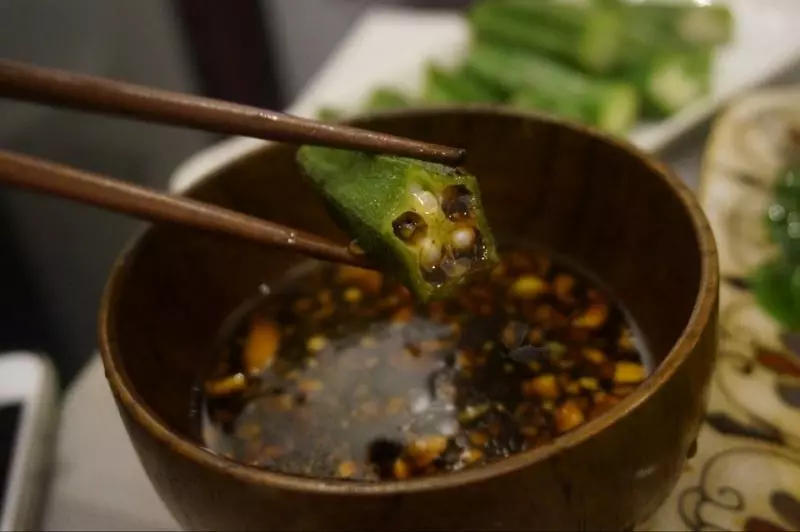
2生姜大蒜切成末~放进小碗里
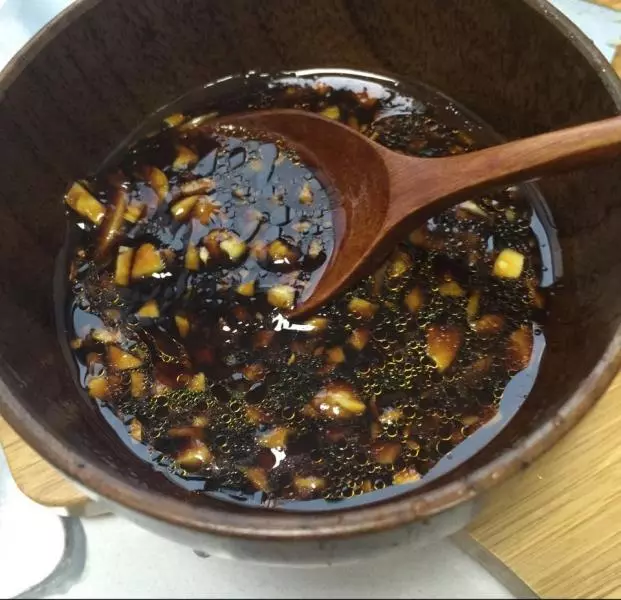
3分别在碗中再加入酱油、蚝油(一点就行)、小半勺厨邦美味香酱(不是我编的,它就叫这么名字~-_-#)、芝麻油,搅拌一下就可以啦~啥?问我为啥这么复杂,为啥不直接蒜蓉加酱油就行?你按我配的这个调料,试一试,你以后也不想再宠幸蒜蓉酱油了哈哈哈哈哈!
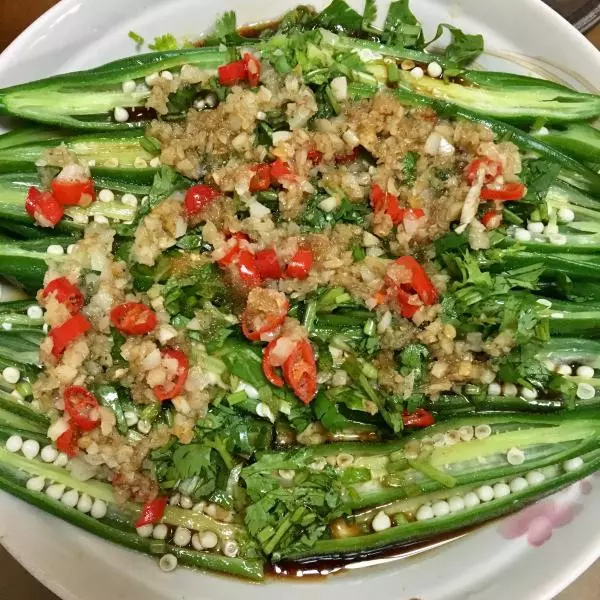
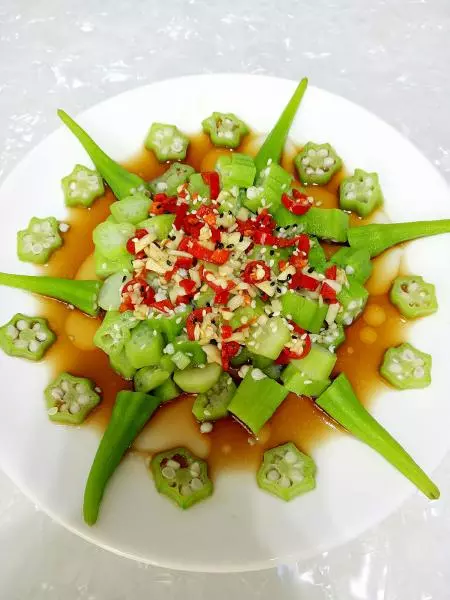
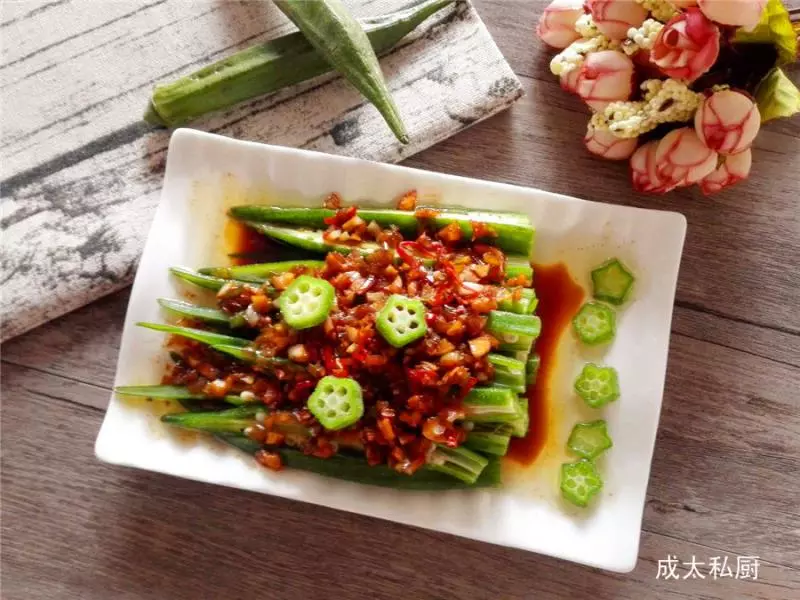
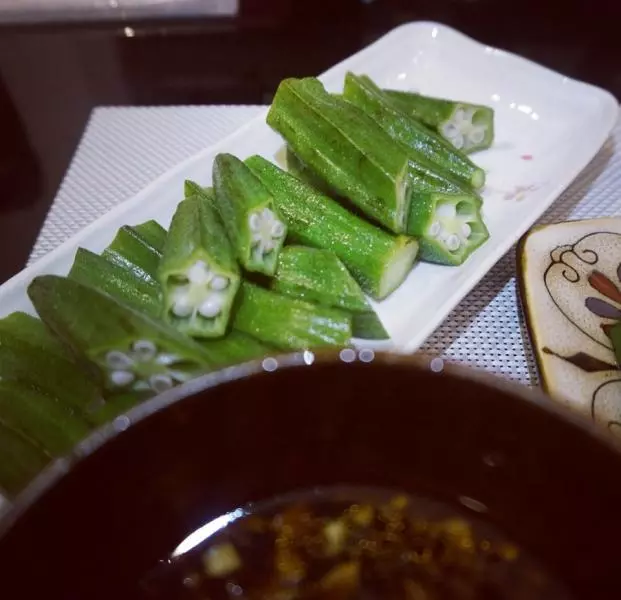
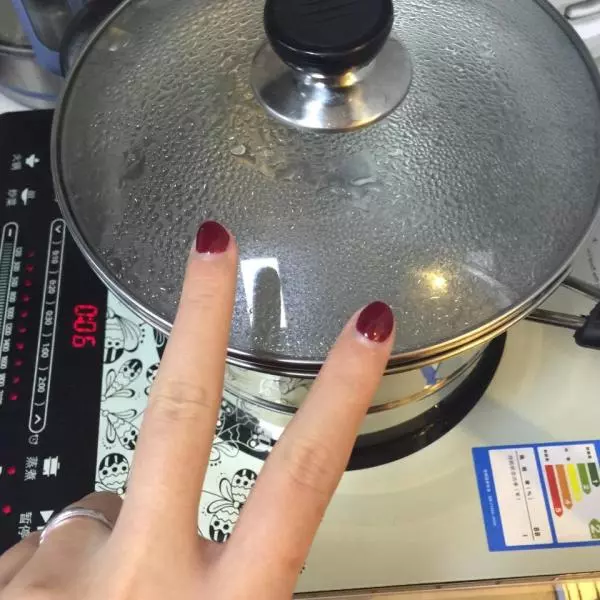
4上锅!烧水,水烧开把秋葵扔进去尽情滴滚,滚上5分钟捞出来控一下水,摆盘…对没错,是摆盘,我说了我比较作嘛…
5简简单单就搞定~我没吃过炒秋葵,改天炒一下试试,但目前为止我觉得凉拌的真的好吃~
6我喜欢沾着料吃,当然,也可以直接把料都洒在秋葵上~凉拌嘛,想怎么拌怎么拌哈^_^
小技巧
做过秋葵和吃过秋葵的都知道,秋葵有黏液,很多人不喜欢吃就是因为黏液让他们觉得像…………鼻涕……(说的好像都吃过鼻涕一样~(☆_☆))…来一个妙招,就是烫秋葵的时候在水里加一点醋,这样会减少秋葵的黏液哦。别问我是谁,我叫红领巾~