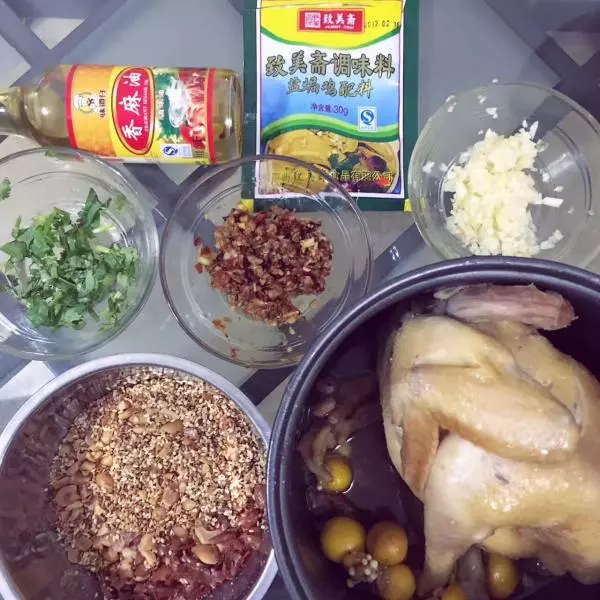
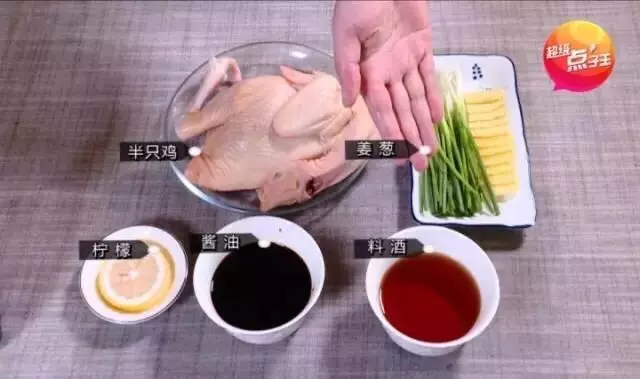
原料
鸡: 半只, 姜: , 葱: , 盐: 1勺, 料酒: 2勺, 鲜柠檬: , 酱油:
步骤
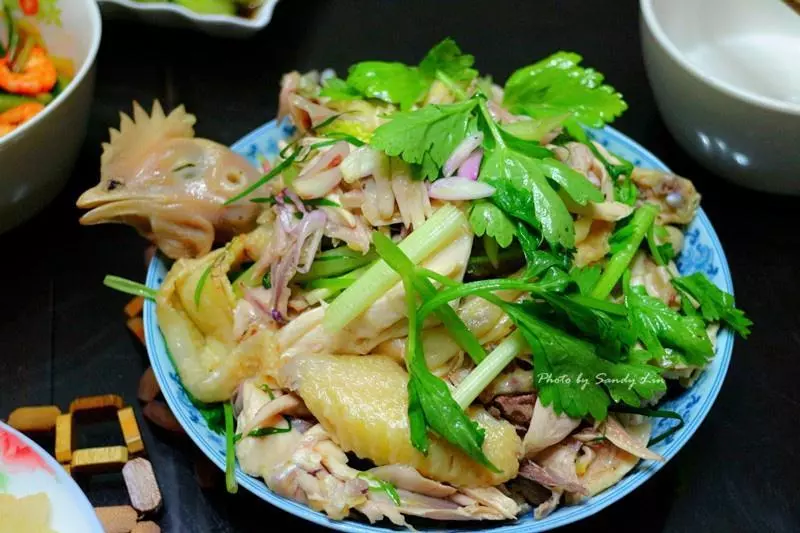
1准备食材
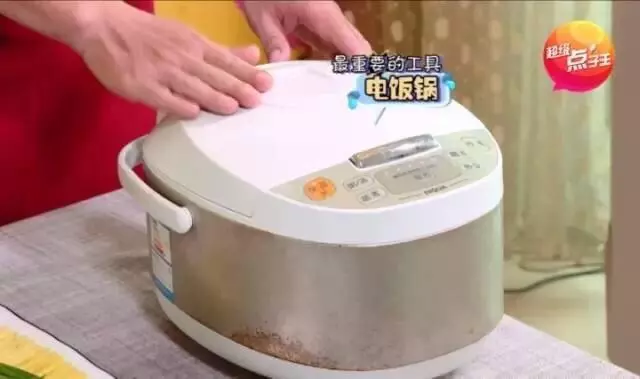
2三黄鸡皮脆肉嫩骨头软,是做手撕鸡的最佳选择。准备半只鸡,大概1斤到1斤半。除了食材,我们还需要一个电饭锅,它就是厨艺小白不开火做手撕鸡的秘密武器
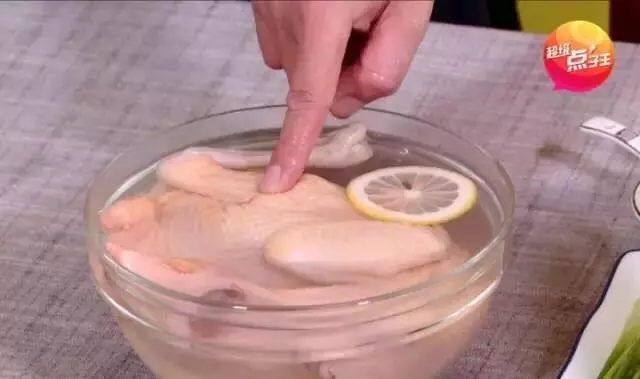
3在清水里放入几片柠檬,把鸡放进去浸泡2分钟。柠檬的酸味比较柔和,不会盖过鸡的鲜味,还能让鸡肉更嫩滑。
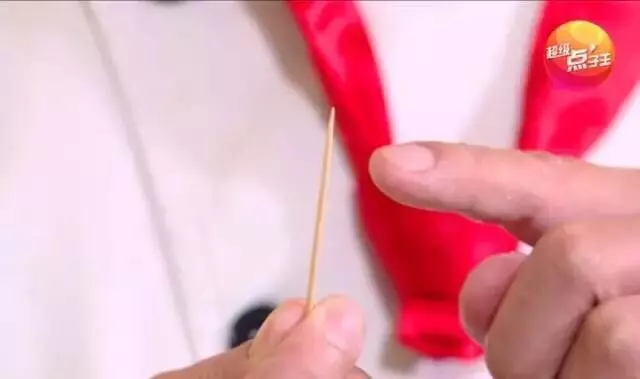
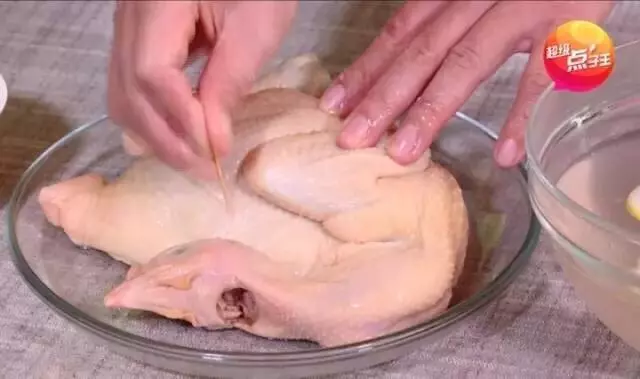
4把鸡拿出来,用牙签扎一些小孔,方便入味。
5同上
6然后放1勺盐,按摩5分钟,这样鸡肉才会更加松骨入味
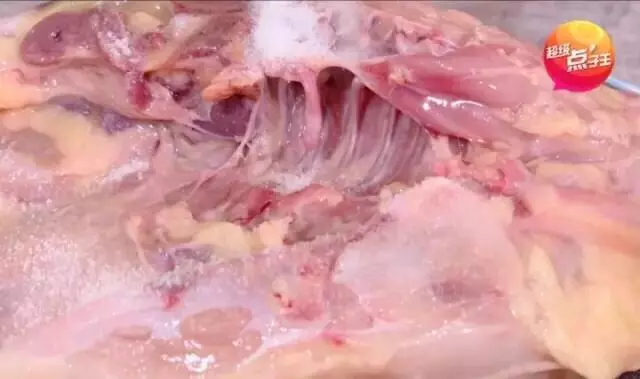
7同上

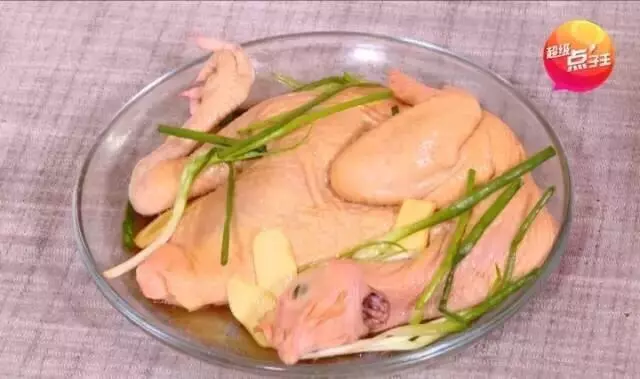
8按摩均匀后,加2勺料酒,刷一层薄薄的酱油,放些姜片和葱腌制1小时
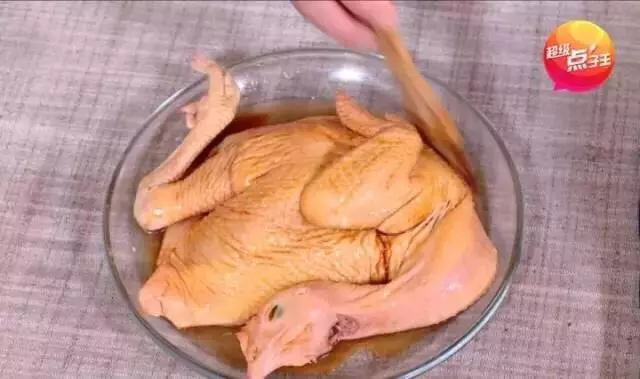
9同上
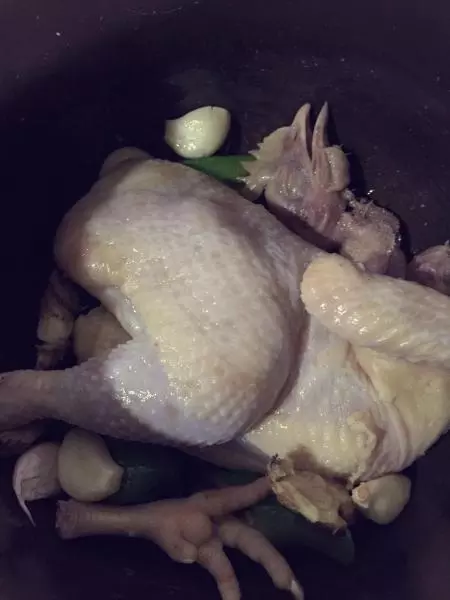
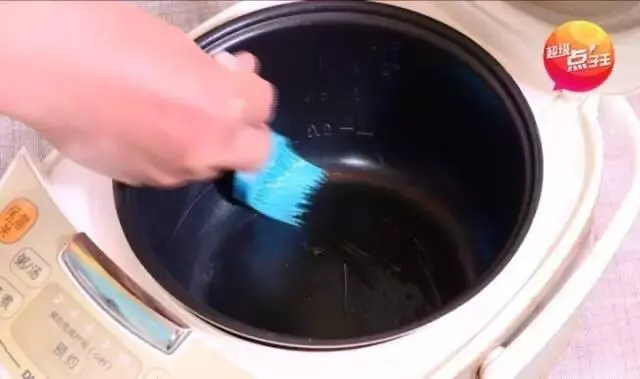
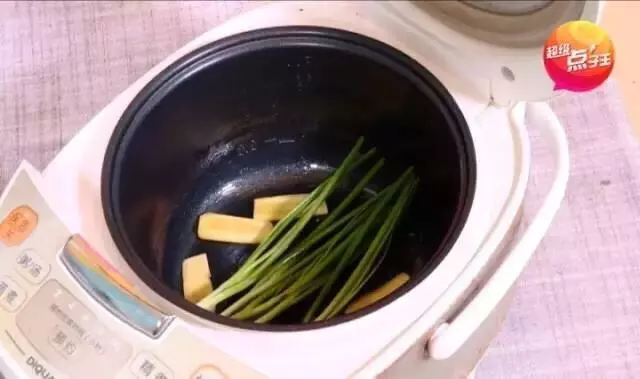
101小时后... 在电饭锅底部和四周刷上少许花生油,把葱和姜垫在锅底。
11同上
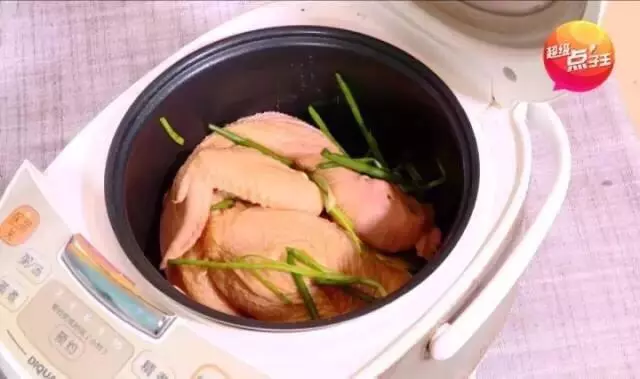
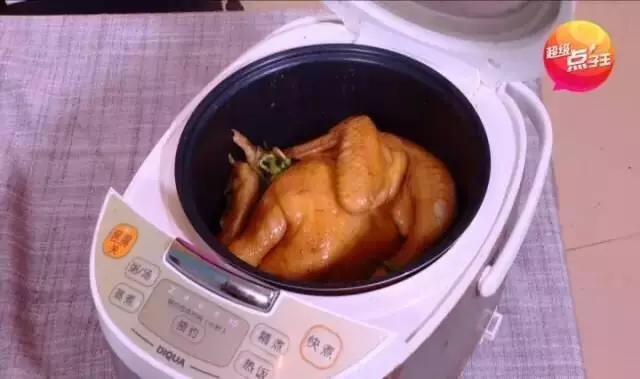
12放入鸡肉,盖上盖子按下煮饭按键
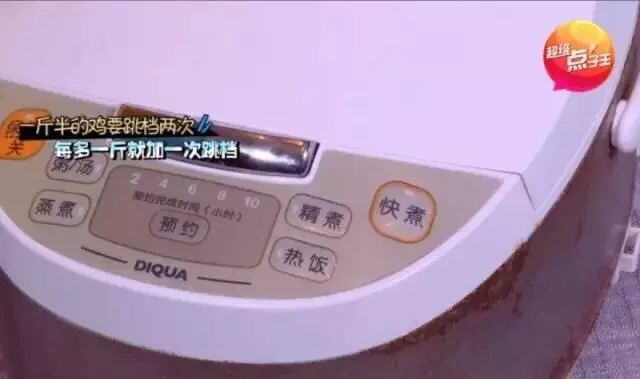
13鸡肉水分比较多,所以要煮2次,第一次自动跳档后再按第二次继续煮。一斤半的鸡跳档两次即可,如果鸡比较大,每加一斤就要多跳档一次哦
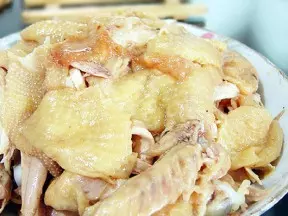
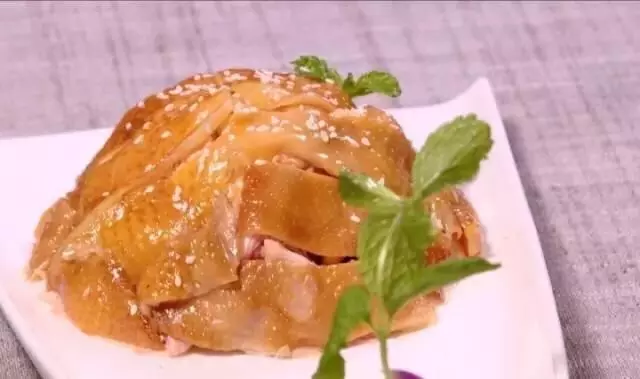
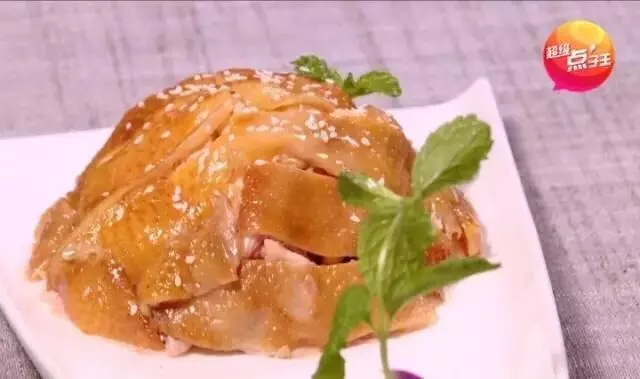
14时间到~色泽金黄、香气扑鼻的鸡可以出锅了。接下来就到了最后一个环节——撕鸡肉
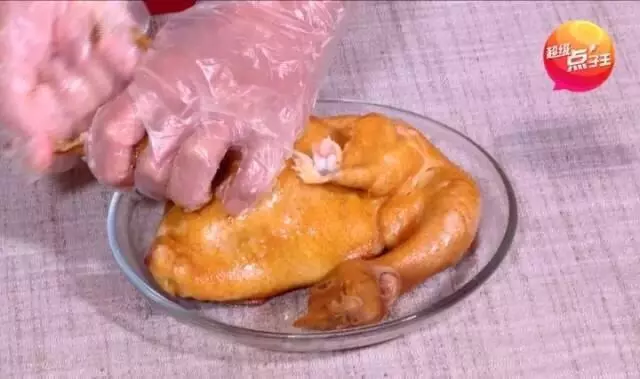
15先把翅膀、鸡腿这些零件拆卸下来
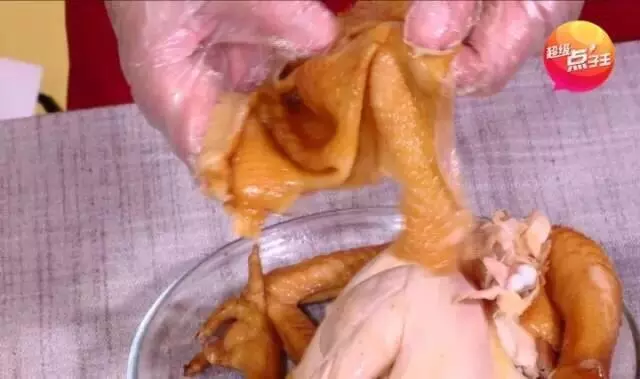
16然后慢慢把鸡皮整张撕下
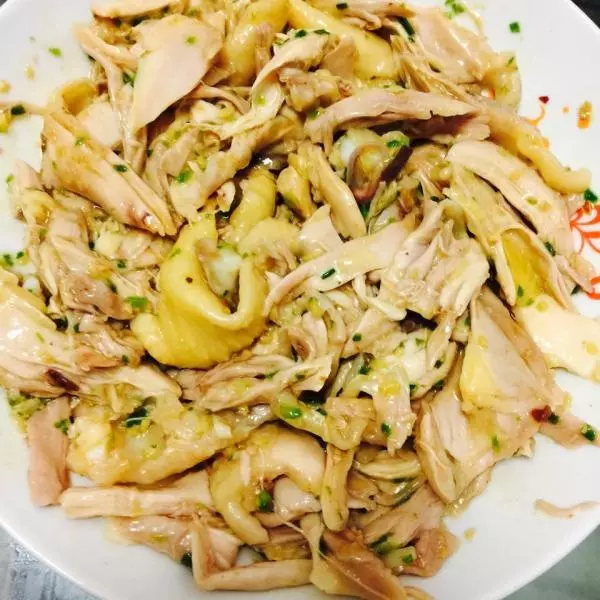
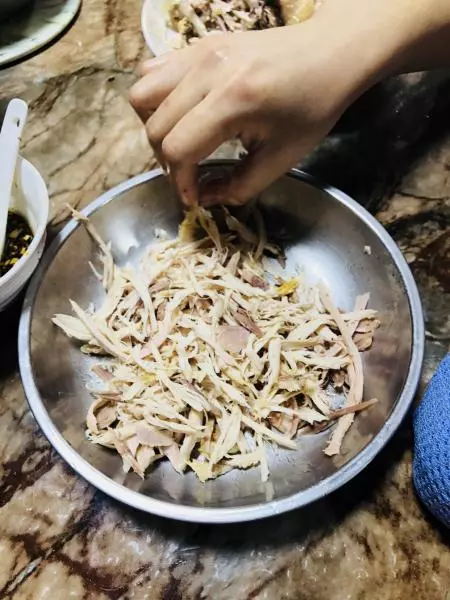
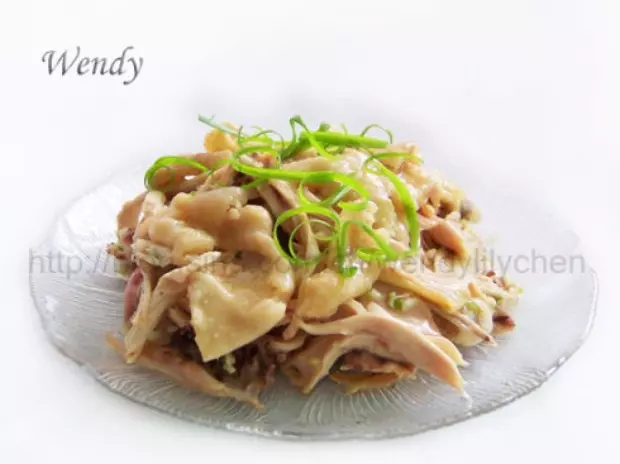
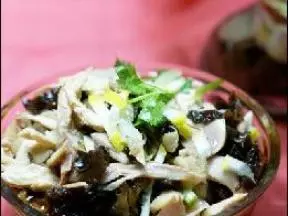
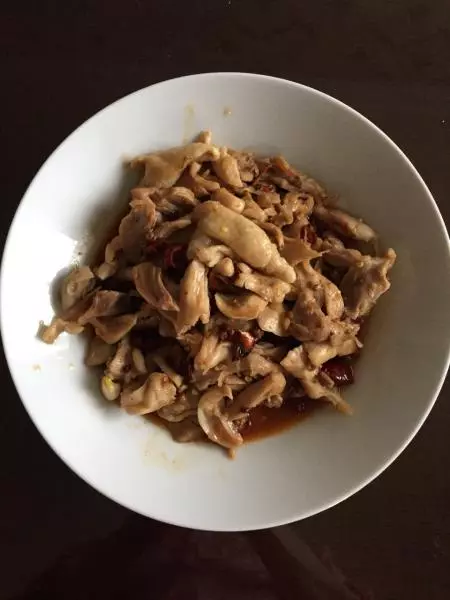
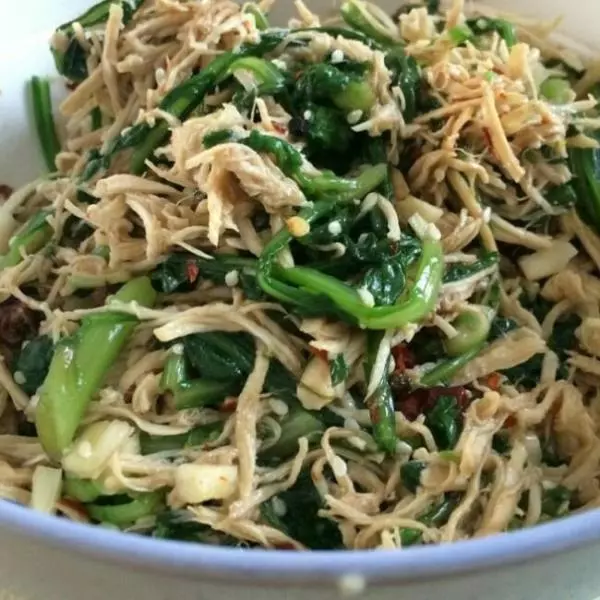
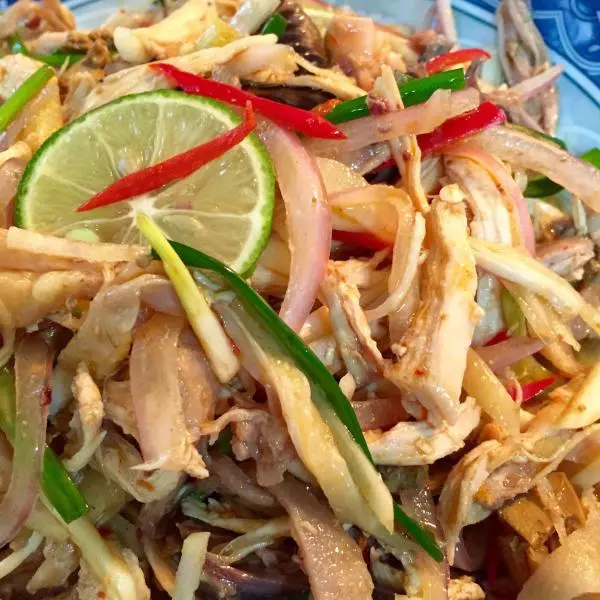
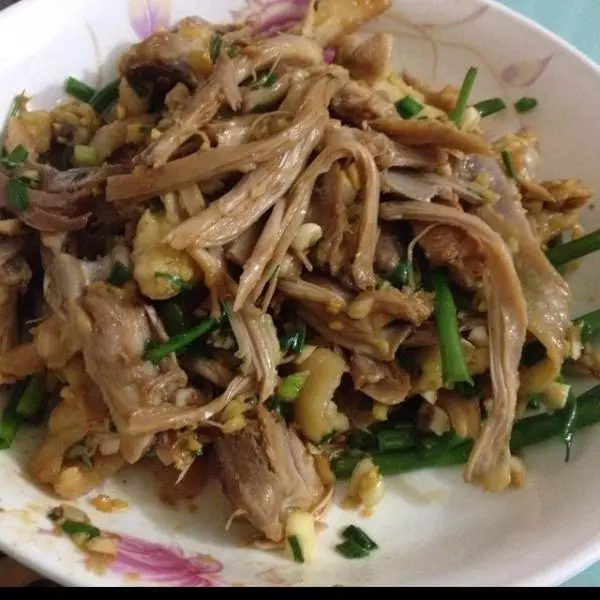
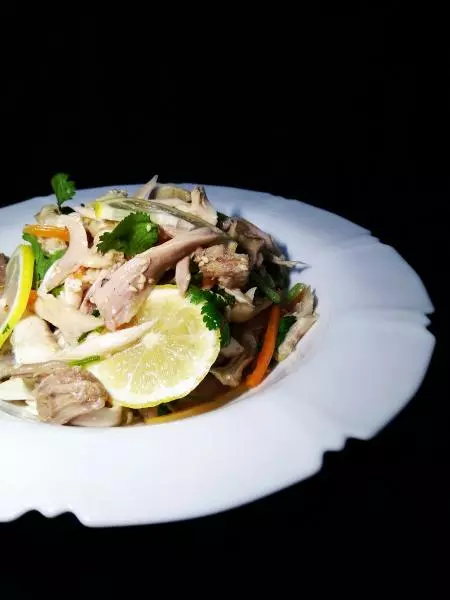
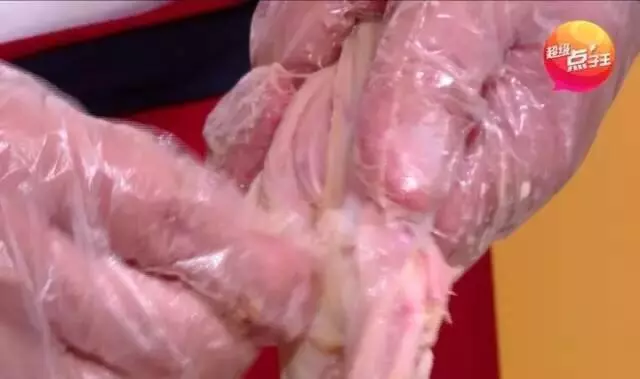
17最后顺着鸡肉的纹理把它撕成小块。
18同上
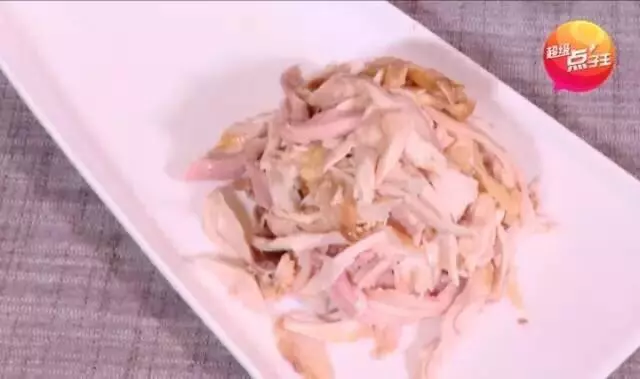
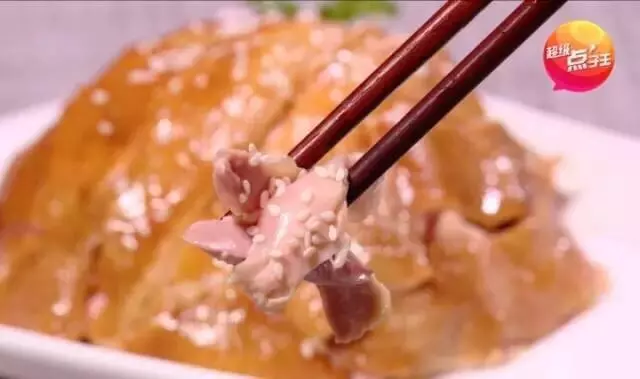
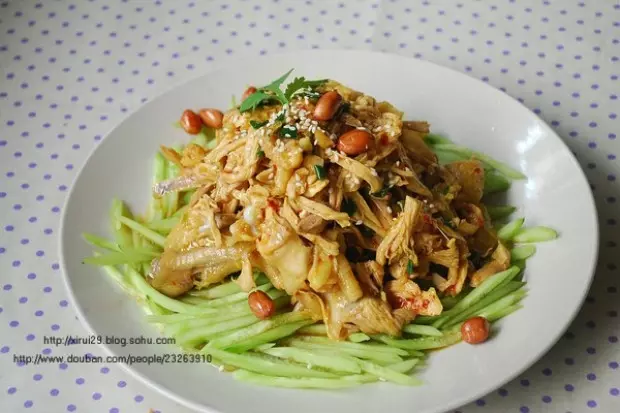
19摆盘后撒一些芝麻,美味的手撕鸡就大功告成了。尝一口,一点也不输给饭店里卖的手撕鸡哦!还等什么?你也赶快把它搬上餐桌吧!
20同上