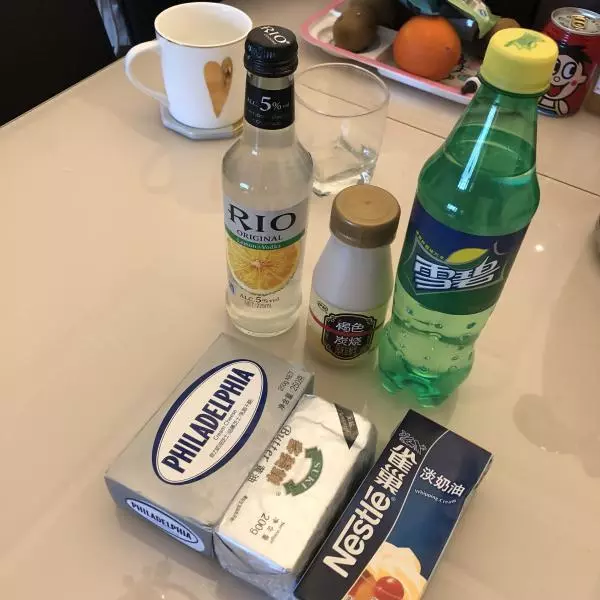
原料
雪碧: 200g, 牛奶: 50g, RIO鸡尾酒/朗姆酒: 5g, 炭烧酸奶: 180g, 奶油奶酪: 200g, 吉利丁片: 15g, 糖: 50g, 黄油: 40g, 消化饼干: 100g, 淡奶油: 100g, 柠檬汁: 15g, 腌渍樱花:
步骤
1所用材料、拍了这些材料,有的没拍,用料里有写
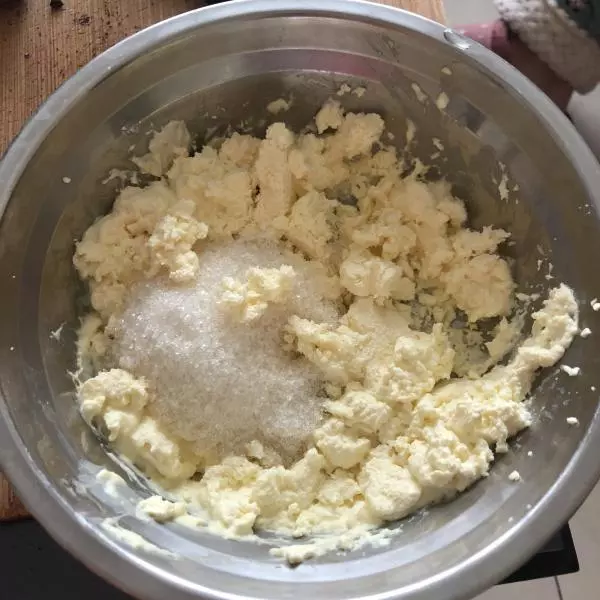
2这是第二步了,饼干底座没有拍照? 就是将100g奥利奥捍碎,黄油40g融化,和饼干碎搅拌均匀,然后冷藏 接下来就是图片步骤,将软化的奶油奶酪200g➕50g白砂糖用打蛋器打至稀释状态 然后加入柠檬汁15g,炭烧酸奶180g,RIO柠檬?鸡尾酒5g,这里很多人用朗姆酒,超市里没有小支装所以我换成了RIO 然后继续搅拌均匀
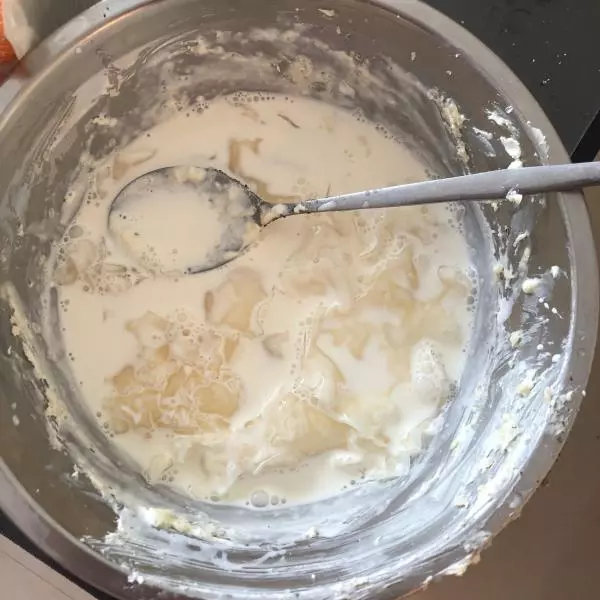
3淡奶油100g➕50g牛奶+提前泡软的吉利丁片15g隔水加热融化,然后分三次倒入上一步骤完成的芝士糊里,边倒边搅拌
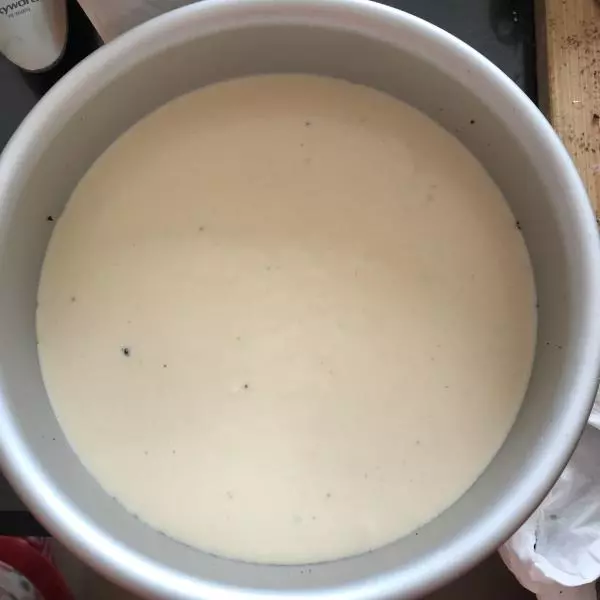
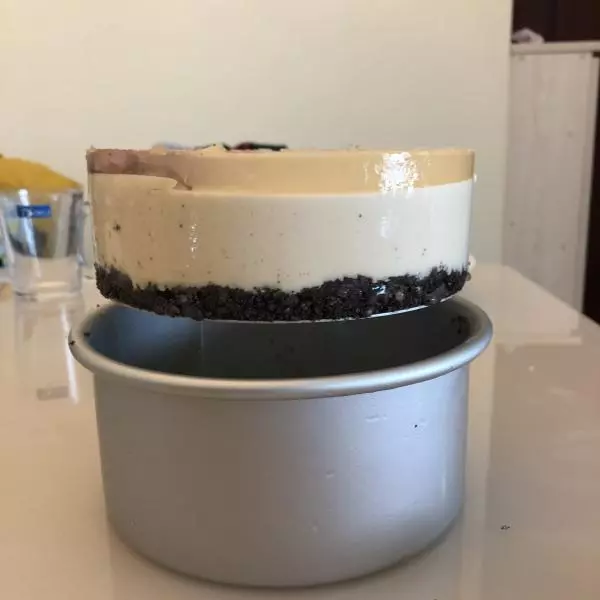
4然后取出饼干底座,把完成的芝士糊均匀的倒进模具里,轻震几下阵震出气泡,放冰箱冷藏1小时左右
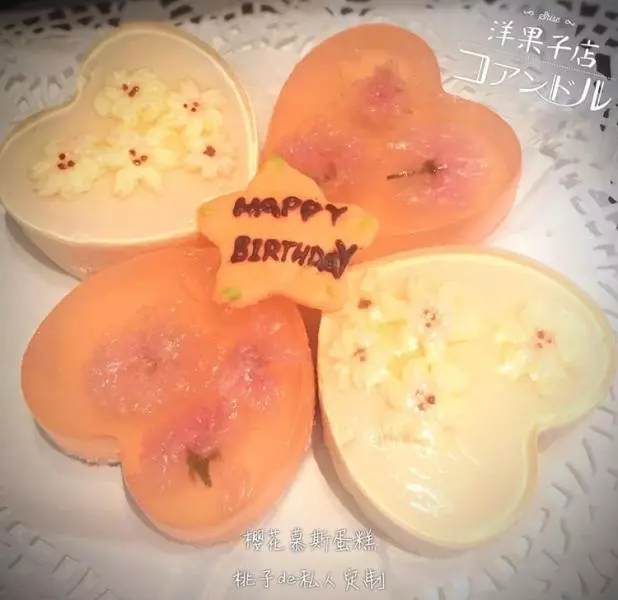
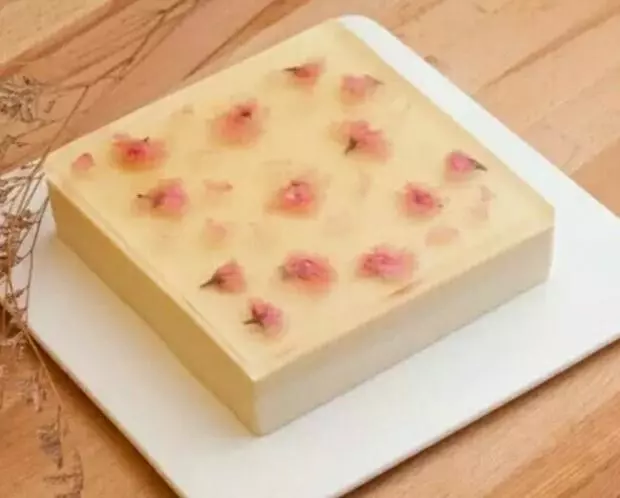
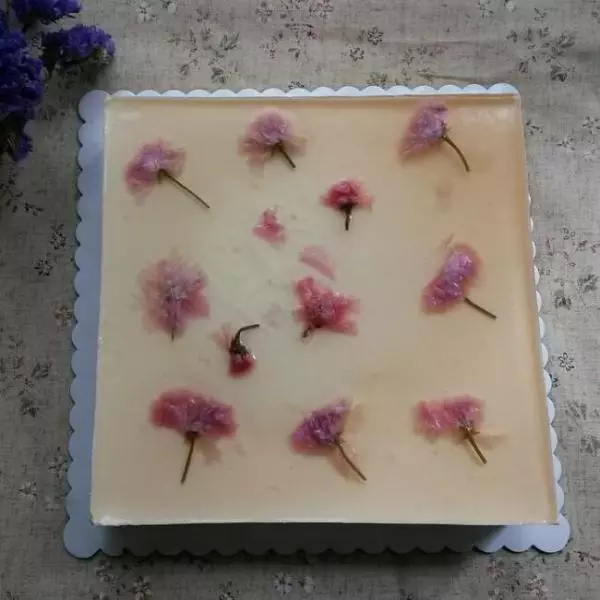
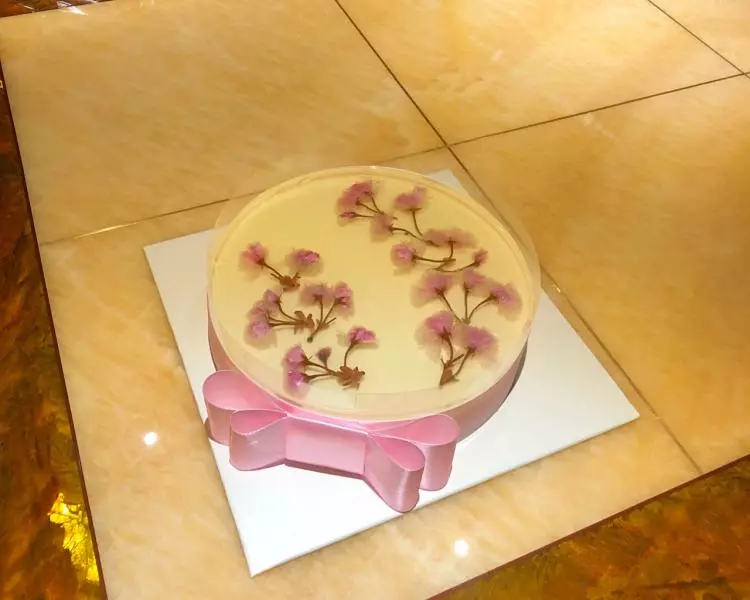
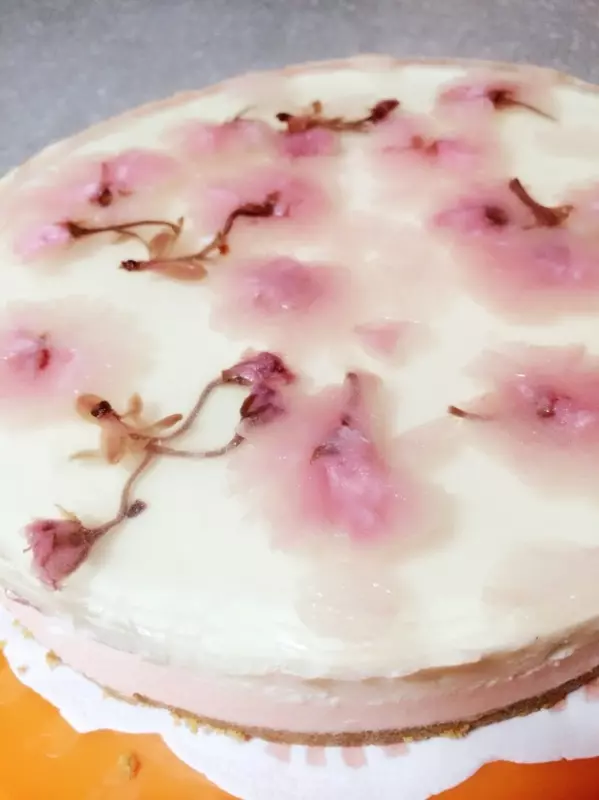
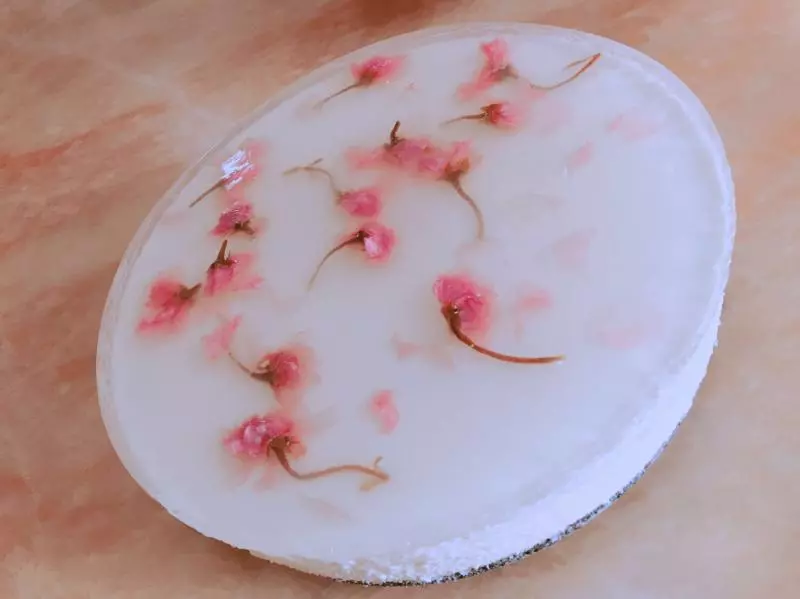
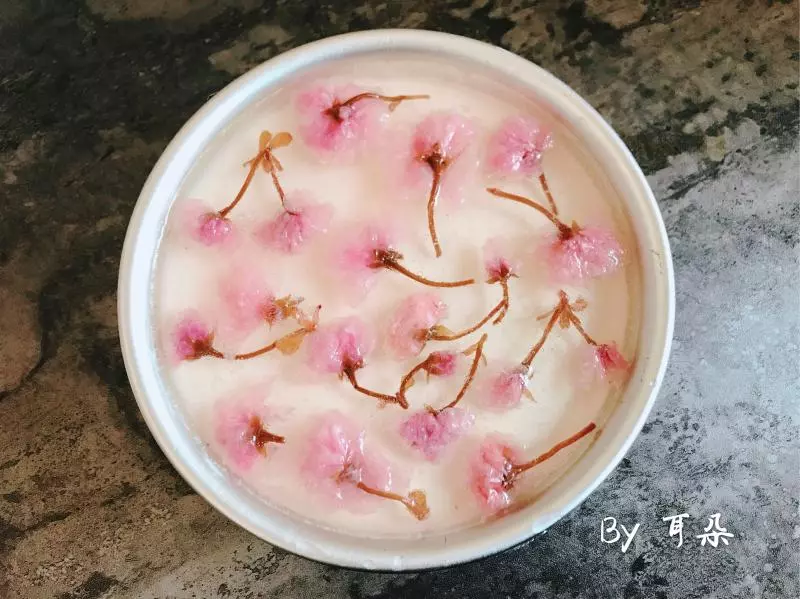
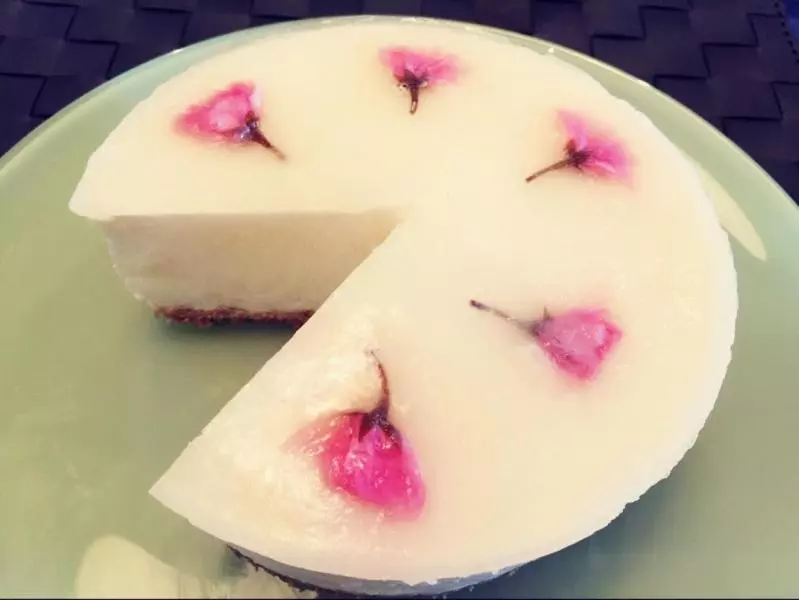
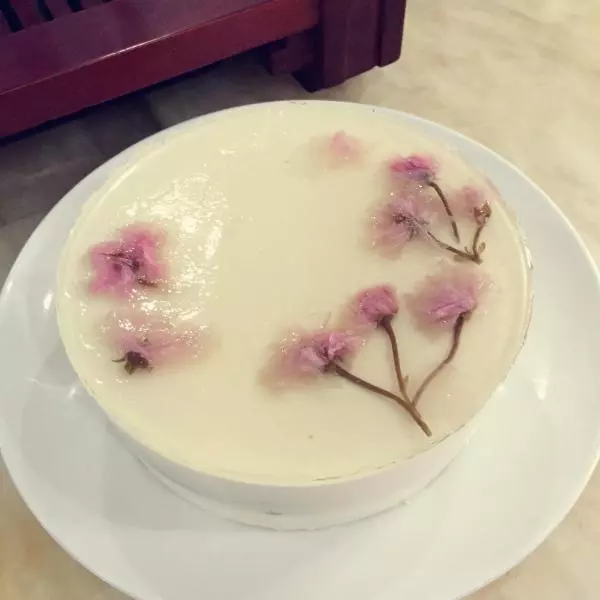
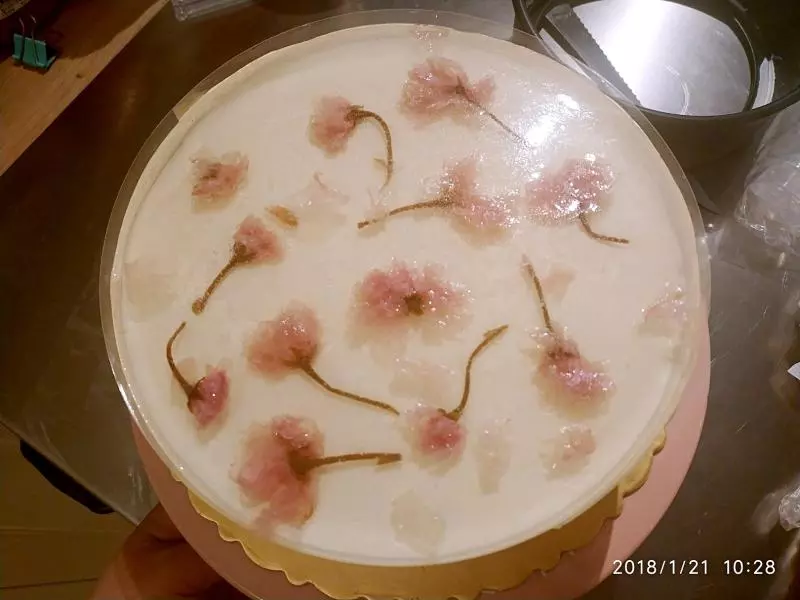
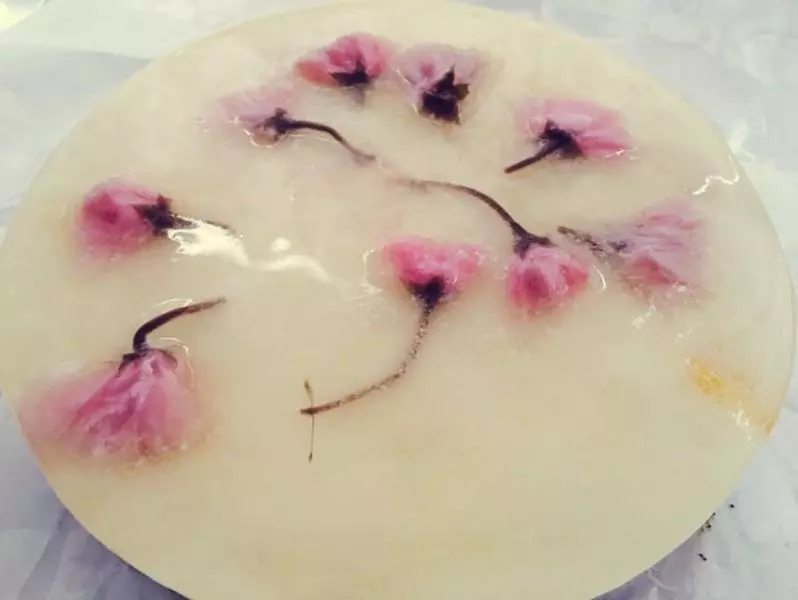
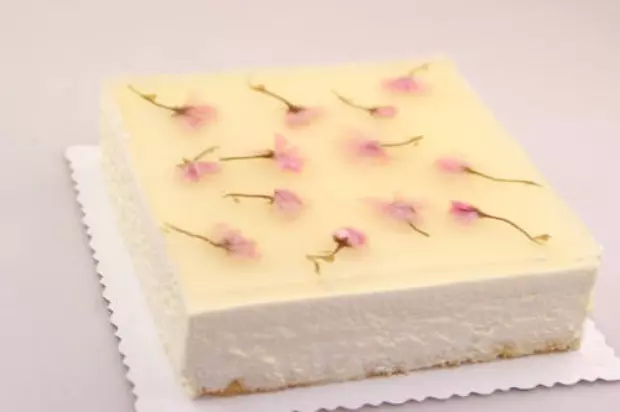
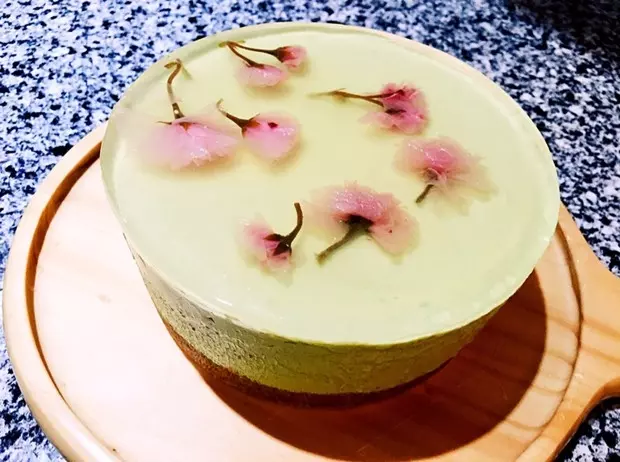
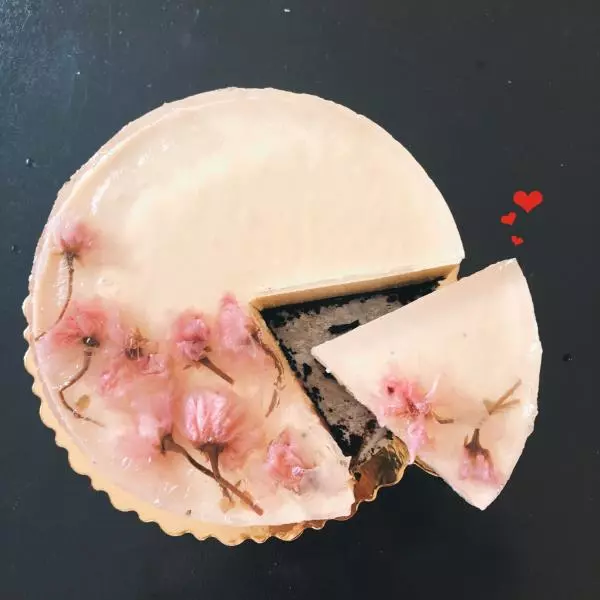
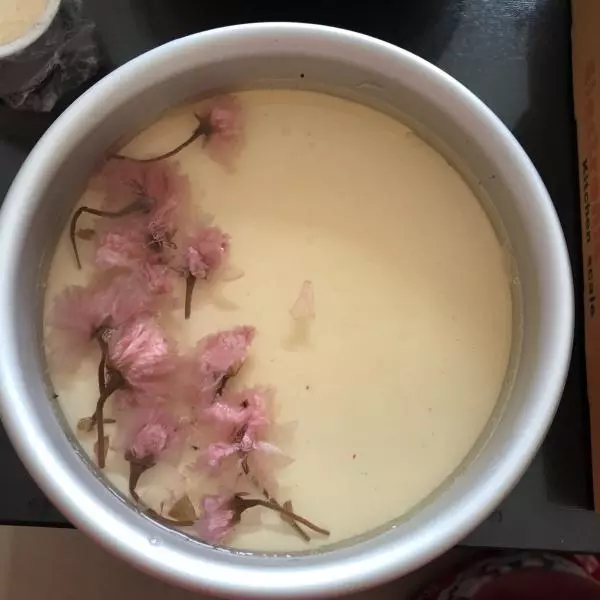
5做镜面 然后雪碧放气,泡软10g吉利丁片,将泡软的吉利丁片放进50g饮用水里隔水融化,然后倒进200g雪碧 樱花要提前泡,多次换水,去盐 取出模具,将泡好的樱花?摆放好,到入雪碧 然后冰箱冷藏3小时左右
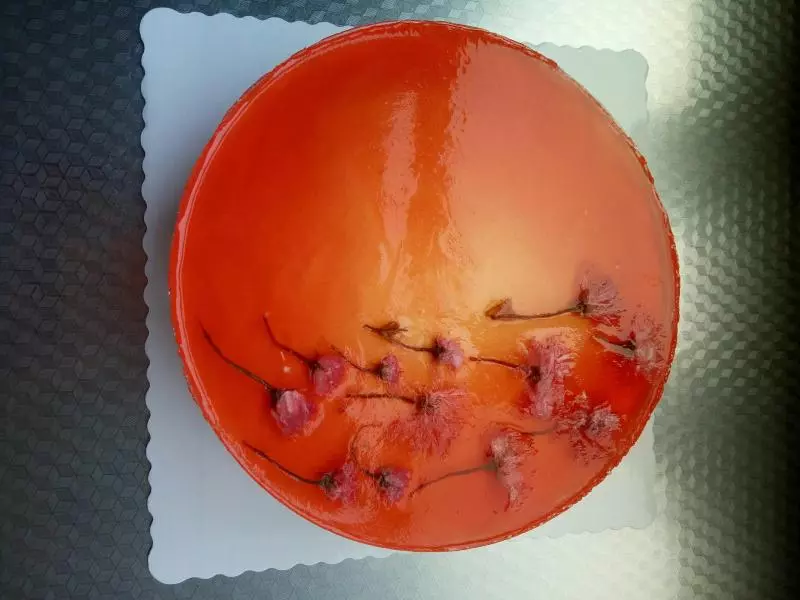
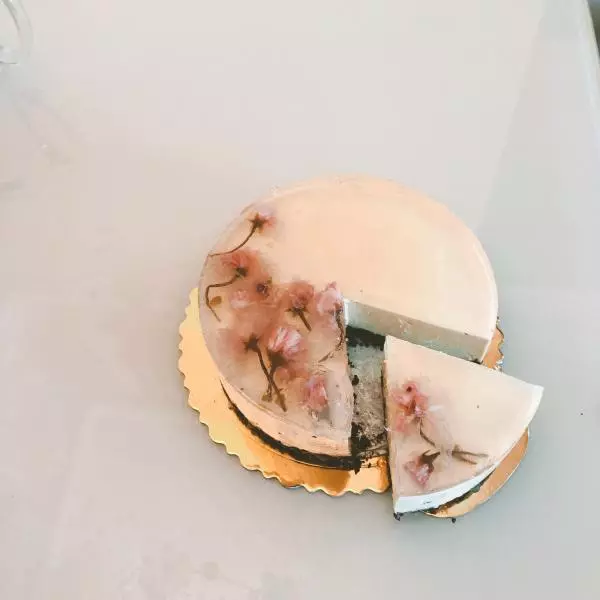
6最后取出蛋糕时用热毛巾包住模具,容易脱模
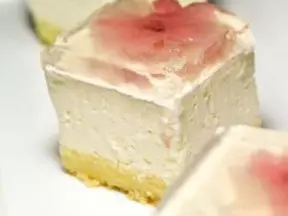
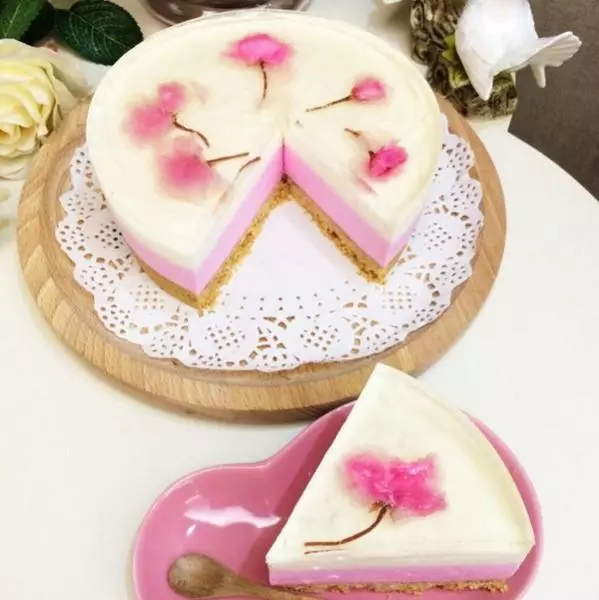
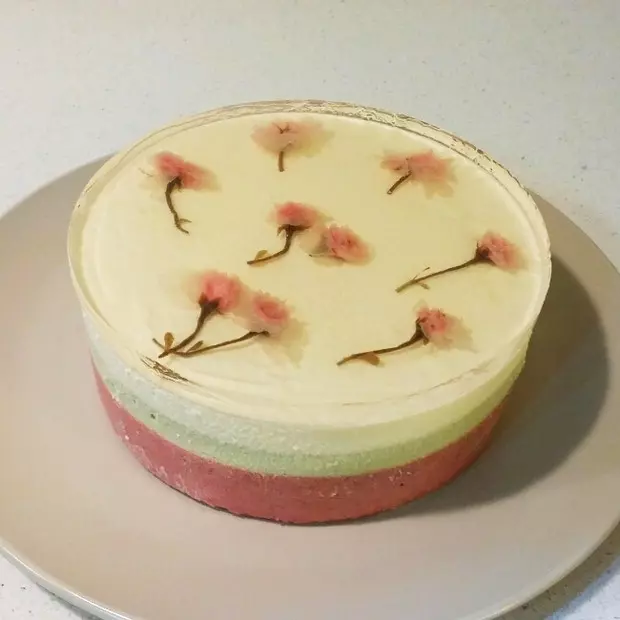
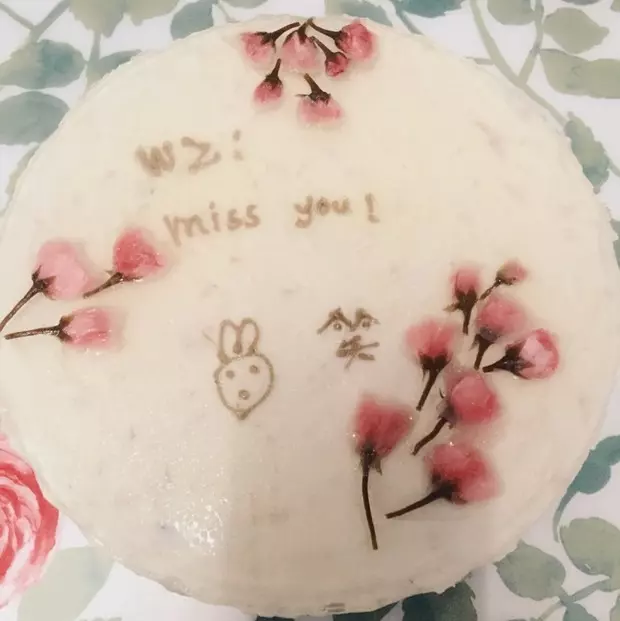
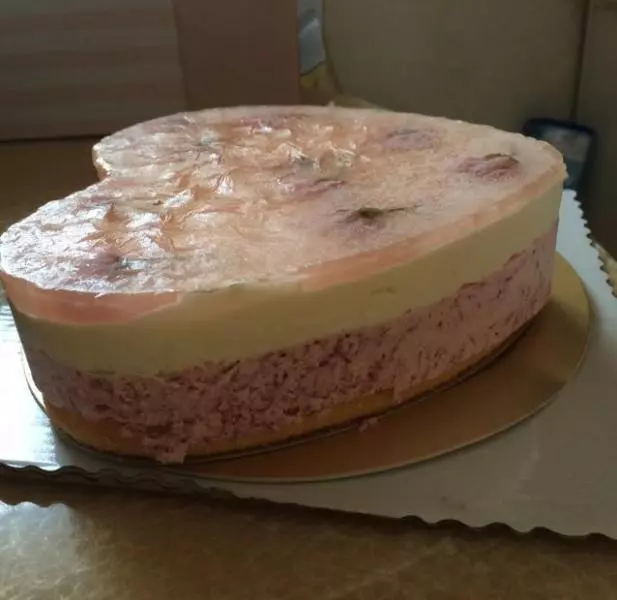
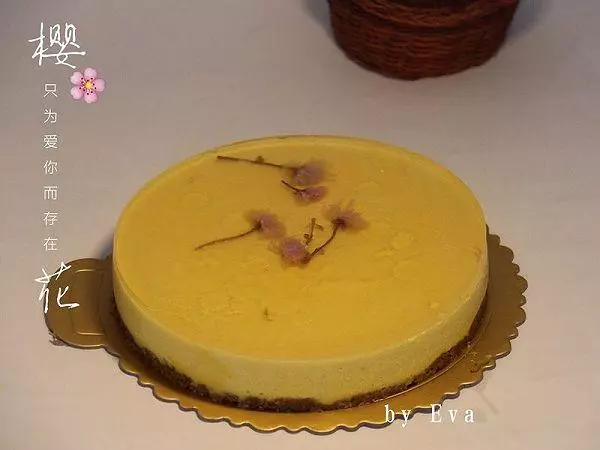
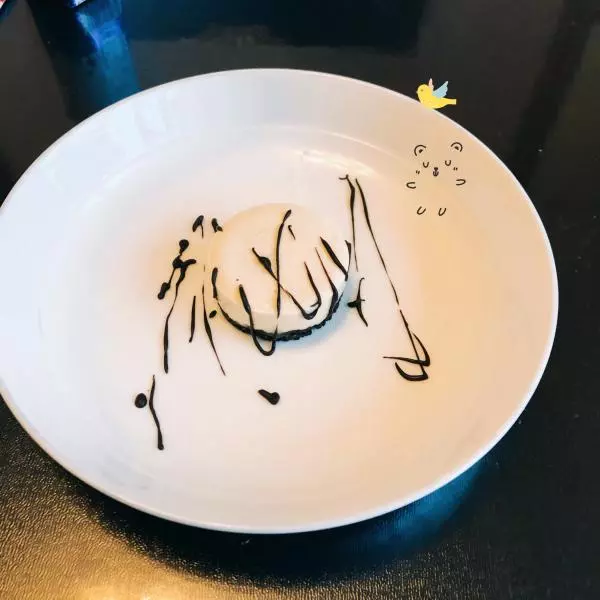
7这样樱花慕斯蛋糕就完成了✅
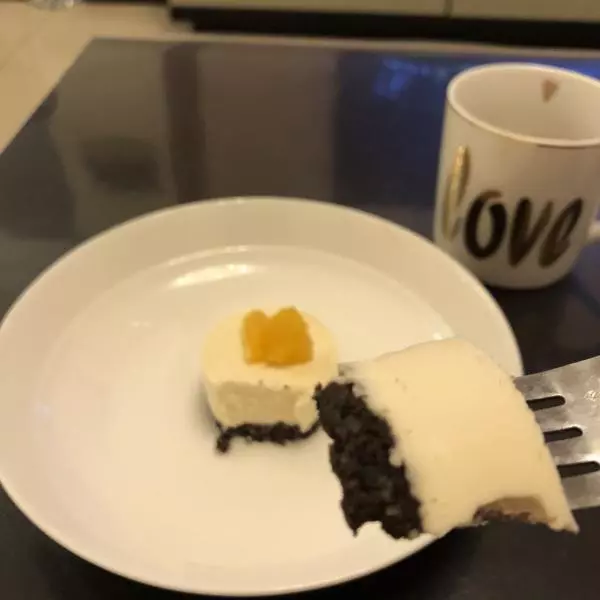
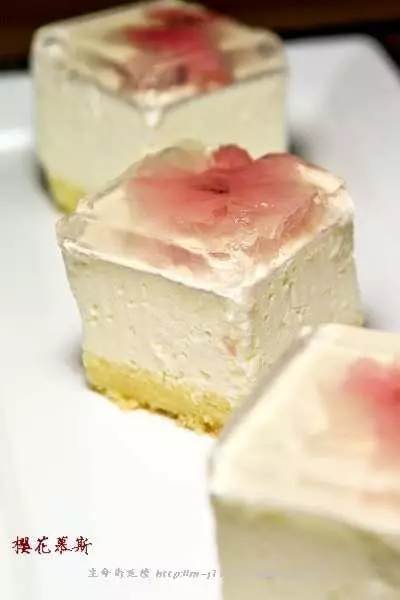
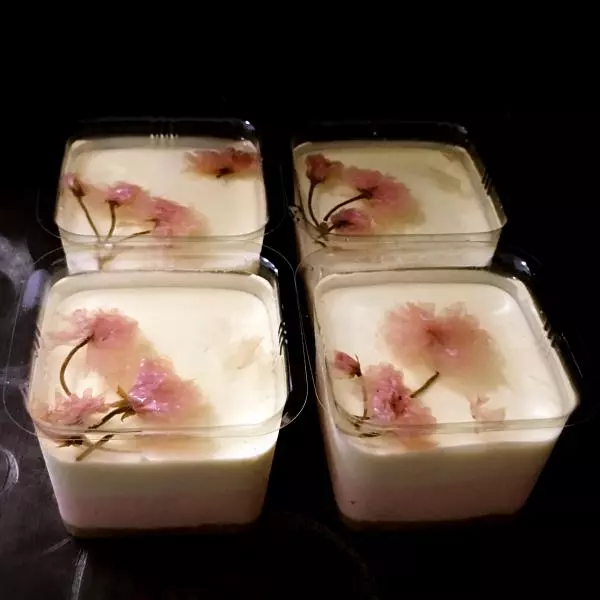
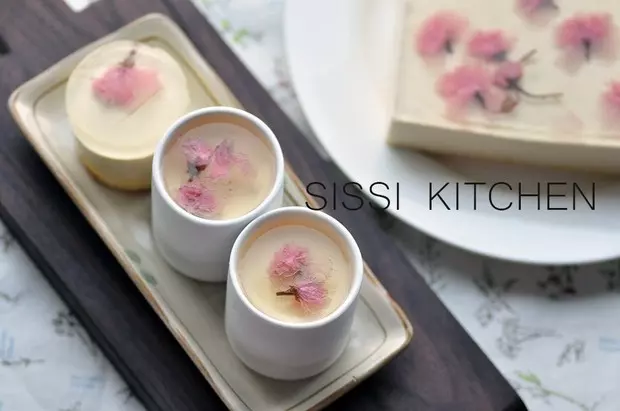
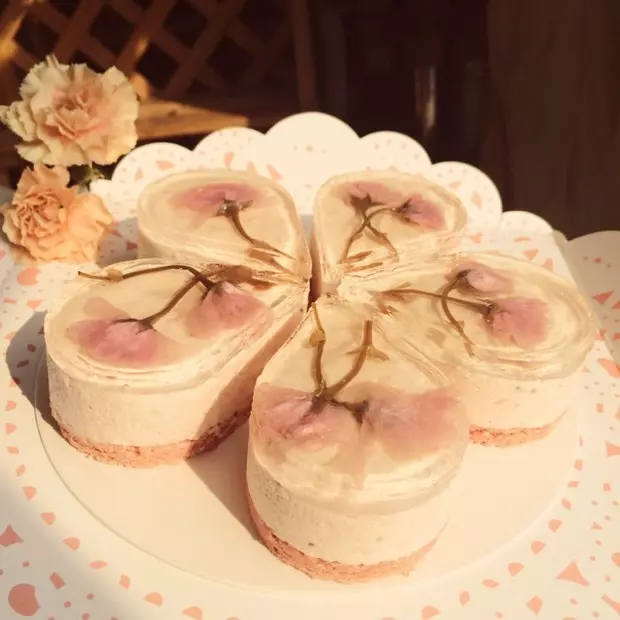
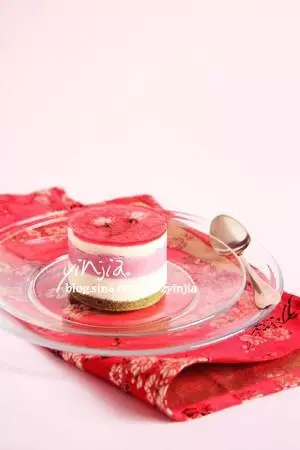
8因为还剩下一点点的奶酪,留着没用浪费了,我就做了几个小的
9步骤和樱花的差不多,用料我都是看情况放的,并没有精确到g,但是味道和樱花做出来差不多