原料
黄油: 160g, 细砂糖: 130g, 低筋面粉: 400g, 鸡蛋液: 80g, 蔓越莓干: 100g, 盐: 2g, 无铝泡打粉: 2g
步骤
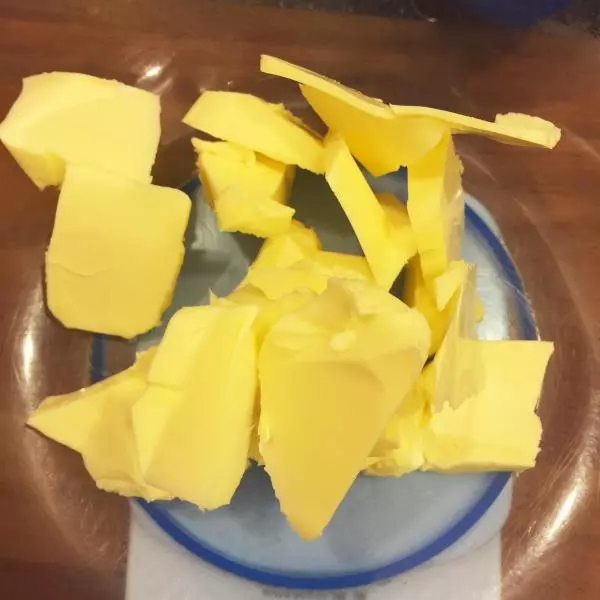
1将蔓越莓干切碎,黄油切成块,室温下进行软化。
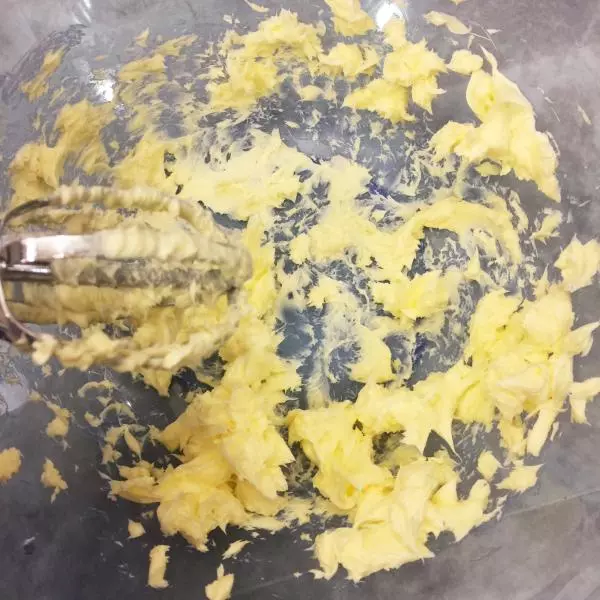
2软化的黄油用电动打蛋器打成顺滑状。
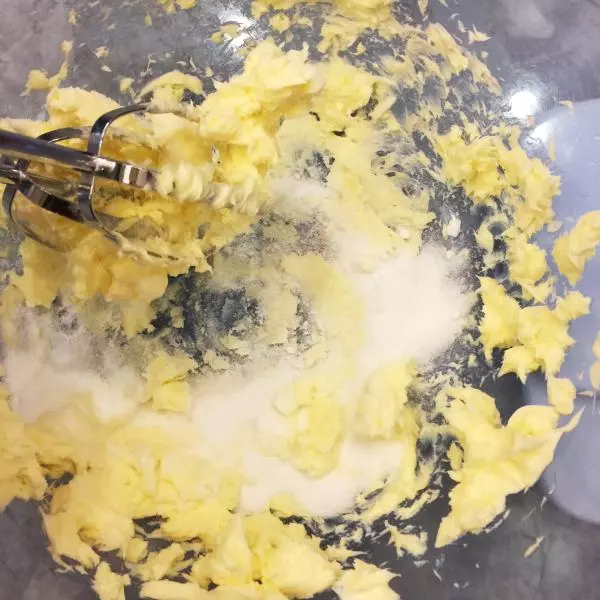
3分三次放入细砂糖,打发成顺滑状,使得糖与黄油充分混合好,不必打发变色、膨胀。
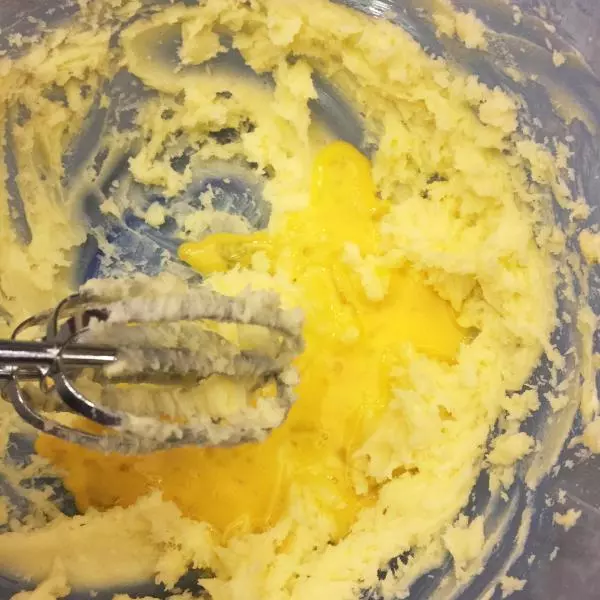
4鸡蛋液分3次放入黄油糊中,每次都要充分混合后再倒入蛋液,不要出现油水分离状态,黄油糊打发体积略膨大,颜色略变浅。
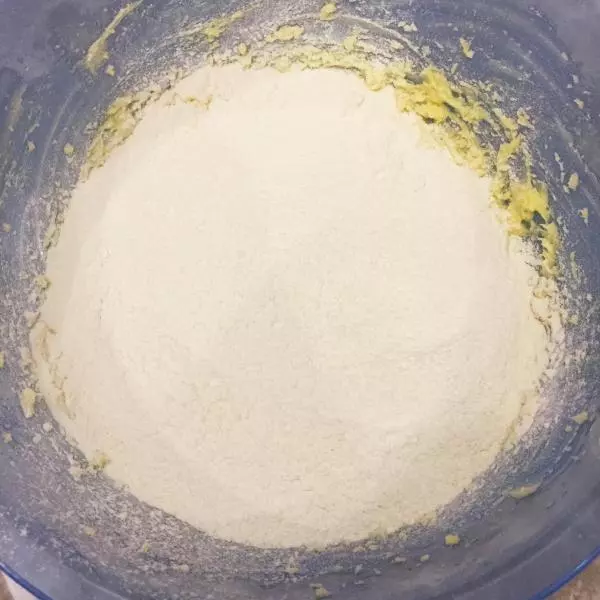
5筛入低筋粉和泡打粉,翻拌均匀,不要划圈搅拌噢,防止面粉产生筋度。
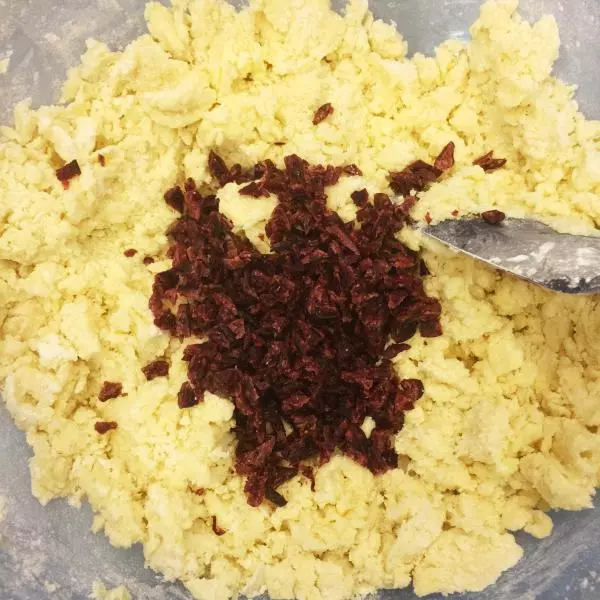
6当黄油与面粉翻拌无干粉状态时,倒入蔓越莓碎。
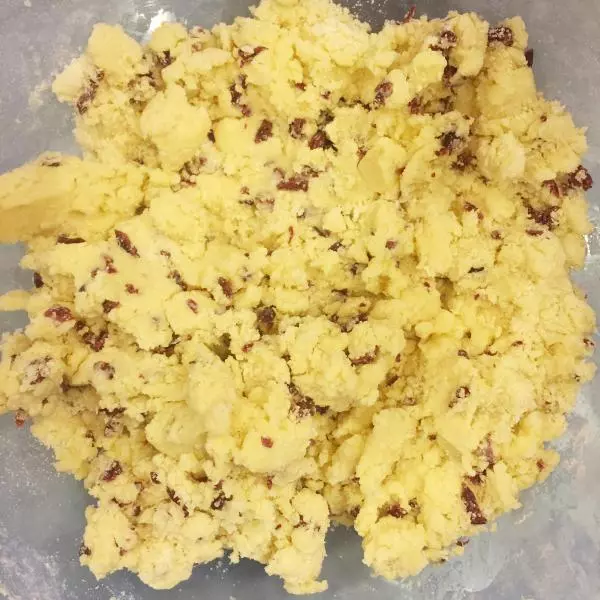
7搅拌均匀。
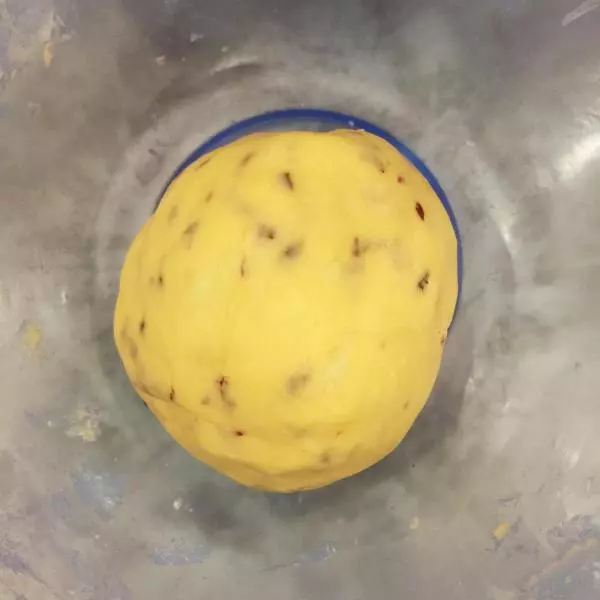
8用手抓捏成团,千万不要用揉面的手法。
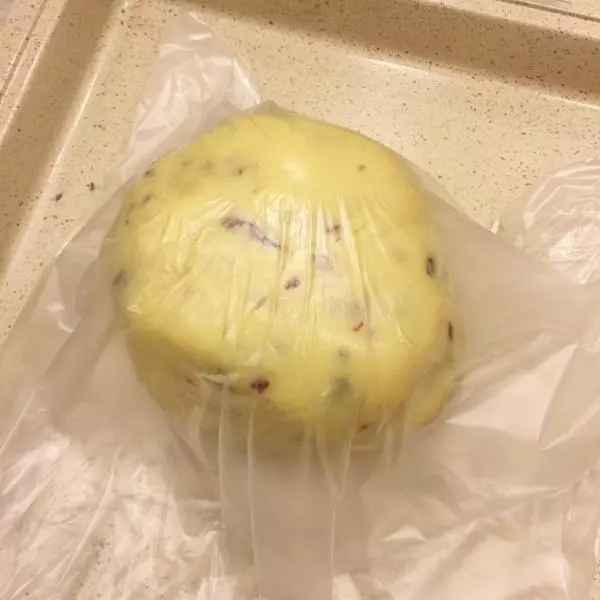
9套上大号的保鲜袋。
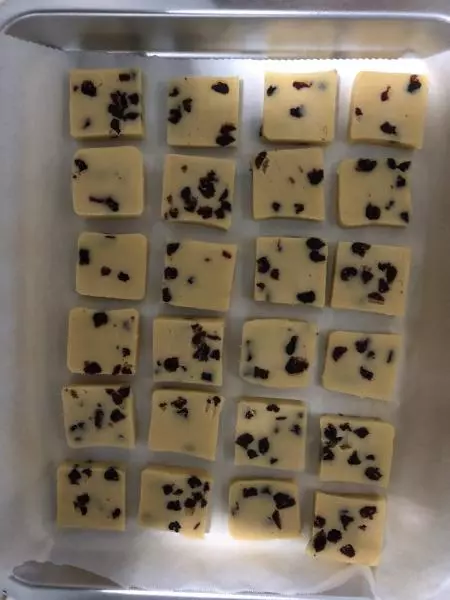
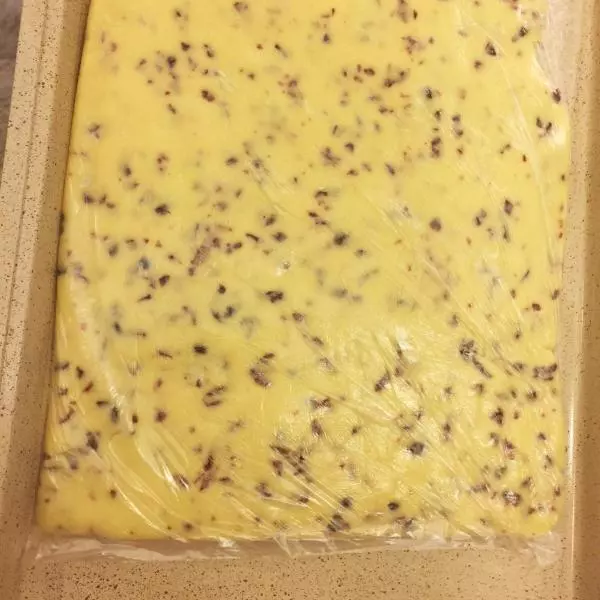
10将面团用手按压平整成饼状。然后放入冰箱的冷冻室至面团变硬即可。
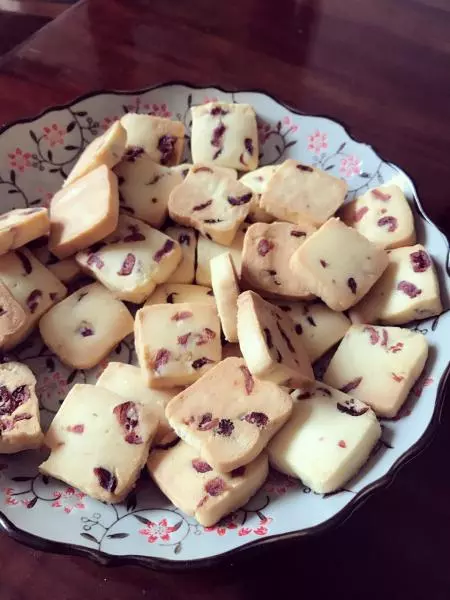
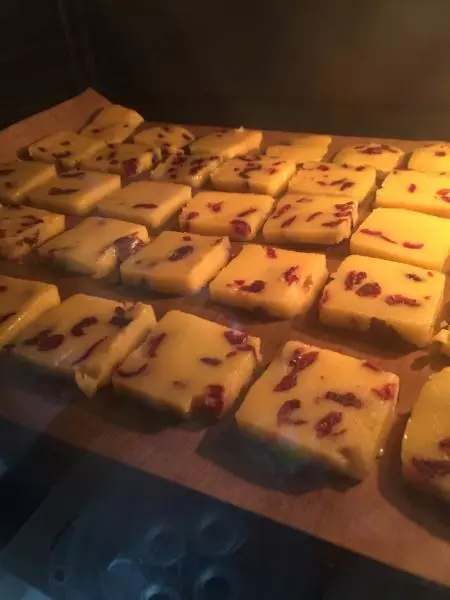
11面团变硬时取出,用刀切割成块状。
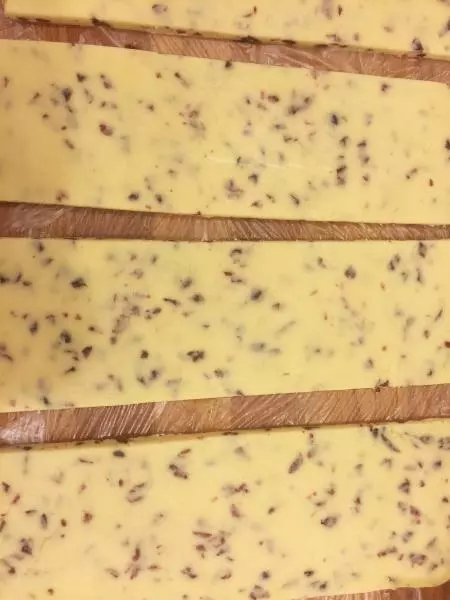
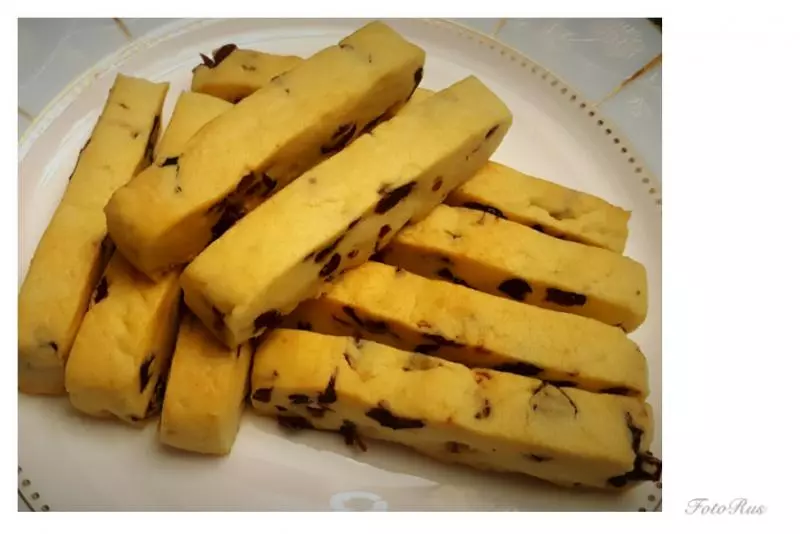
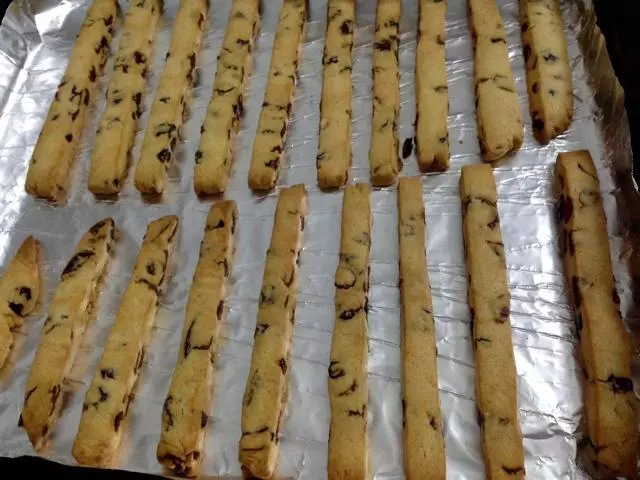
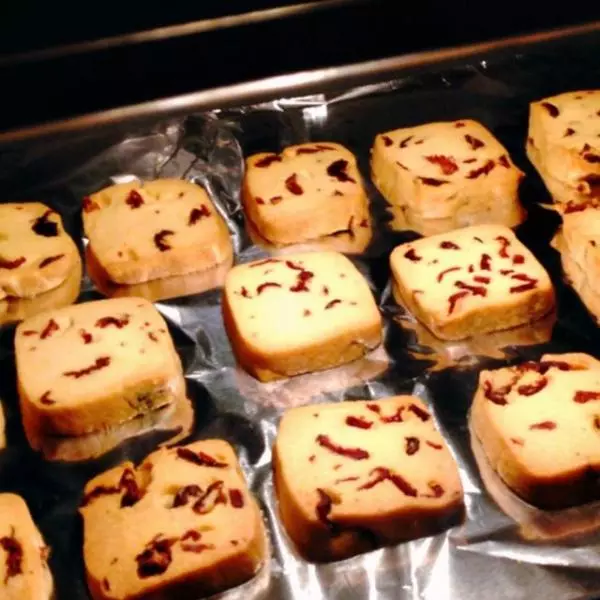
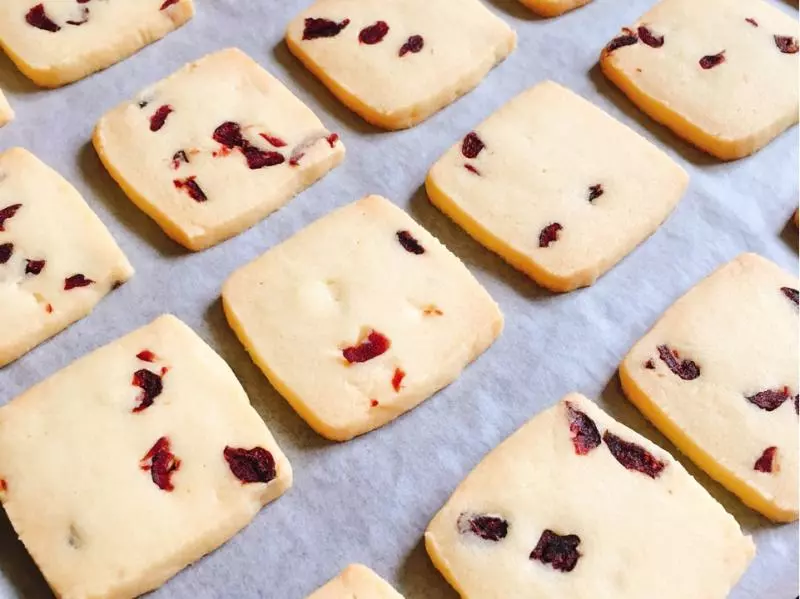
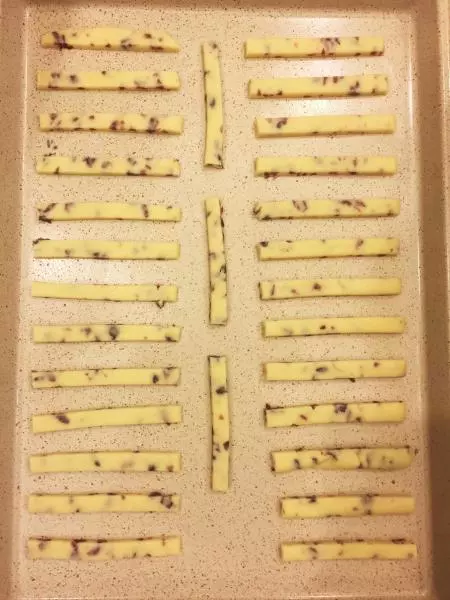
12然后将其切成细长条状,摆在不粘烤盘中,注意留出足够的空间来,因为加入了泡打粉会膨胀。
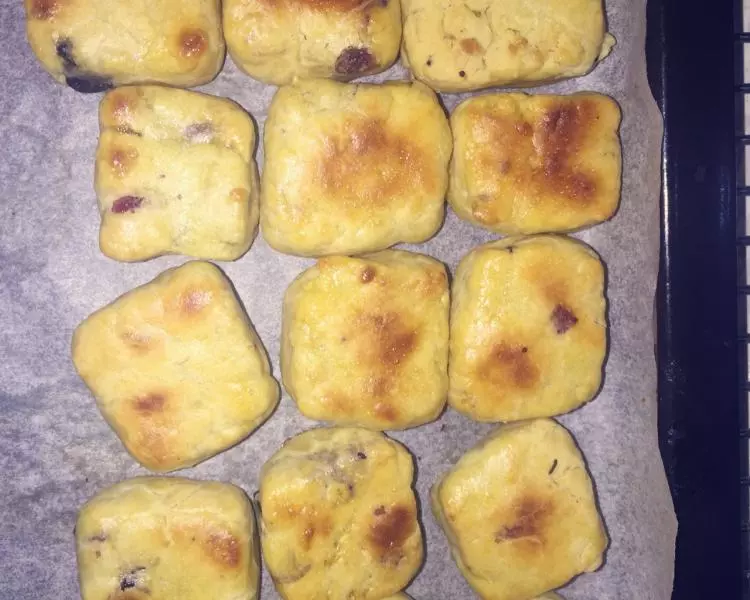
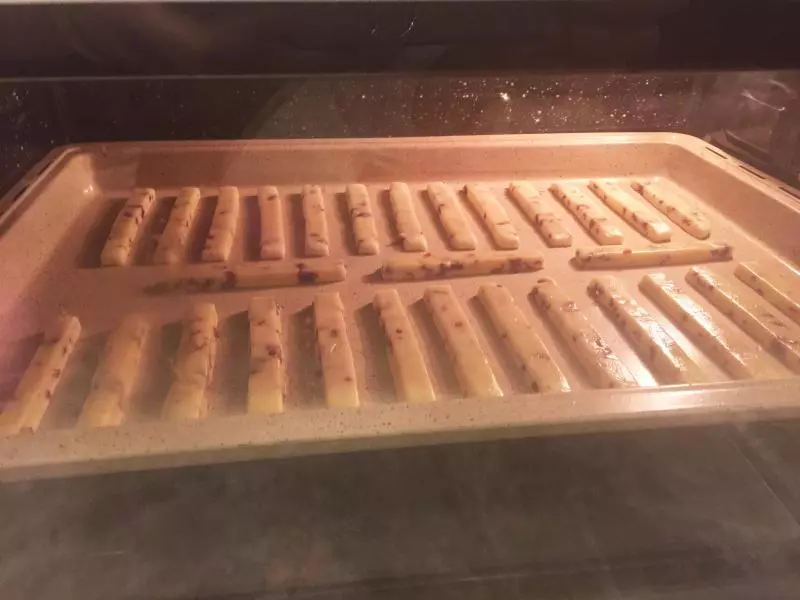
13烤箱预热170度,中层,上下火,烤15分钟。
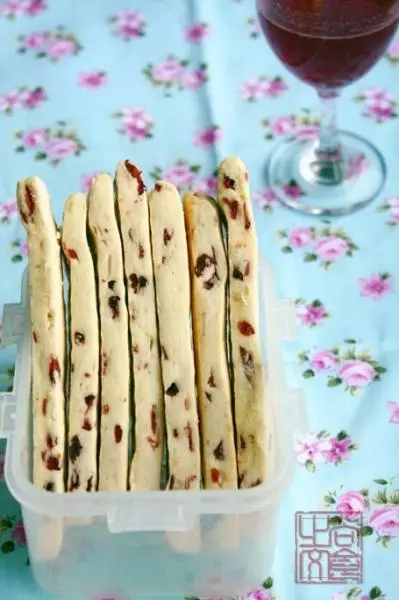
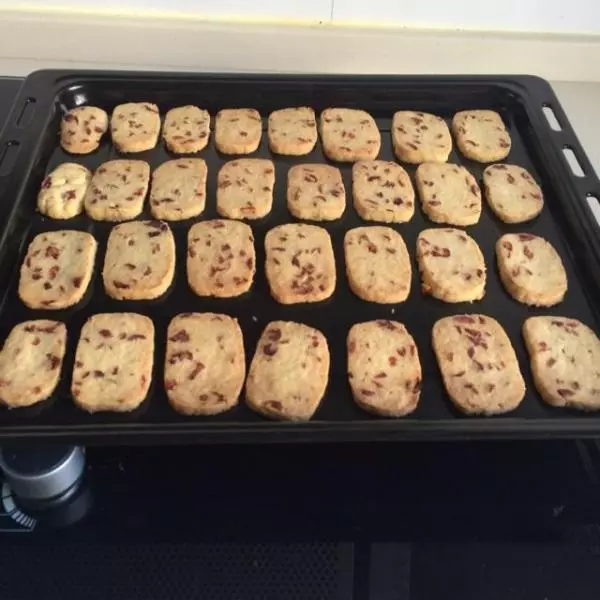
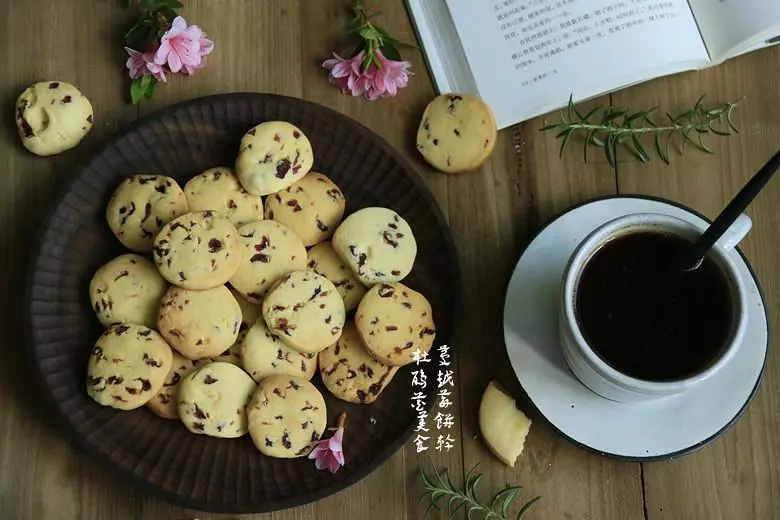
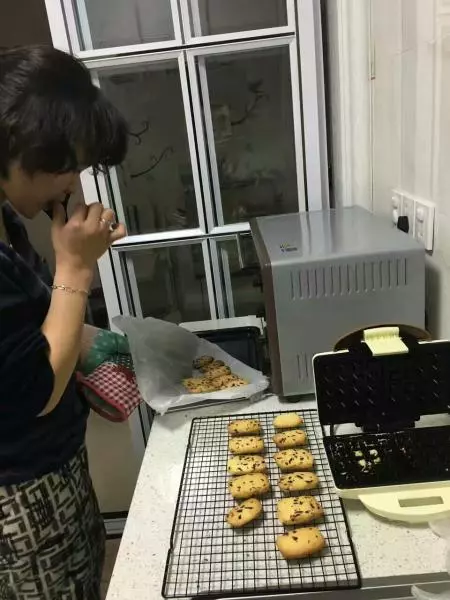
14表面及边缘呈金黄色即可出炉。时间可根据自己做的酥条的大小和厚度来调整。
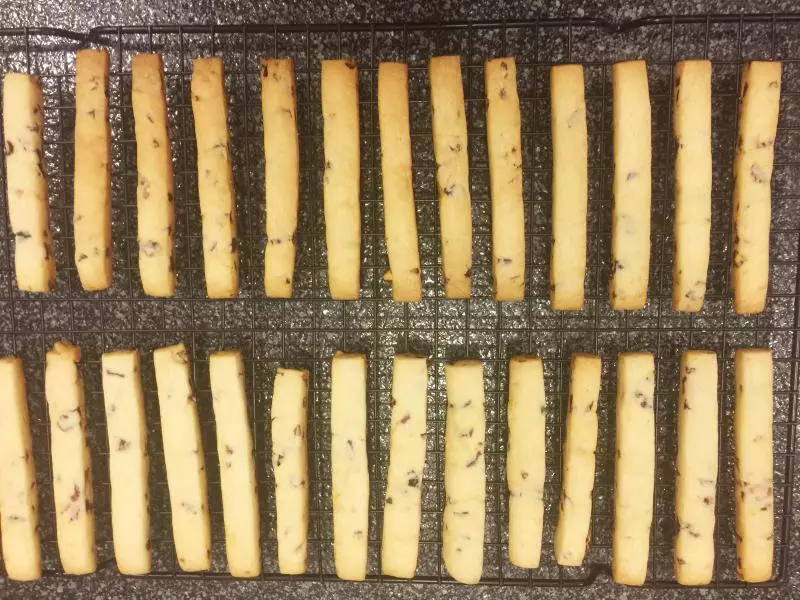
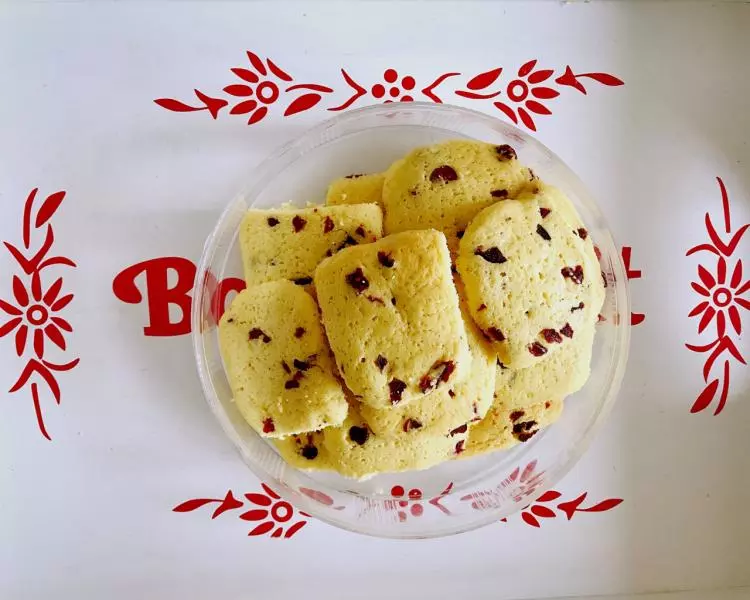
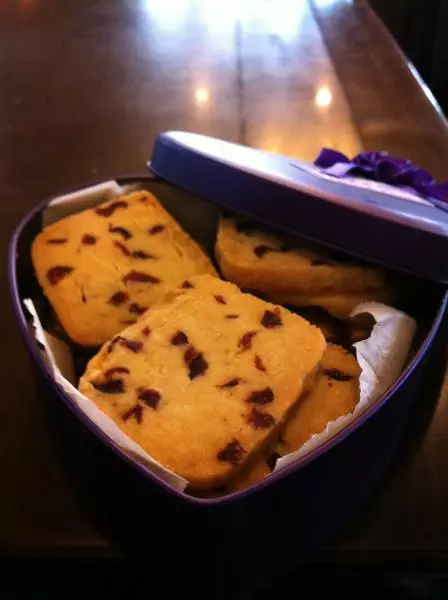
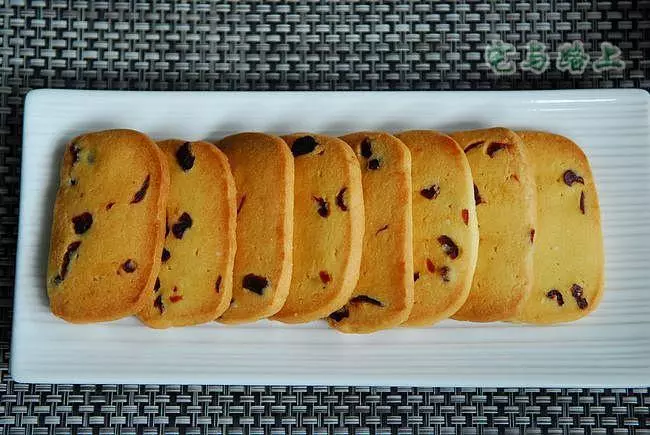
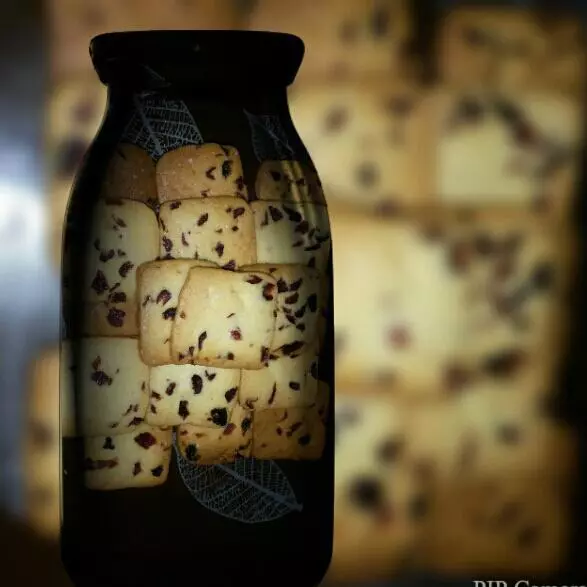
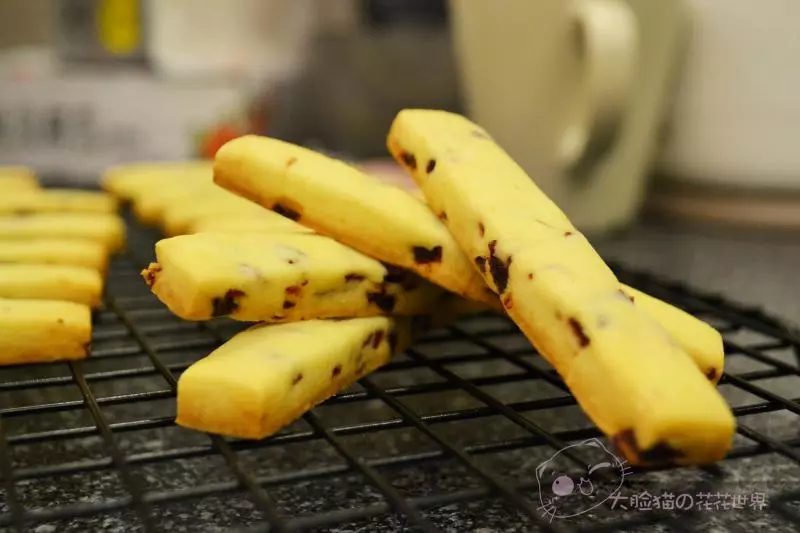
15晾凉后,咬一口酥脆酥脆的,还伴随着蔓越莓干的酸甜,非常可口哦!