原料
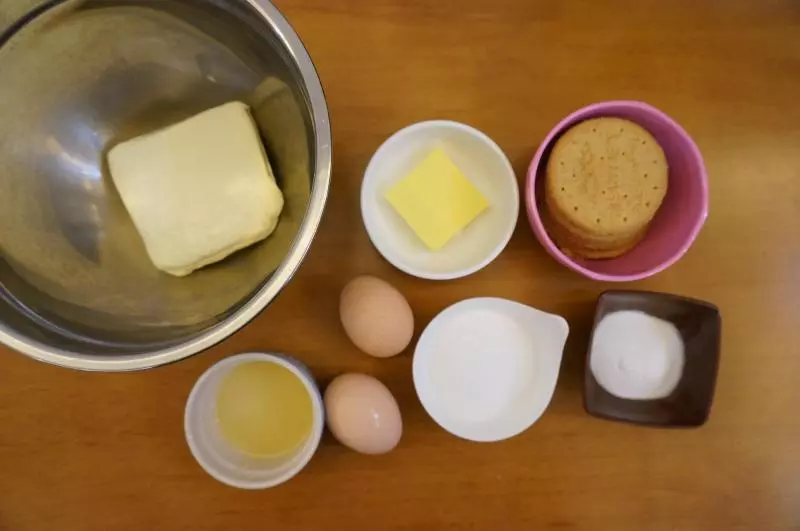
消化饼干: 100克, 黄油: 38克, 奶油奶酪: 250克, 柠檬汁: 35ml, 糖: 50克(芝士糊30克+蛋白20克), 鸡蛋: 两个, 柠檬皮屑: 装饰用(少许)
步骤
1准备好材料
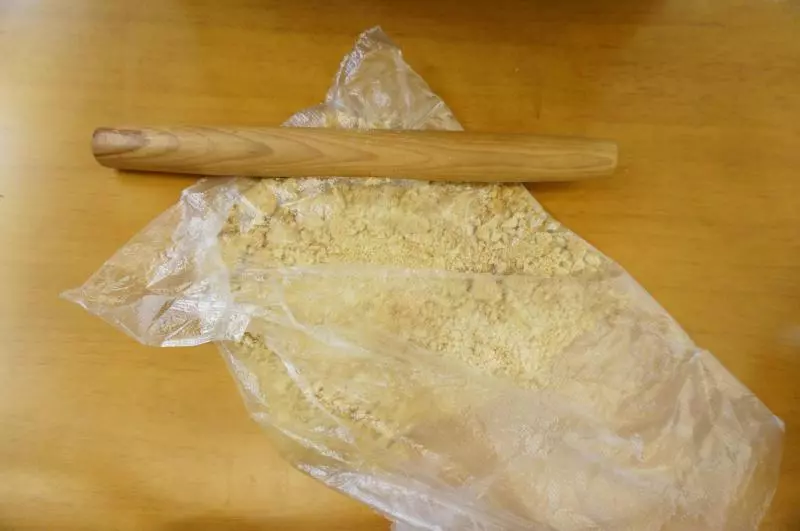
2消化饼用保鲜袋装好,然后擀面杖将其压成饼干碎屑
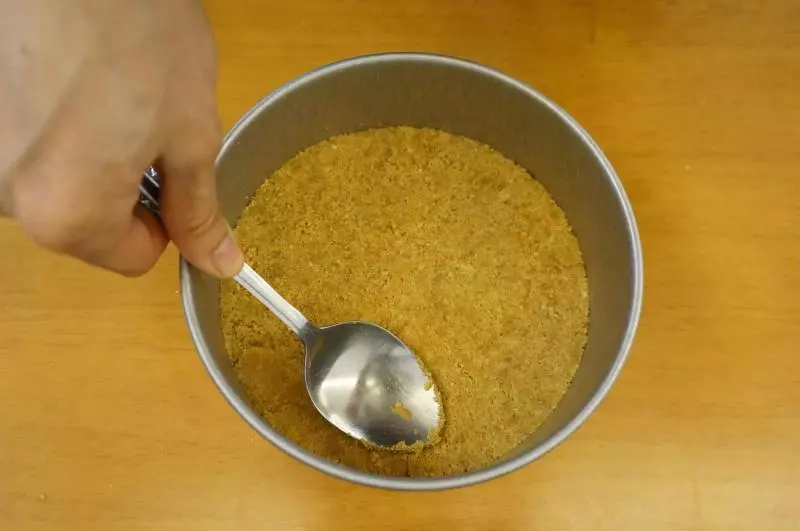
3黄油融化后加入到饼干屑,搅拌均匀

4饼干屑倒入模具中,用勺子背压实。压好连同模具一起放冰箱中
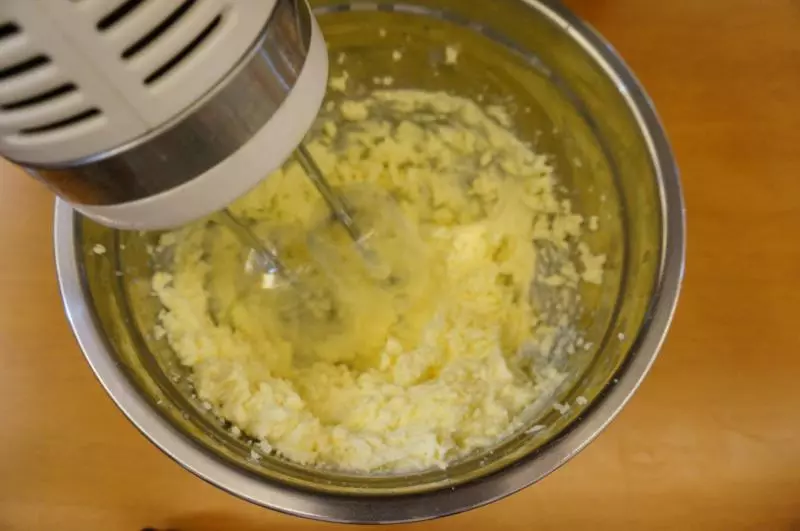
5室温下的奶油奶酪加入35ml柠檬汁和30克糖,用打蛋器打成顺滑的状态。
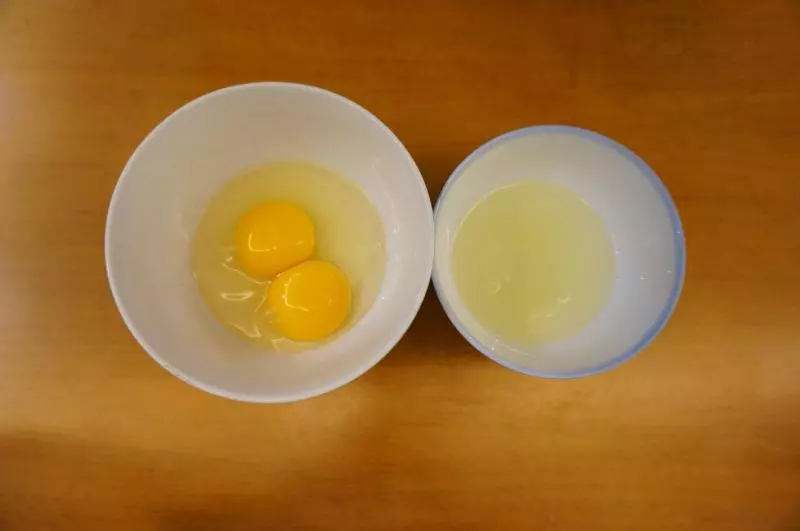
6两个鸡蛋,其中一个留蛋清备用,余下的一个鸡蛋加蛋黄加入芝士糊
7鸡蛋倒进芝士糊,用打蛋器将其搅打均匀

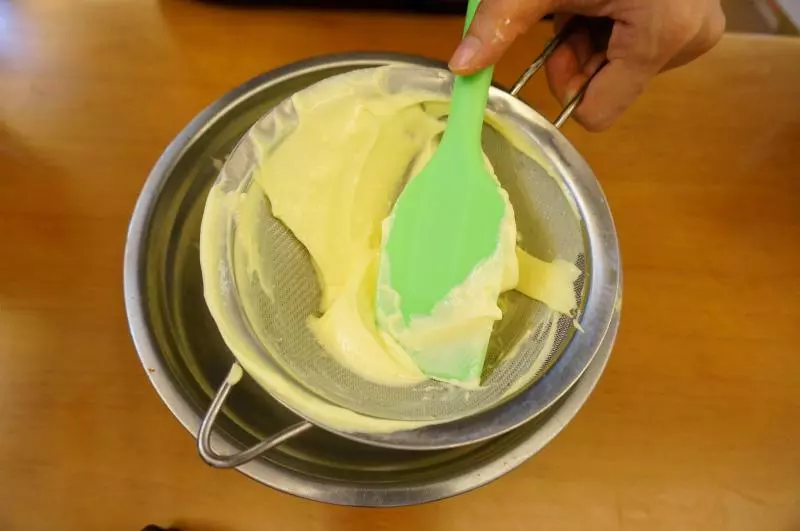
8完成的芝士糊可以过一下筛子,会更顺滑。
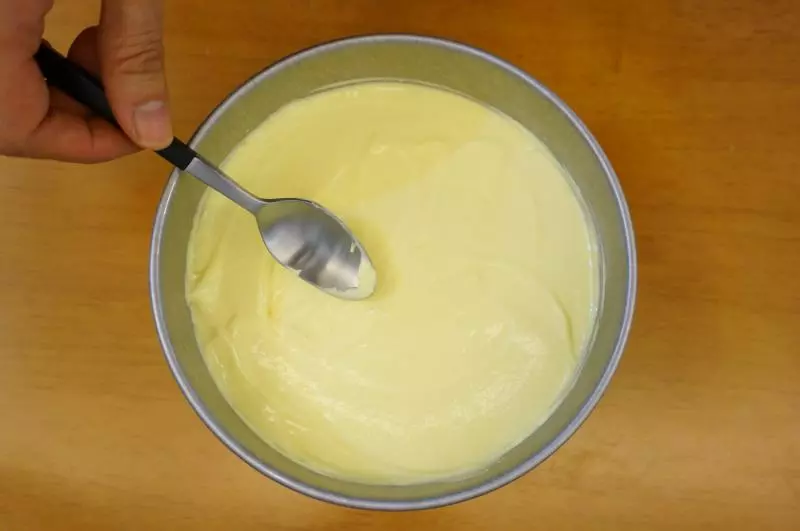
9芝士糊加入有饼干底的模具之中,用勺子底抹平
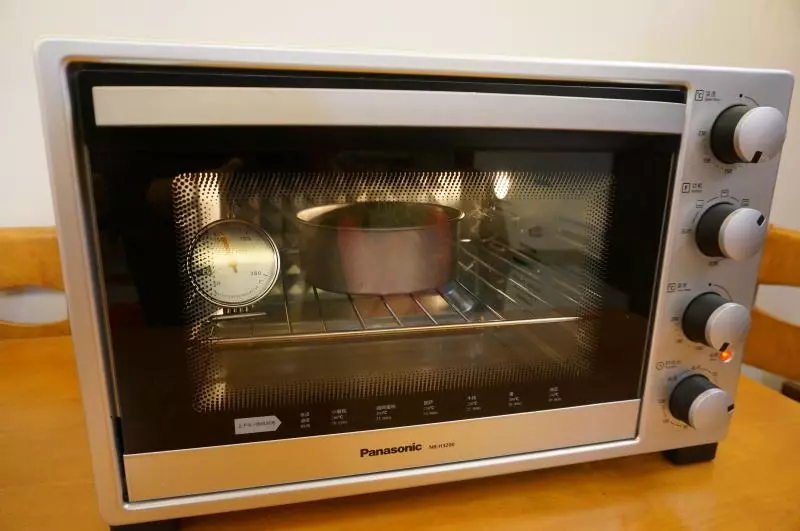
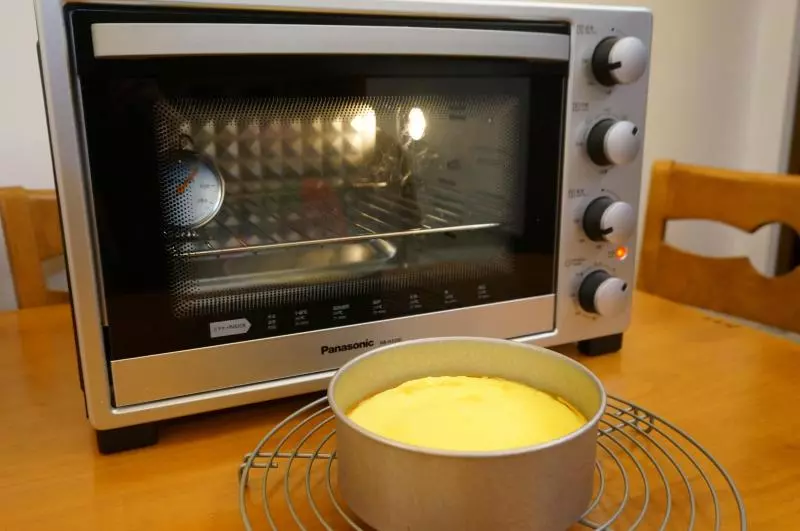
10然后放进预热好的烤箱,160度45到50分钟。
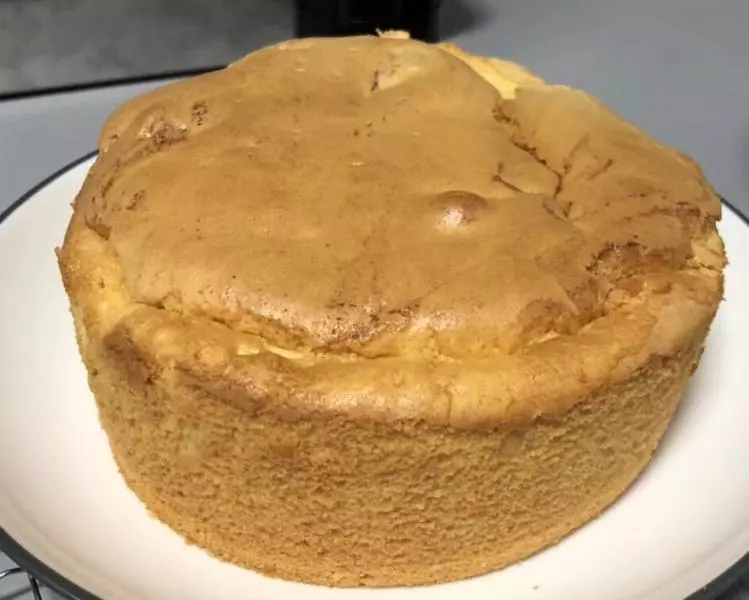
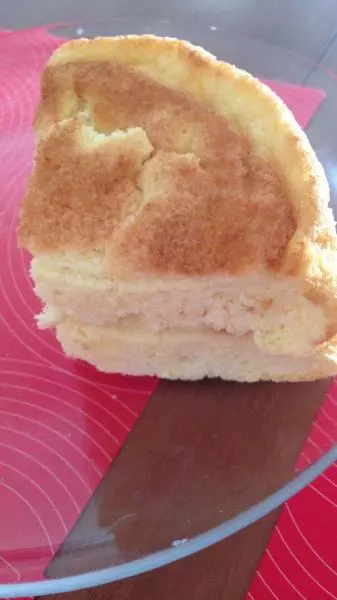
11烤好的蛋糕后,取出。(会看见蛋糕微微鼓起,别怕,会出现热胀冷缩的)烤箱这个时候继续预热至220度
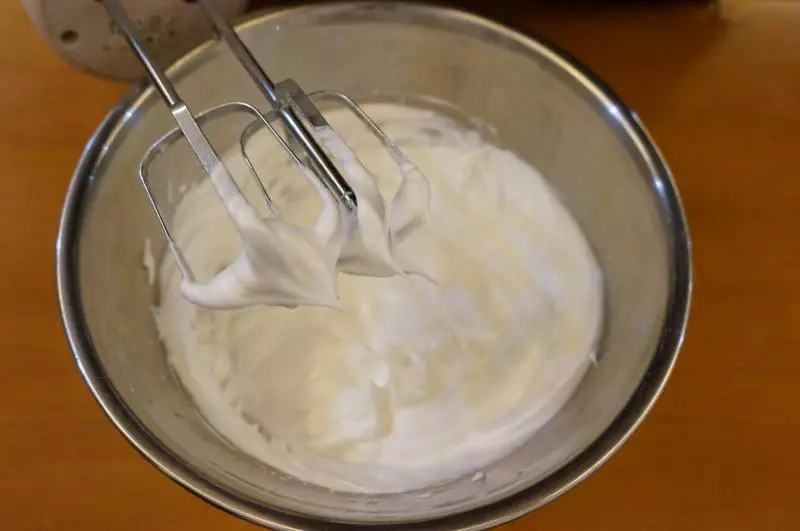
12准备蛋白顶!将之前分离出来的一个蛋白,放进无油无水的盆中,加几滴白醋或者柠檬汁,打至粗泡后,分两次加入20克细砂糖,蛋白打至硬性!
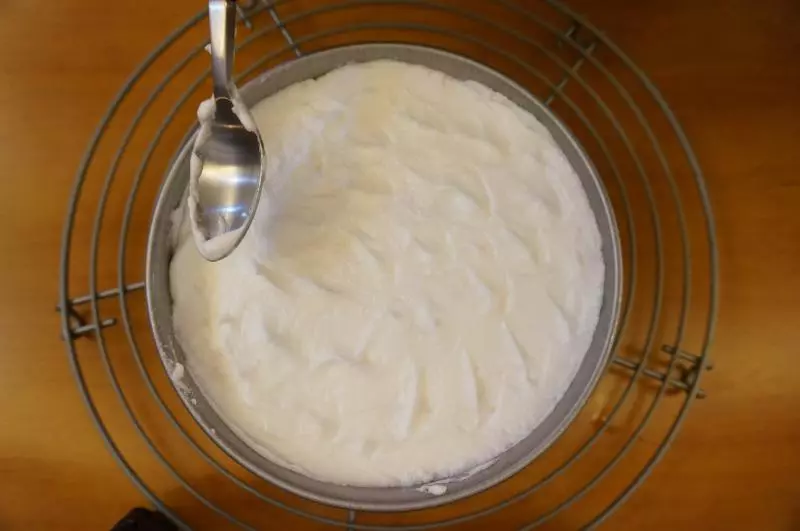
13将蛋白放进蛋糕的顶部,用勺子底抹平,最后用勺子底拉出刺猬顶,
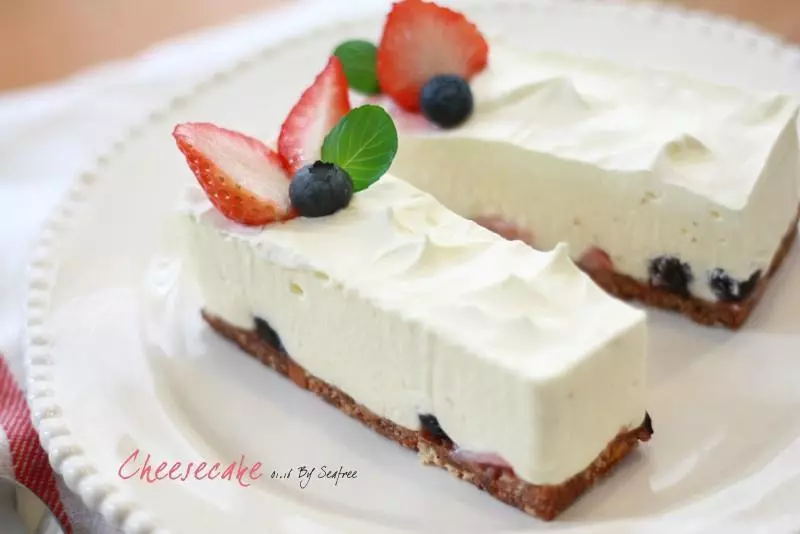
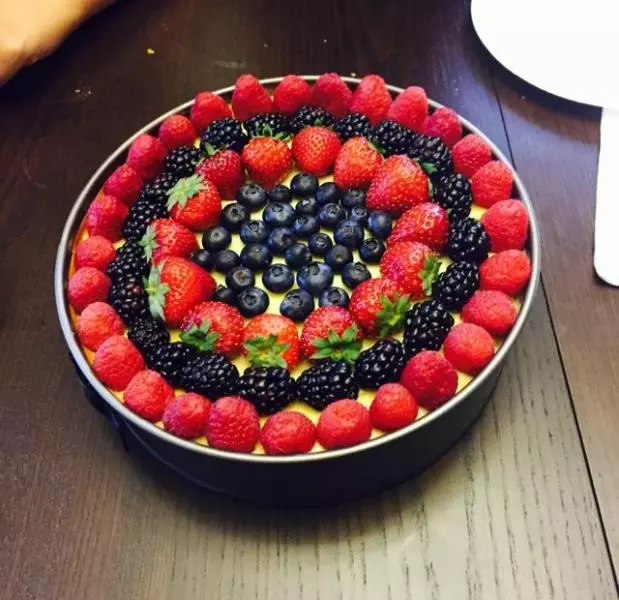
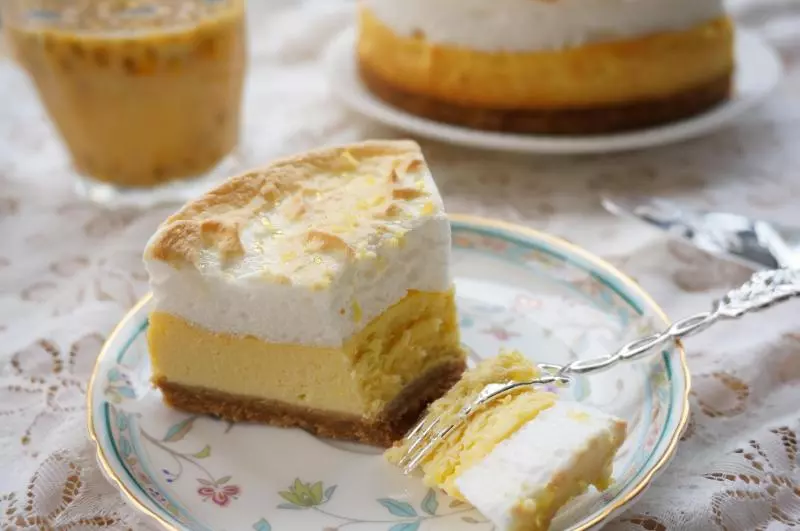
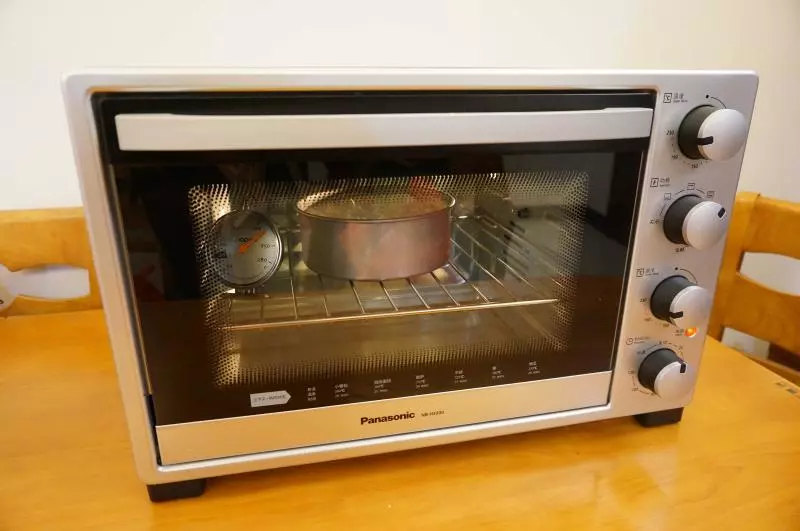
14烤箱预热220度,蛋糕置烤箱上层,大约4到5分钟,顶部稍上色就好。烤好后,蛋糕放凉,放冰箱,大约冷藏两小时后拿出来擦上柠檬皮屑食用!
小技巧
我喜欢比较酸的,所以糖量放的比较少,柠檬加奶油奶酪的味道很搭!然后蛋白顶只用到一个蛋白,其他都放奶酪面糊了,这样出来不会很厚,短时间的加热可以令蛋白顶迅速上色!(其实我是怕太厚它不熟啦)