原料
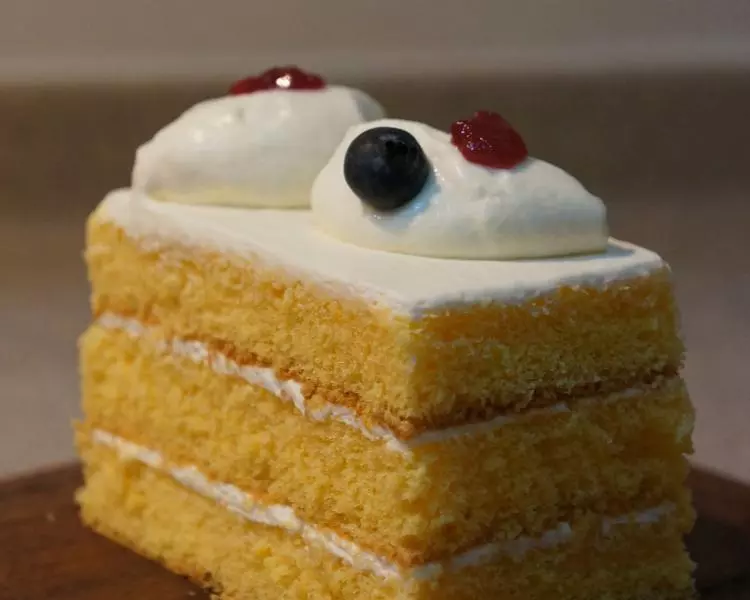
多蛋黄海绵蛋糕: , 全蛋: 140克(约3个), 蛋黄: 70克(约4个蛋黄), 白砂糖: 112克, 低筋面粉: 77克, 无盐奶油: 40克, 抹面及装饰: , 铁塔马斯卡彭淡奶油: 250克, 糖粉: 23克, 草莓或树莓果酱: 少许, 蓝莓: 若干颗
步骤
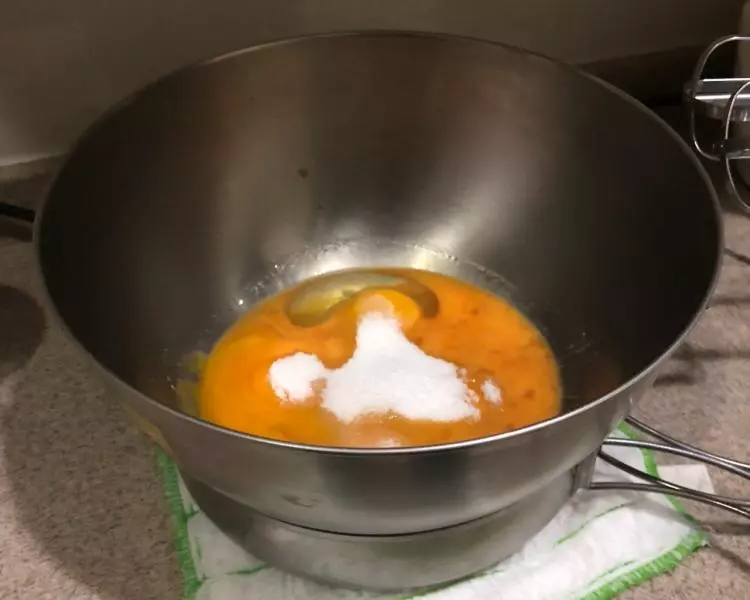
1全蛋和蛋黄加糖做热水(60~70度左右的热水)用电动打蛋器打发,打发过程中让蛋液的温度保持在40度左右(最适宜打发的温度)。
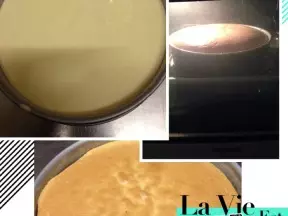
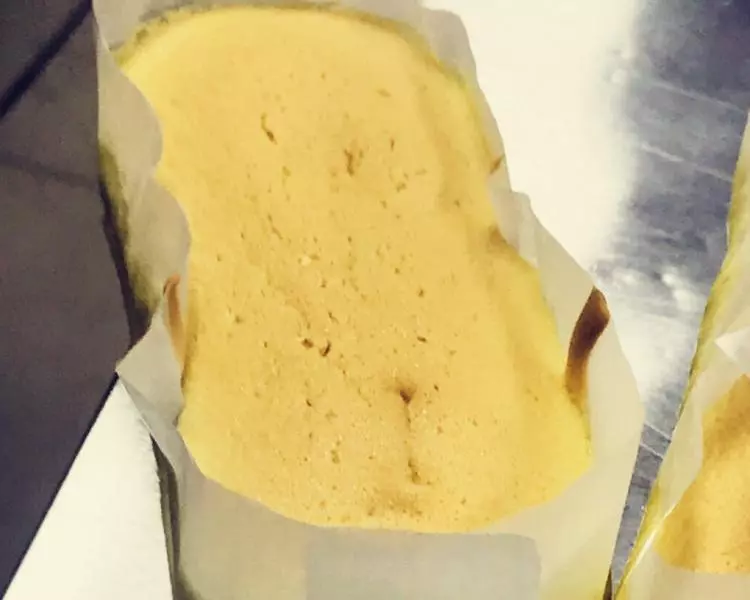
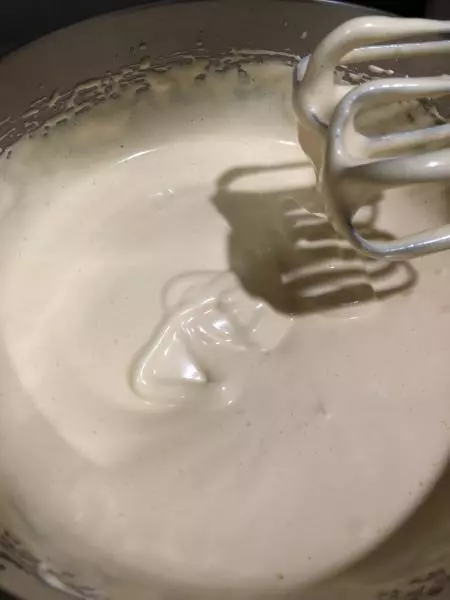
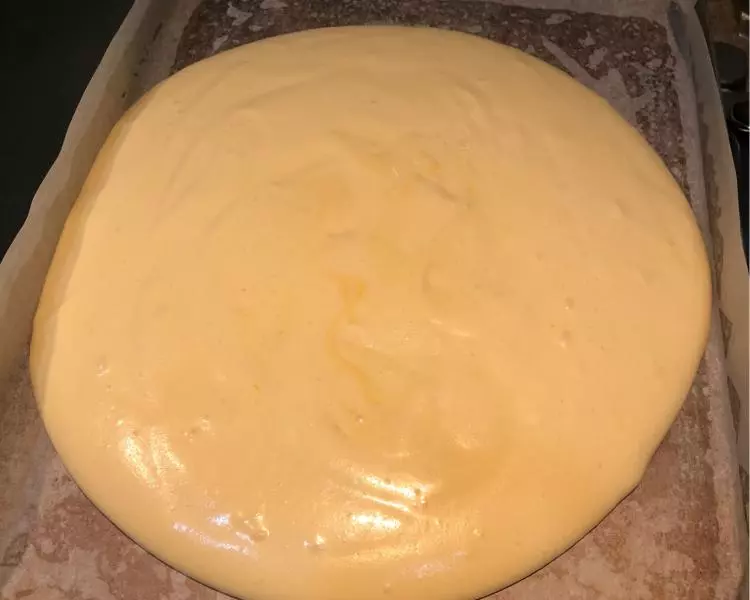
2我一般是低速起步,起泡后转高速打绵,直到打到图中状态,即滴落面糊痕迹10秒内不消失。
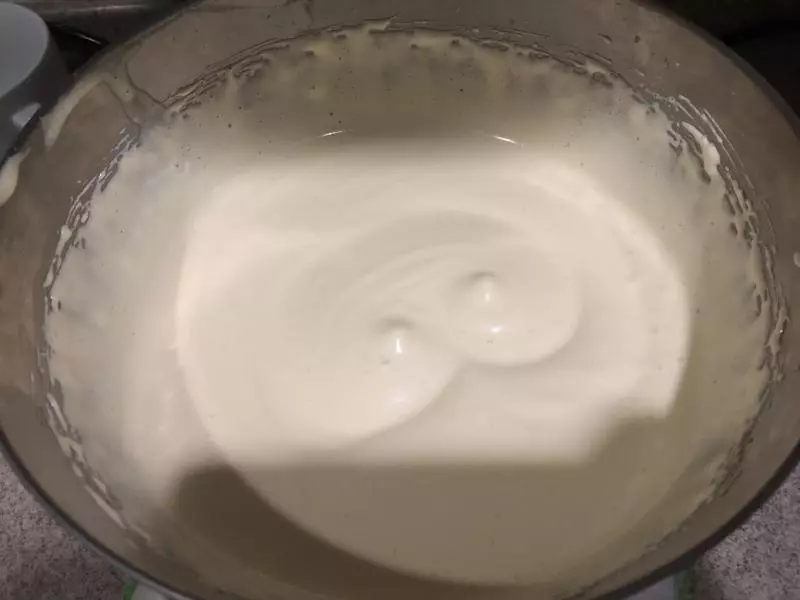
3面糊状态到位后,转低速继续打一分钟,整理气泡。
4一次性筛入低筋面粉,擦底翻拌均匀,不见干粉。
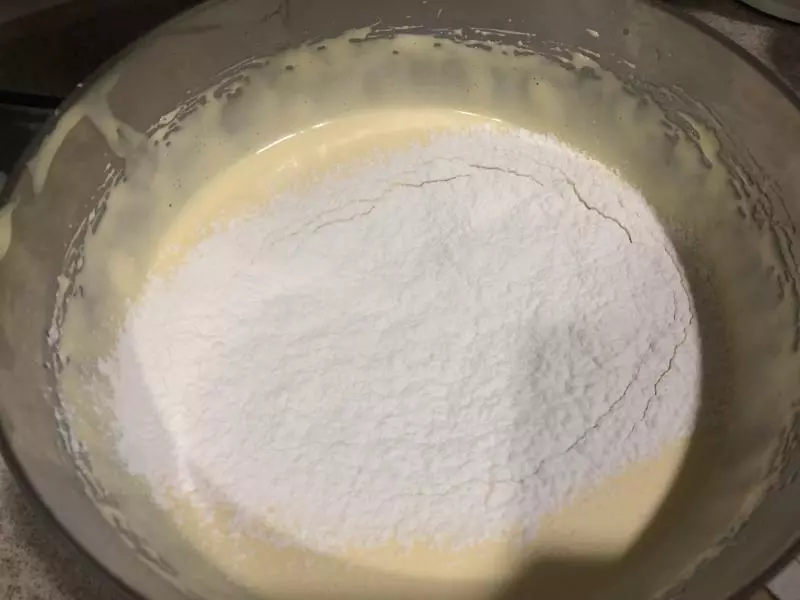
5擦底翻拌30下左右,直到不见干粉。
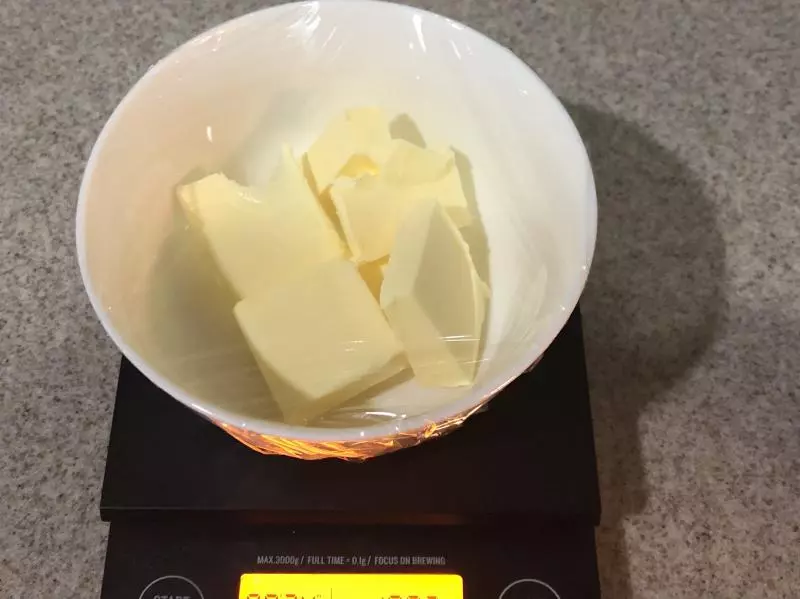
6黄油切小块盖保鲜膜,用微波炉叮一下(约45秒)。
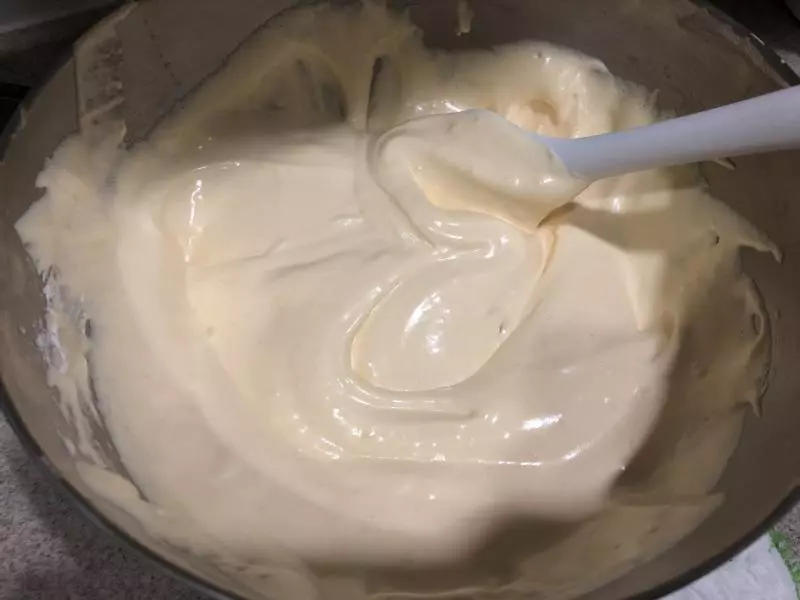
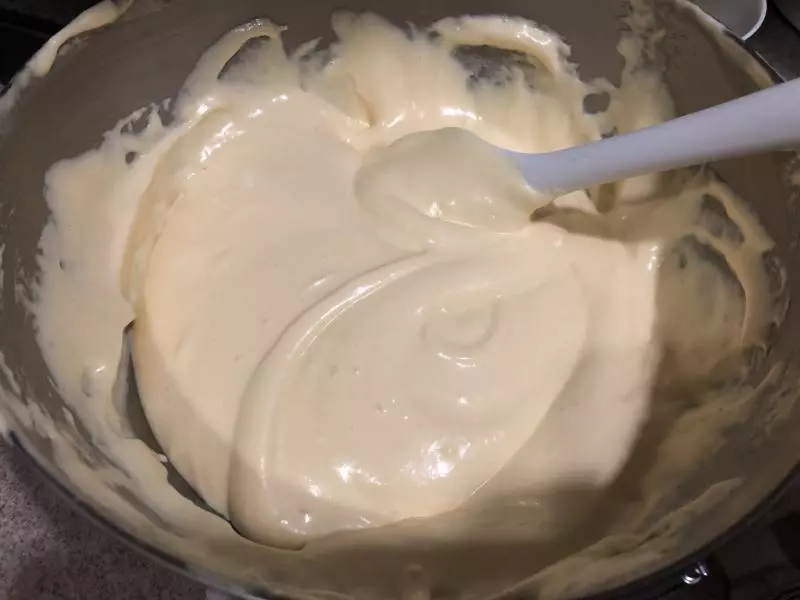
7趁热将融化的黄油成细条状淋入面糊,快速翻拌均匀,这是拌好的状态,比较有光泽。
8烤盘中刷薄油垫油纸,将面糊倒入烤盘,用刮刀均匀铺满烤盘,尽量抹平表面。
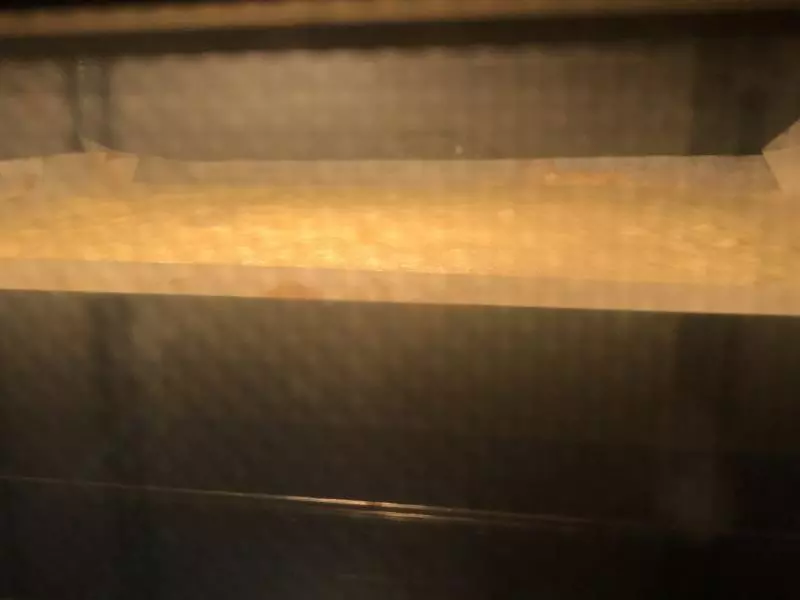
9从稍高处(20厘米左右)摔两下烤盘,震出大气泡后,入炉180度中层上下火烘烤15分钟左右。
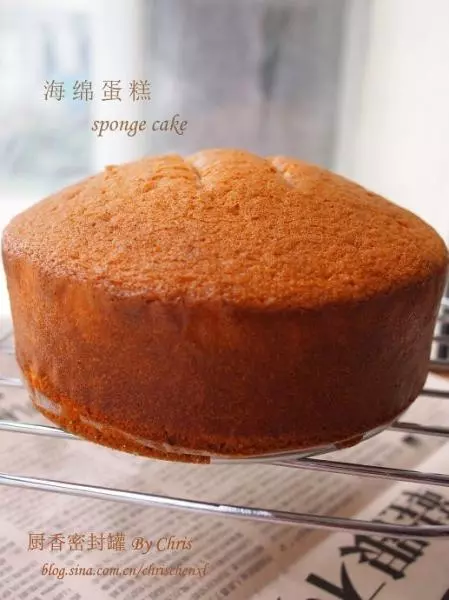
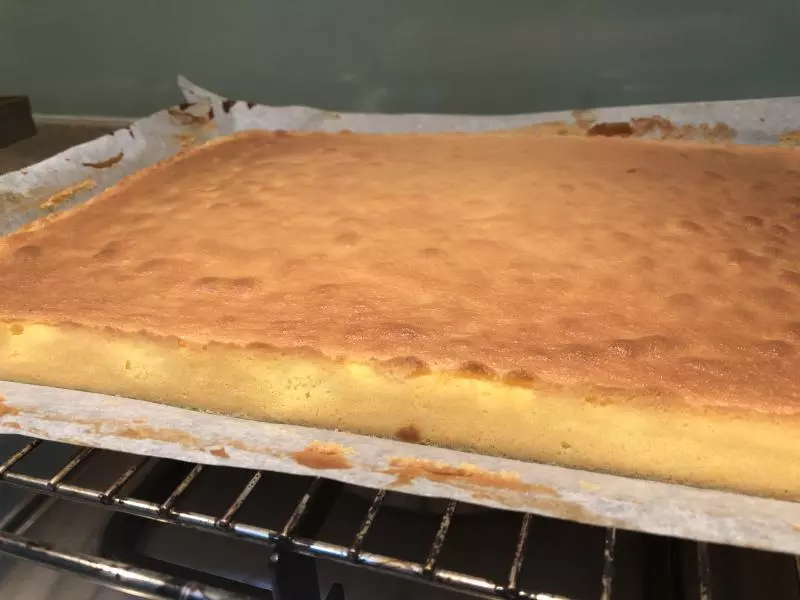
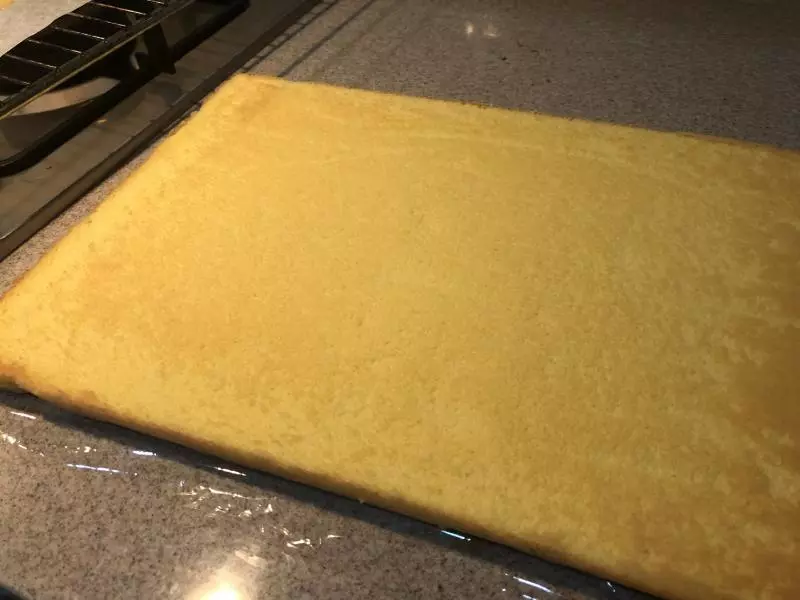
10出炉后轻敲两下震出高热后,连同油纸一起从烤盘侧面划出到烤架上,室温冷却备用。趁还有点温热的时候表面虚盖一张烘焙纸防干。
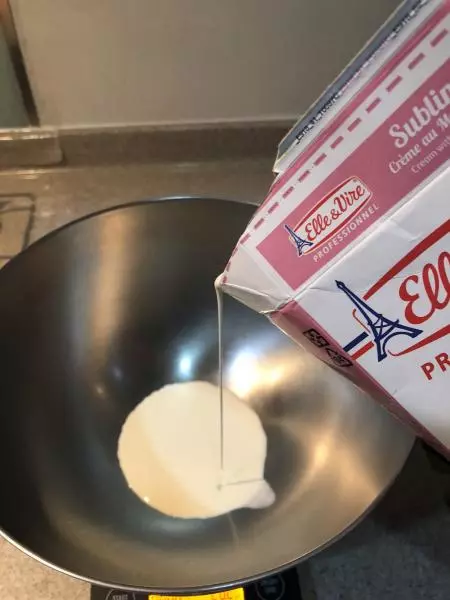
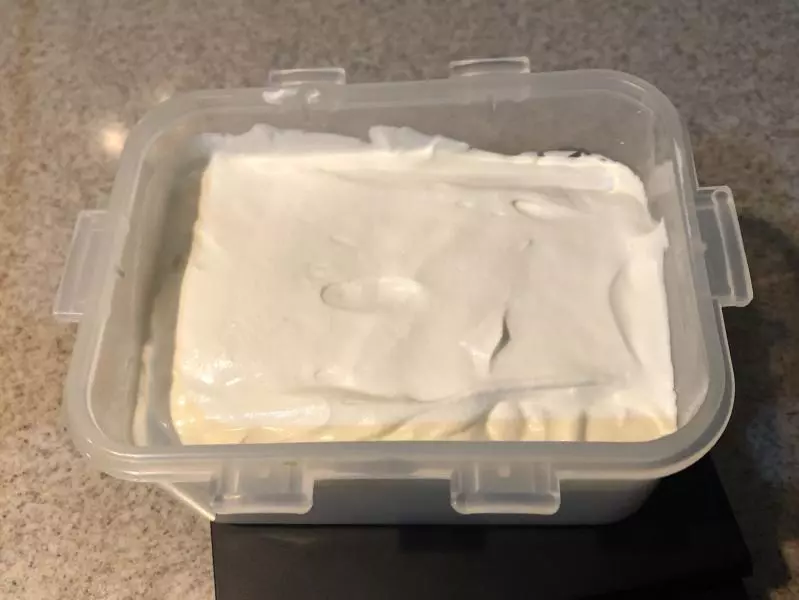
11打发淡奶油。这里我用的是铁塔的马斯卡彭淡奶油,也可以用普通的淡奶油。打到九分发。
12打发完,分出一部分装入小而深的容器里,冷藏备用。
13待蛋糕胚冷却后,翻面撕去底部烘焙纸。
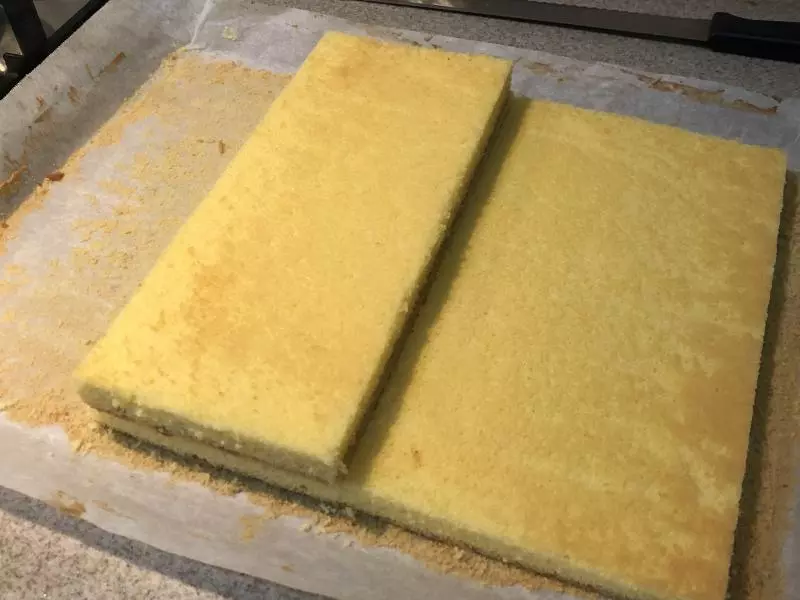
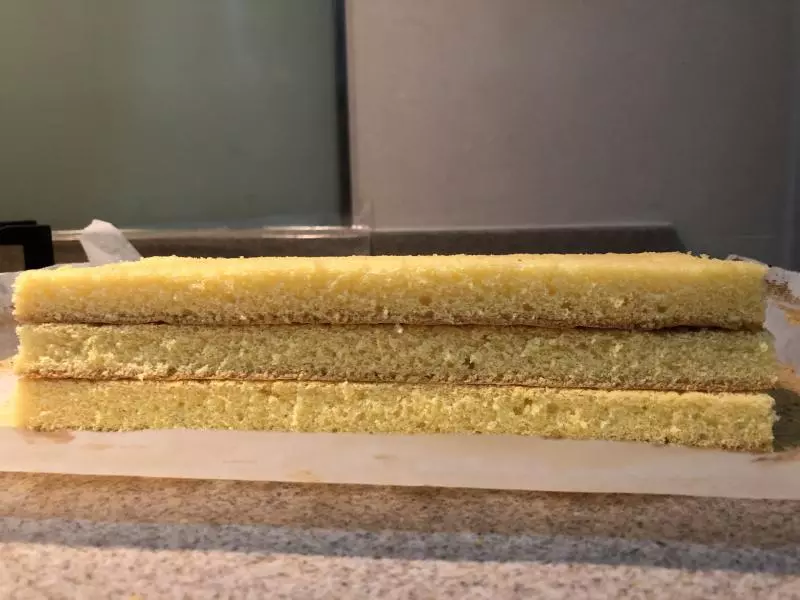
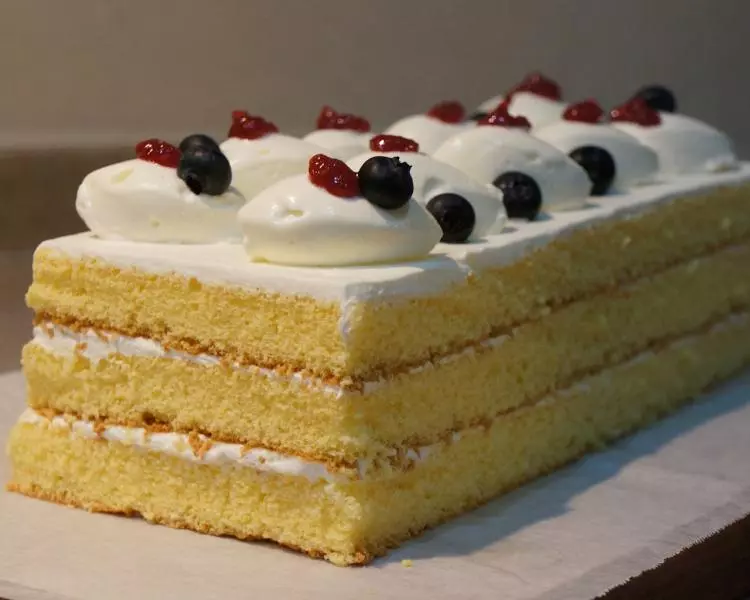
14用锯齿刀切掉四周干硬的部分,然后再平分三等份。
15完成。
16开始抹奶油。
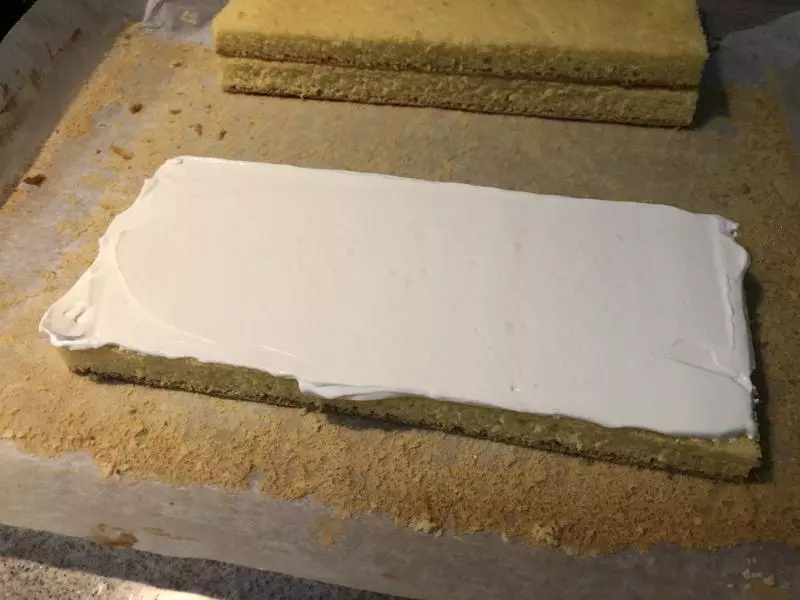
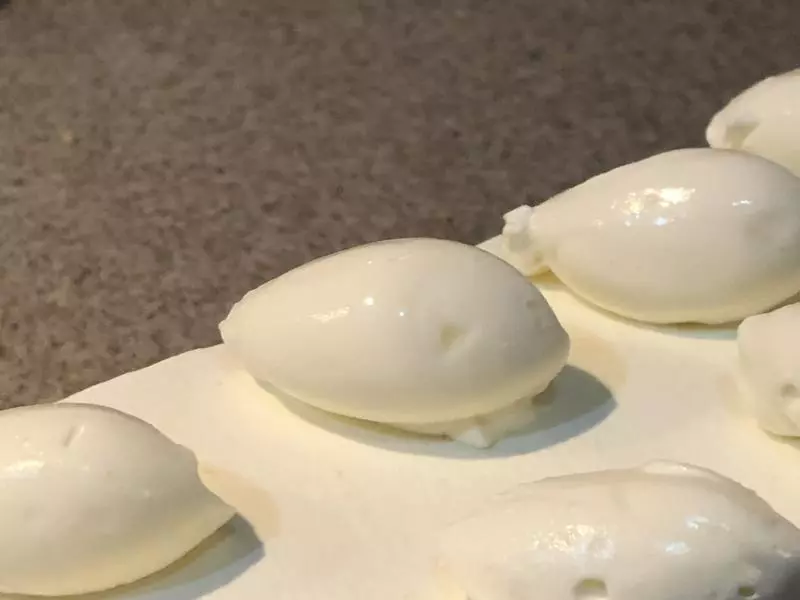
17一层奶油+一层蛋糕胚堆叠上去,周围用抹刀整理干净。完成后冷藏20分钟定型。
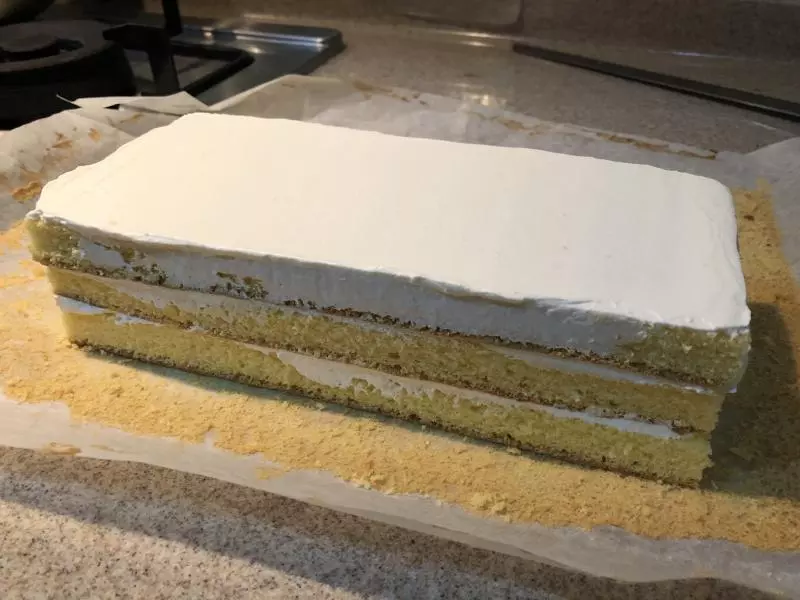
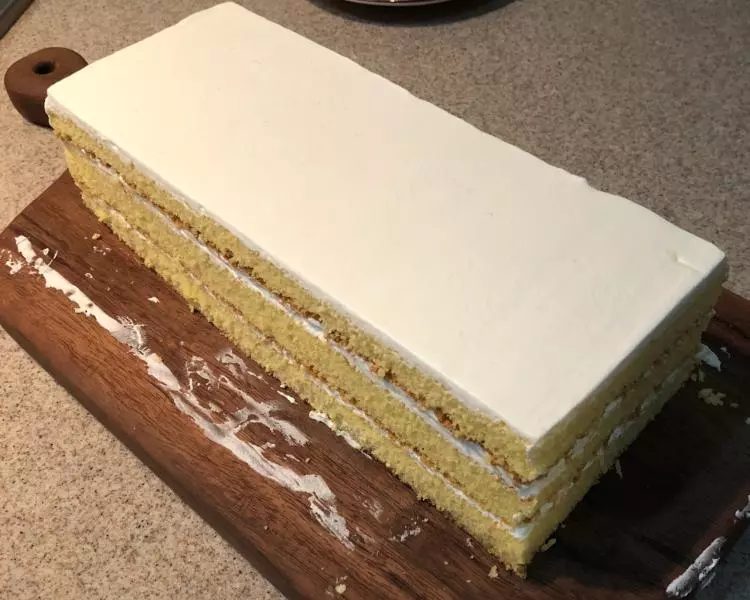
18用锯齿刀四周修边。
19取一把橄榄形小勺,放在热水里浸泡片刻后取出擦干。
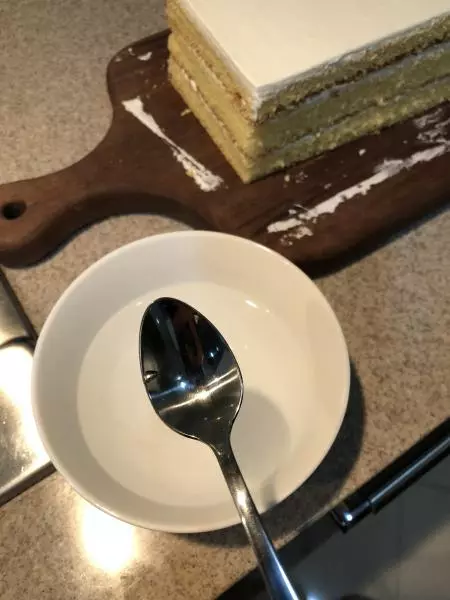
20拿出之前冷藏好的奶油,用勺子挖一勺成橄榄形,使之落在蛋糕上。
21将果酱装在保鲜袋中,剪一下口,挤在奶油上装饰。
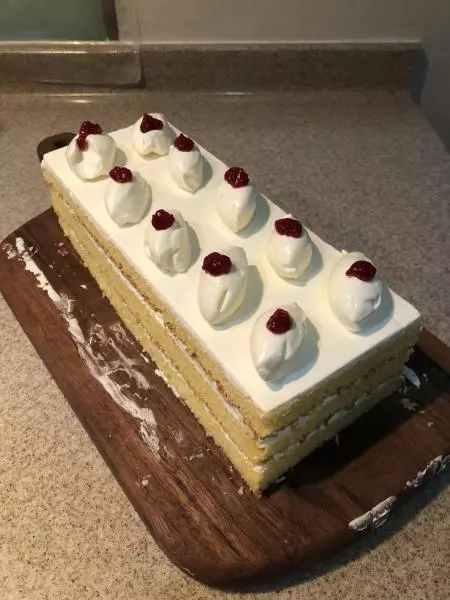
22放上蓝莓装饰点缀,完成。
小技巧
- 全蛋打发一定要到位,否则很容易消泡。其中打发温度是关键,蛋液温度尽量保持在40度左右。 2. 切片及最后修边时一定要用好用顺手的锯齿刀,动作要干脆利落。 3. 奶油霜可以直接用淡奶油,也可以用奶酪霜(配方可参见我的上一个菜谱“美式经典红丝绒蛋糕”中的马斯卡彭奶酪霜),不过个人觉得加一些马斯卡彭奶酪奶香味更足,和这个蛋糕体更配一点。