原料
卡仕达酱: , 蛋黄: 3个, 炼乳: 25g, 低筋面粉: 16g, 玉米淀粉: 8g, 牛奶: 250g, 白砂糖: 25g, 无盐黄油: 14g, 淡奶油: 190g, 炼乳: 15g, 戚风蛋糕杯(蛋黄糊): , 炼乳: 15g, 玉米油: 48g, 牛奶: 48g, 低筋面粉: 60g, 蛋黄: 6个, 戚风蛋糕杯(蛋白霜): , 蛋白: 6个, 柠檬汁: 少许, 白砂糖: 45g
步骤
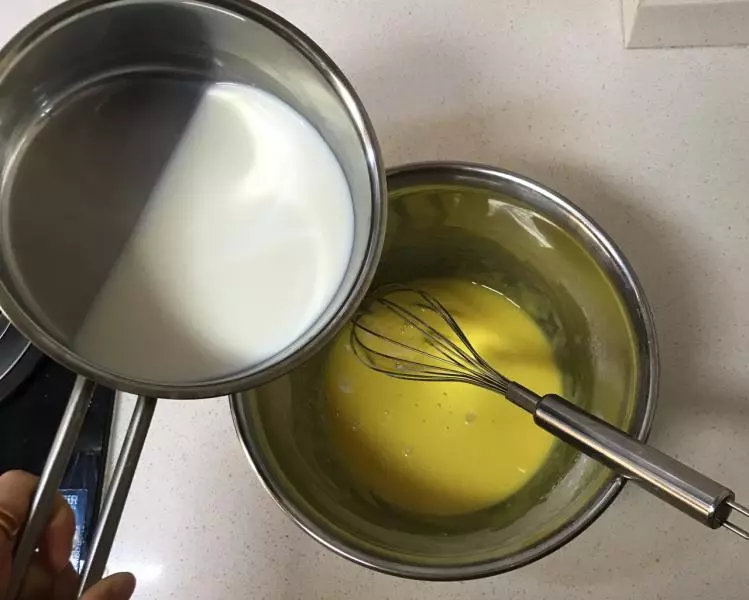
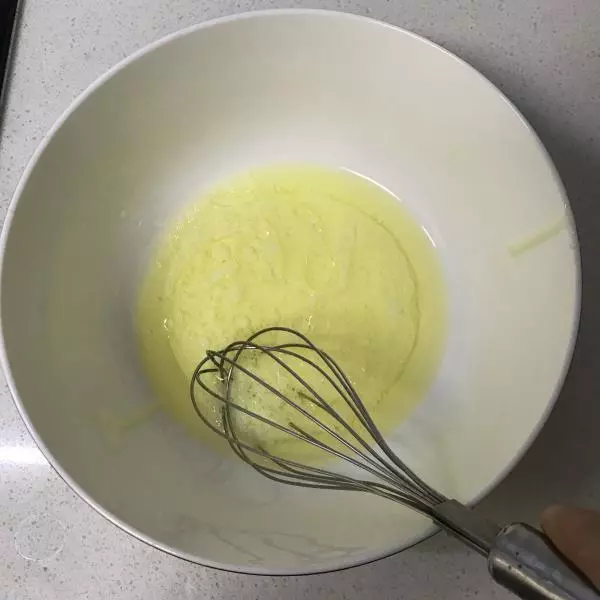
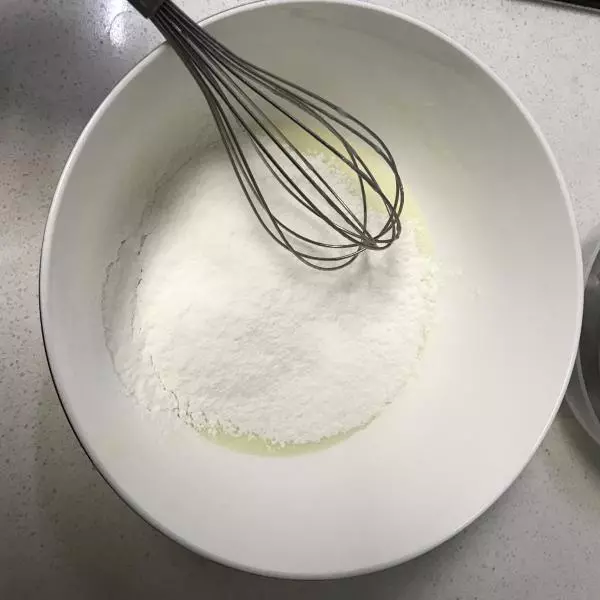
1蛋黄 炼乳 搅拌混合 低筋面粉和玉米淀粉过筛 搅拌均匀
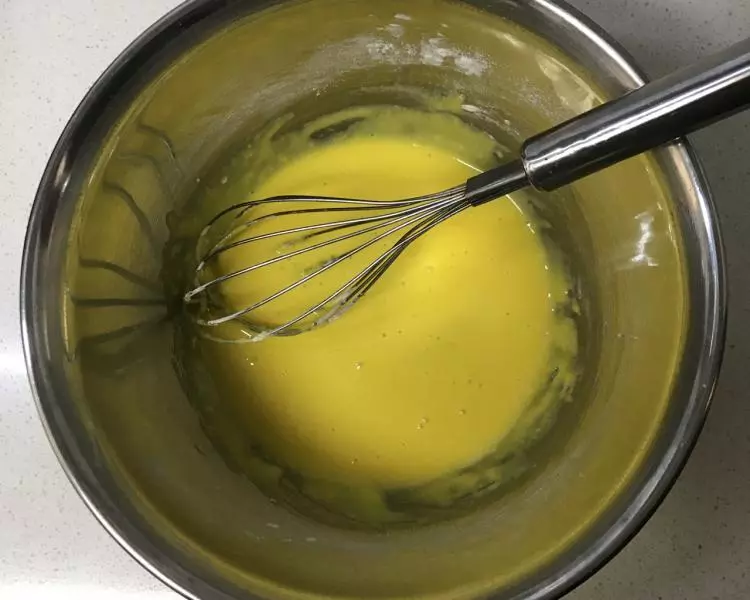
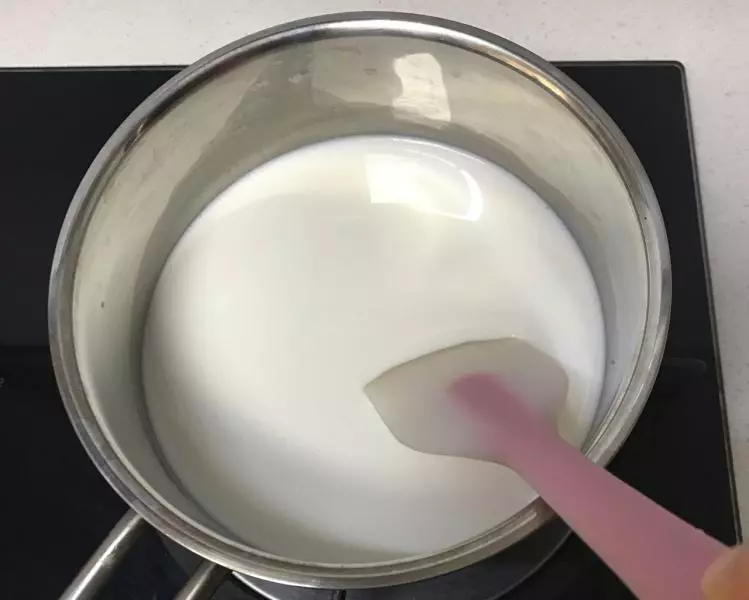
2小火加热 牛奶和白砂糖混合液体 加热半分钟左右 不必沸 关火
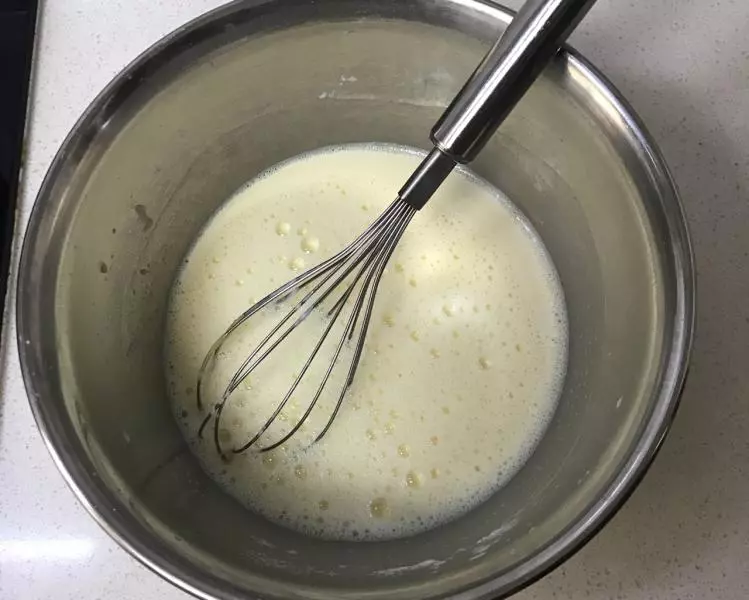
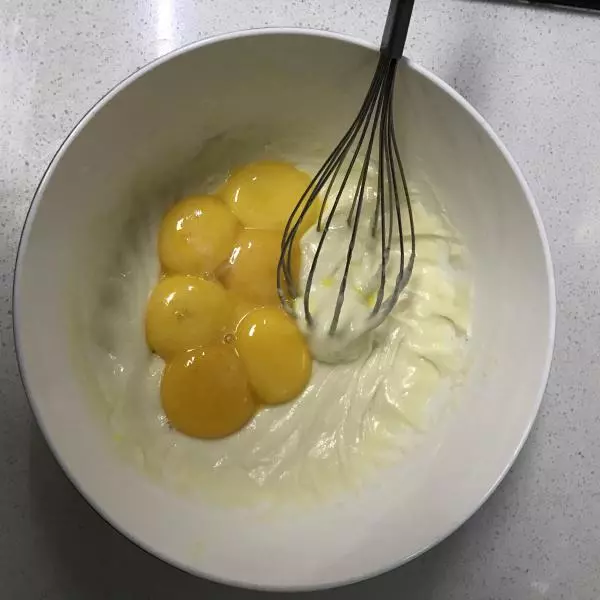
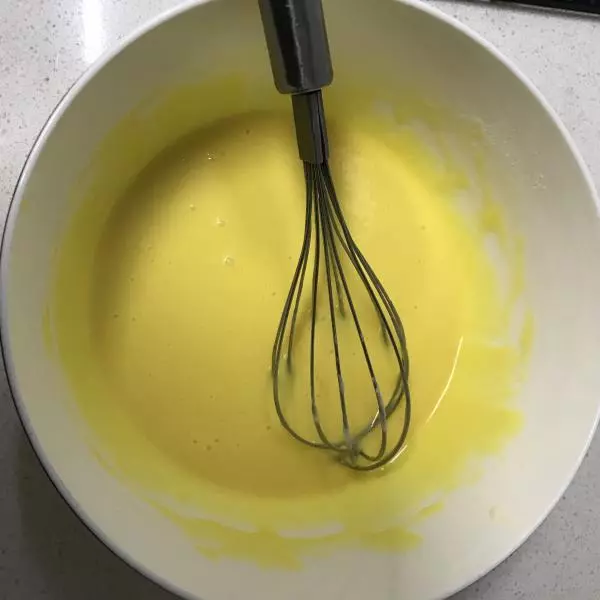
3牛奶冷却至不烫手 分次加入蛋黄液中 以免蛋黄烫熟 搅拌均匀 成为蛋奶液
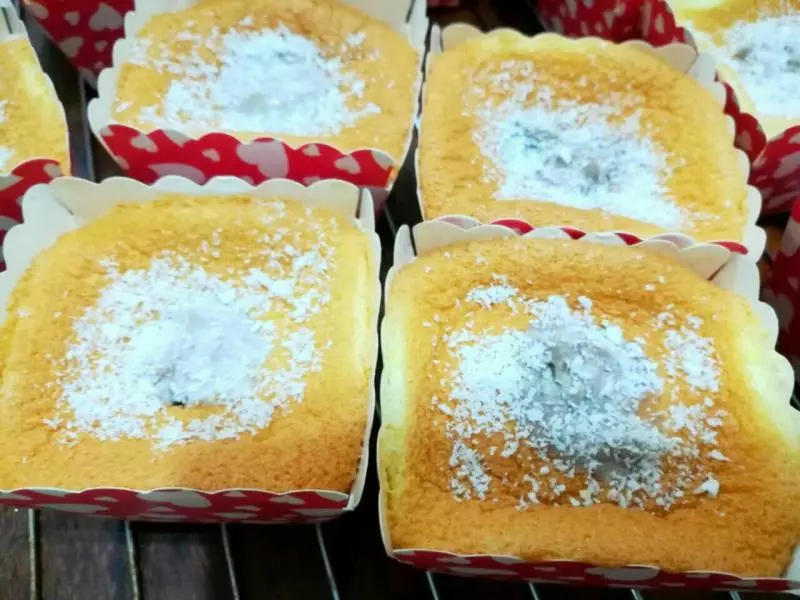
4蛋奶液过筛 保证口感
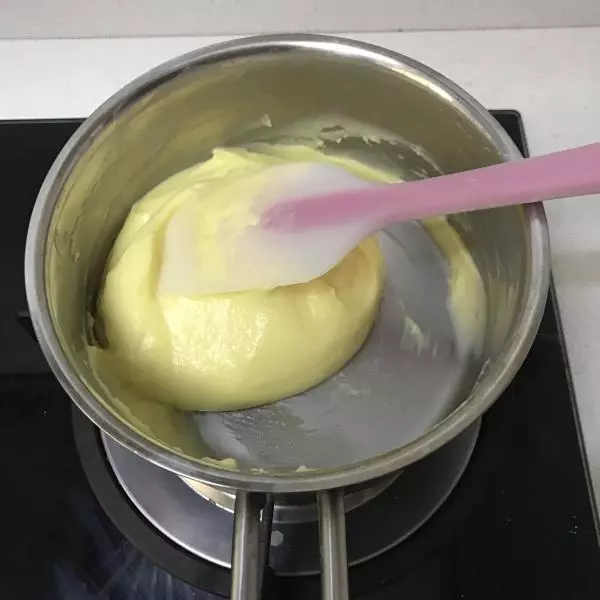
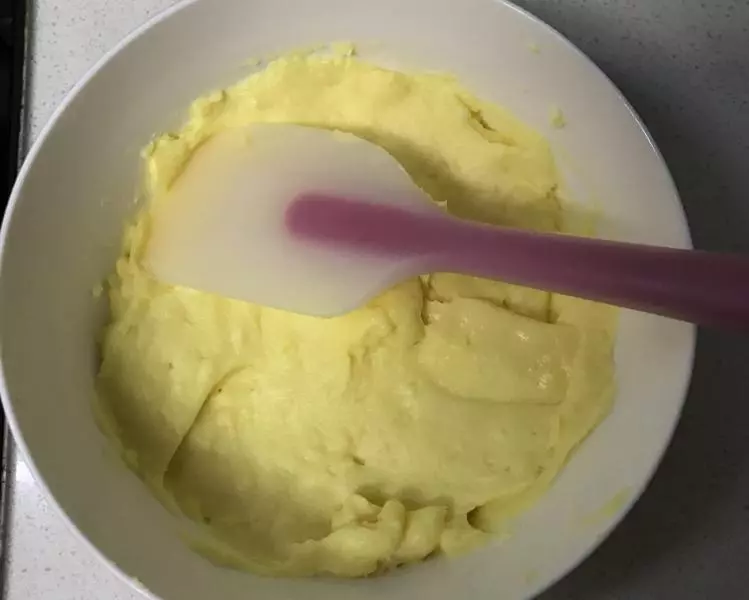
5蛋奶液倒回小锅 中小火加热 用铲刀不断将锅子边沿和底部的蛋奶液铲起来以免焦糊 开始粘稠 关火 用余温继续搅拌 使其浓稠
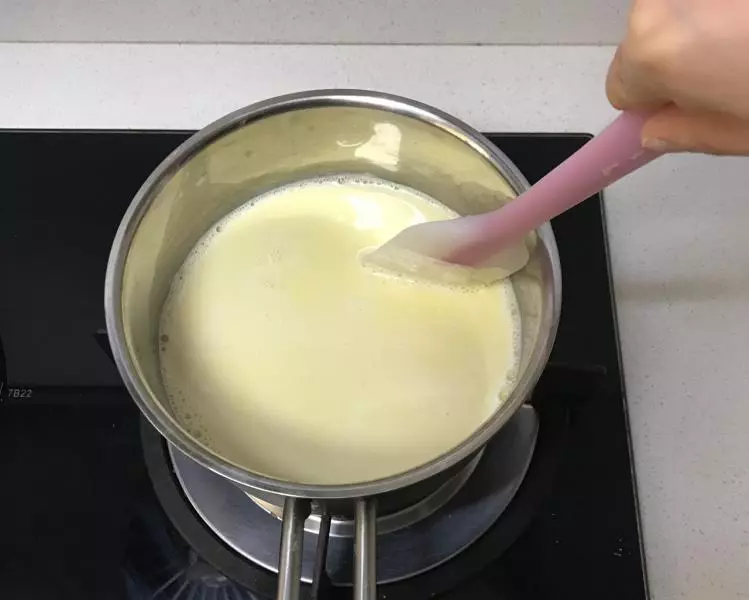
6卡仕达酱浓稠后 加入黄油 用余温融化 搅拌均匀
7封保鲜膜冷藏半小时以上

8开始制作戚风蛋糕杯 牛奶和玉米油混合 搅拌均匀
9低筋面粉过筛加入 Z字搅拌均匀
10加入蛋黄 Z字搅拌
11蛋黄糊完成
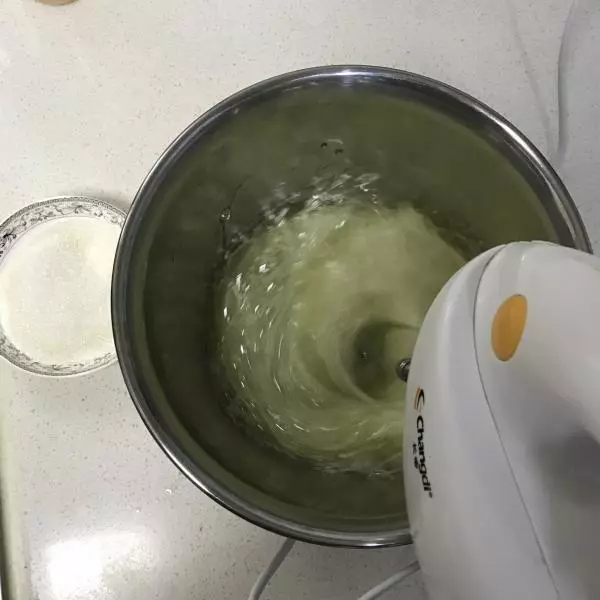
12制作蛋白霜 分三次加入白砂糖 至湿性发泡 此时烤箱预热150度
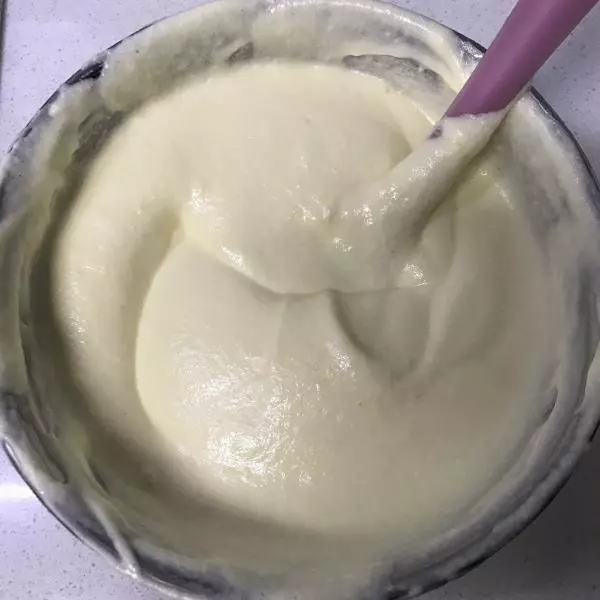
13三分之一蛋白霜与蛋黄糊混合
14搅拌均匀的蛋黄糊倒回蛋白霜中 用切拌法搅拌均匀 以免消泡
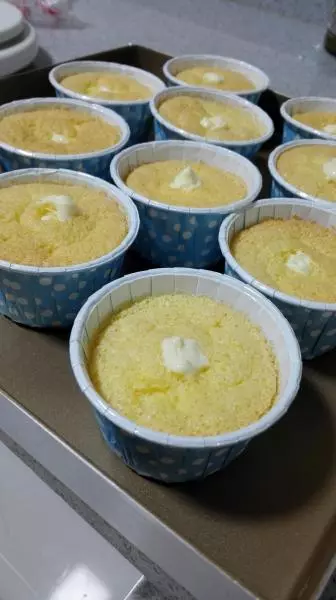
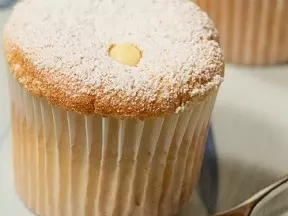
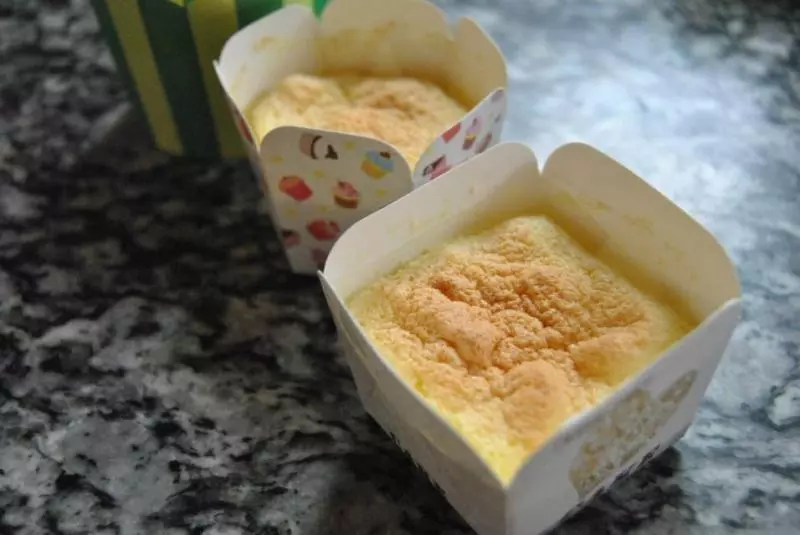
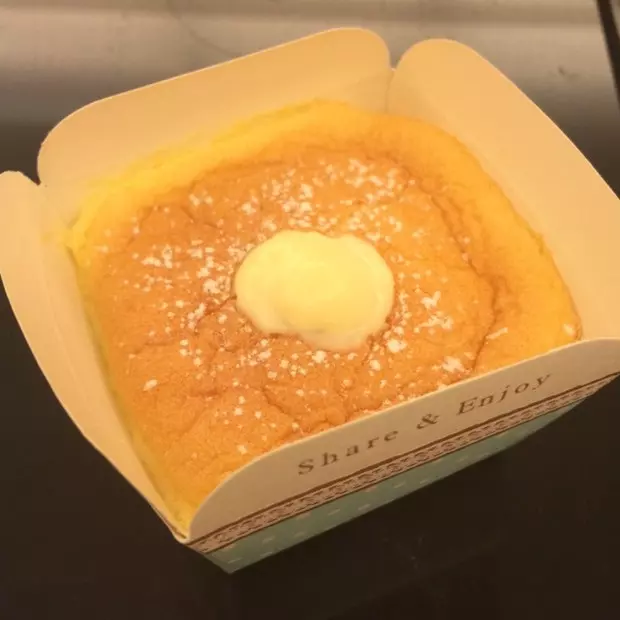
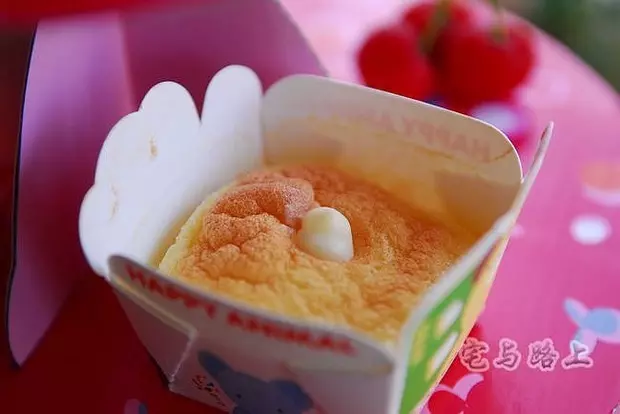
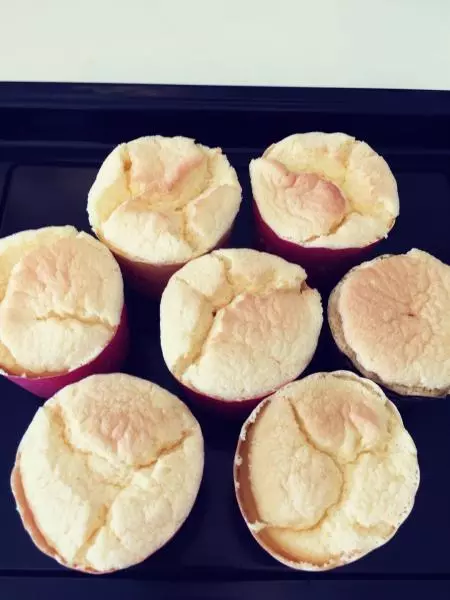
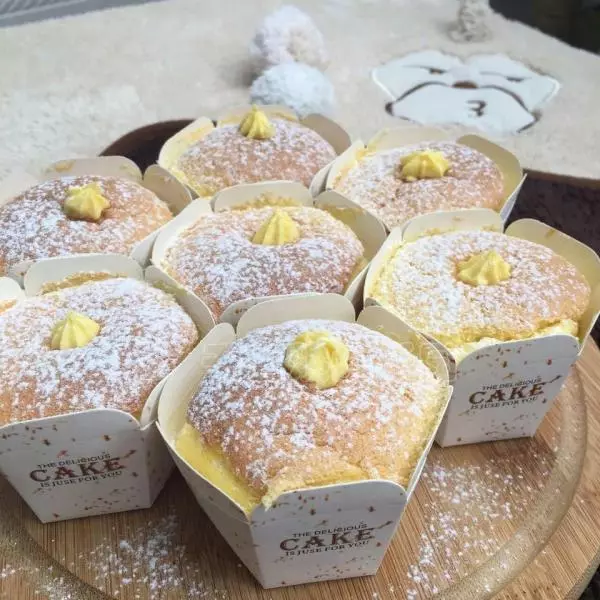
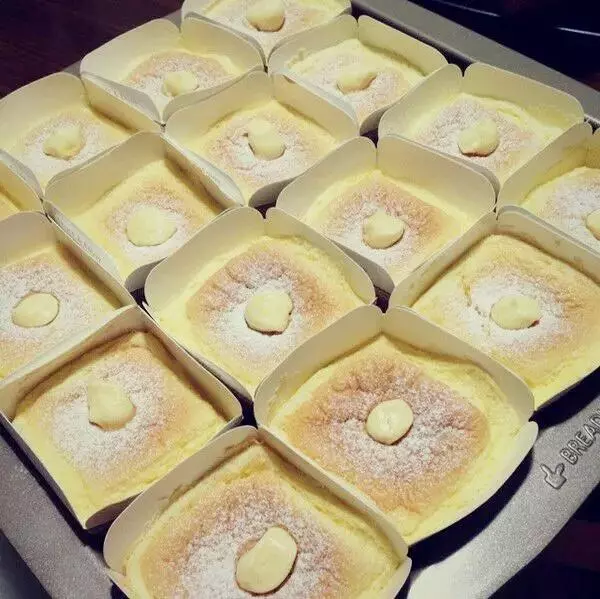
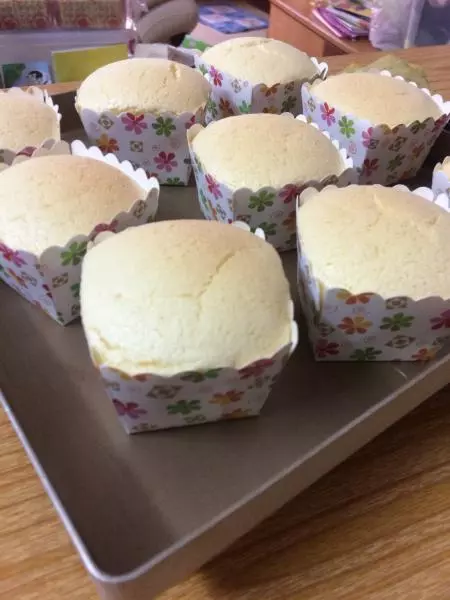
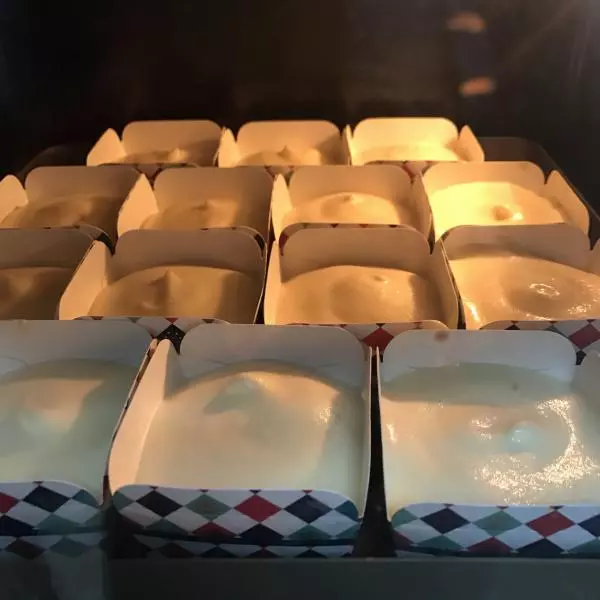
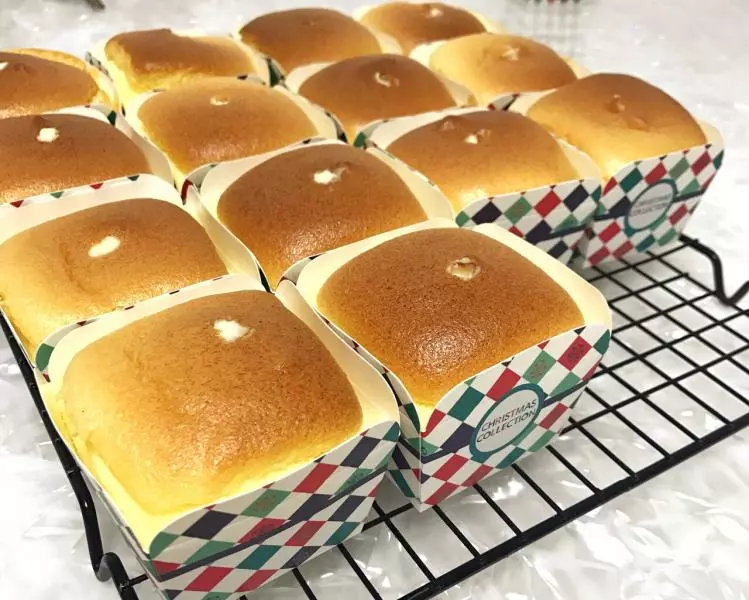
15搅拌混合均匀至有光泽的蛋糕糊 倒入戚风杯 每个杯子 八分满 以免回缩以后太塌陷 影响外观
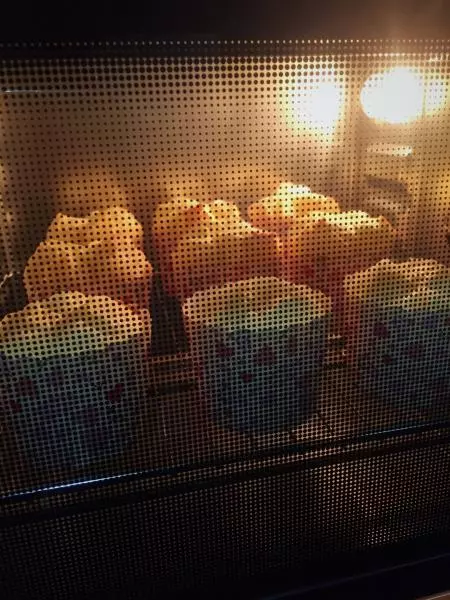
16中下层 上下火150度 30分钟 随时观察 以及烤箱特性调整温度和时间
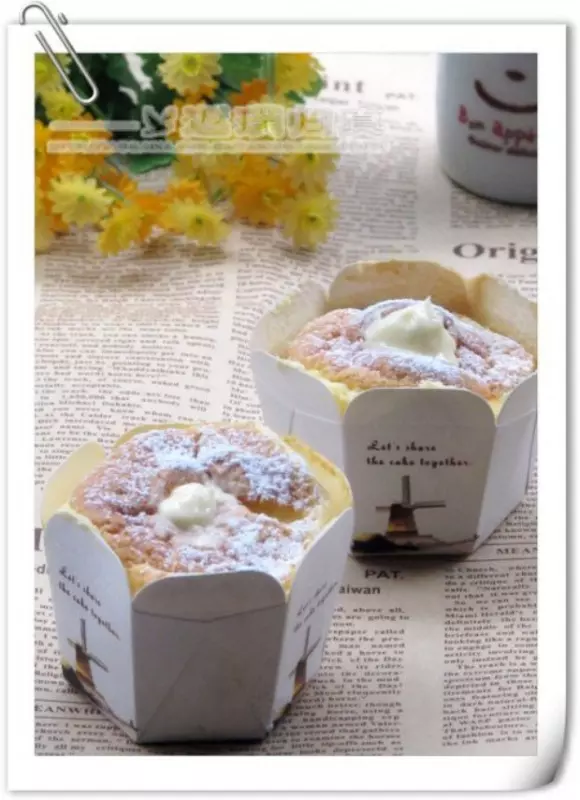
17感觉顶部上色足够了 可以盖锡纸
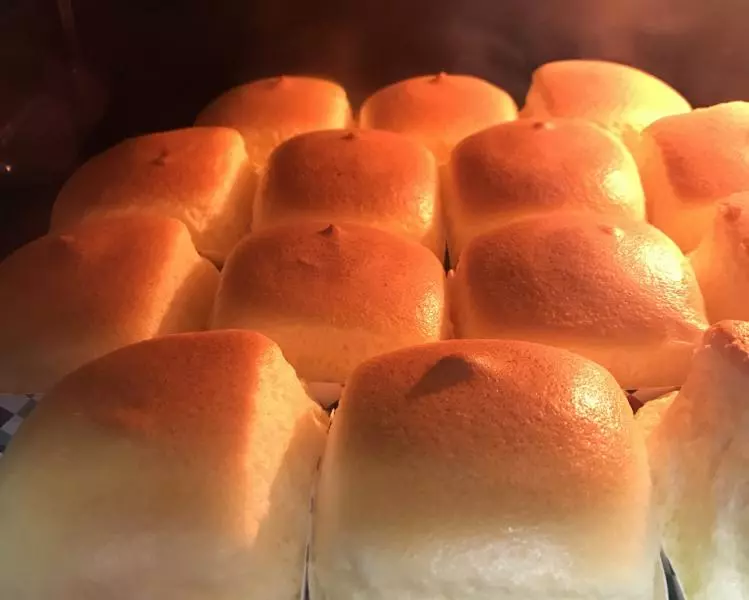
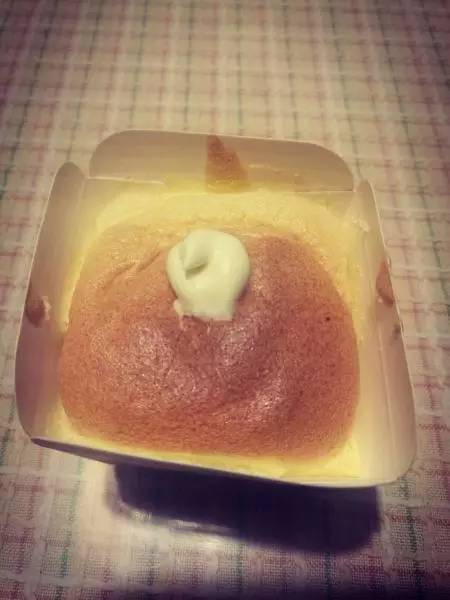
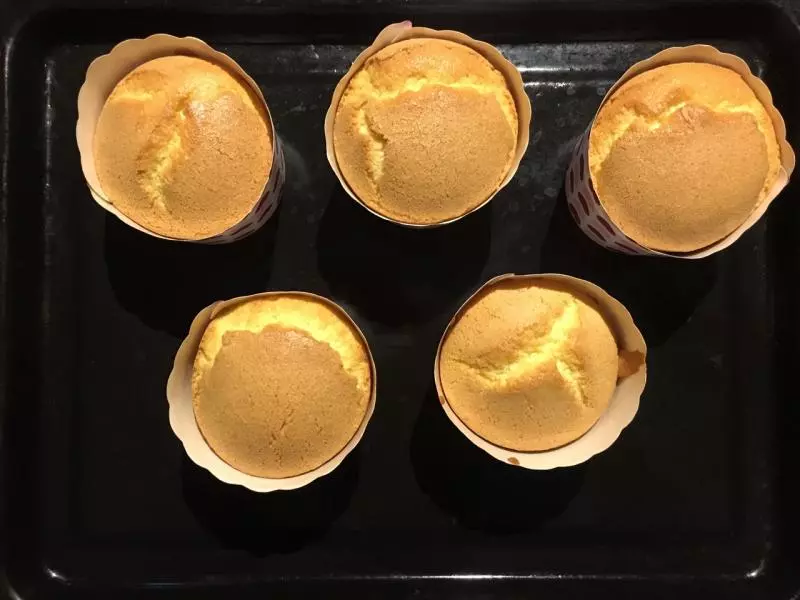
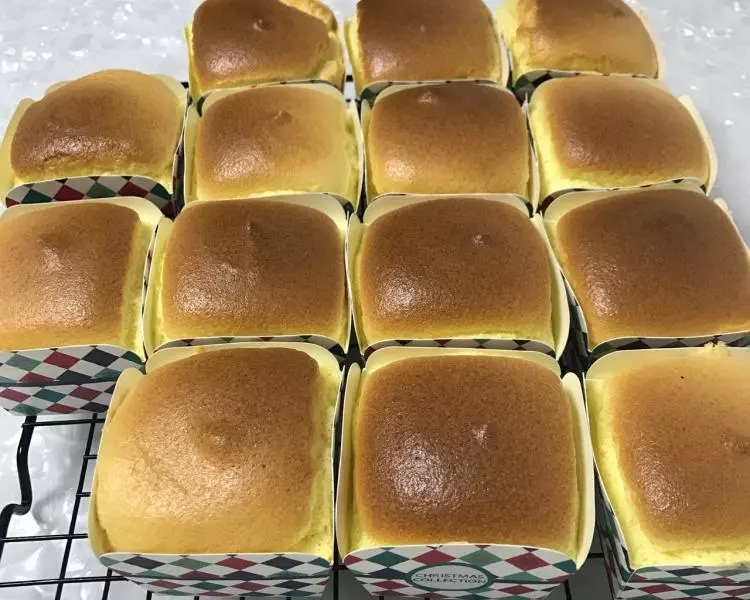
18半小时后 拍拍蛋糕顶部如果没有沙沙声就可以出炉了 反之再加一两分钟 出炉后在凉架上晾凉 此时 开始制作内陷
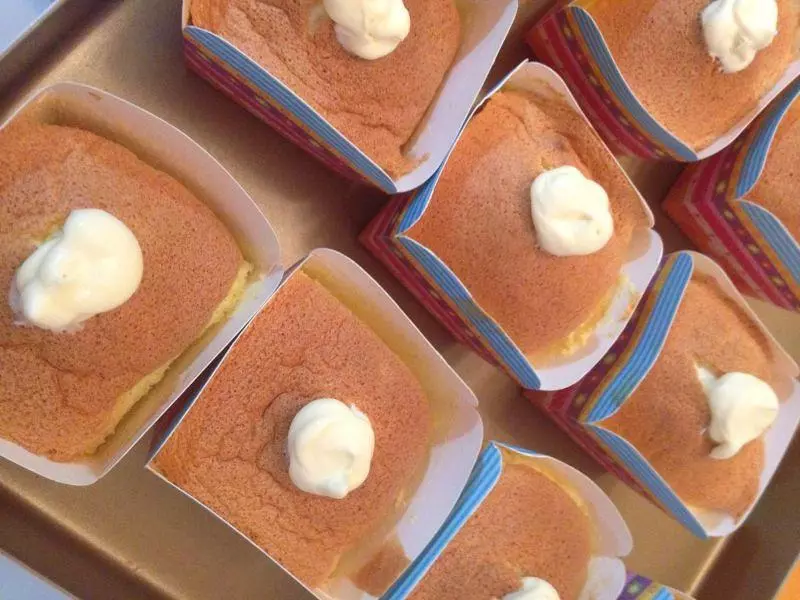
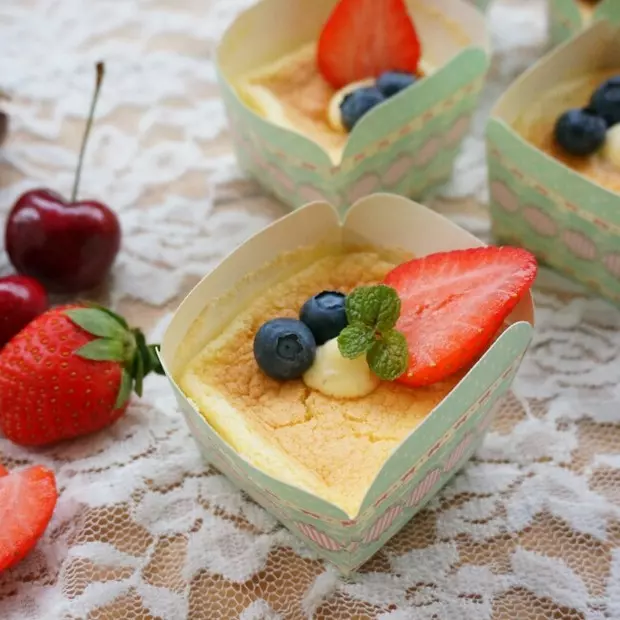
19将冷藏的卡仕达酱取出后用刮刀刮几下
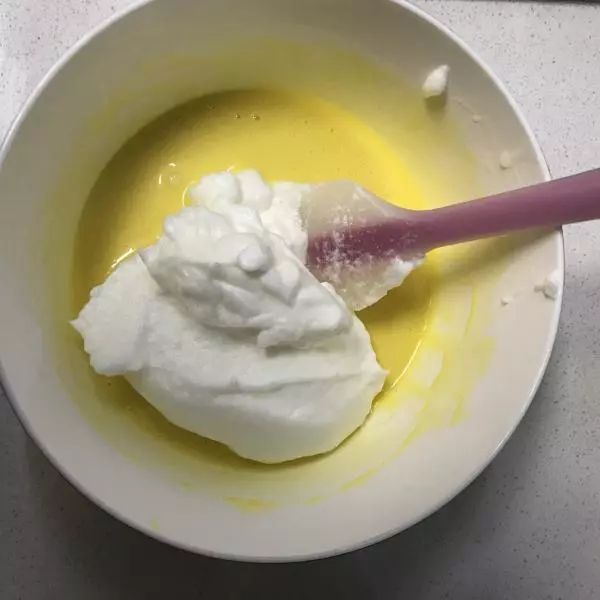
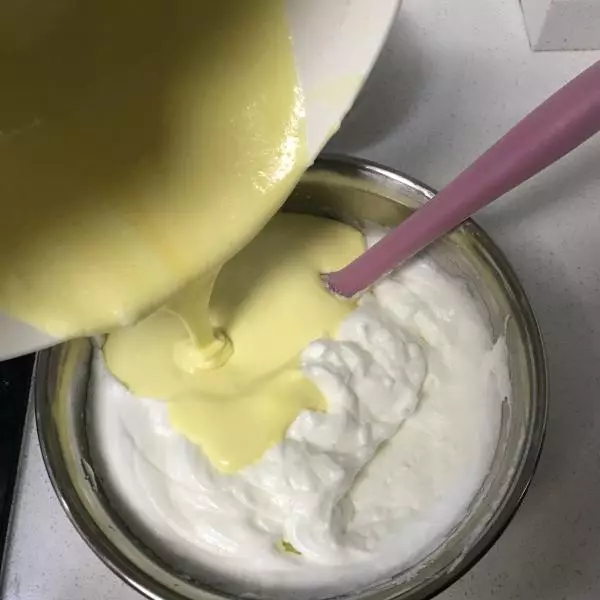
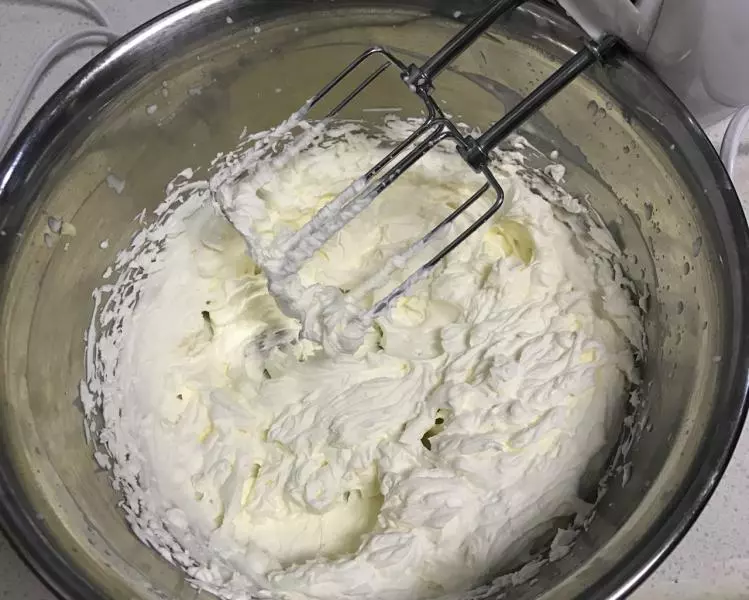
20打发淡奶油 炼乳 打至八九分发
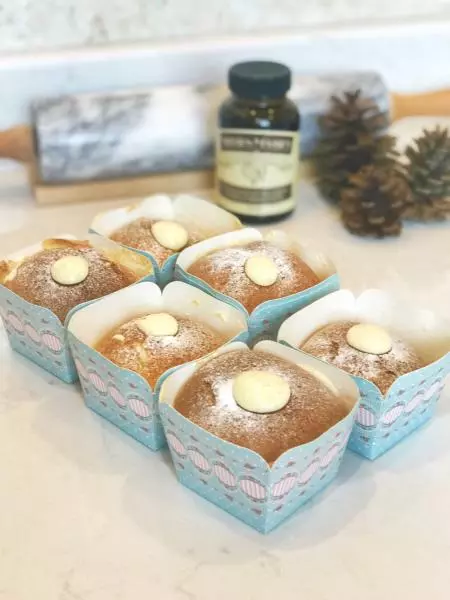
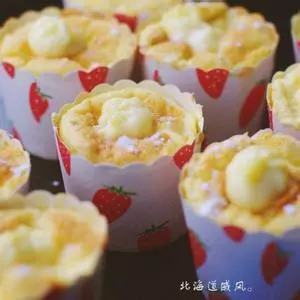
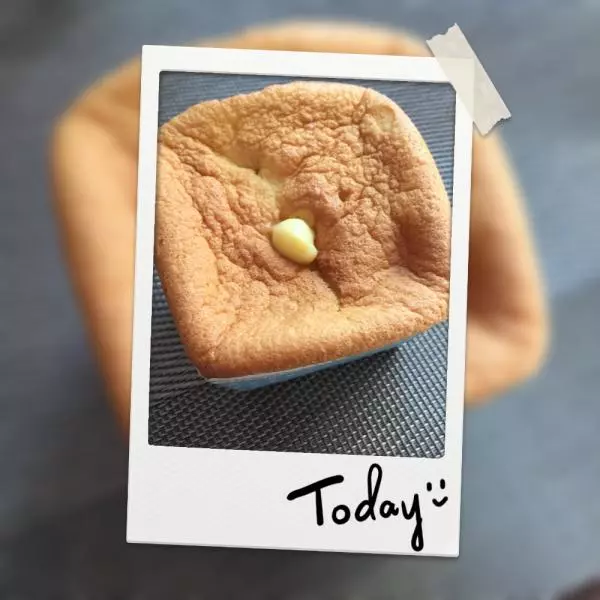
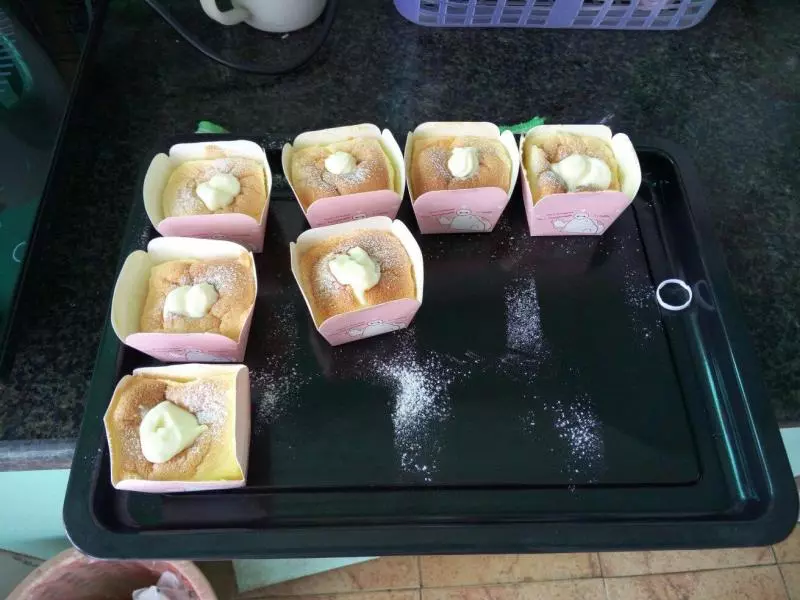
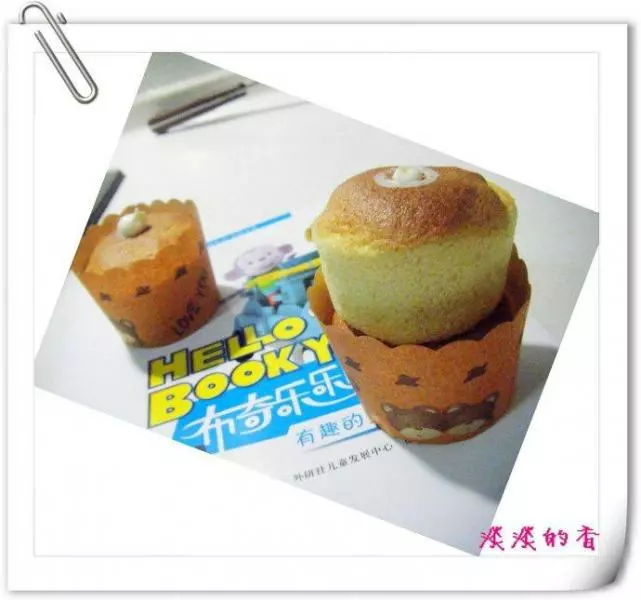
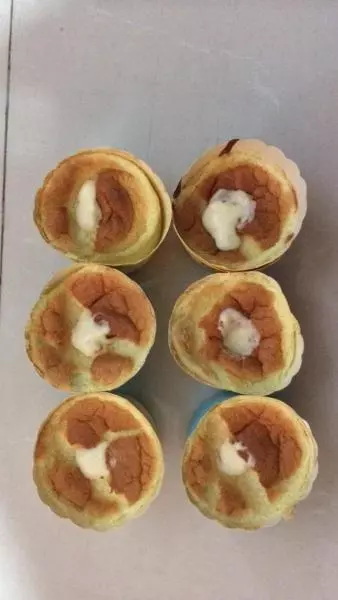
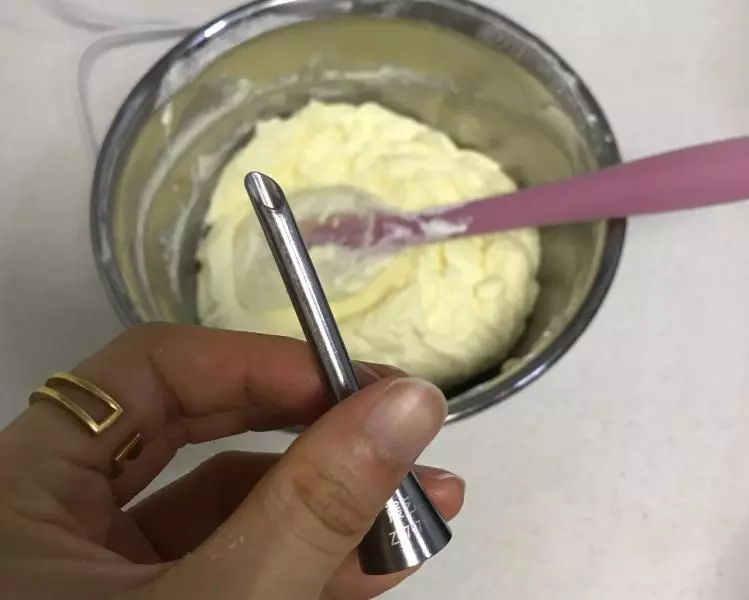
21淡奶油与卡仕达酱混合 装袋

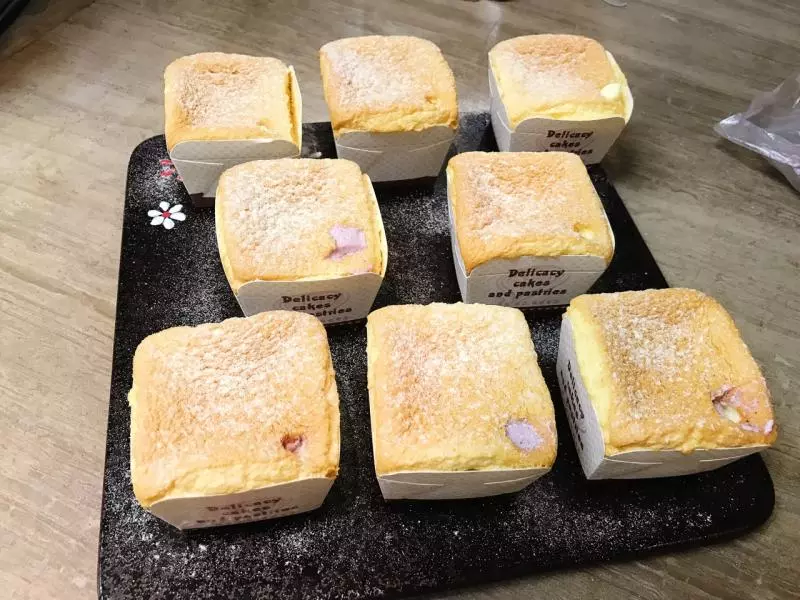
22用长嘴的裱花嘴有助于深入蛋糕内部 蛋糕顶部的口也不会很大
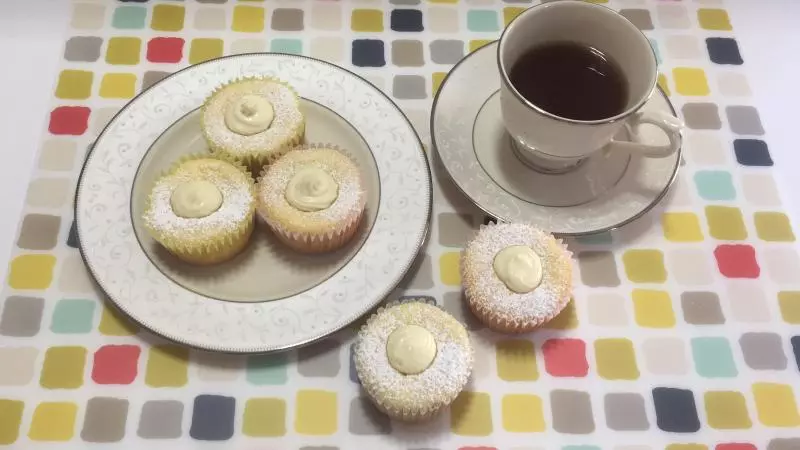
23给蛋糕填上内馅儿 完美 完工了 接下来就是冷藏一夜 第二天享用美味吧 像冰激凌的口感!
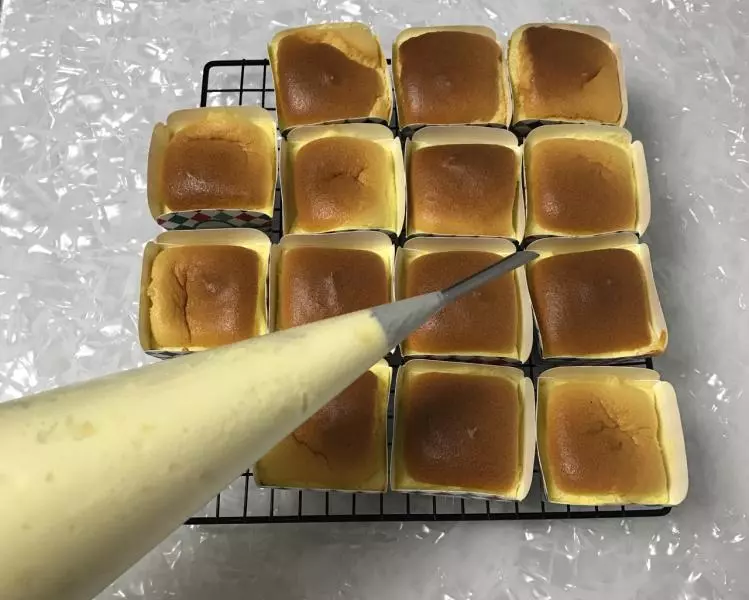
24方子能出成品十四个 酱料也刚好用完
小技巧
我比较喜欢用炼乳代替白砂糖 因为会多出一些奶香味