原料
低筋粉: 三大勺, 鸡蛋: 2个, 糖: 若干, 安佳淡奶油: 300ML, ricotta奶酪: 259g, 草莓: 若干, 吉利丁片: 2片, 6寸蛋糕模具: 1个
步骤
1先做蛋糕,用电饭煲就能做,超简便的。
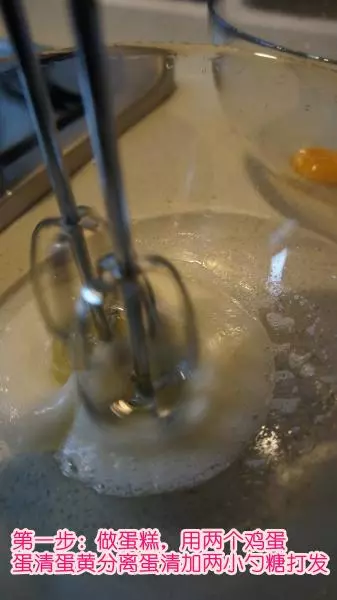
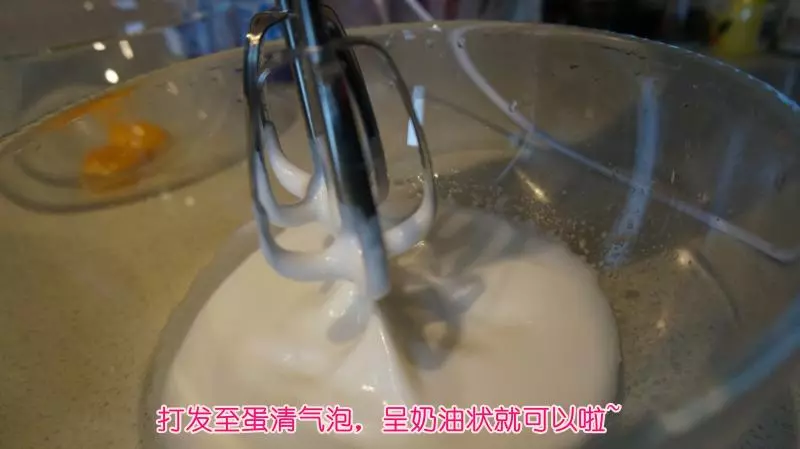
2蛋清蛋黄分开,分别加糖打发,蛋清用打蛋器
3蛋黄就用硅胶刮刀吧

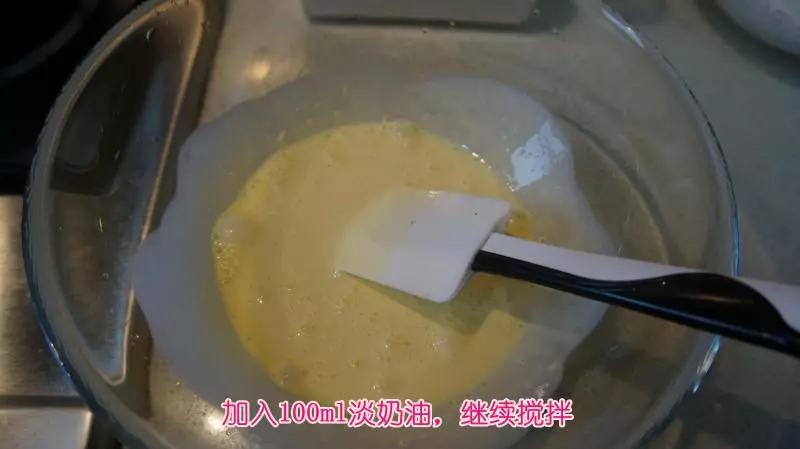
4蛋黄打发后加入淡奶。我喜欢用淡奶,做出来香,又不会太湿软。以前试过用牛奶做,太稀了
5筛入低筋面粉
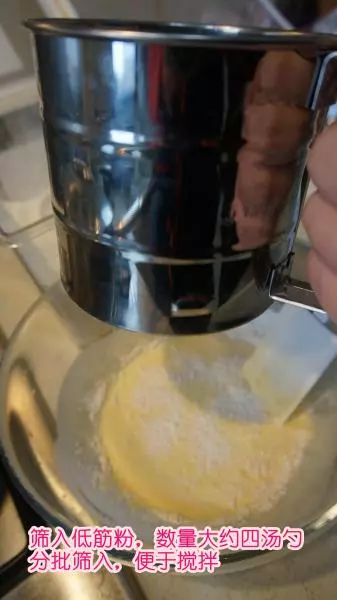
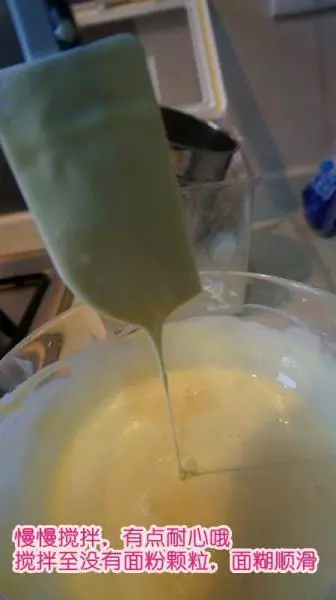
6不断搅拌,直至里面没有面粉颗粒,面糊顺滑。厚度么,不好形容啊,反正不要太稀哦
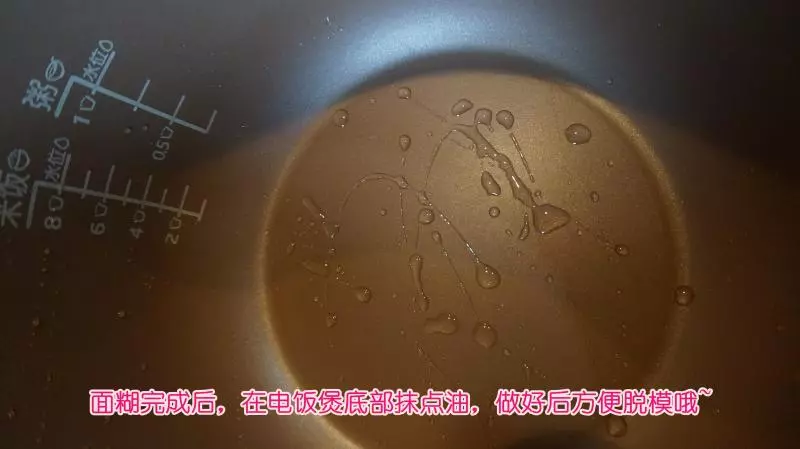
7在电饭煲底部抹上油,我家的是飞利浦的,就带做蛋糕功能。其实一般的也可以的
8倒入后,震一下锅子,把里面的气泡震出来。接着上锅加热就好啦~~我们开始做慕斯

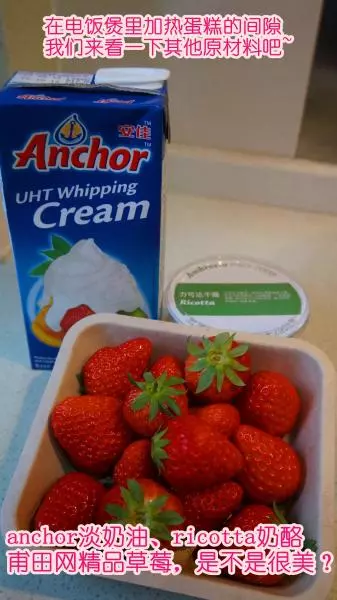
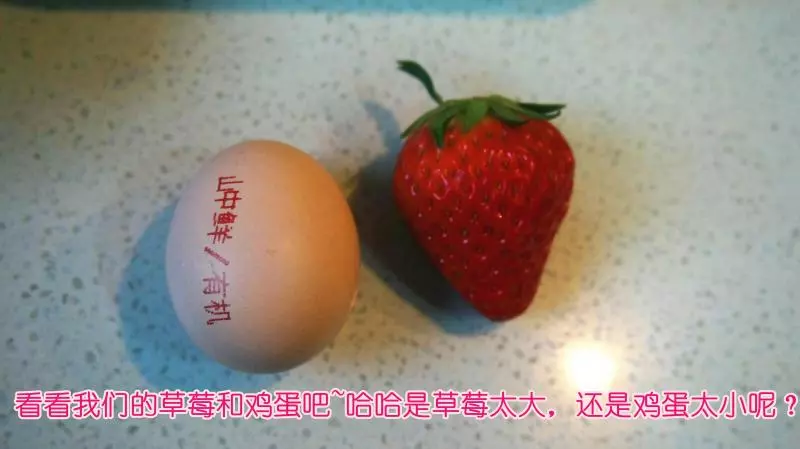
9主要原料如下:淡奶油、奶酪、甫田网草莓。不得不赞一下草莓,毫无PS,就是那么个大饱满,颜色鲜艳
10鱼胶片网上有卖的,tb上随便搜搜就有
11再给大家看草莓和鸡蛋的对比。都是甫田网上买的,哈哈,草莓大鸡蛋小,真的是草鸡蛋啊,蛋黄so so so黄
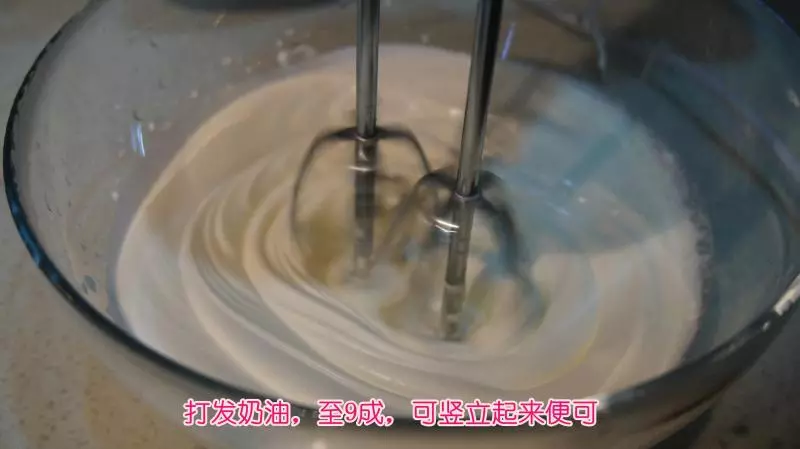
12淡奶油250ml,加糖打发
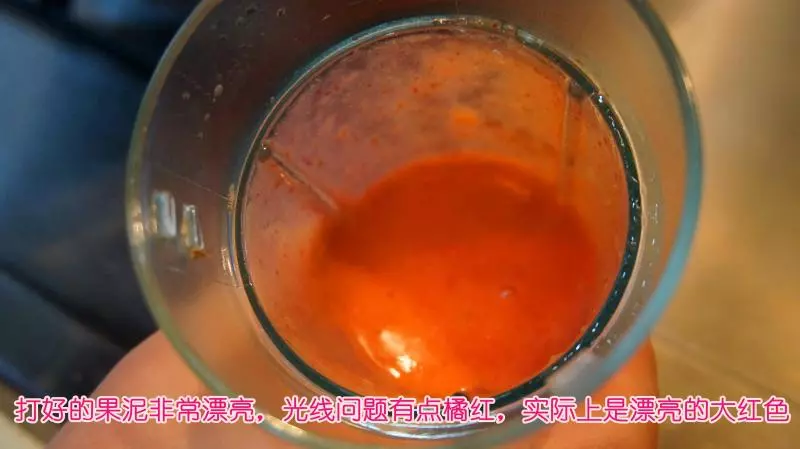
13草莓按喜好打成果泥,我用了5-6颗
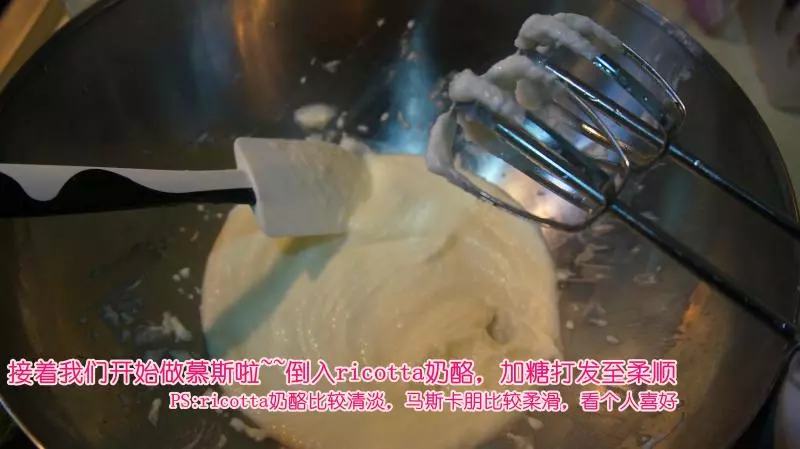
14250g奶酪,加糖打发,打至顺滑。ricotta奶酪口感清爽,有点小小的颗粒感,但是做好蛋糕后没有哦,或者可以用马斯卡朋
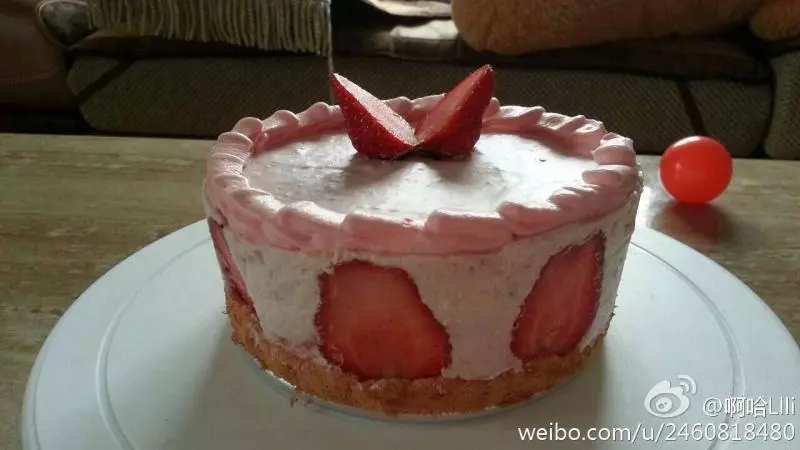
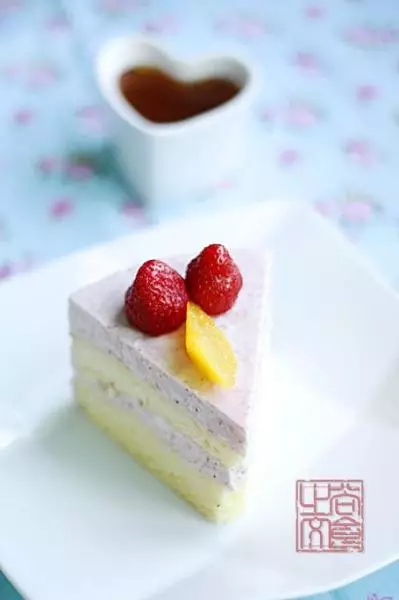
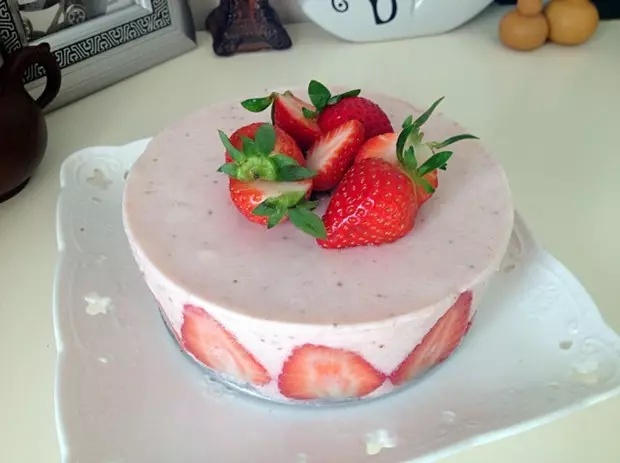
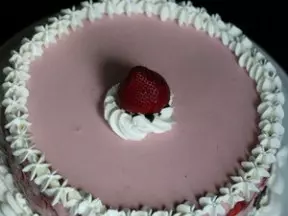
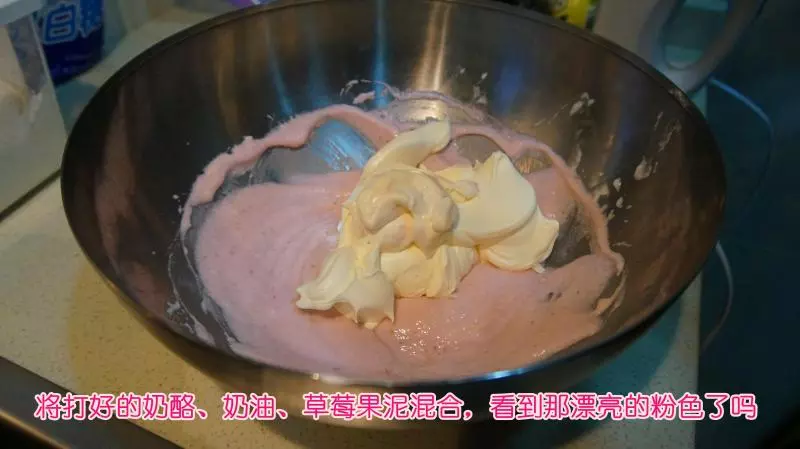
15将打发好的草莓果泥、淡奶油、奶酪混合。好看的粉色,有没有
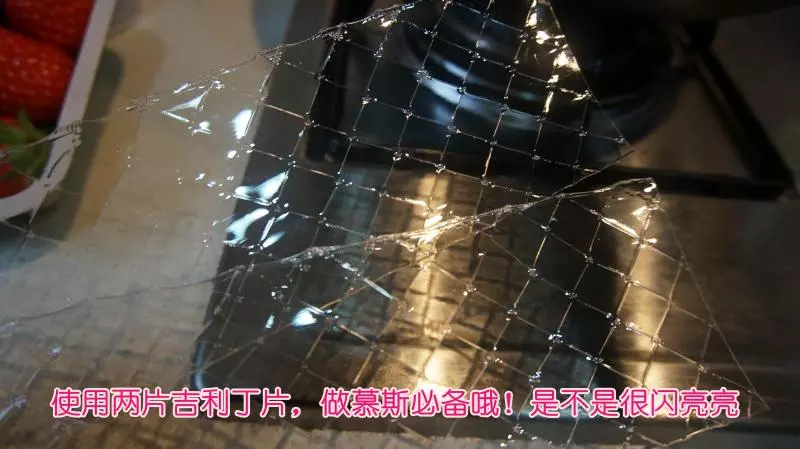
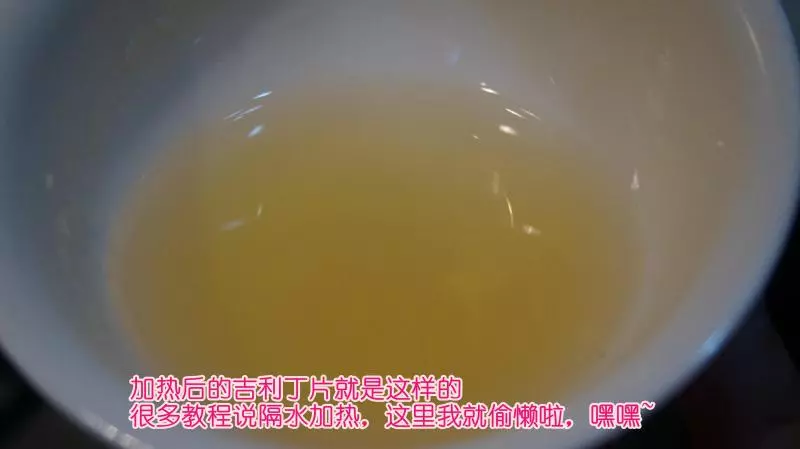
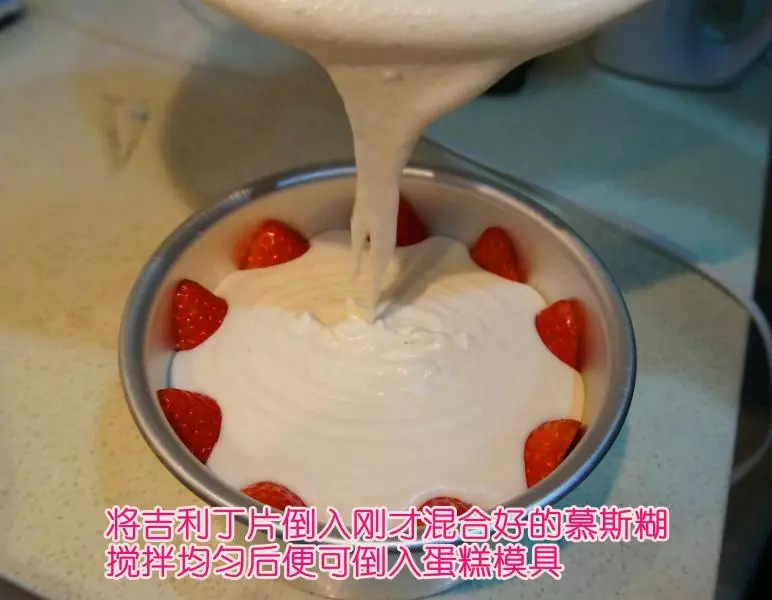
16吉利丁片大家可以在做慕斯之前,剪成小片,泡冷水。泡软后,将水倒掉,放在微波炉加热融化
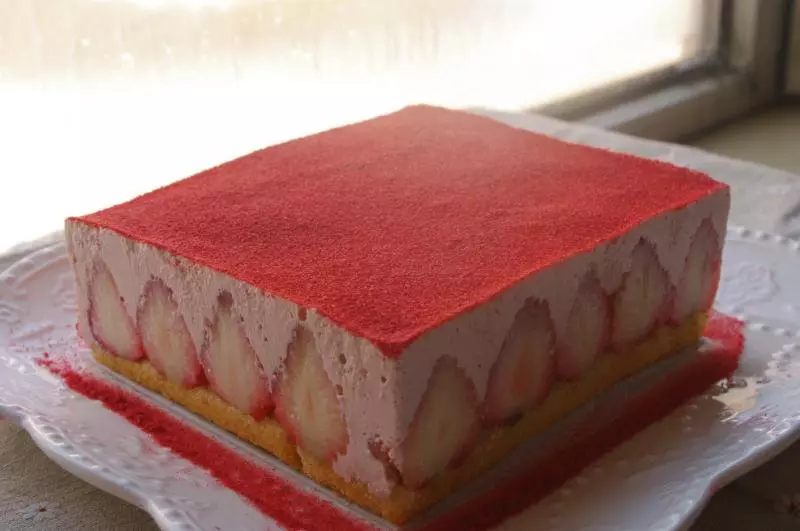
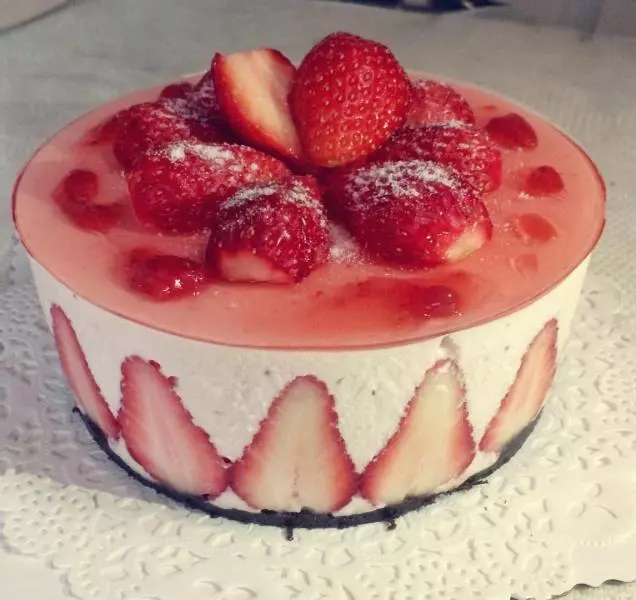
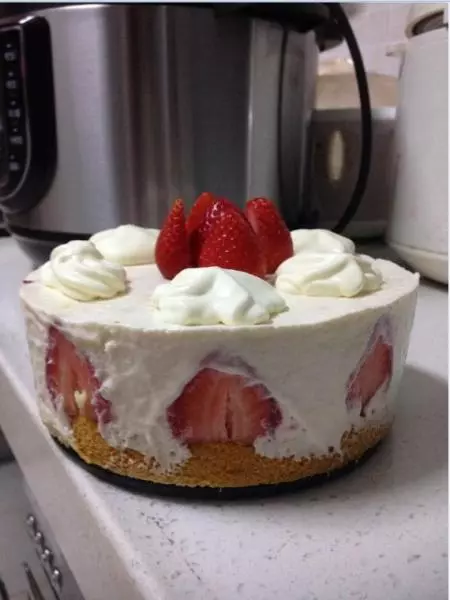
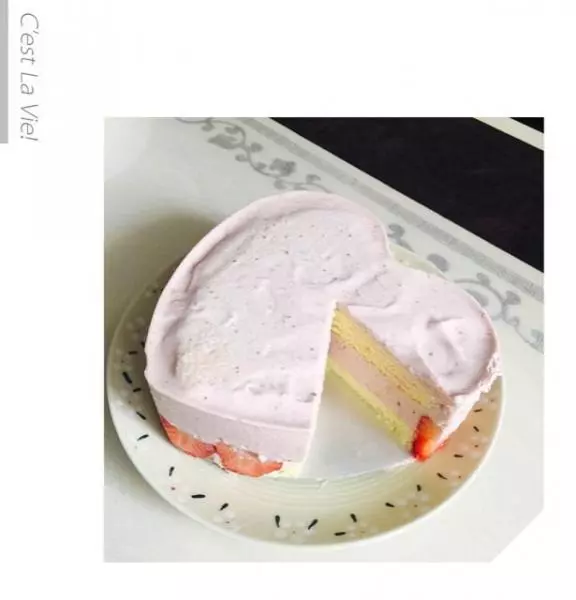
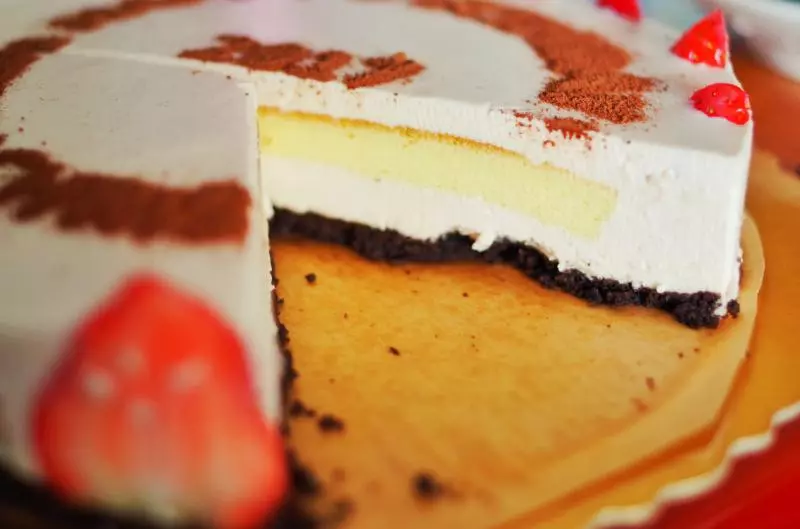
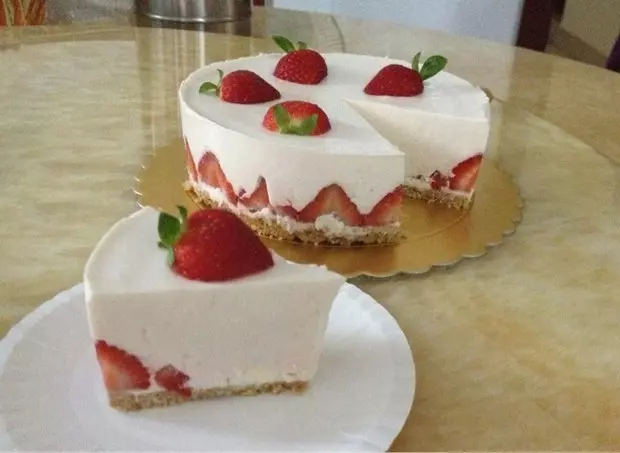
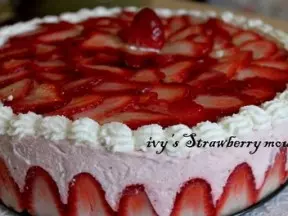
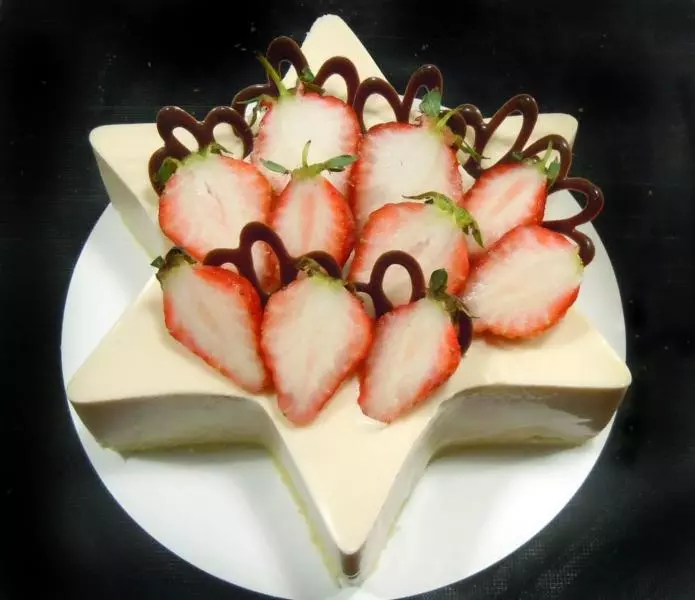
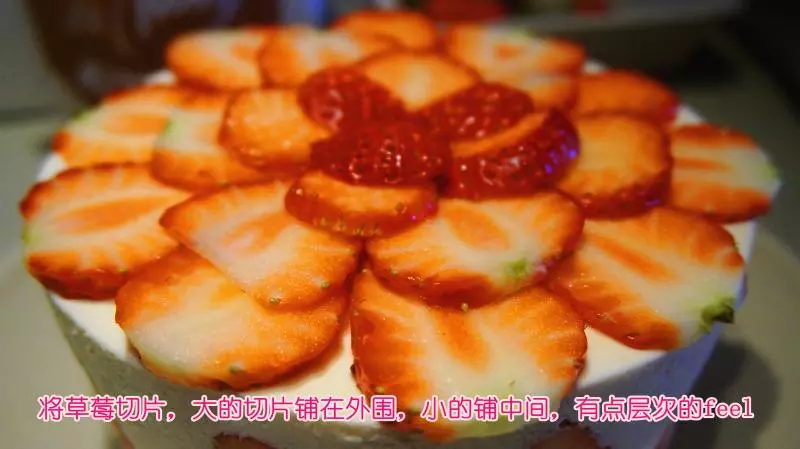
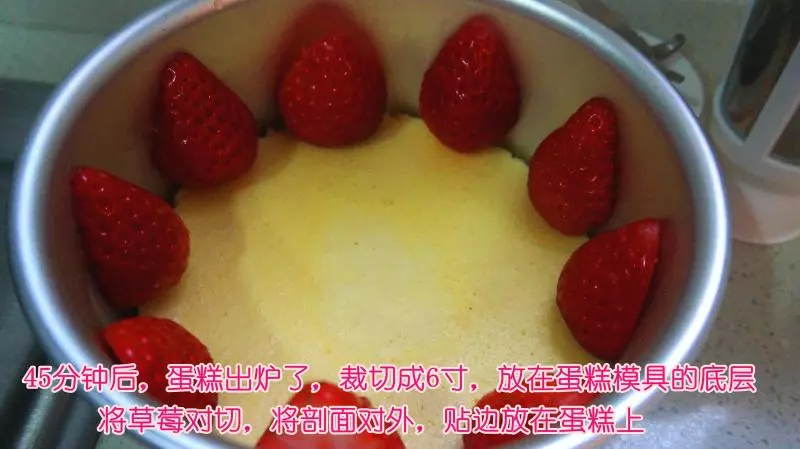
17好啦,蛋糕出炉后,切成6寸铺在模具底部,周围铺好对切的草莓。剖面朝外哦
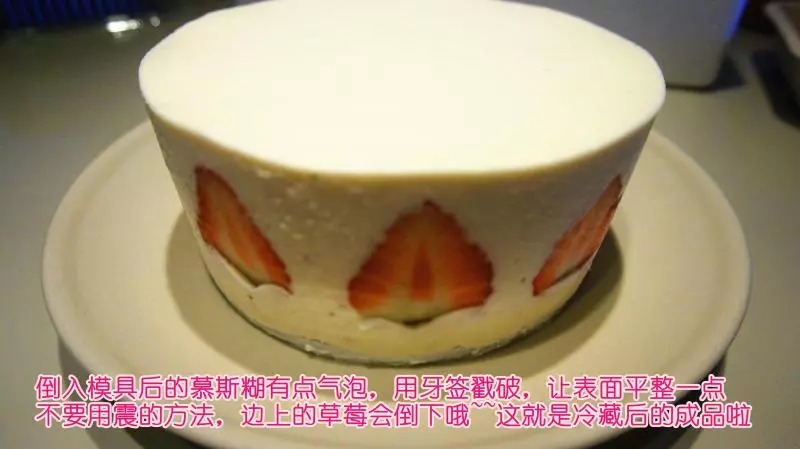
18慕斯糊里加好吉利丁片,搅拌充分后就可以导入模具。不要用力震动,草莓会倒下。上面有气泡的话,用牙签戳破
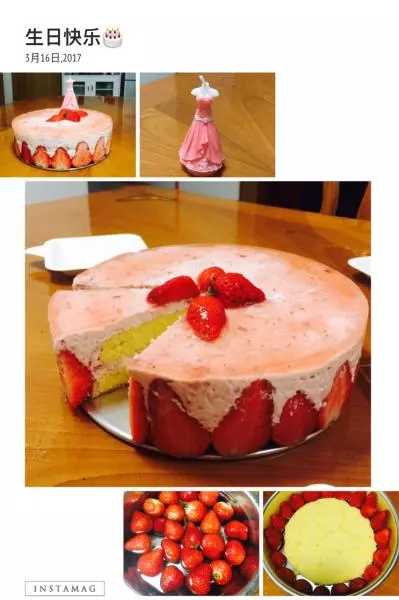
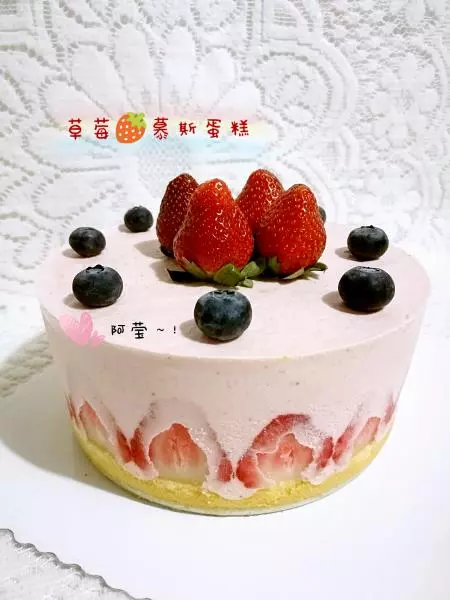
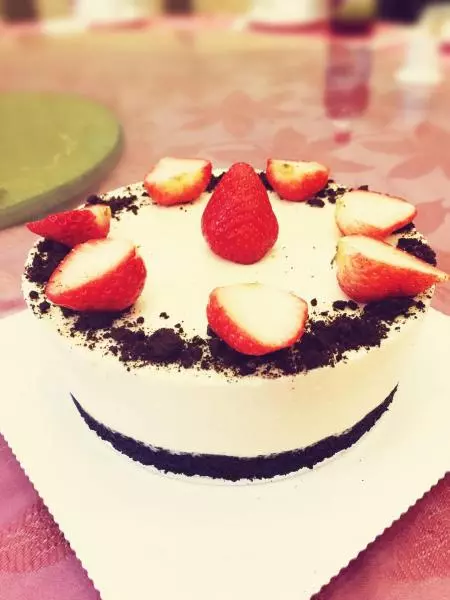
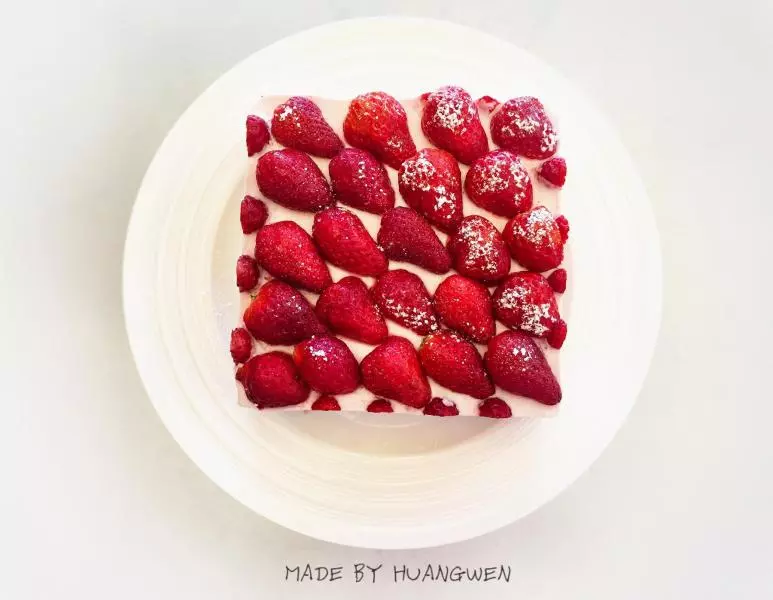
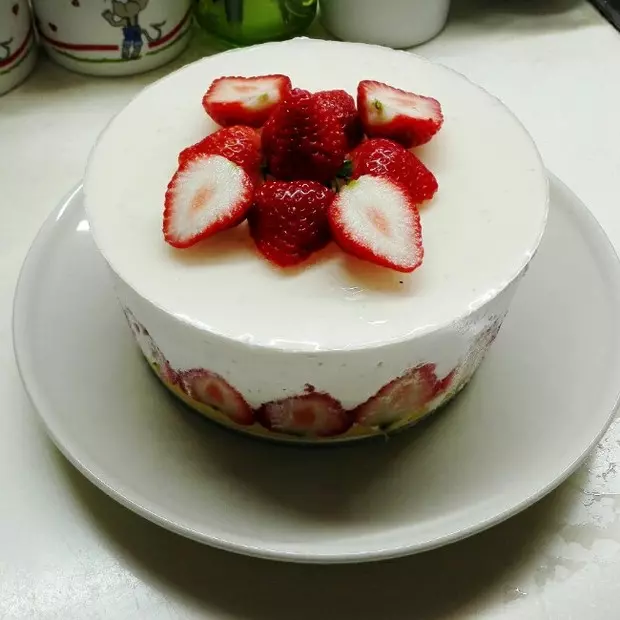
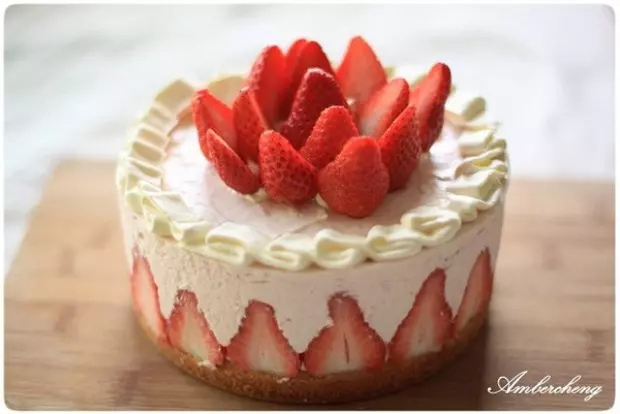
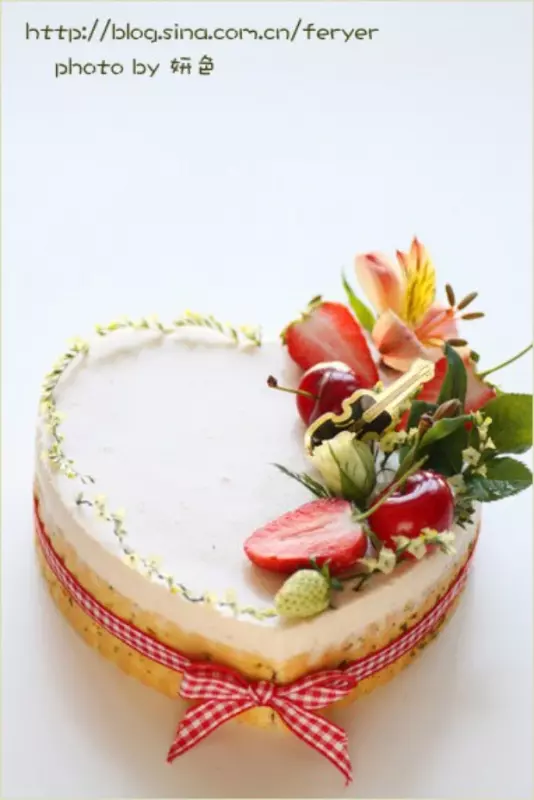
19放入冰箱冷藏几个小时后,便可脱模啦,看是不是好可爱
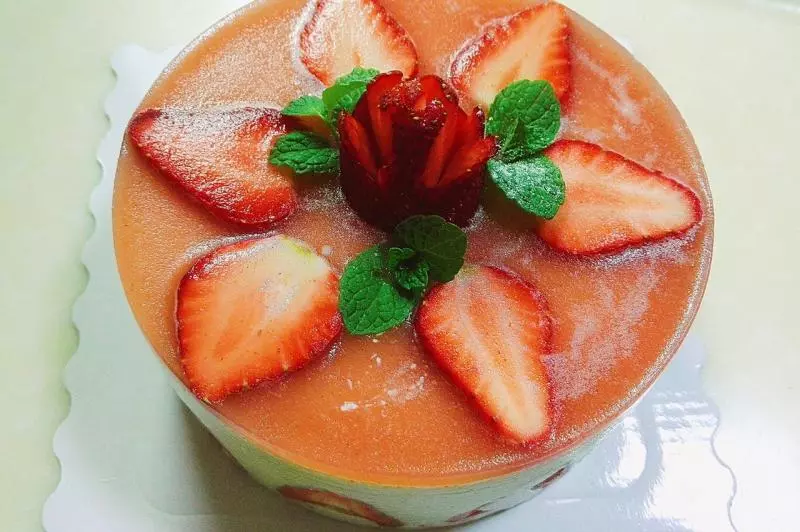
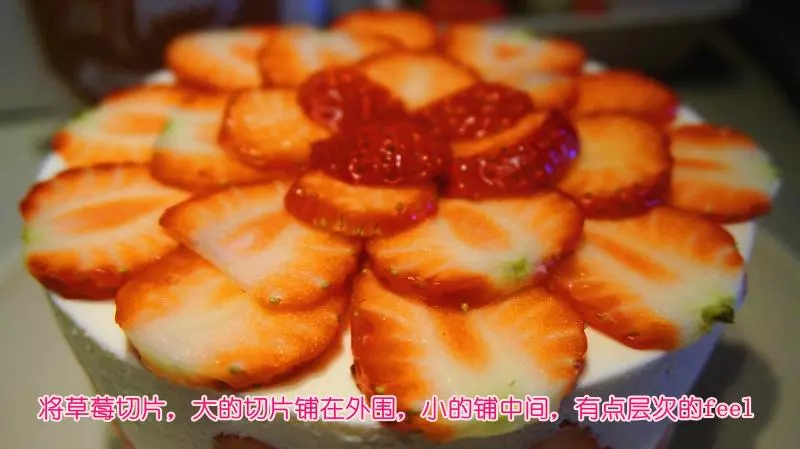
20按照洗好做美化
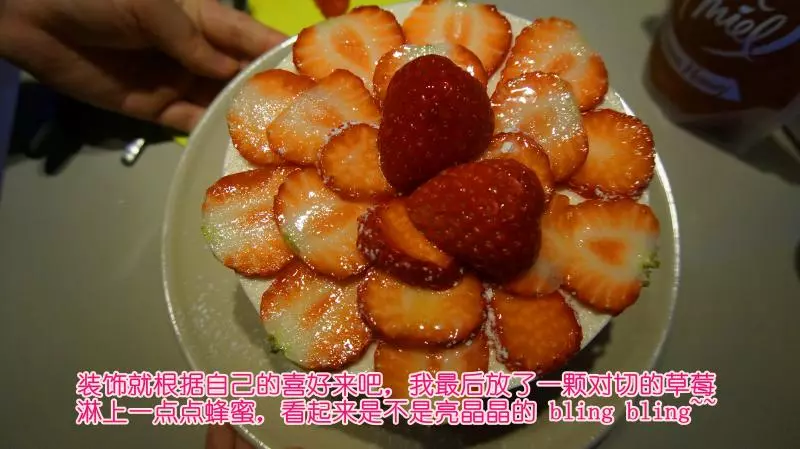
21淋上蜂蜜,亮晶晶的哦,是不是有点专业水准,完成啦!!!
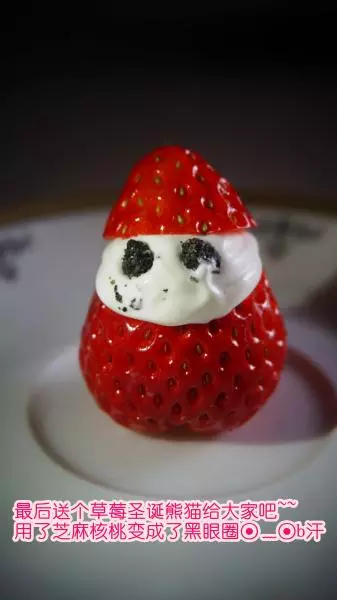
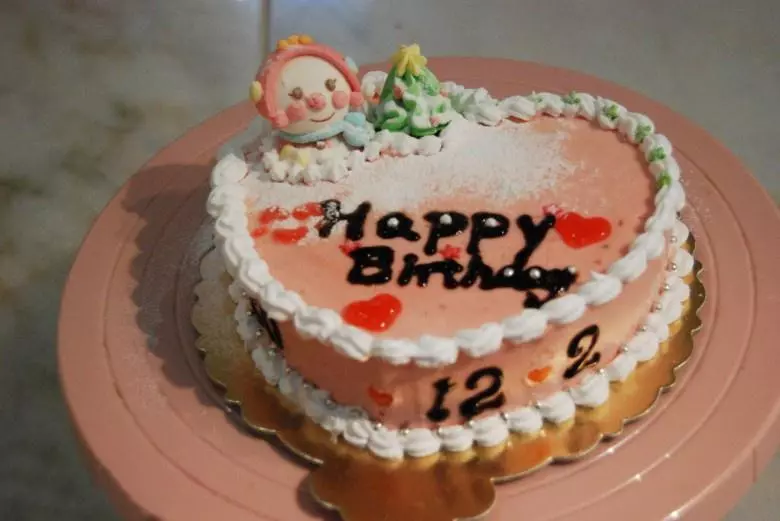
22最后送个草莓圣诞熊猫给大家,哈哈,新年快乐