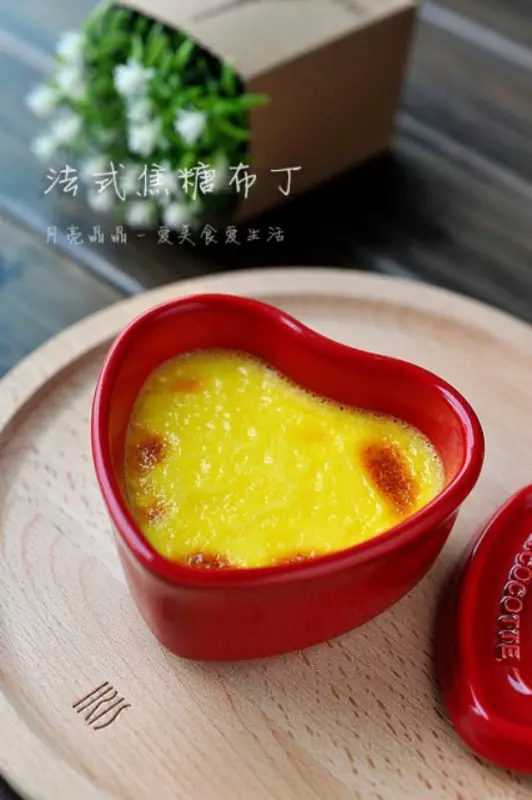
原料
蛋黄: 一个, 淡奶油: 50g, 牛奶(蛋黄用): 15g, 牛奶(煮糖用): 35g, 细砂糖: 17g, 炼奶: 5g, 粗砂糖(装饰用): 适量
步骤
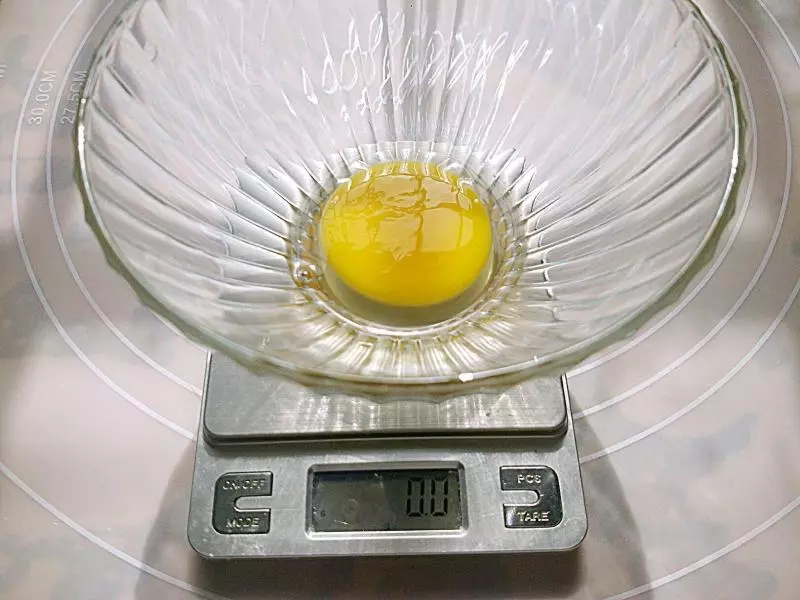
1准备好材料,敲一个蛋黄放碗里
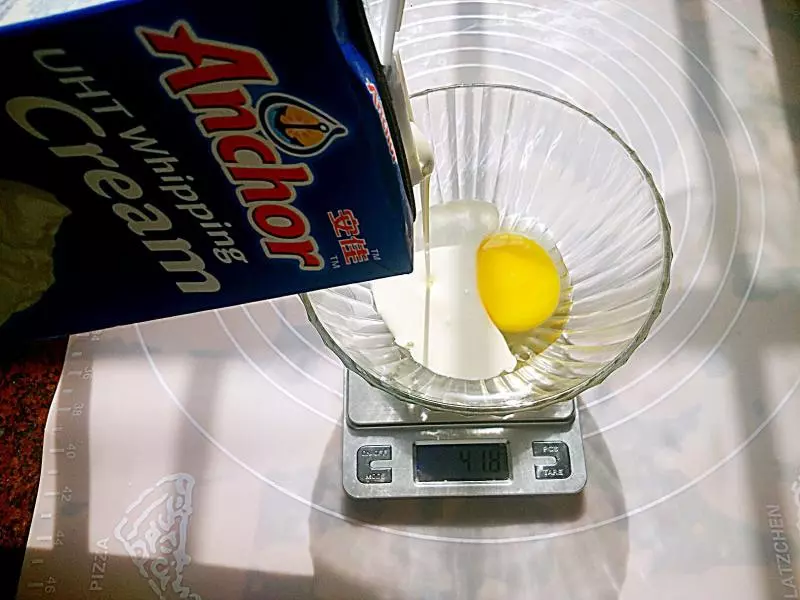
2倒入淡奶油、炼奶和牛奶(蛋黄用),搅拌均匀。 (因为我比较懒洗东西,都是要用直接倒进去懒得先全部分开秤好啦啦啦~)
3细砂糖倒入牛奶(煮糖用)备用
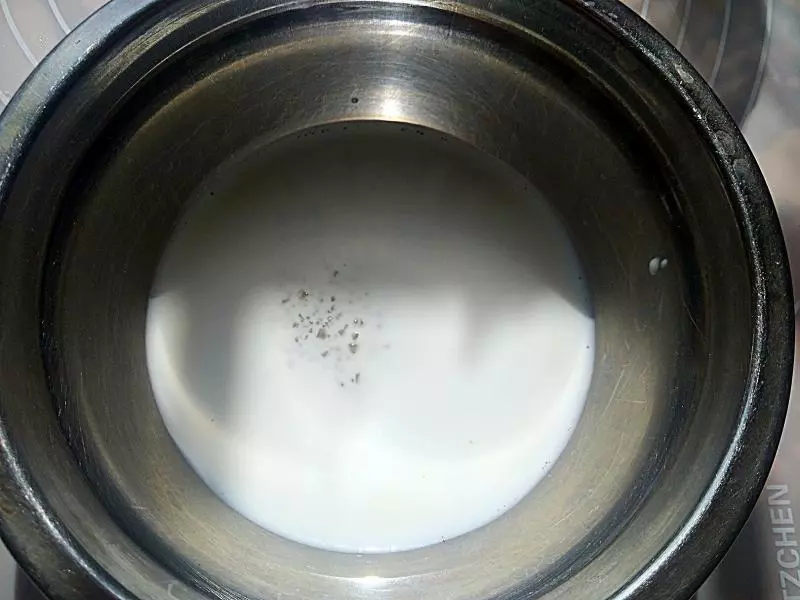
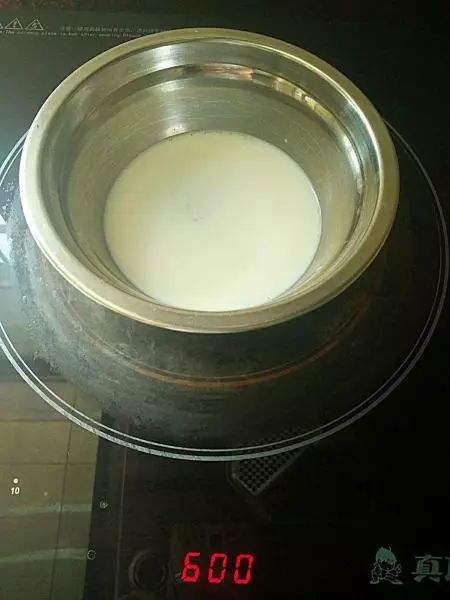
4小火加热,轻轻搅拌(图中可以看到我用600w就足够咯)至砂糖融化
5关火,将蛋黄液分多次倒入热牛奶中,并不断搅拌(不小心忘了拍照了〒_〒)
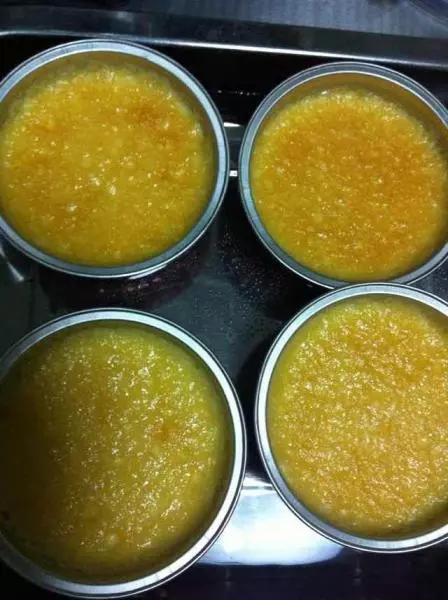
6将混合后的布蕾液过滤入陶瓷杯内(还是忘了拍照呀~≧﹏≦)
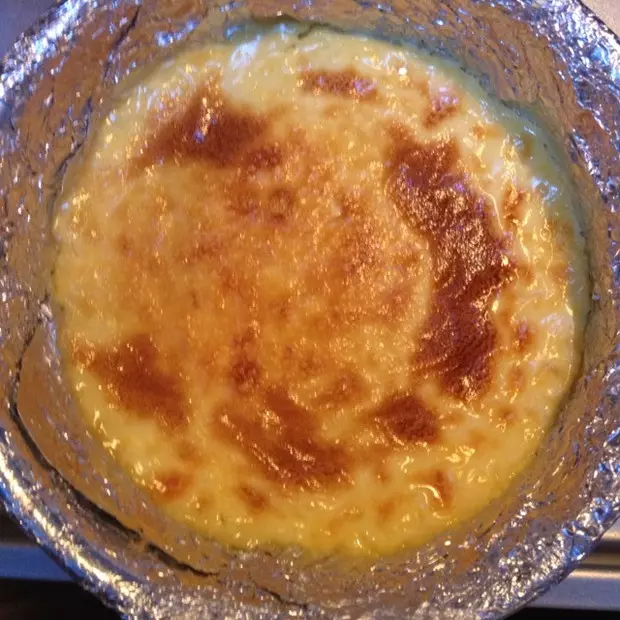
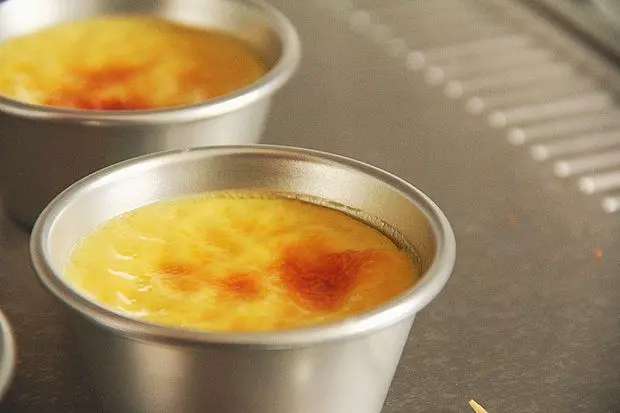
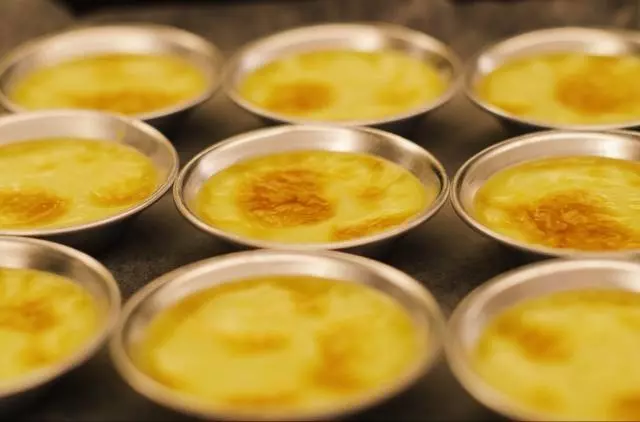
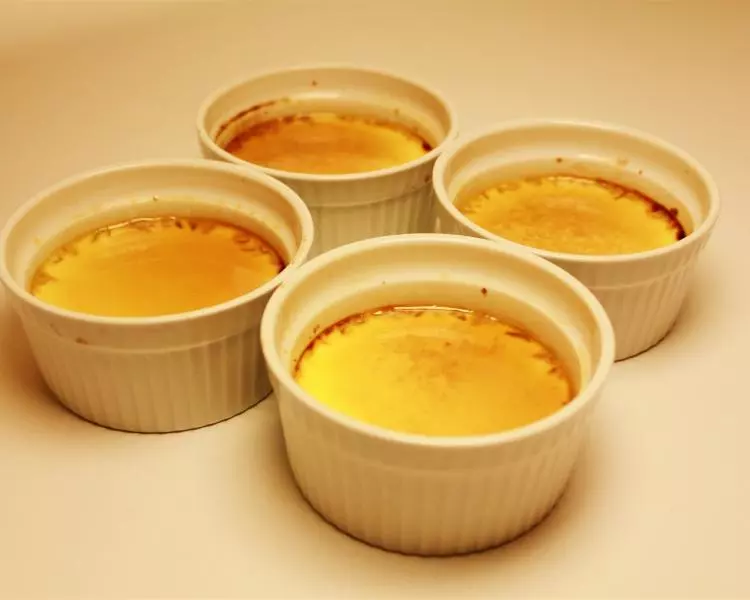
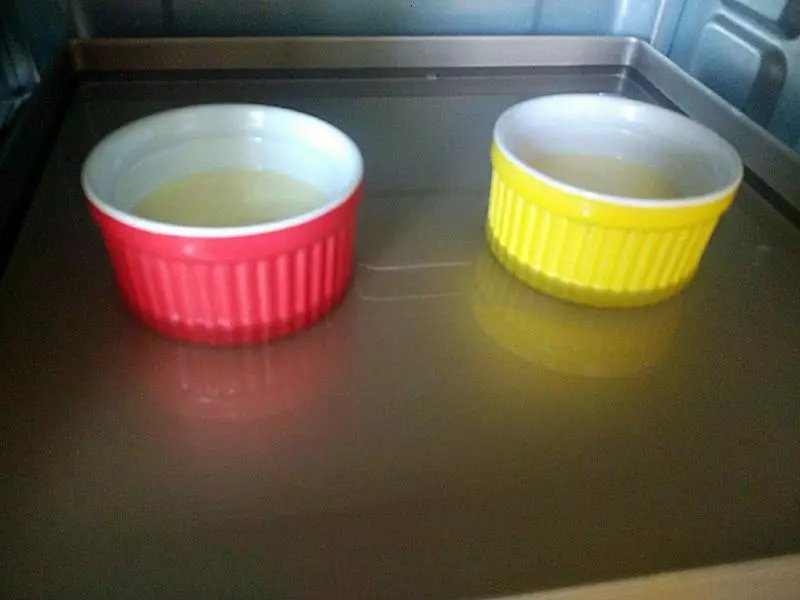
7烤箱预热,180度,隔水烤30分钟(我没预热,大概烤了40分钟,图片是烤前的,烤得差不多好了的时候会鼓起大包包噢)
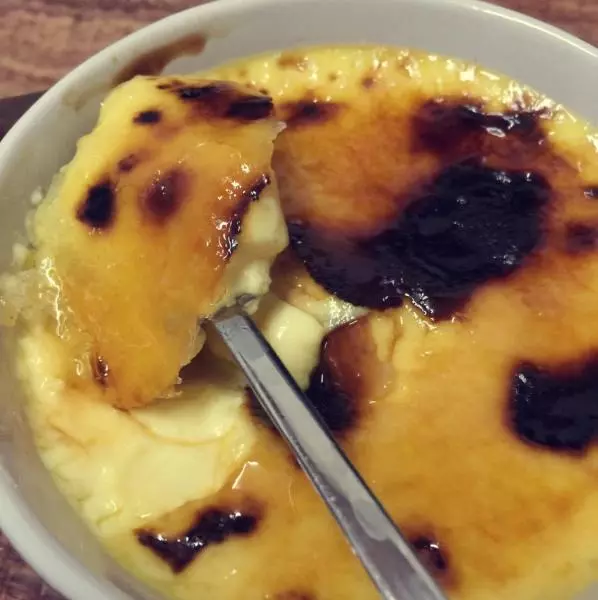
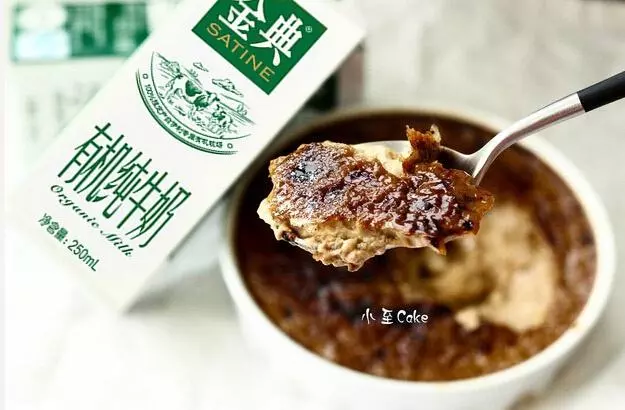
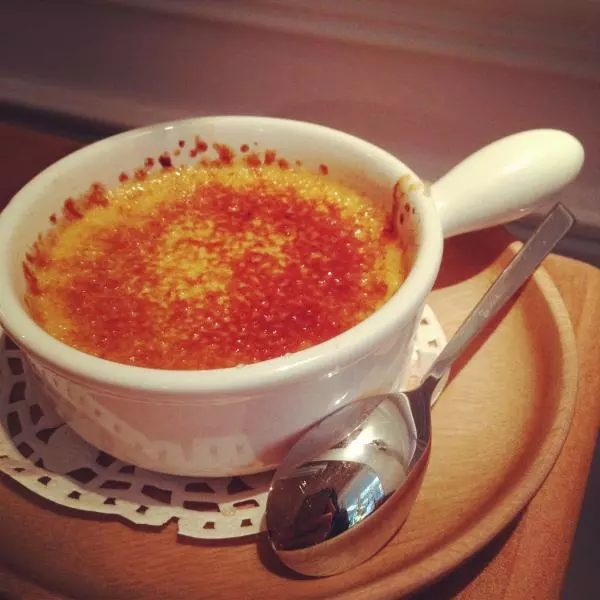
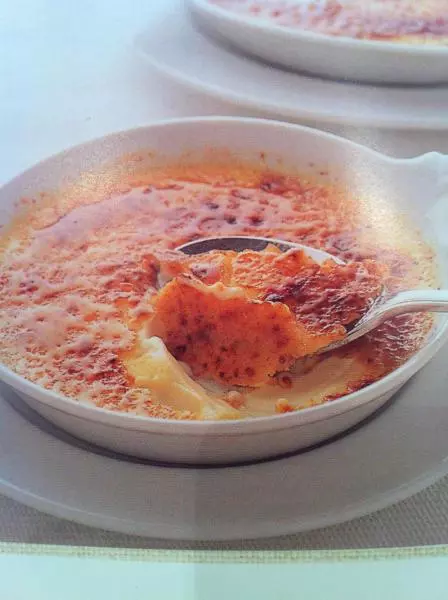
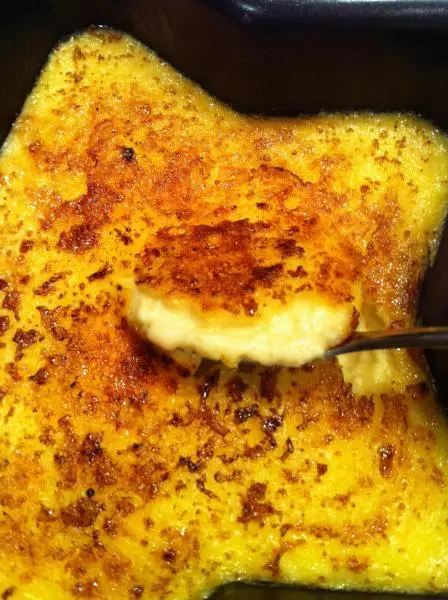
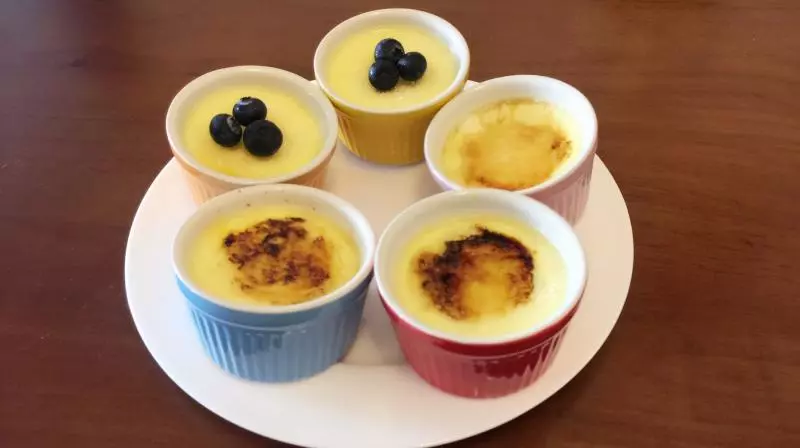
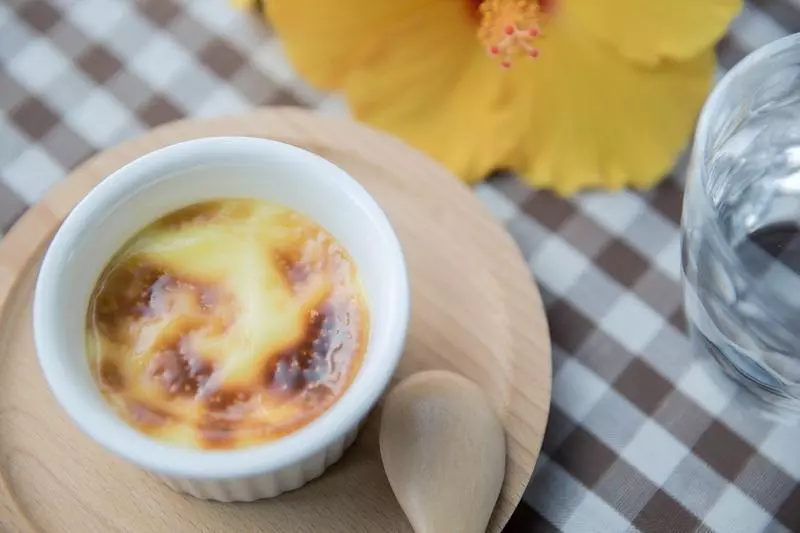
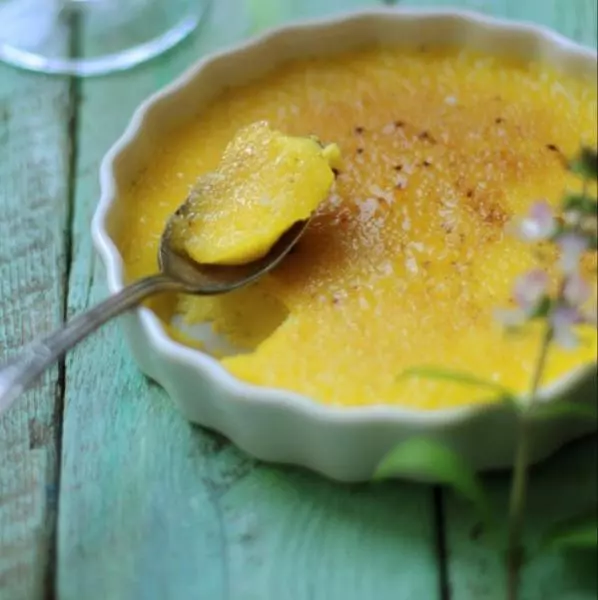
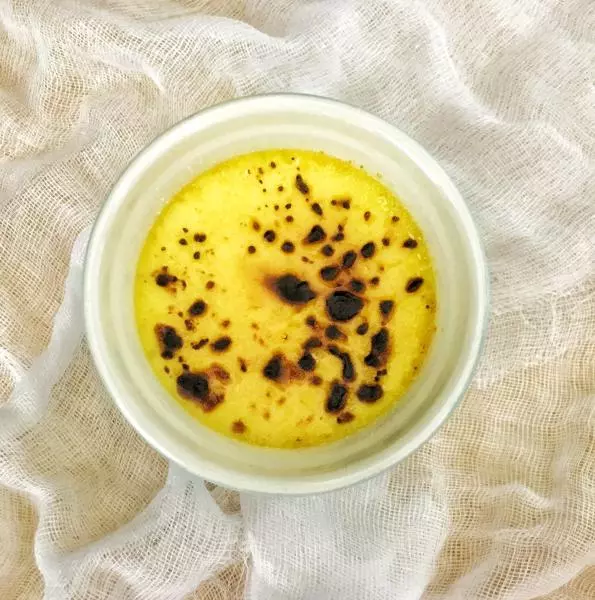
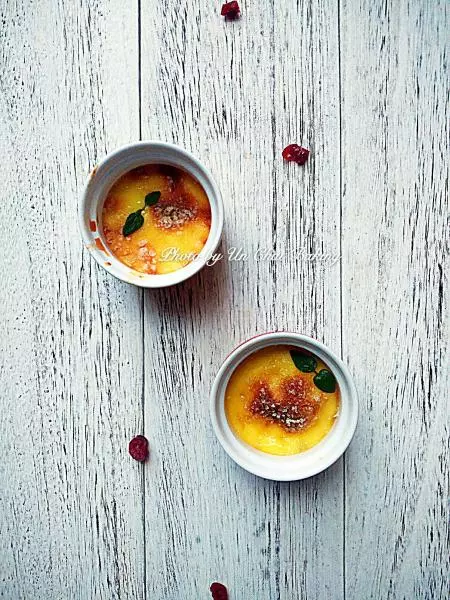
8烤好后,表面均匀撒上粗砂糖,烤箱最高火力,烤5-10分钟左右,注意留意表面别烤焦了噢~出现焦斑就可以出炉啦~ (下面那杯的焦斑像不像一个心心?(>^ω^<)嘿嘿嘿)

小技巧
这里用的是安佳的淡奶油,我不喜欢用雀巢,总觉得雀巢有股腥味,如果只有雀巢淡奶,可以放几滴柠檬汁去除味道噢(ฅ>ω<*ฅ)