原料
蛋黄糊配料: , 蛋黄: 5个, 牛奶: 50克, 植物油: 50克, 细砂糖: 20克, 蛋白打发配料: , 蛋白: 5个, 细砂糖: 60克, 柠檬汁: 5滴, 其它配料: , 食用色素: 数滴
步骤
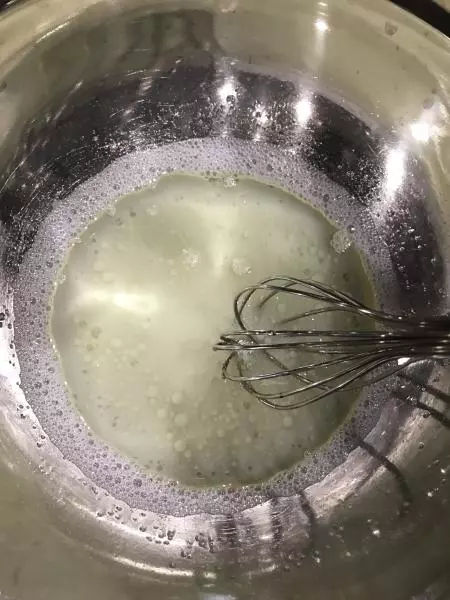
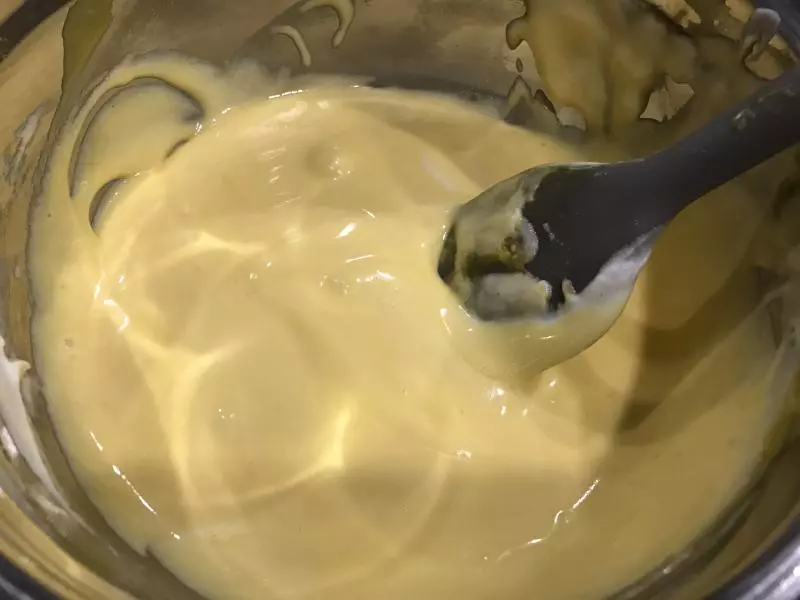
1牛奶和细砂糖搅拌均匀,再加入植物油搅拌均匀
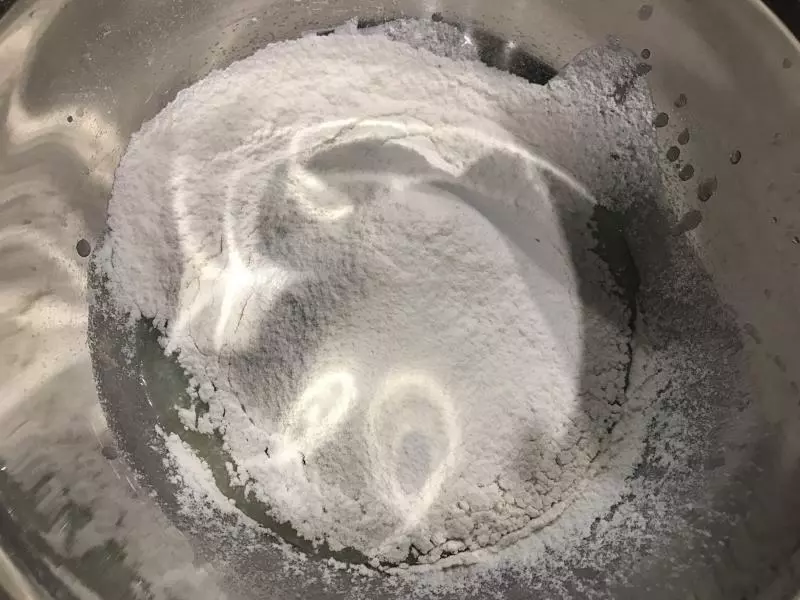
2过筛面粉,翻拌均匀(这一步先加面粉后加蛋黄的方法做出的蛋黄糊会更加细腻无颗粒)
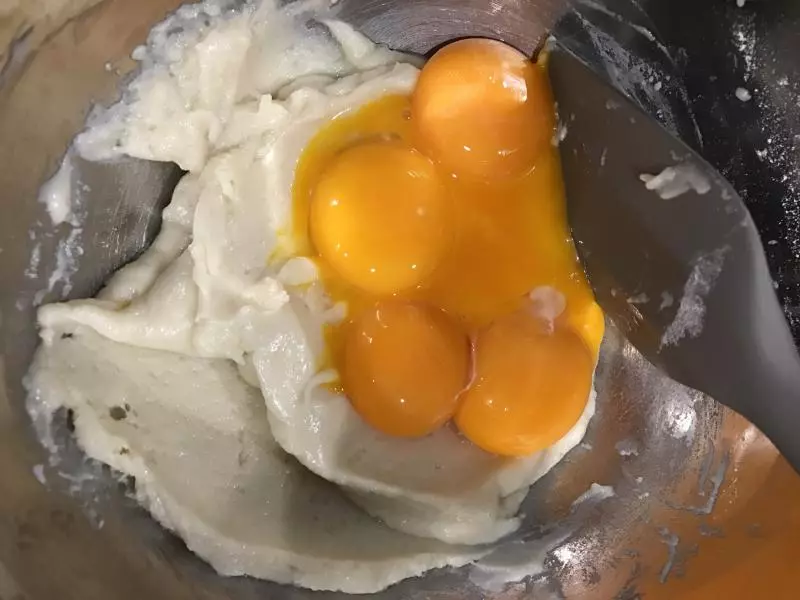
3加入蛋黄,翻拌均匀,切忌不可划圈搅拌
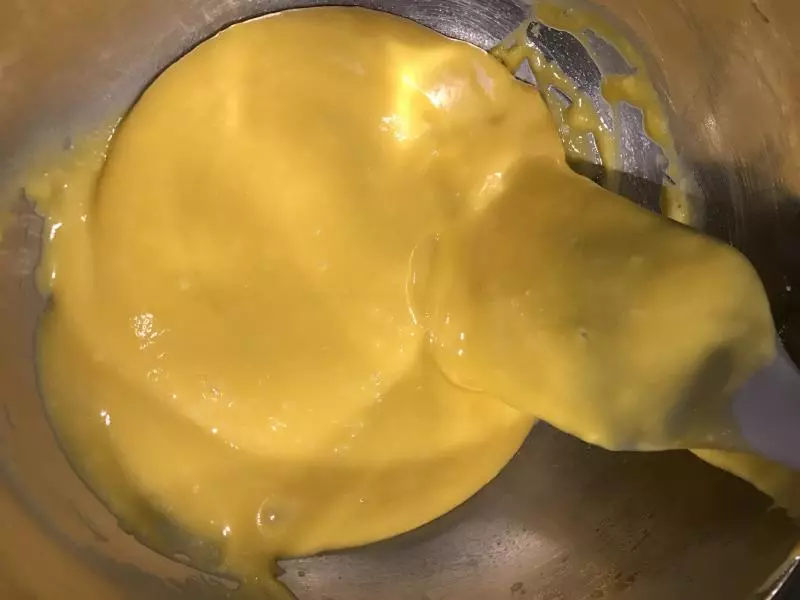
4完成的蛋黄糊细腻放旁边备用
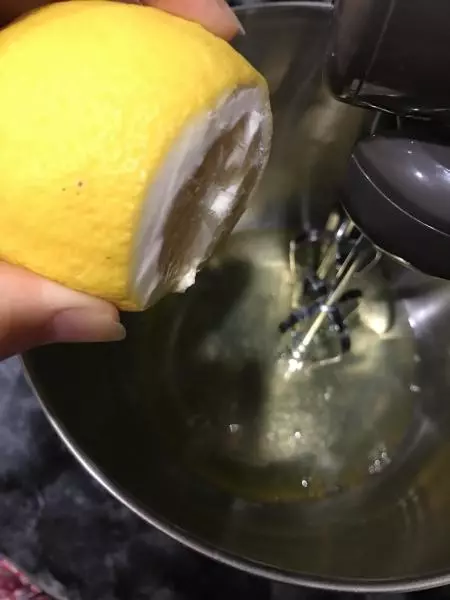
5开始打发蛋白,先加入5滴柠檬汁(打发蛋白的碗一定要无油无水)
6先低速打发蛋白,出现鱼泡后高速打发,分三次加入细砂糖
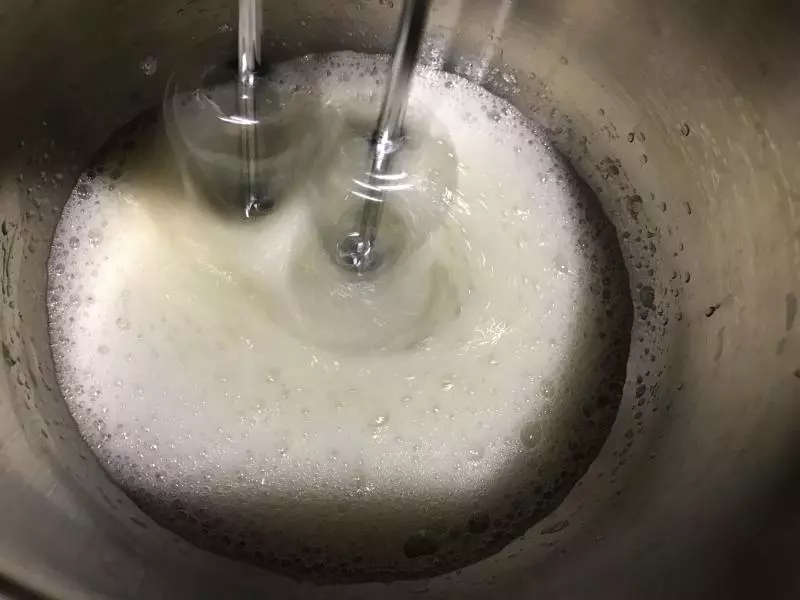
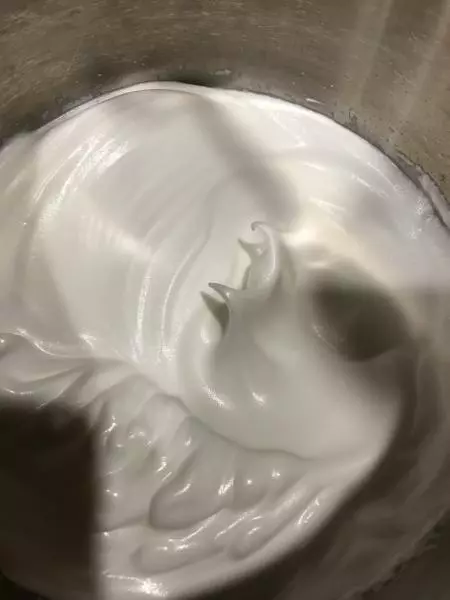
7一直打发至湿性发泡(如果是做戚风蛋糕需要打发至干性发泡)
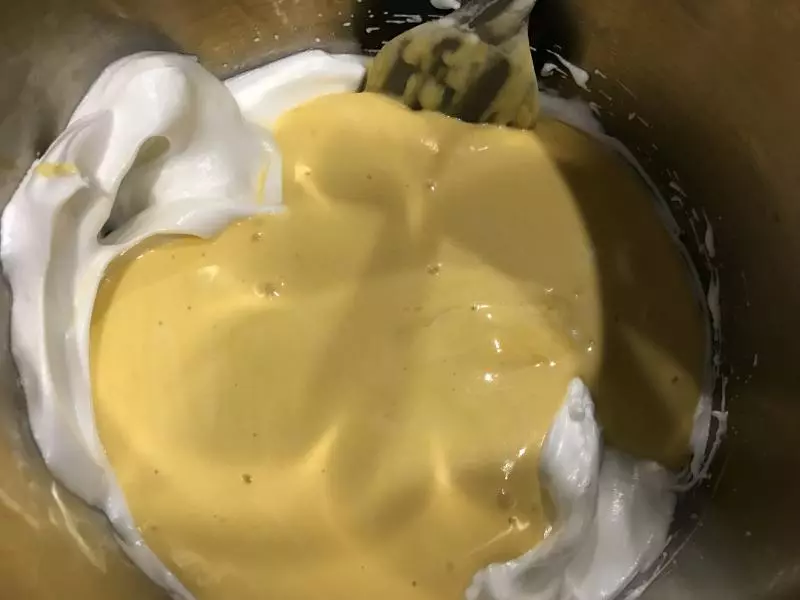
8三分之一的蛋白和蛋黄糊翻拌均匀
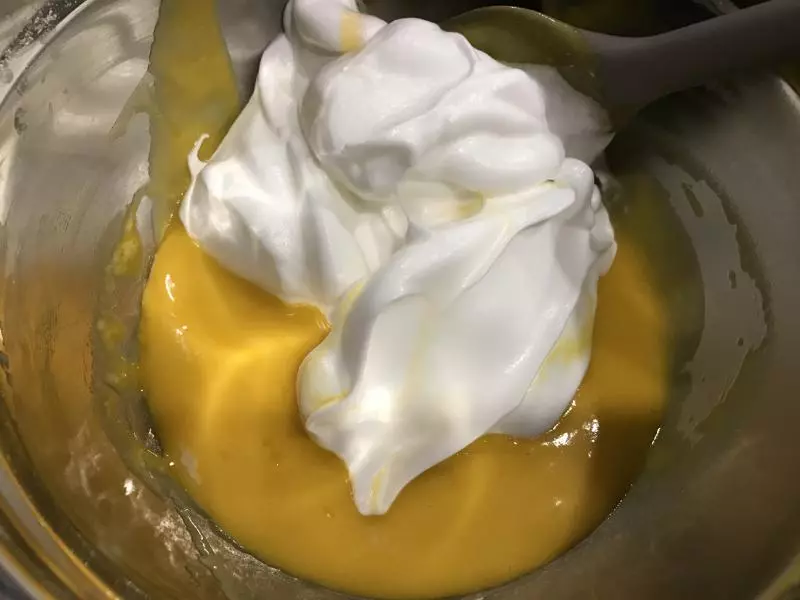
9翻拌均匀
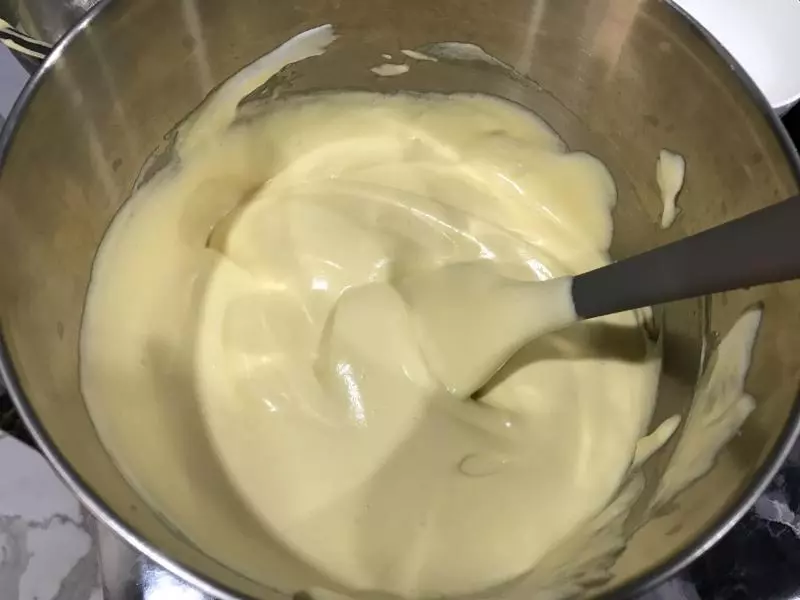
10把翻拌均匀后的蛋黄糊倒入剩余三分之二的蛋白中,快速翻拌均匀
11完全翻拌均匀后的蛋黄糊,舀出一勺蛋黄糊加入一点点色素搅拌均匀,用裱花袋装好
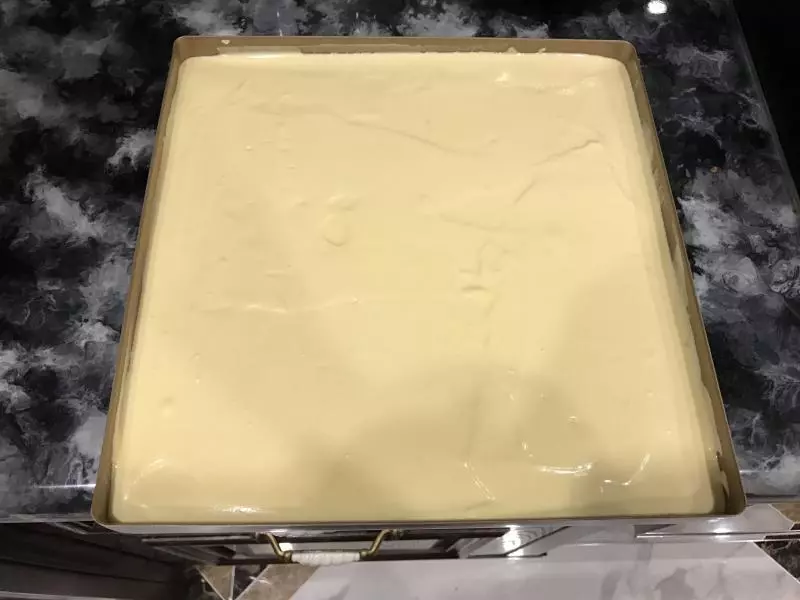
12剩余蛋黄糊倒入烤盘
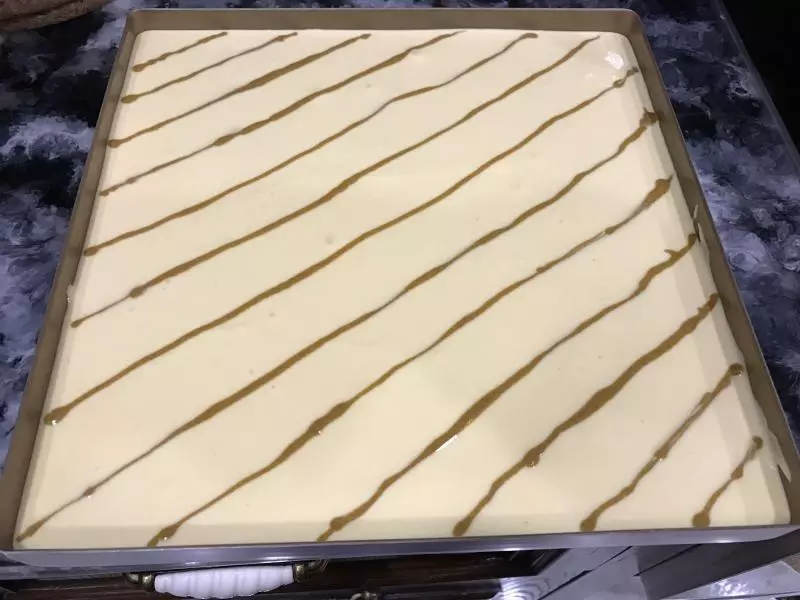
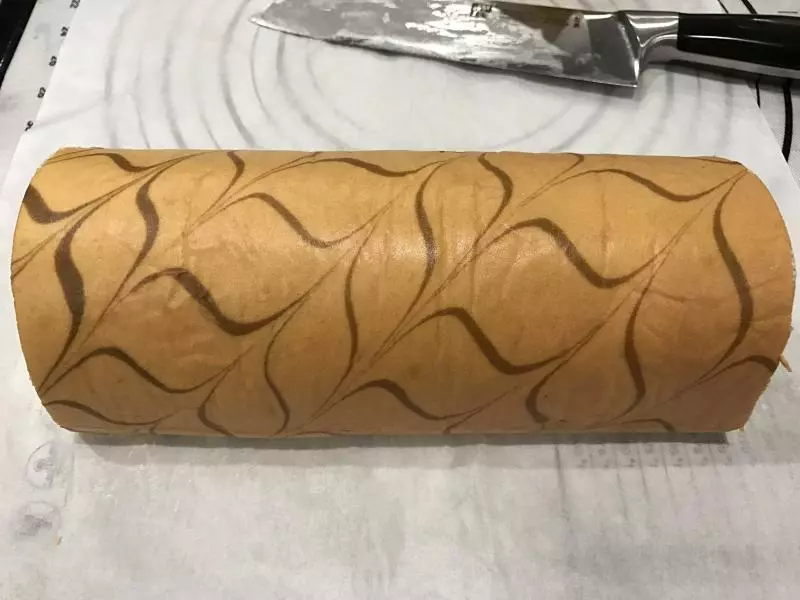
13调好色素的蛋黄糊用裱花袋在表面挤出斜条纹
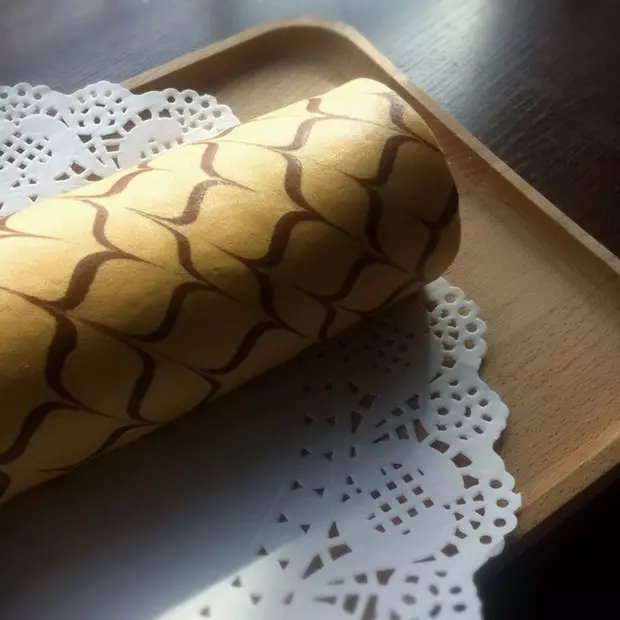
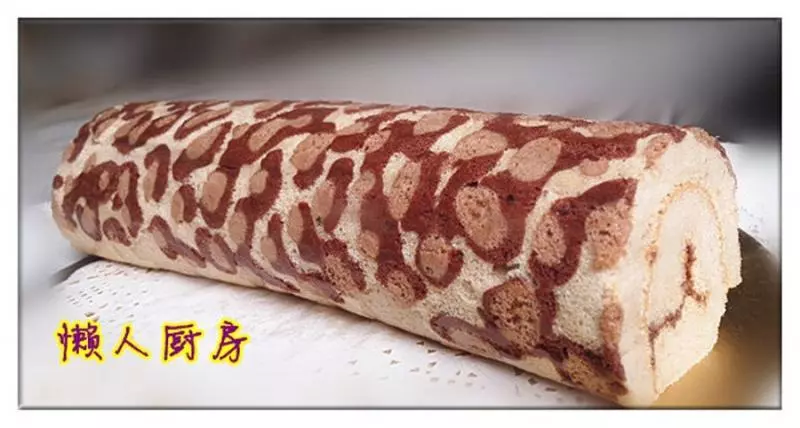
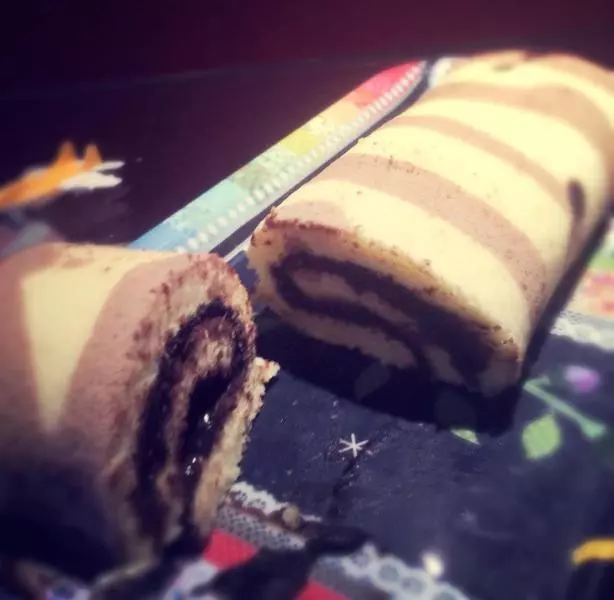
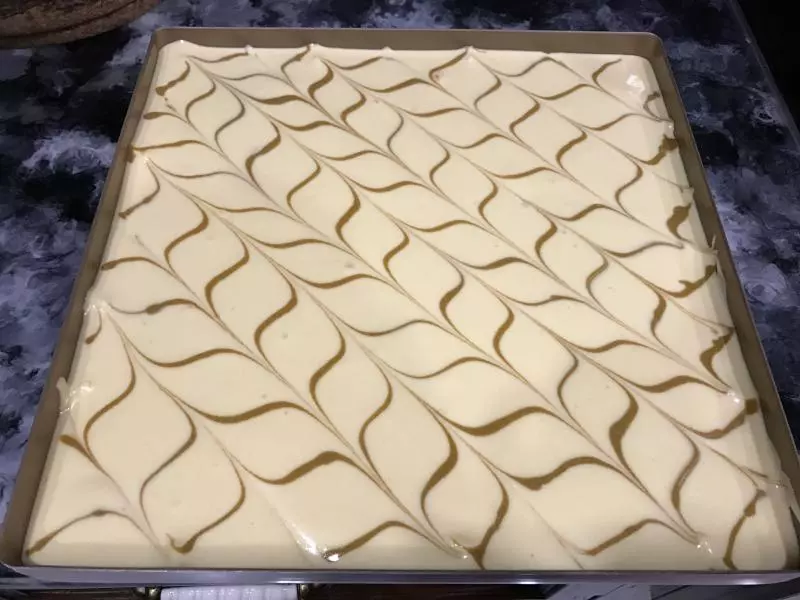
14用筷子垂直斜条纹搅出花纹,一前一后往相反方向
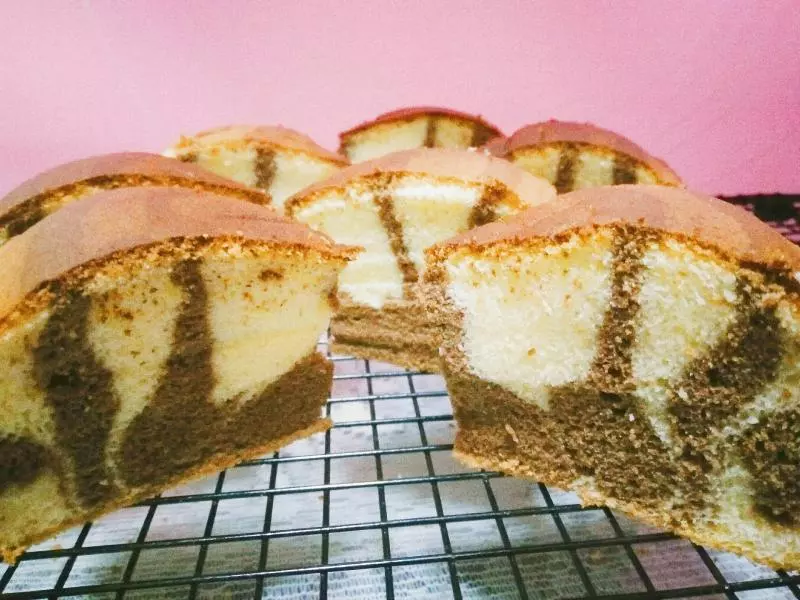
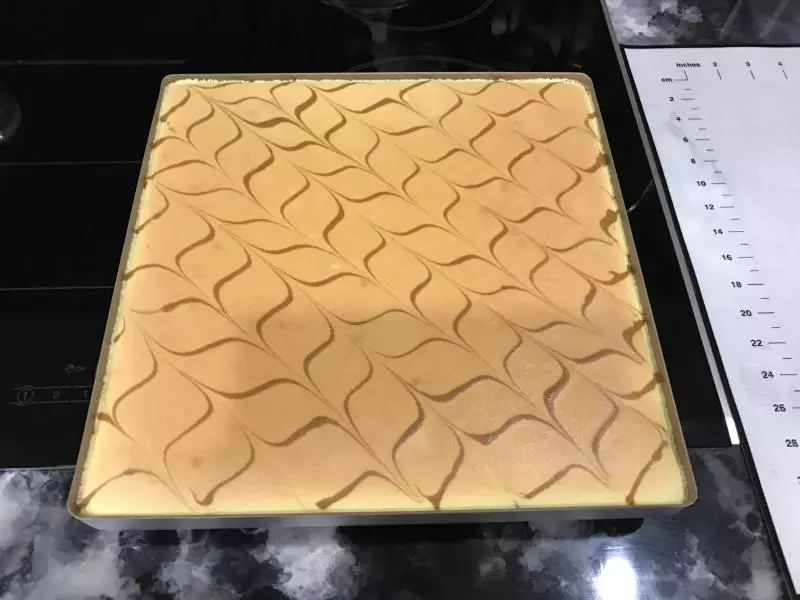
15烤箱中层180度,15分钟
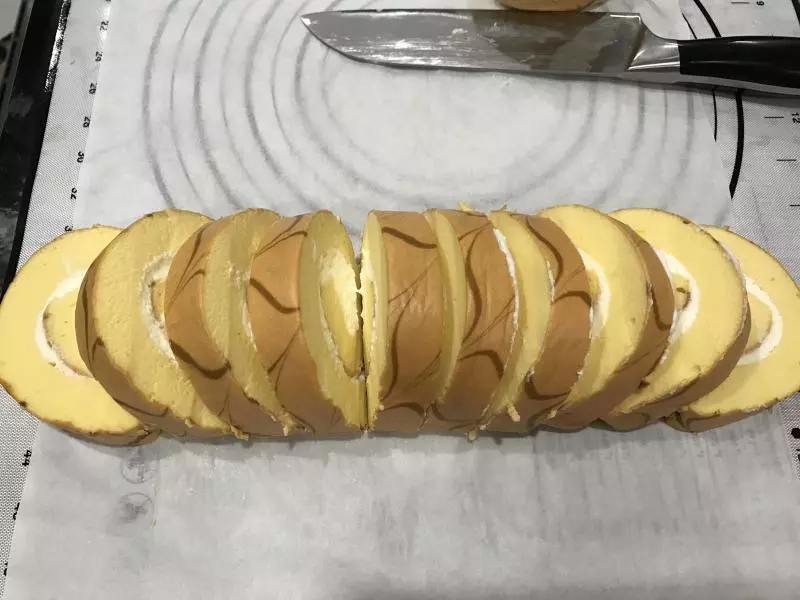
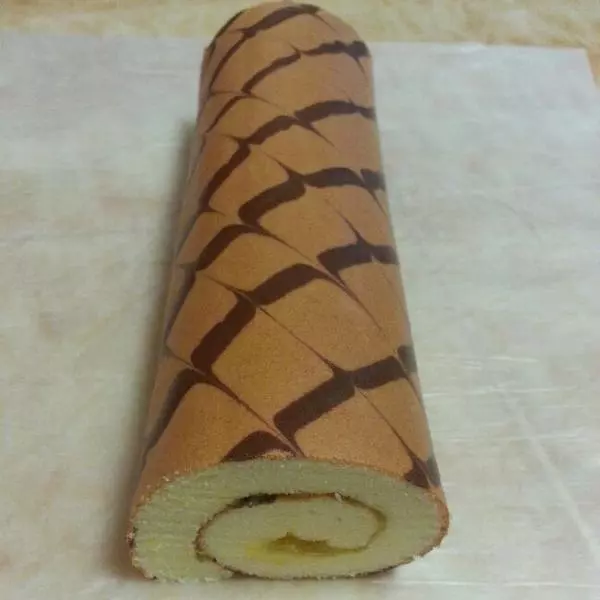
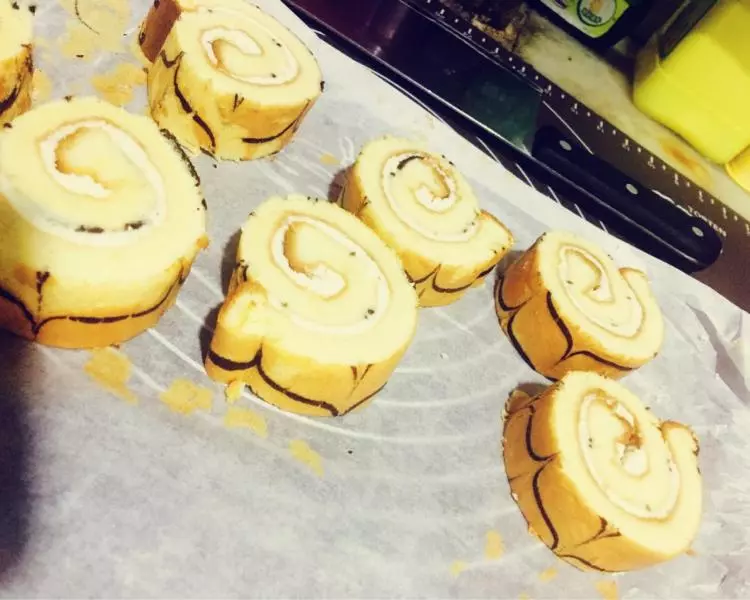
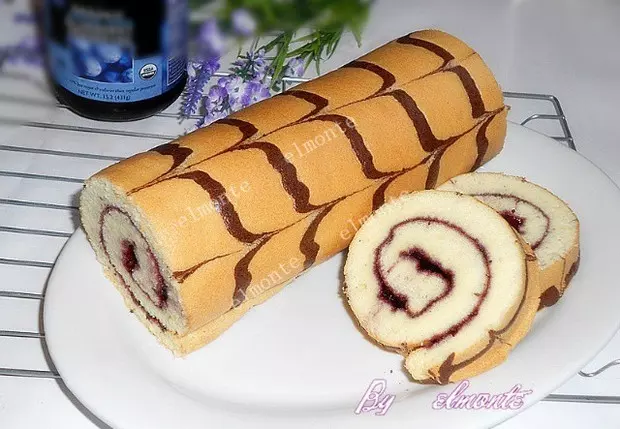
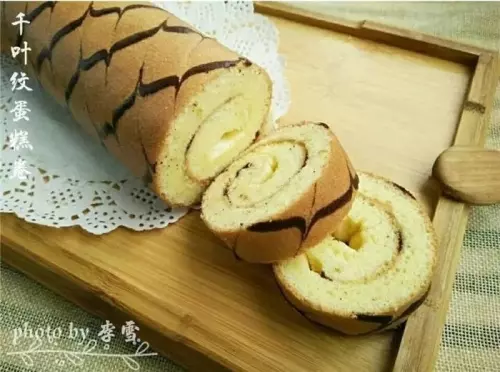
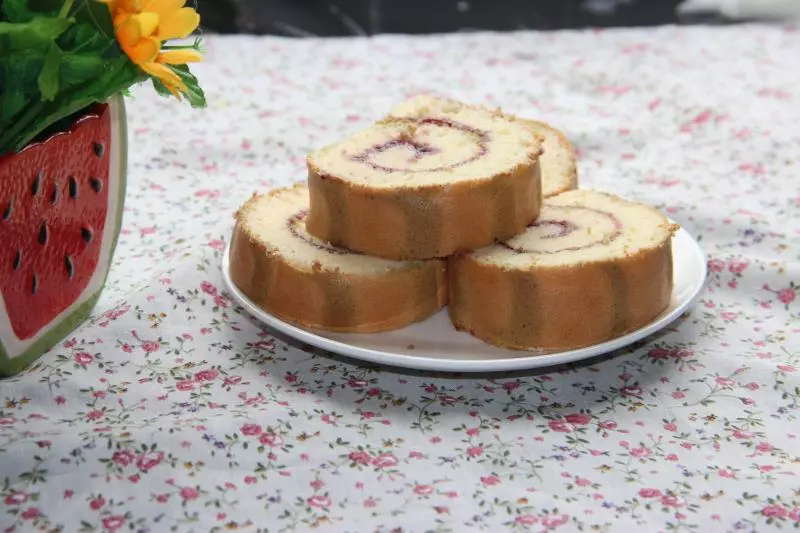
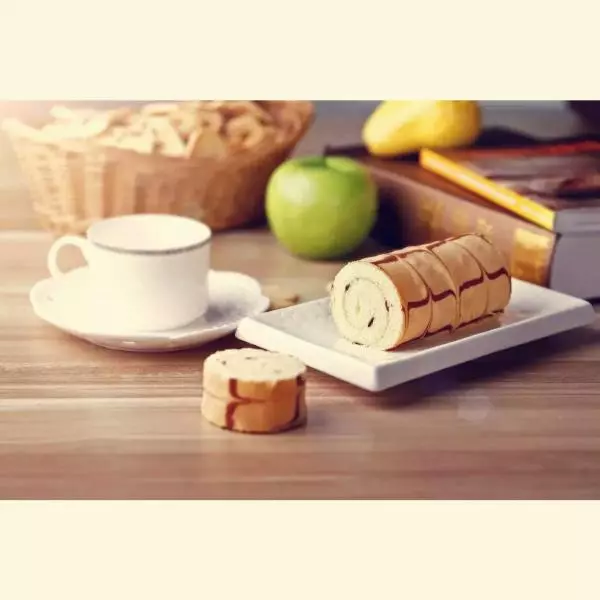
16抹上奶油或者果酱,卷好蛋糕卷,放入冰箱冷藏定型15分钟左右
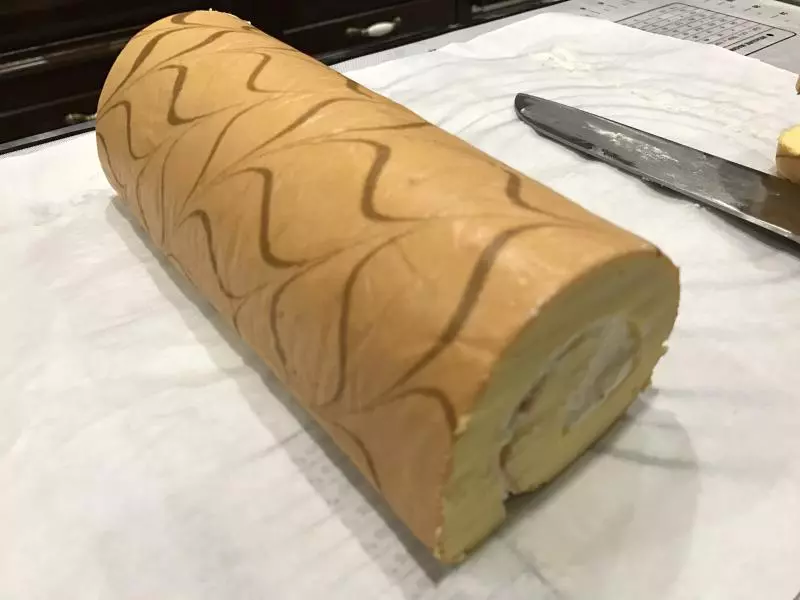
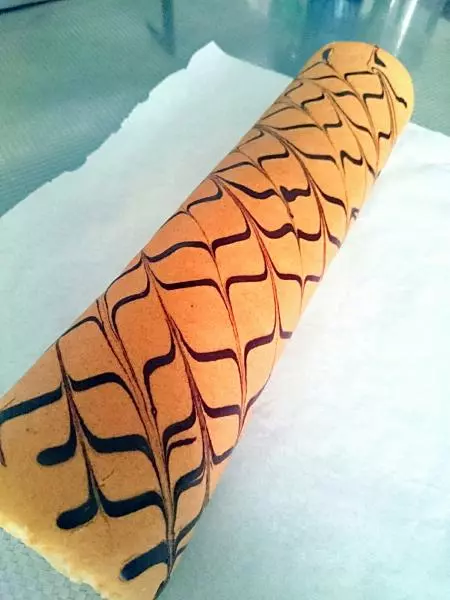
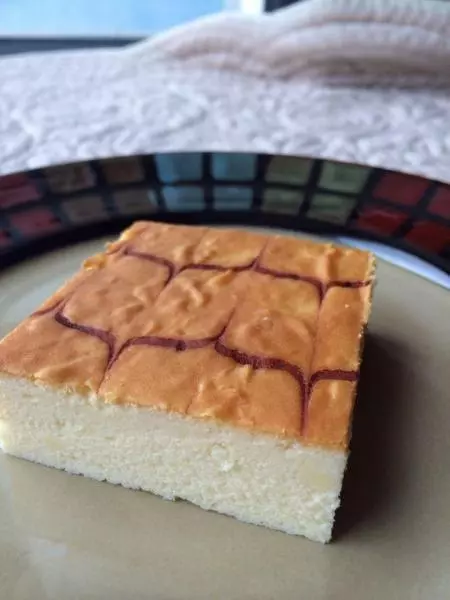
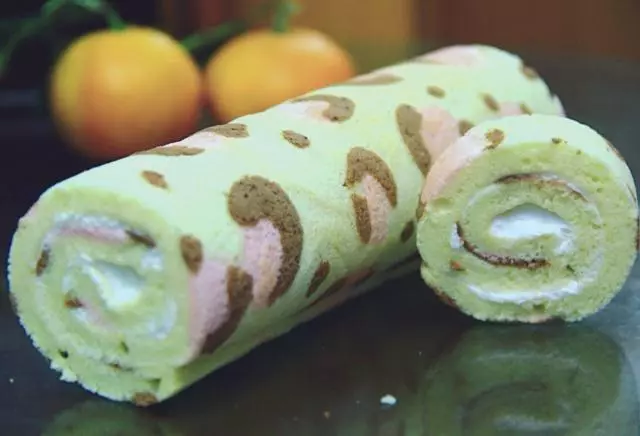
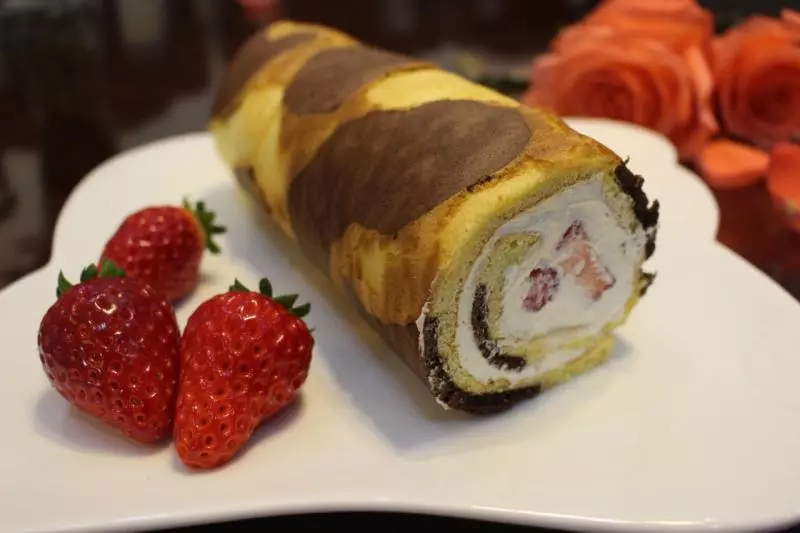
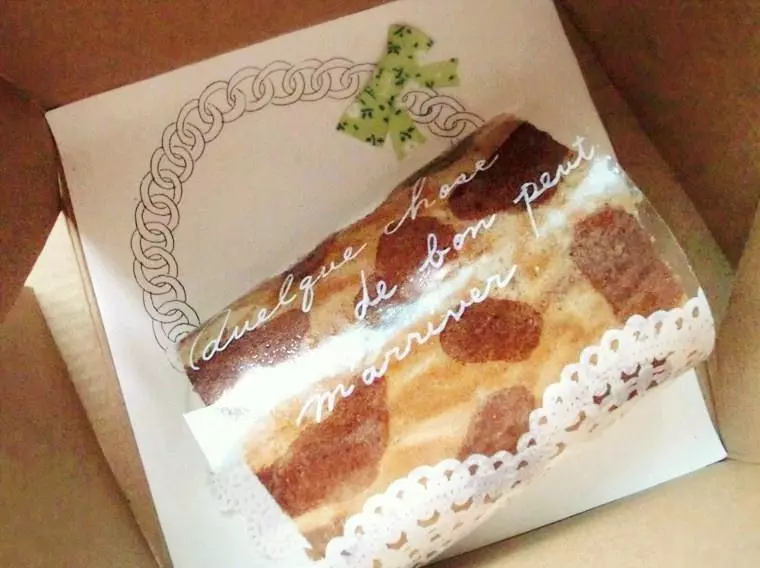
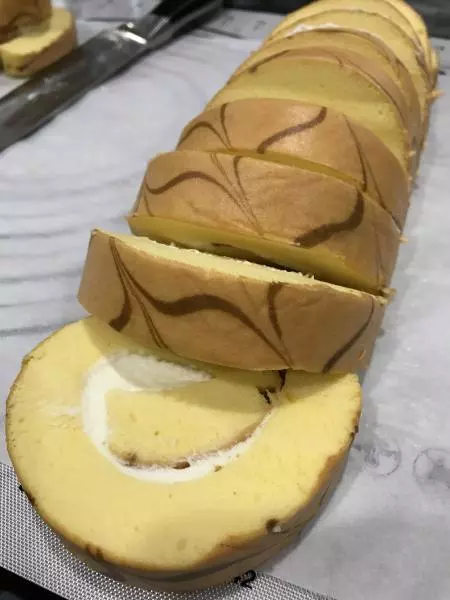
17条纹的样子
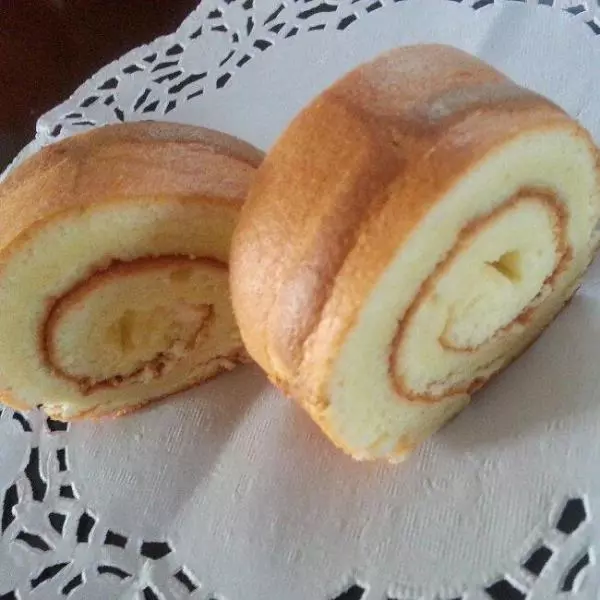
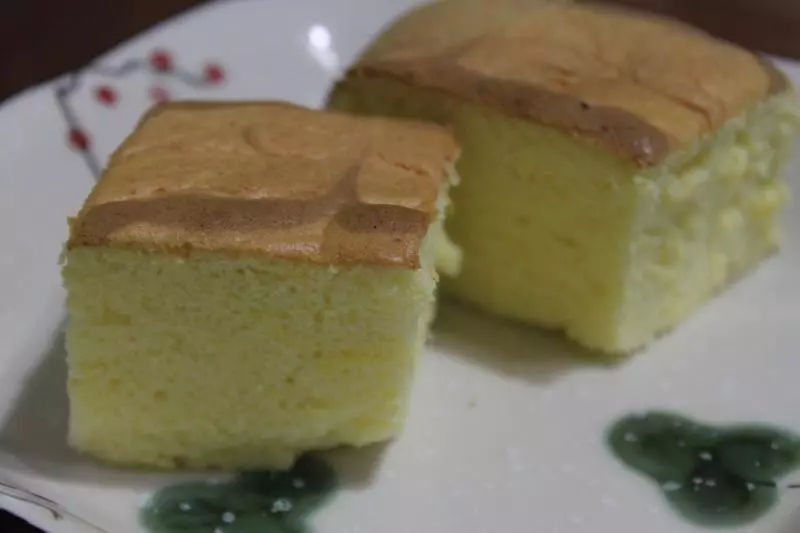
18可以切成小块方便食用