原料
鸡蛋: 中等鸡蛋3个, 低筋面粉: 48克, 玉米油: 26克, 纯牛奶: 26克, 细砂糖(蛋黄用): 18g, 细砂糖(蛋白用): 33g, 柠檬汁: 少许几滴
步骤
1牛奶、蛋黄、玉米油放入盆中备用,避免蛋黄干皮。
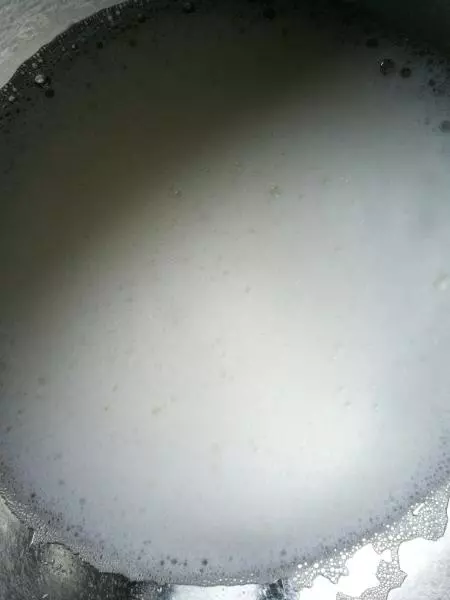
2蛋白低速打粗泡,开始加细砂糖。分3次加入
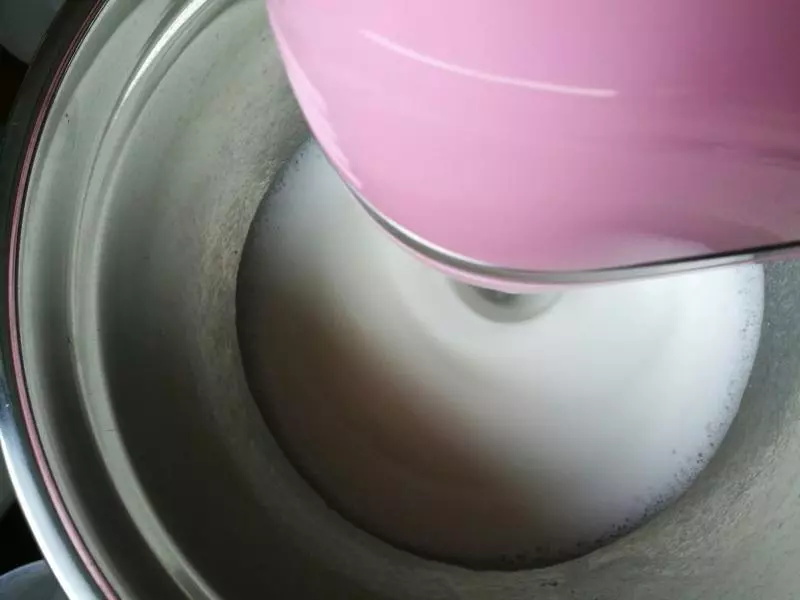
3此时再次加入细砂糖,中速打发蛋白。
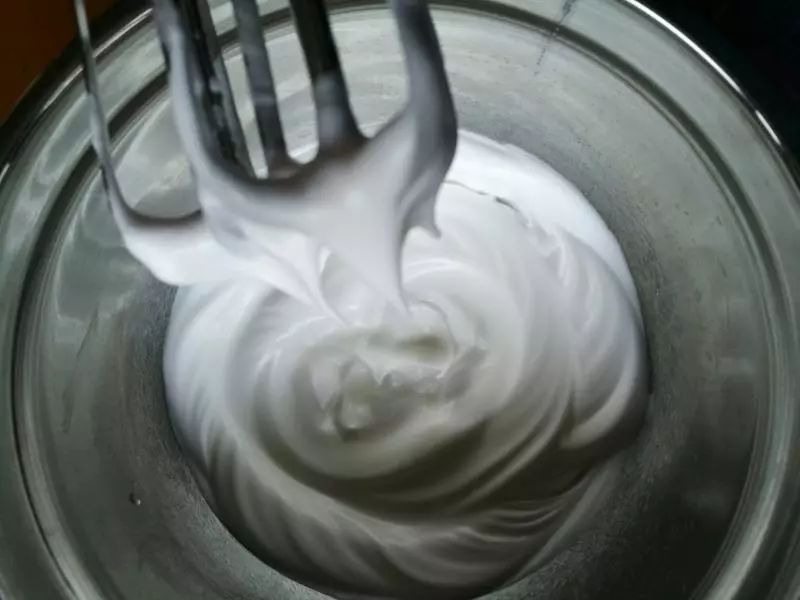
4第三次加入砂糖,高速打发至图中那样弯钩。

5然后转中速打发
6最后低速打发调整蛋白,从高速回到中速再到低速打发,这个过程观察蛋白状态,不用多久。

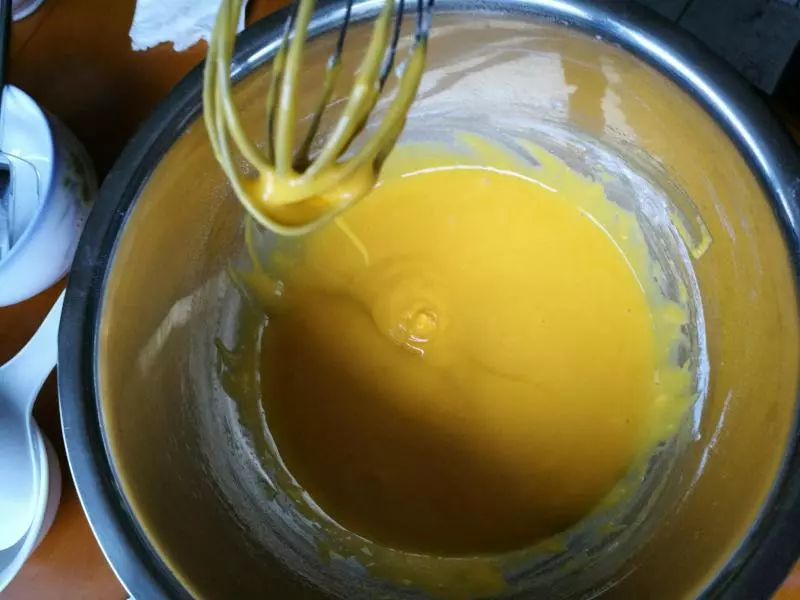
7蛋白打发好备用,可放入冰箱。将砂糖放入蛋黄中,用手抽搅拌,让砂糖尽量融化。然后筛入低粉,不规则地将蛋黄糊搅拌均匀,当蛋抽提起成线状滴落就可以了。
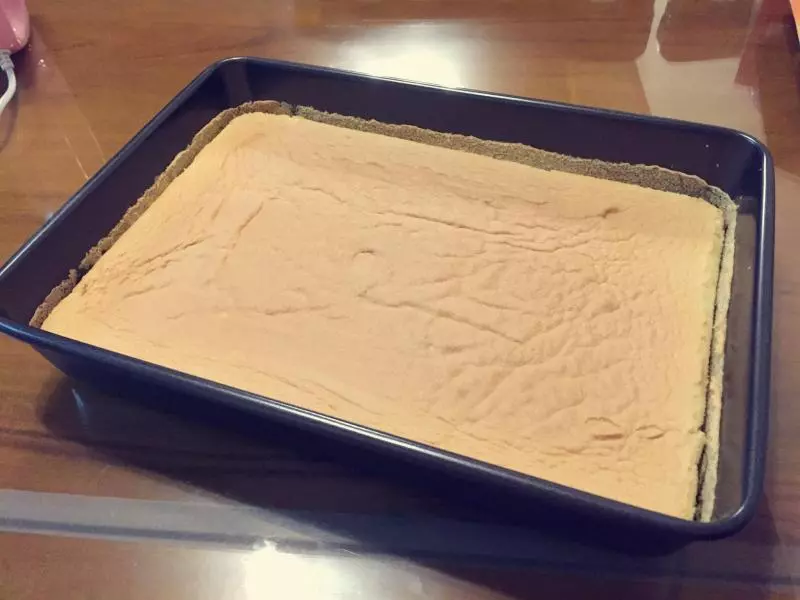
8先用刮刀取部分蛋白与蛋黄糊以翻拌方式拌匀,然后倒入剩余蛋白中翻拌均匀,倒入模具。震模除去大气泡,之后我还用筷子转圈搅了几遍,这样蛋糕胚更细腻无气孔。
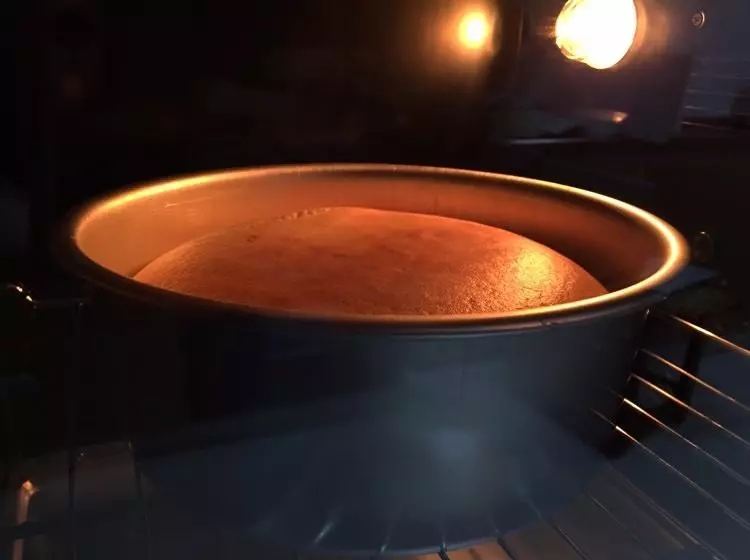
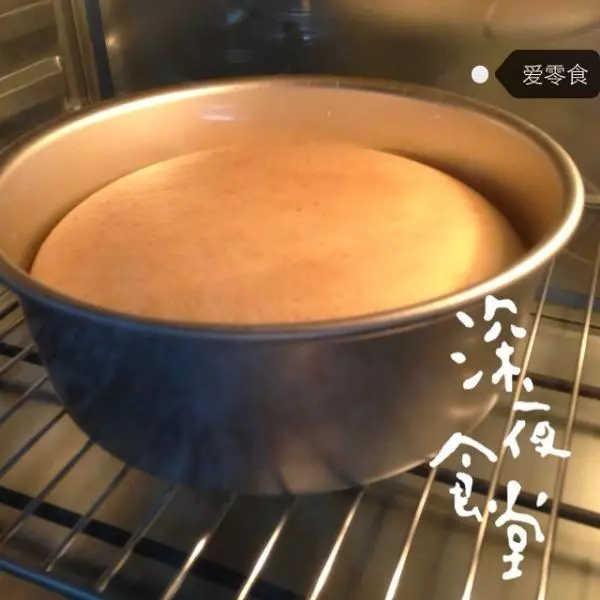
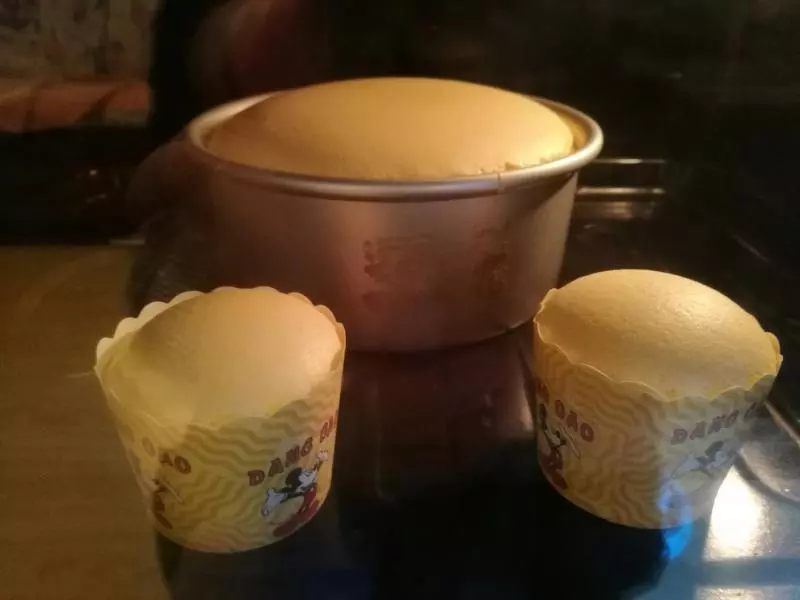
9装模具八分满,记得提前10几分钟预热烤箱。我用的鸡蛋大了点,感觉糊多就装了2个纸杯。这是烤了20分钟时状态!
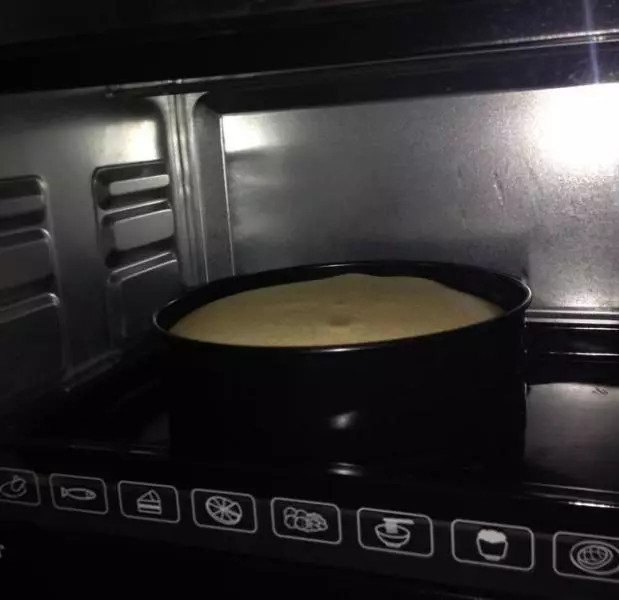
10这是烤了30分钟时状态
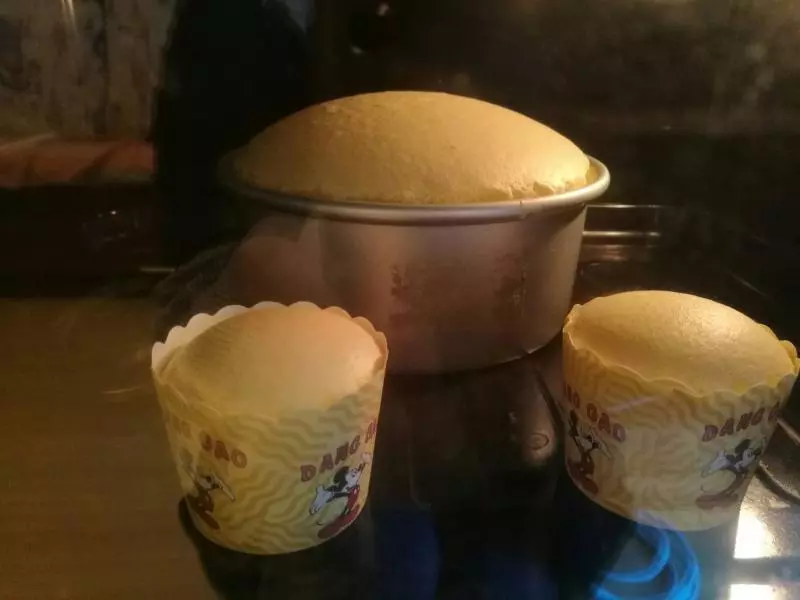
11这是烤了40分钟时状态。
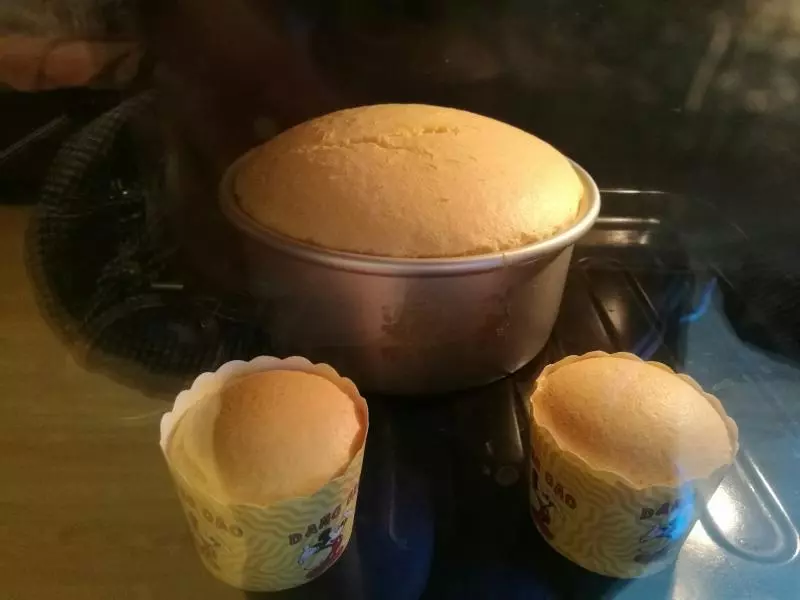
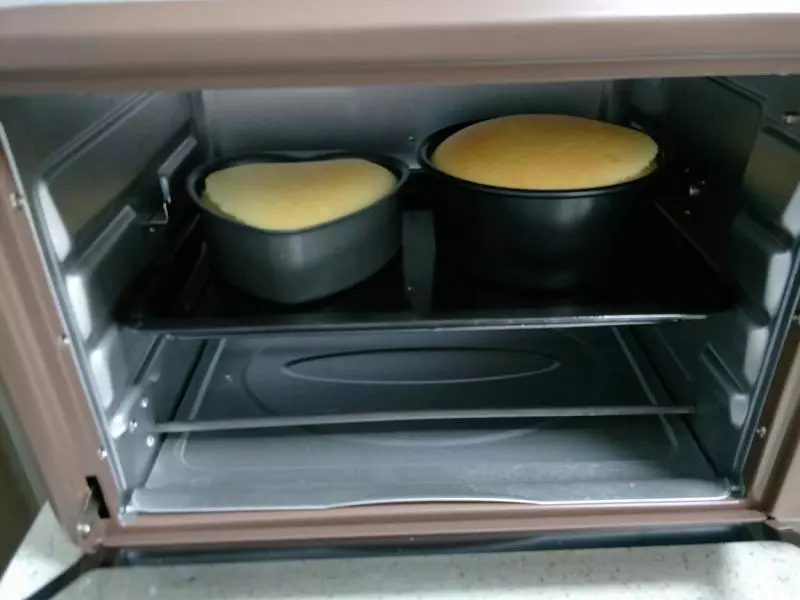
12这是50分钟时状态,这时我快速拿出了纸杯。

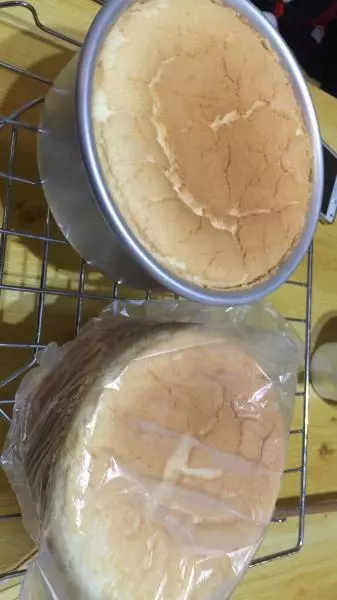
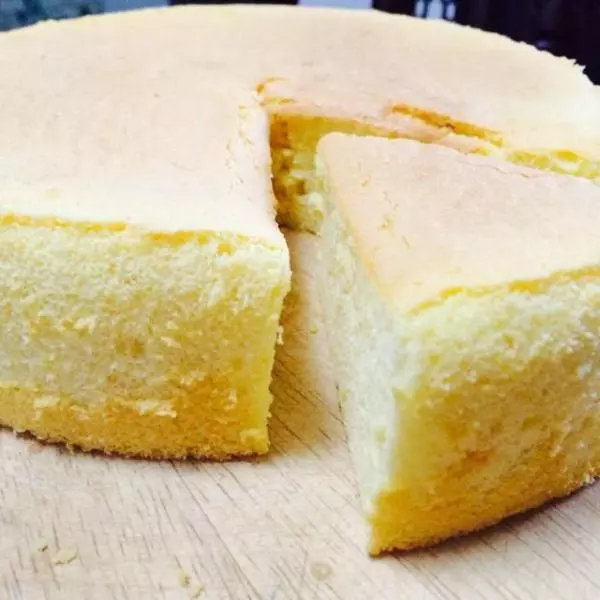
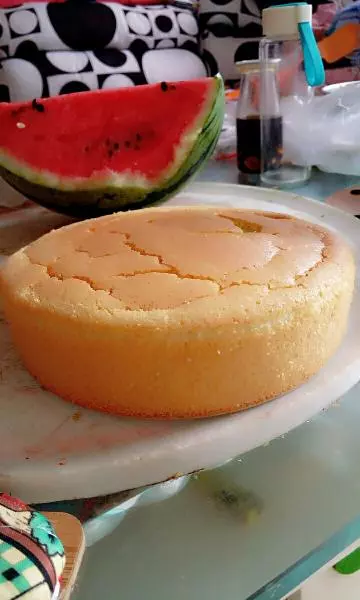
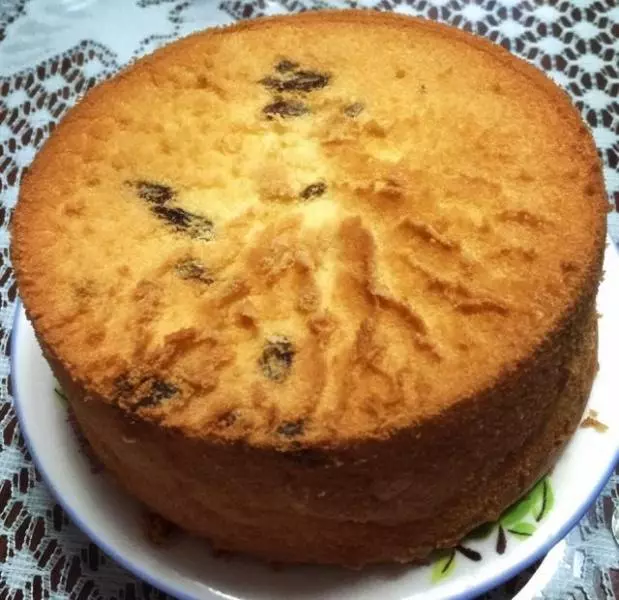
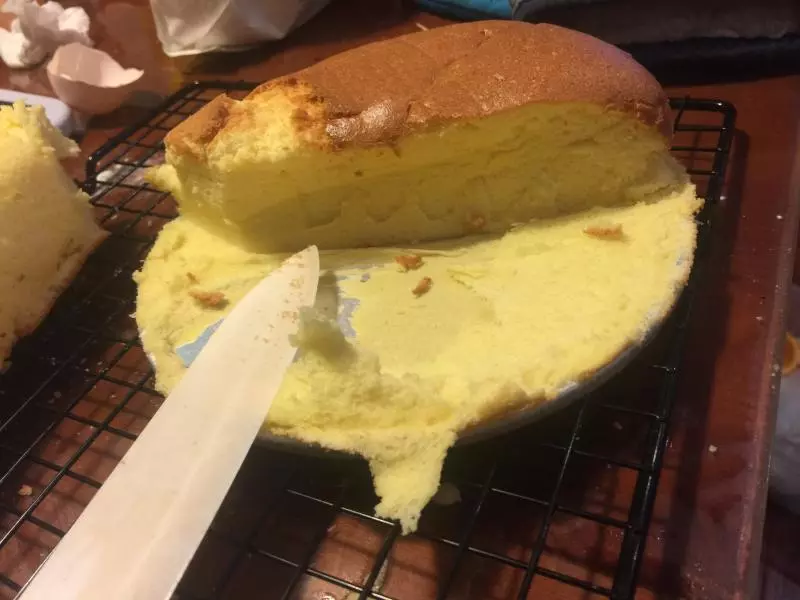
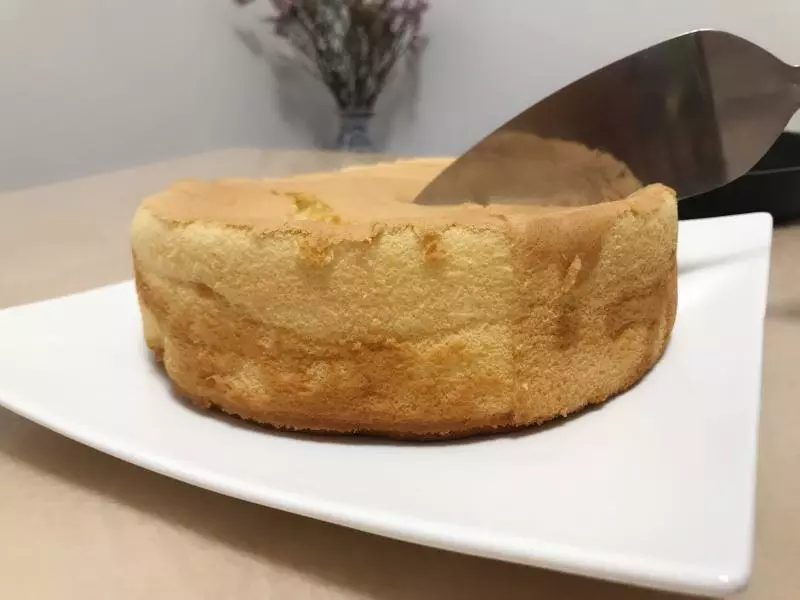
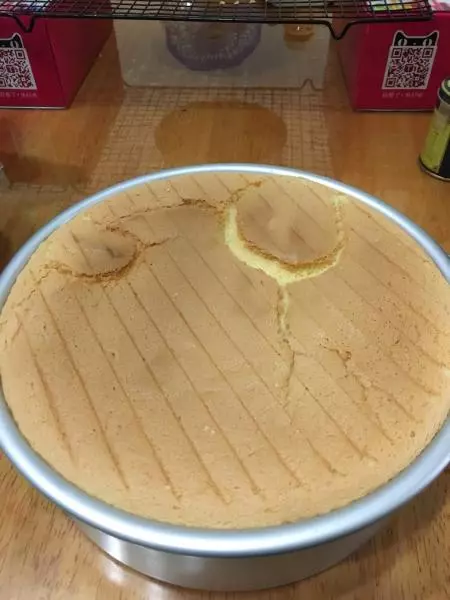
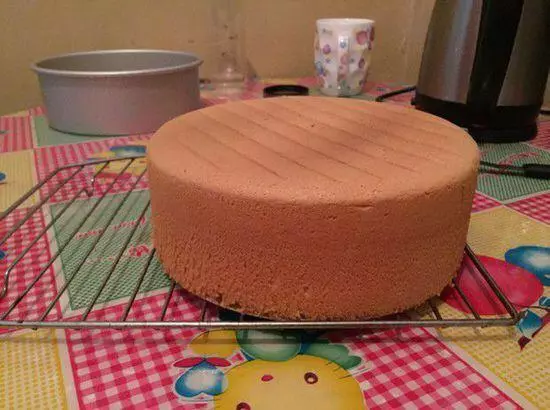
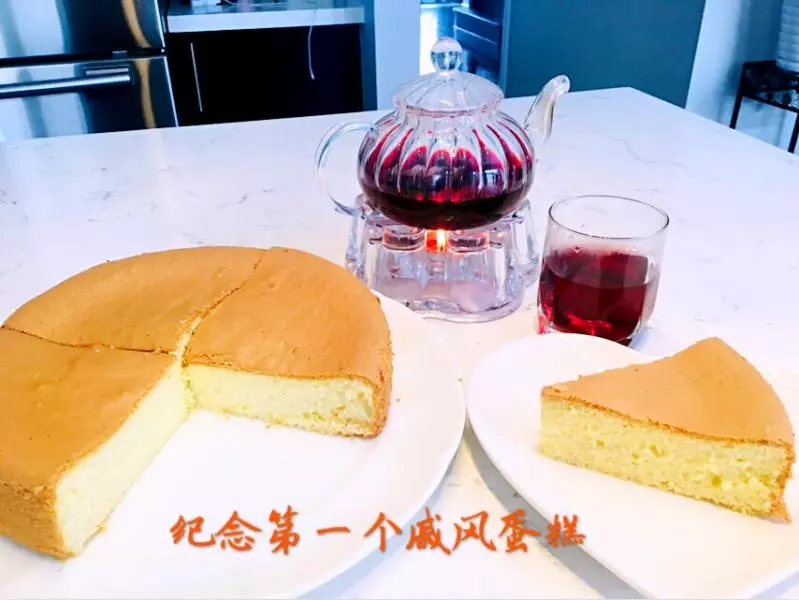
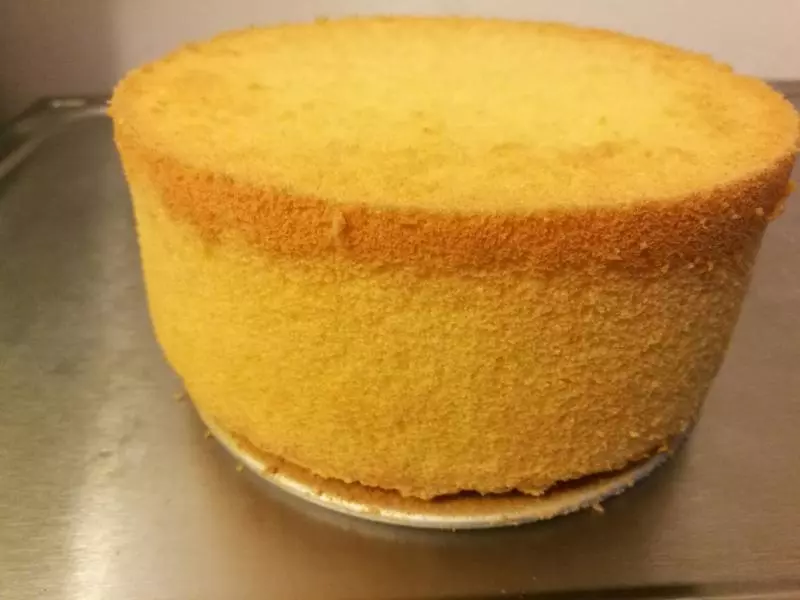
13最后55分钟时取出蛋糕,震模、倒扣!
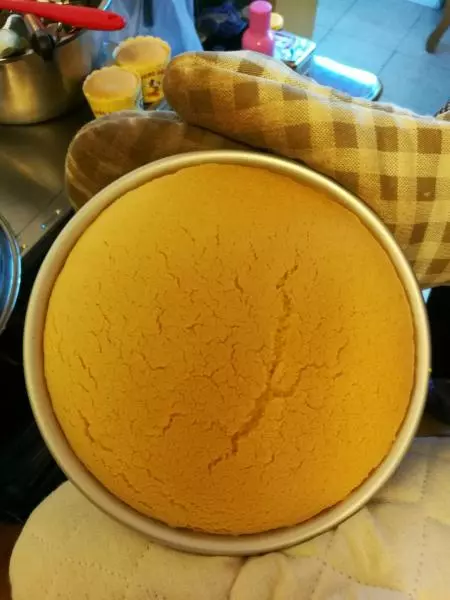
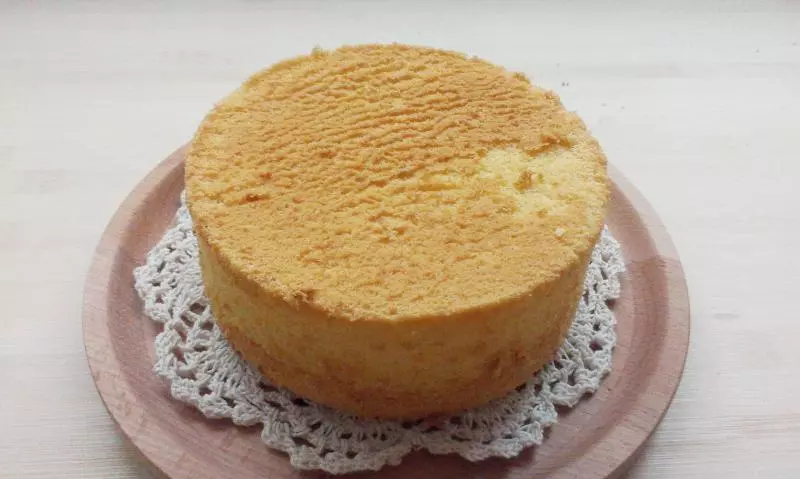
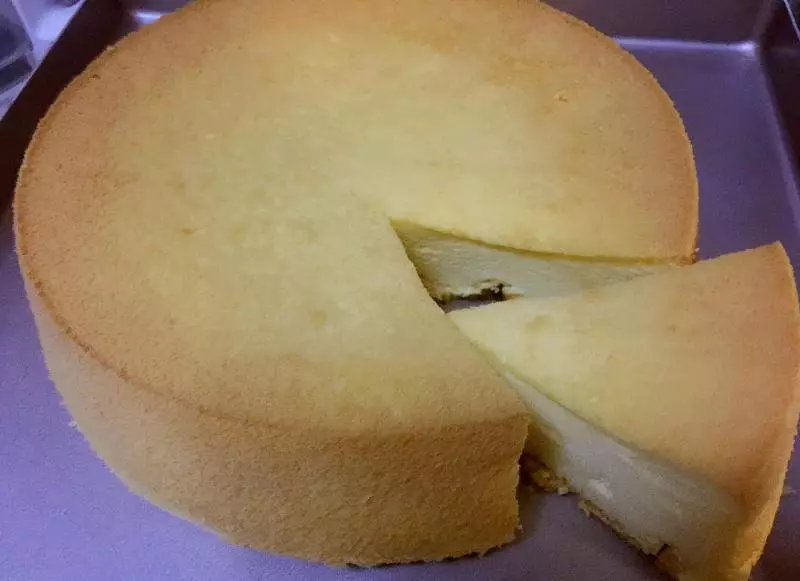
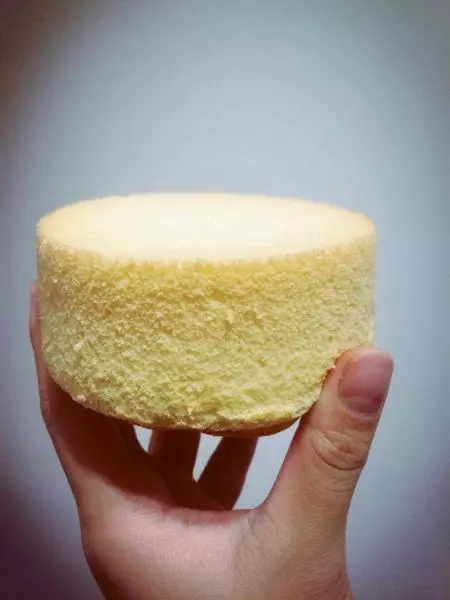
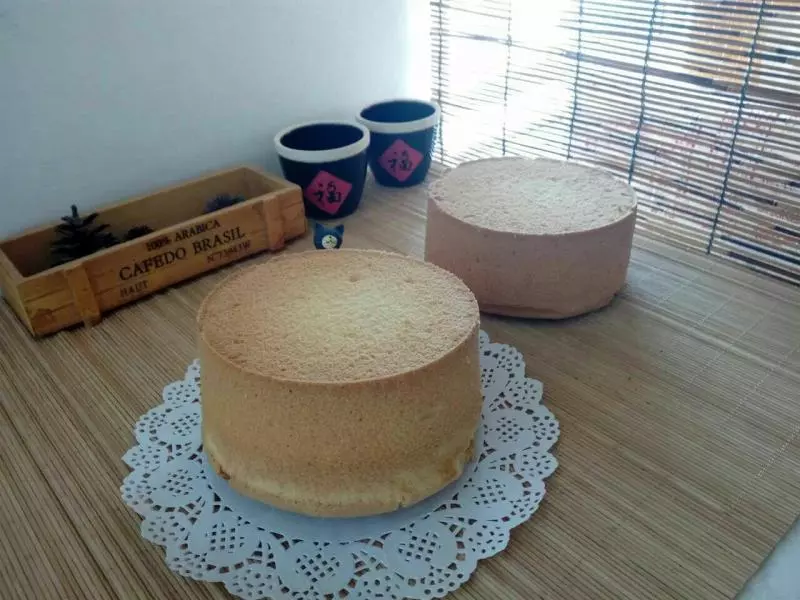
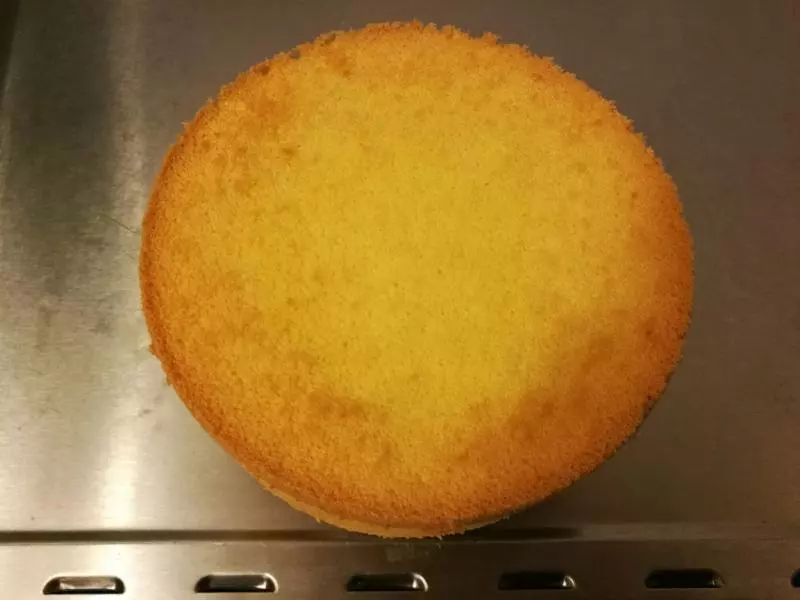
142小时凉透脱模
小技巧
低温慢烤