原料
鸡蛋: 1个, 水: 120克, 细砂糖: 3茶匙约18克, 黄油: 42克, 高筋面粉: 250克, 蛋液: 1个鸡蛋, 酵母: 4克, 盐: 1克, 奶粉: 4茶匙约24克
步骤
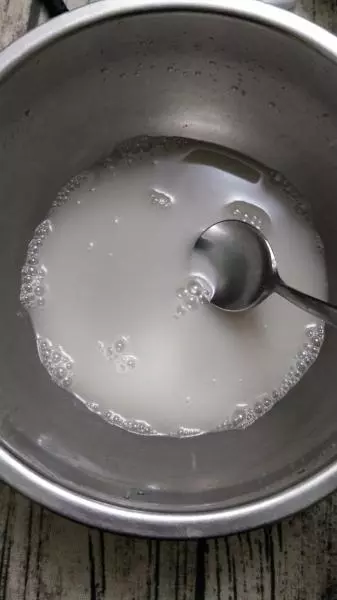
1温水120克
2加糖,酵母,加盐后快速搅拌。
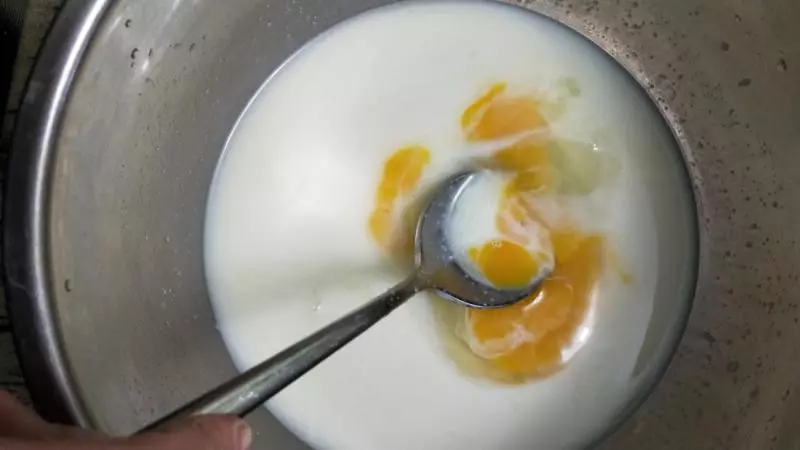
3加鸡蛋搅拌均匀
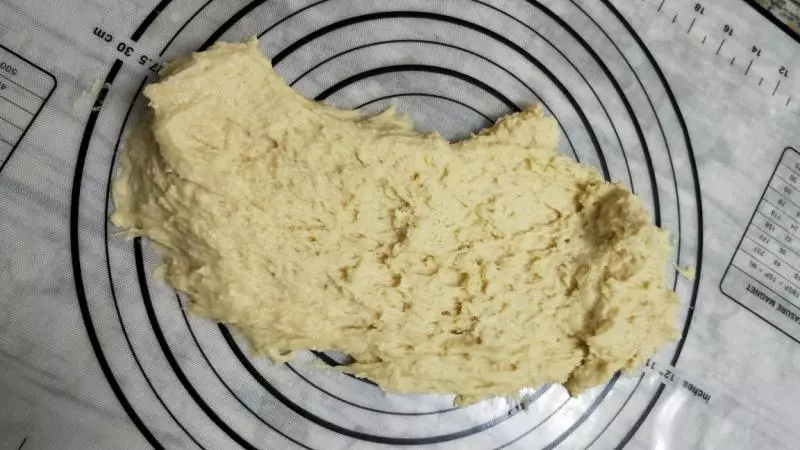
4加入高筋粉,奶粉。
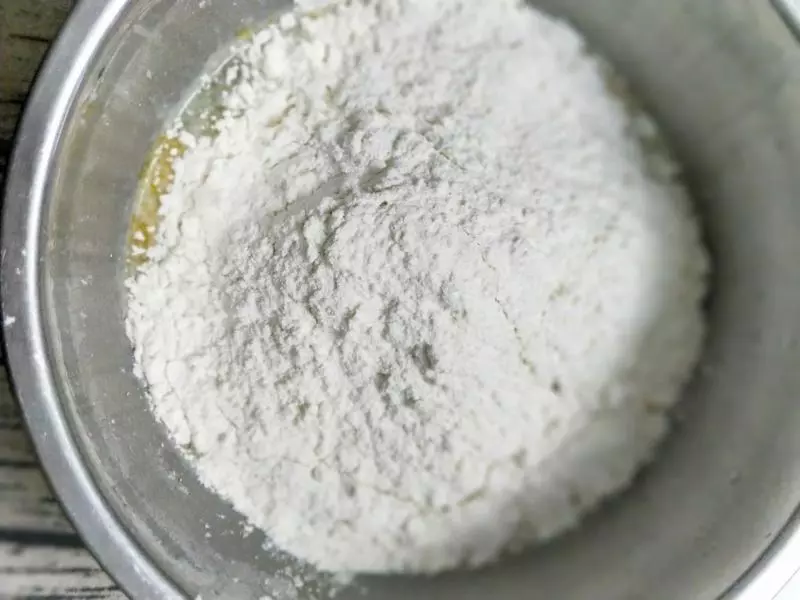
5拌匀
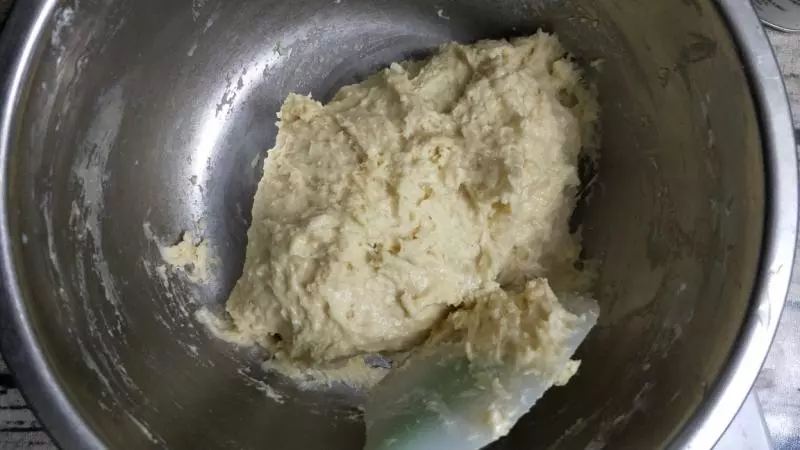
6取出面团,揉搓3---4次,就跟用搓板洗衣服那样搓就行。
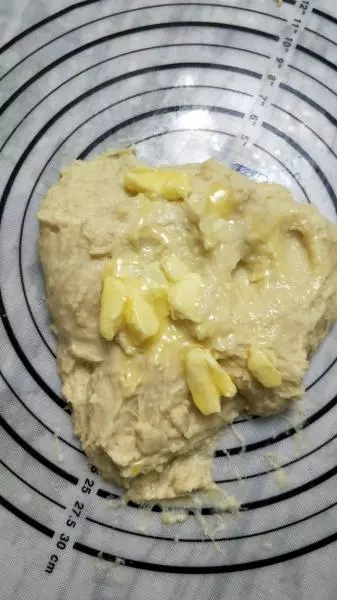
7加入软化的黄油,继续搓,开始面团很粘手,这时千万别加面粉,继续搓揉,多搓一顿会儿就会好多了,可以用挂板帮忙,大约10分钟后,面团就变得很光滑有韧性了。
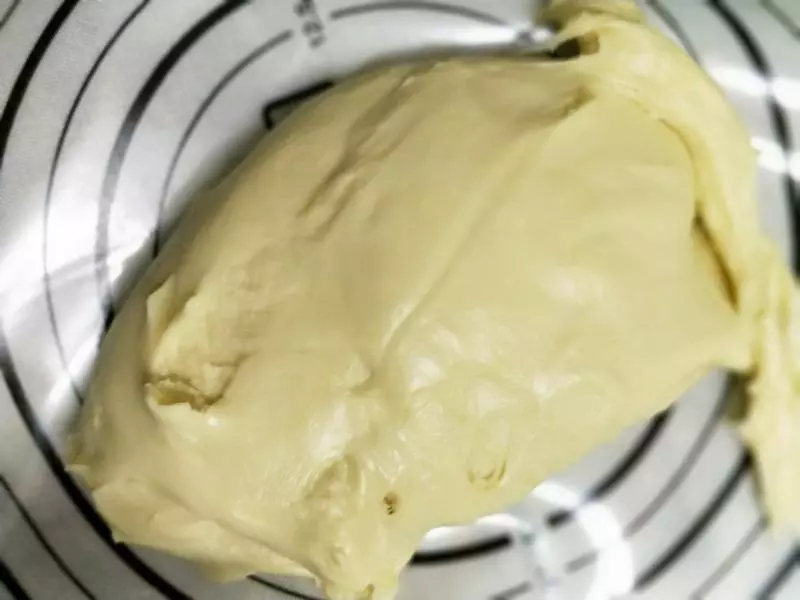
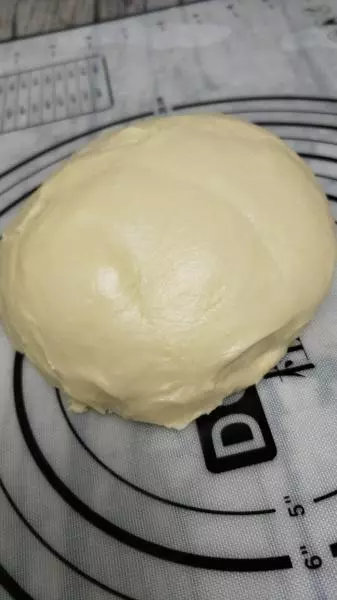
8面团表面很光滑
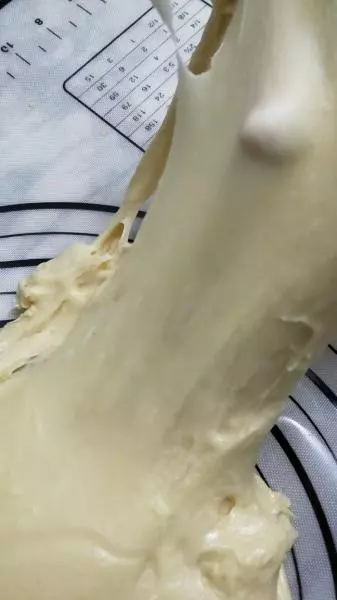
9能拉出手膜来就可以了,不用太薄的手膜。
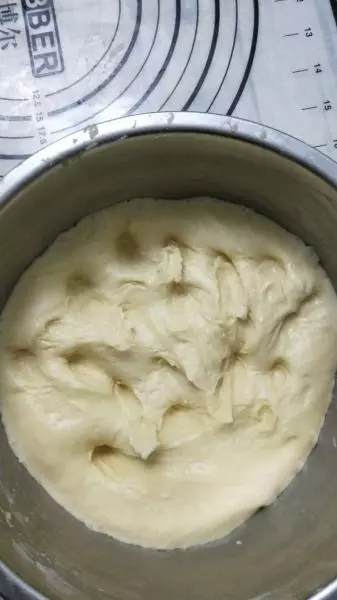
10放在盆里,盖上保鲜膜,进行发酵。
11发酵到原来2倍大就可以了,我是放在暖气片旁边了,大约1个半小时左右就发酵好了

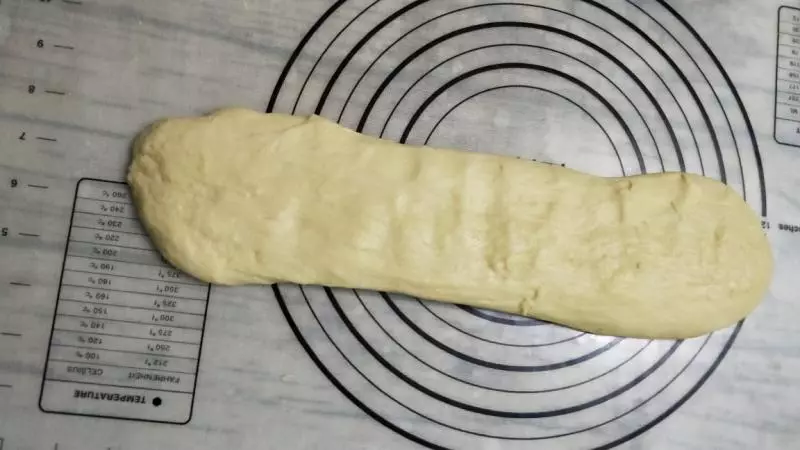
12排除面团里的空气,把面团用手指按按即可。
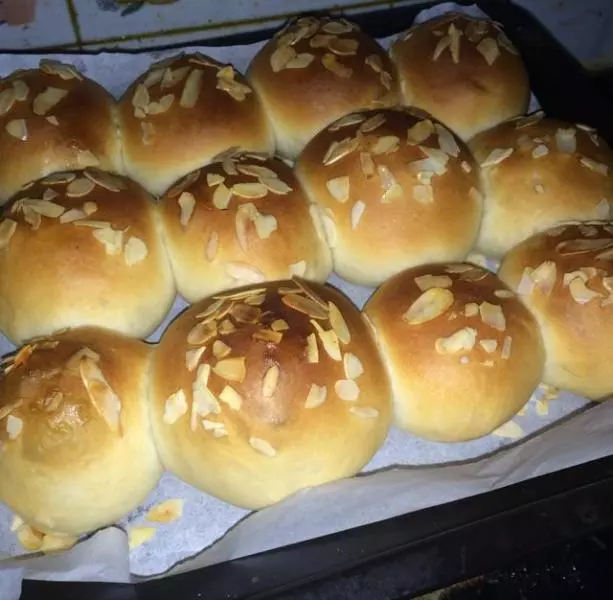
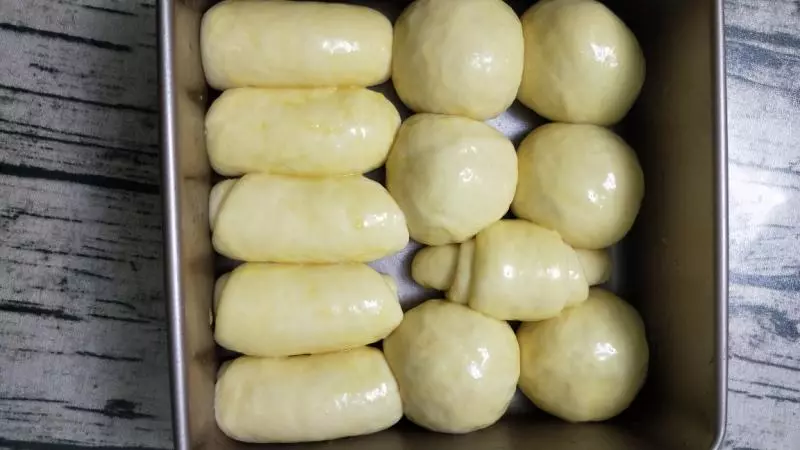
13取出面团,别揉,稍微整成长条装,切分成块,我是分了12份,39克一份。
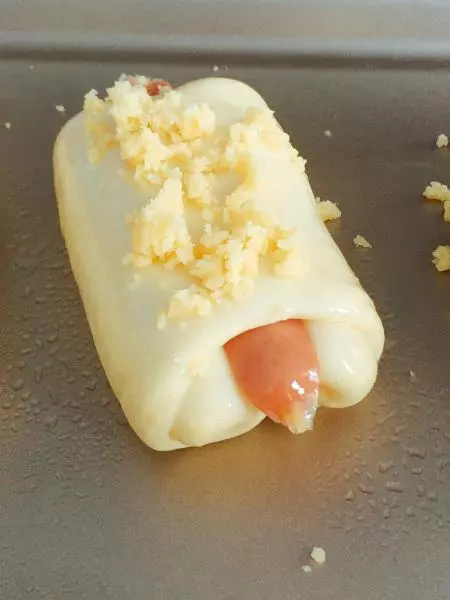
14取一块,擀成片,里面可以放自己爱吃的料,也可以不放,我一半放的肉松,一半什么都不放。忘记拍照了。盖上保鲜膜继续二次发酵,摆放时面包之间要留空隙。
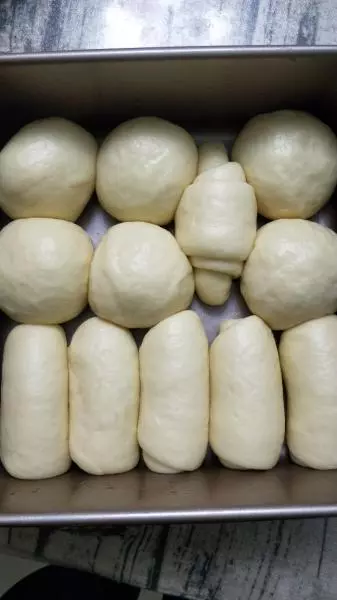
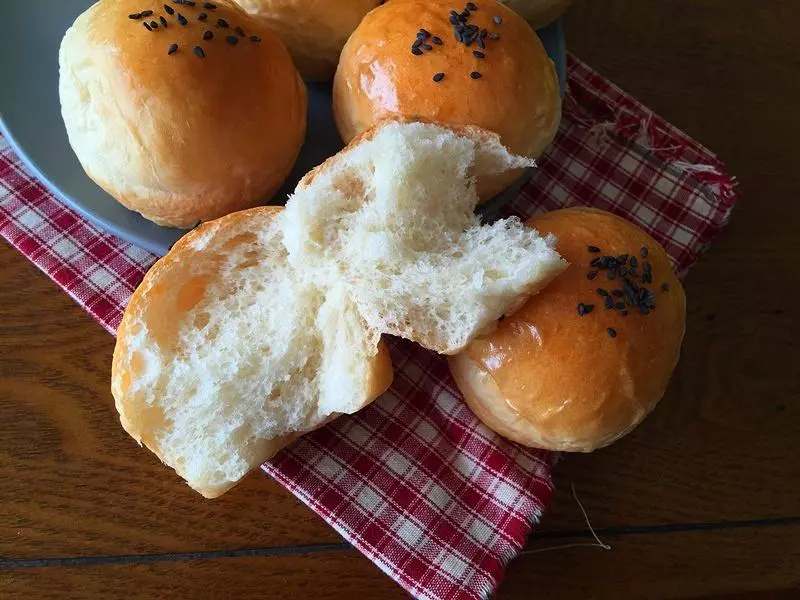
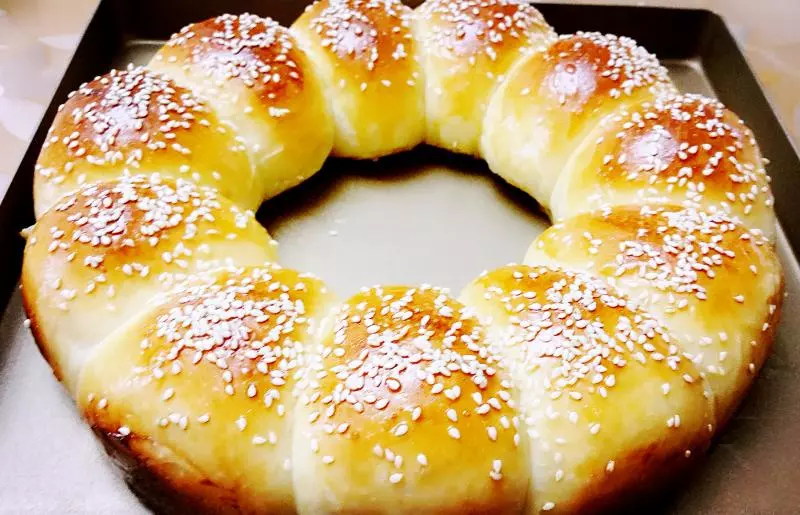
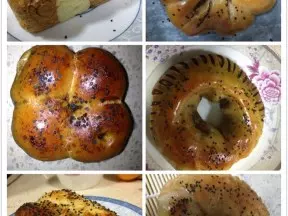
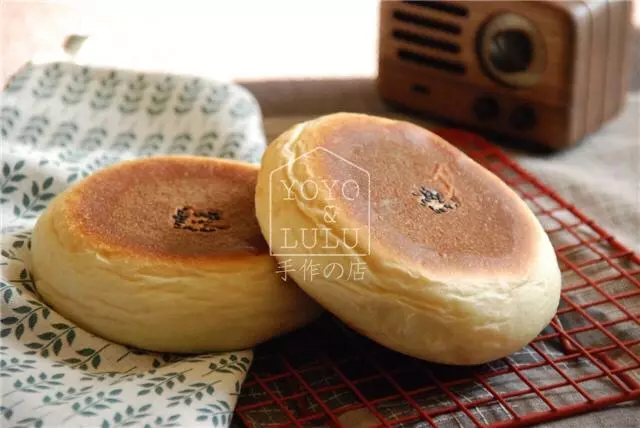
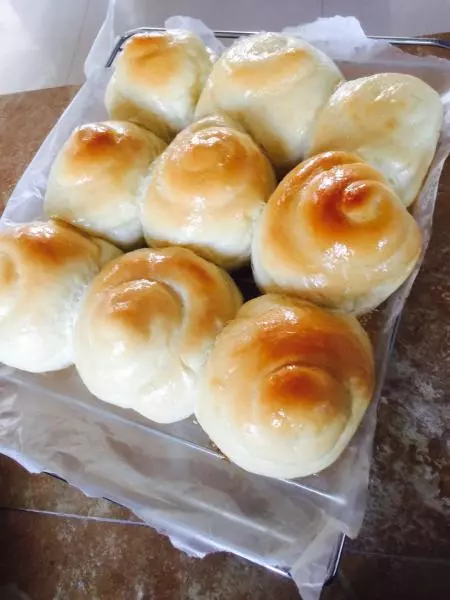
15这是二次发酵好的面包,大约40分钟左右。

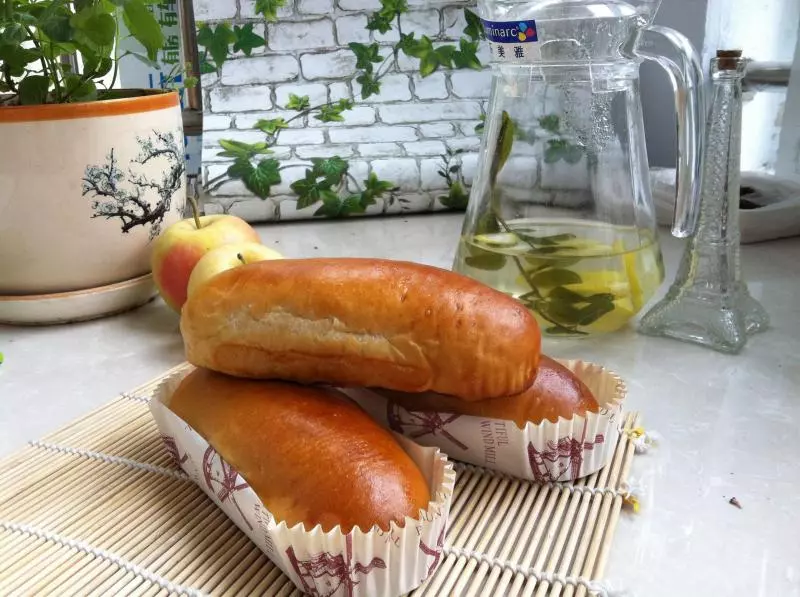
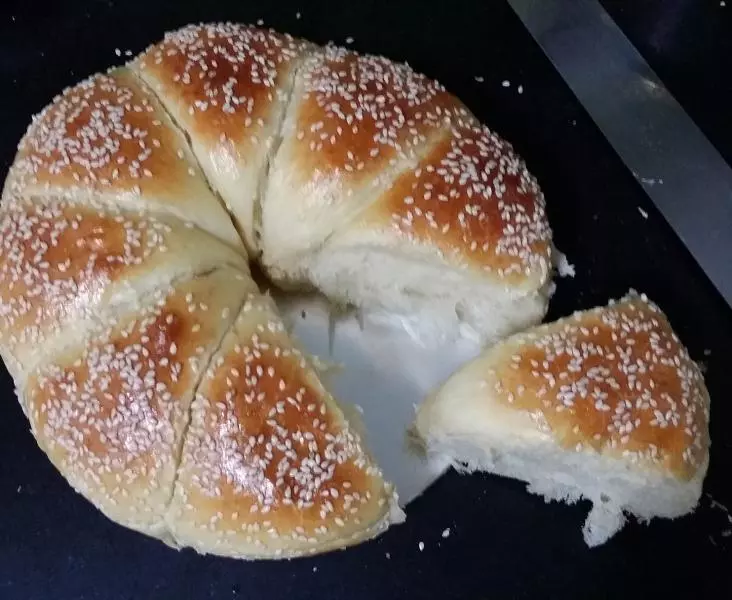
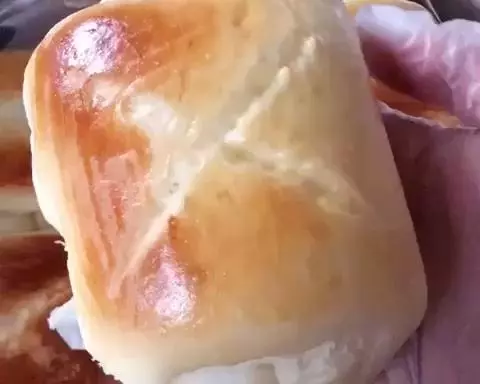
16准备一个蛋液
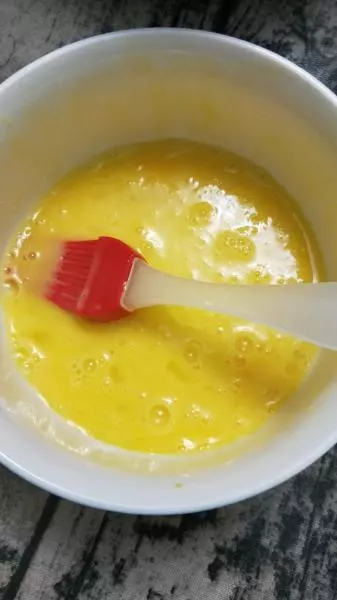
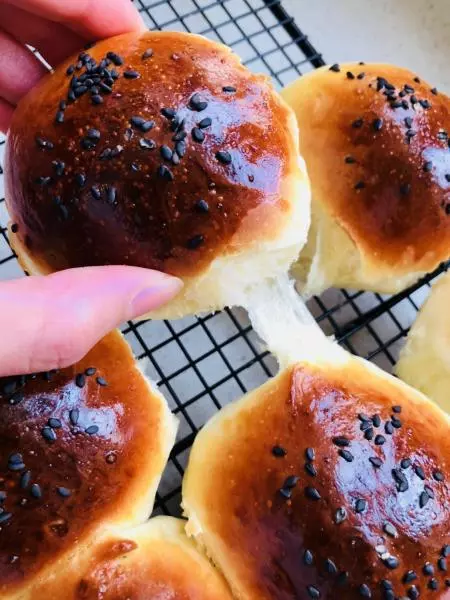
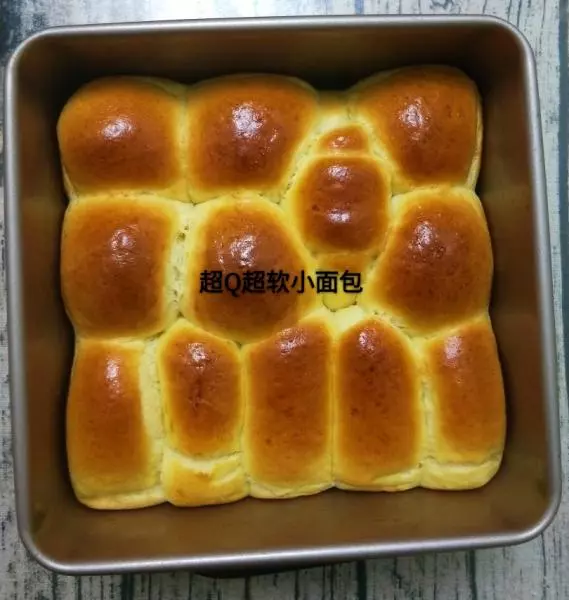
17在面包表面刷一层鸡蛋液,放入已预热好的烤箱。上下175度,烤25分钟。
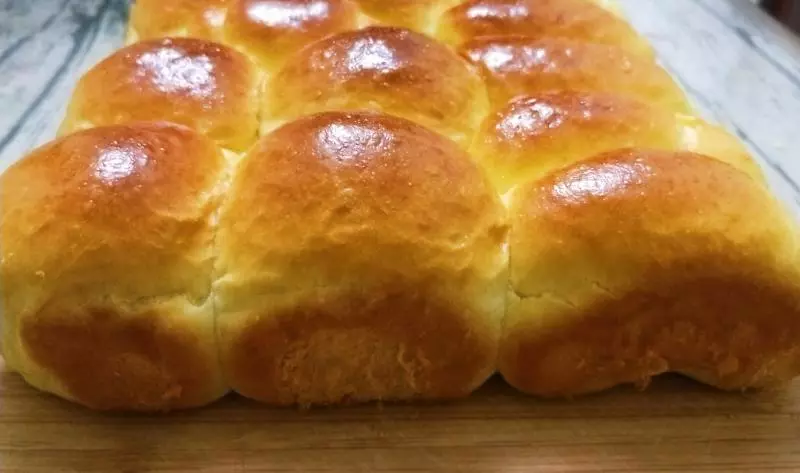
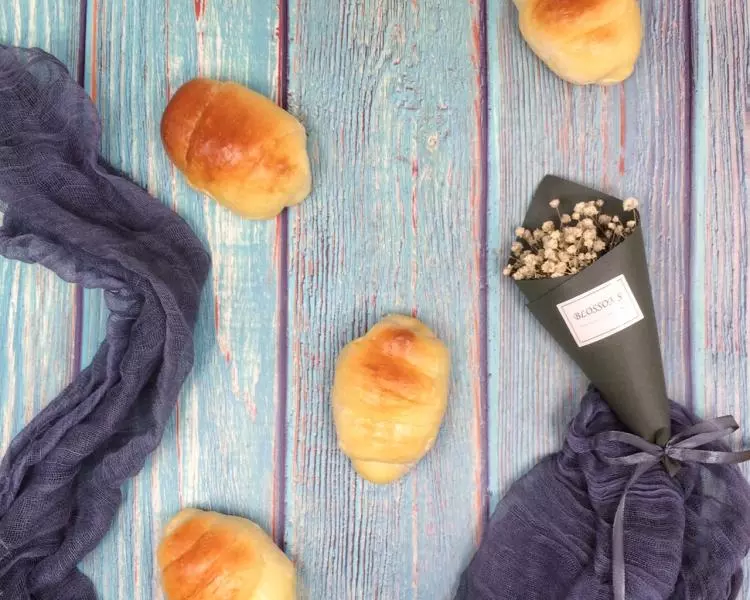
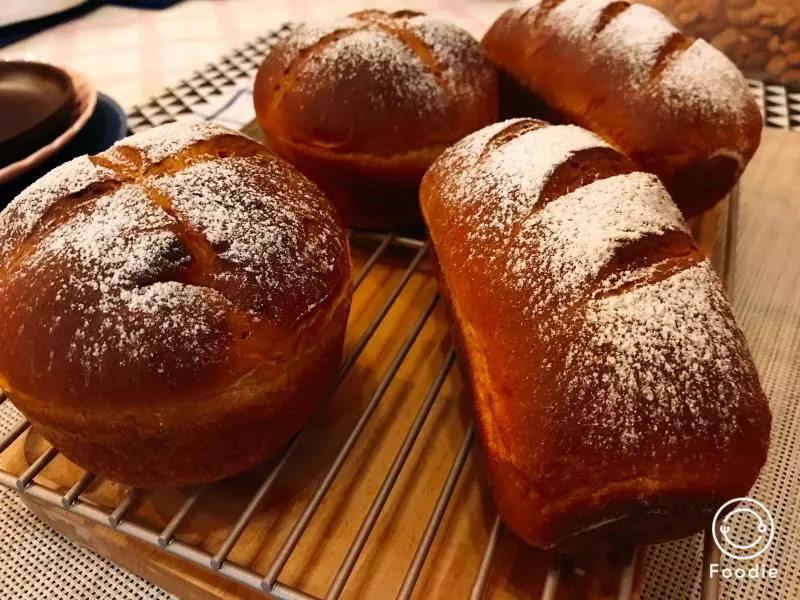
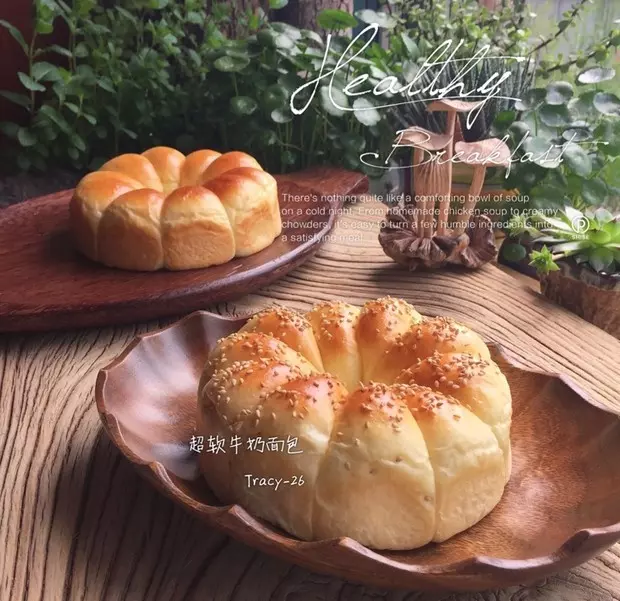
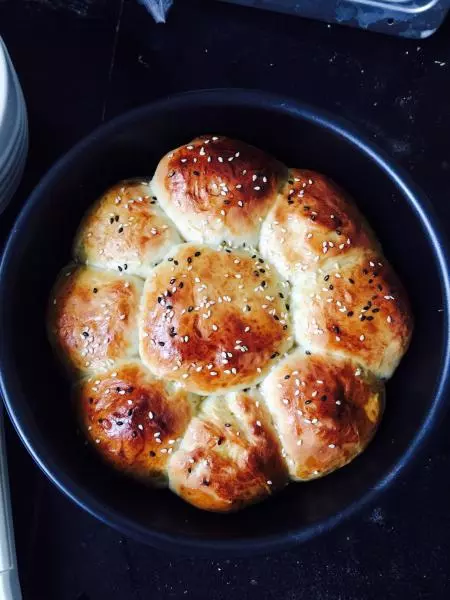
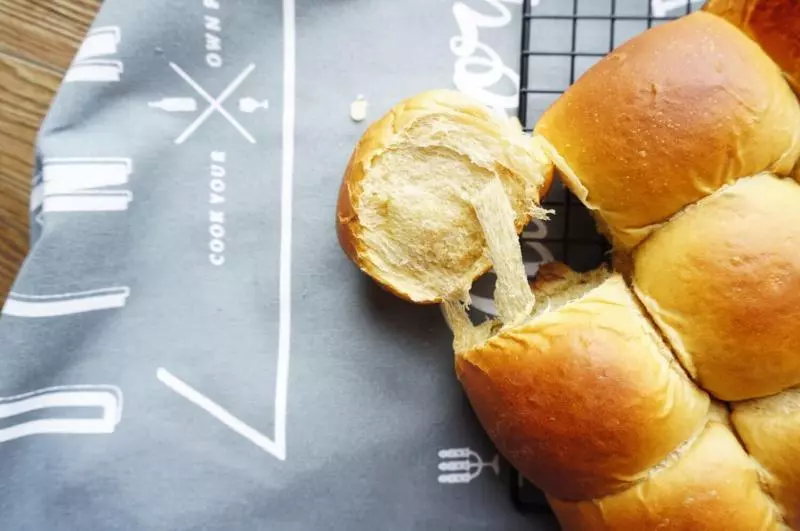
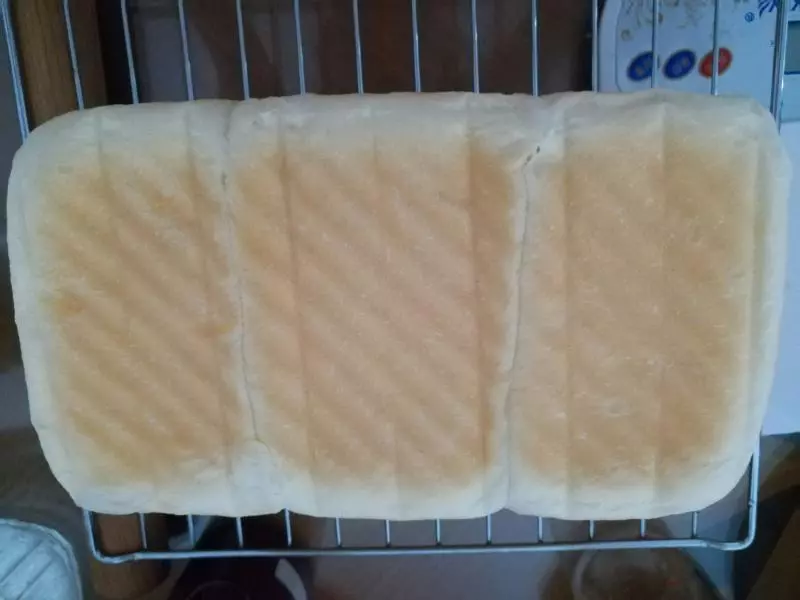
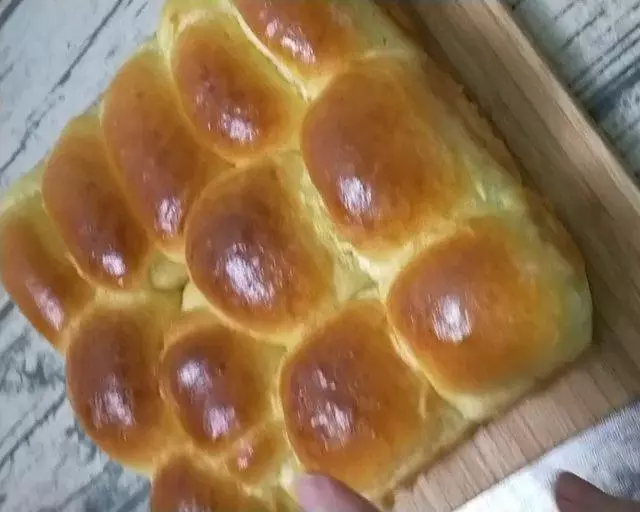
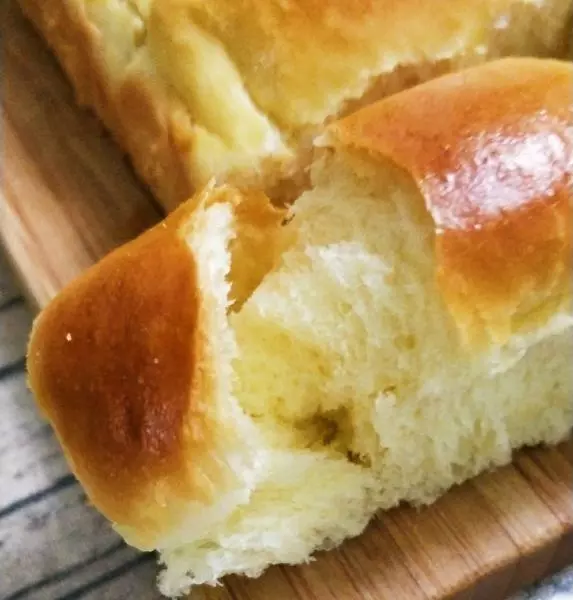
18超Q超软的小面包出炉了。
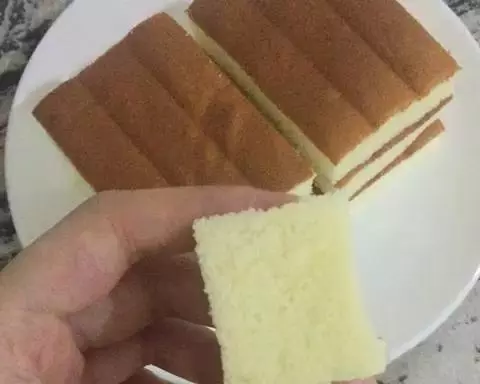
19?
20超软哦
21开吃吧