原料
鸡蛋: 5只, 纯牛奶: 75g, 白砂糖: 75g-90g(均可), 低筋面粉: 80 g, 花生油/植物油/色拉油: 50g-65g(均可)
步骤
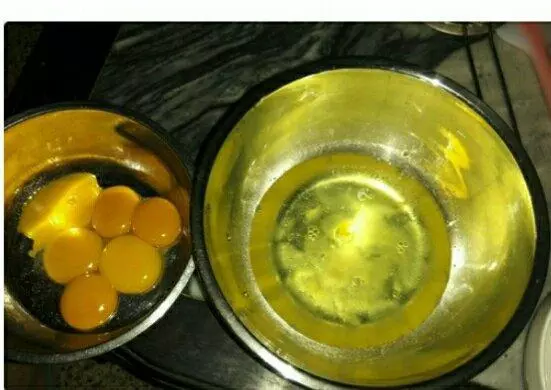
1用分蛋器将蛋黄、蛋白分离摆放
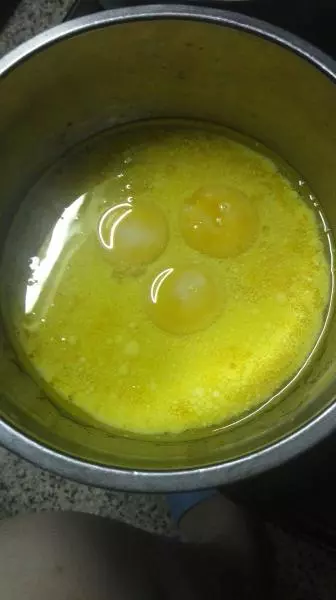
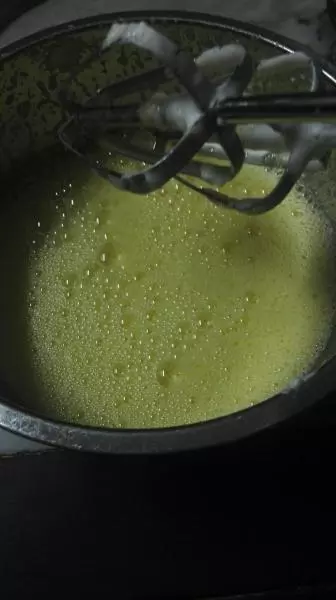
2将油、纯牛奶放进蛋黄中,然后手轻摇盘子,让油完全包住蛋黄(避免蛋黄备用时间内氧化,影响蛋糕效果。)后放在一边备用
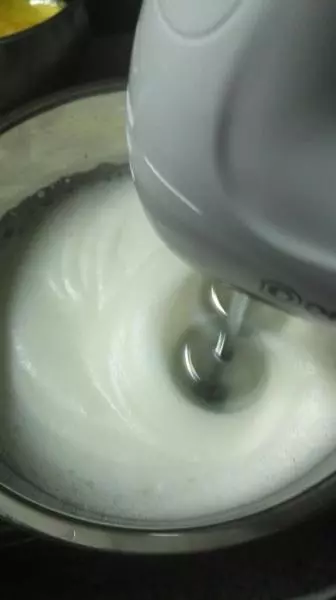
3放约1g的盐到蛋白中进行发放。(如鸡蛋是新鲜靓鸡蛋可不放盐辅助打发)开始打发时先用电动打蛋器一档慢速打发蛋白至原体积3倍
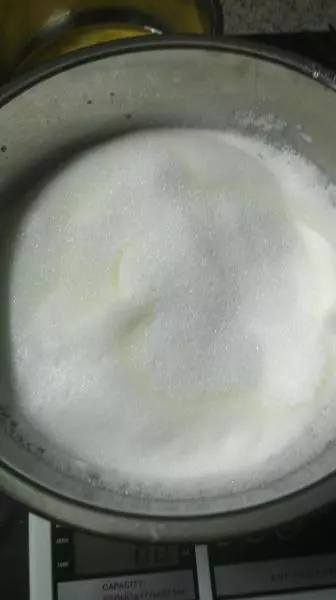
4看见稠密的小泡泡就停止打发,加入合适自己甜度的白砂糖。
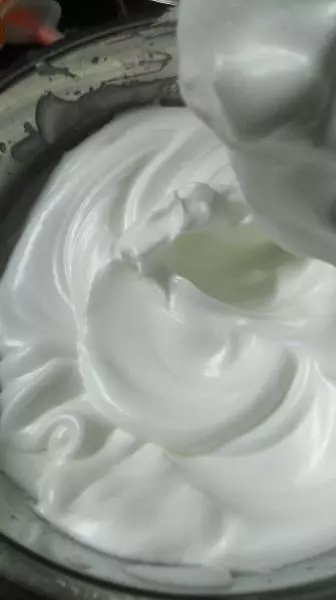
5将电动打蛋器调至最高速进行打发。当蛋白打发至顺滑有划纹且不容易跌落打蛋器时就停止打发蛋白
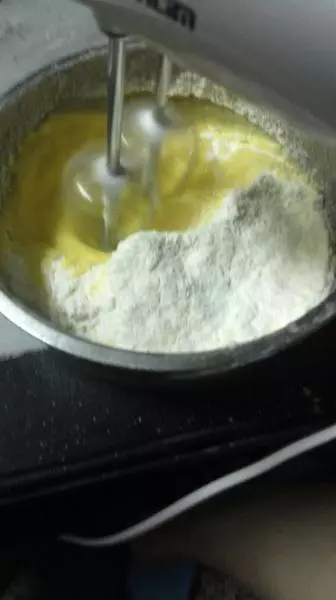
6将备用的蛋黄、油、纯牛奶用电动打蛋器一档进行慢速均匀搅拌。不要搅拌太久,混和在一起就好了。
7倒入已过筛的面粉
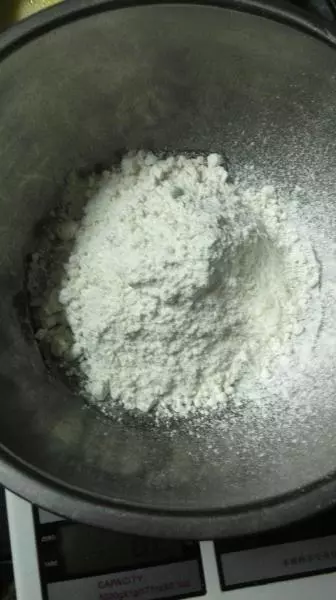
8将面浆过筛,这样过筛口感可以更加细滑

9用电动打蛋器一档慢速打圈均匀搅拌(千万不要高速搅拌),看见低粉完全与蛋浆混和就停止搅拌(不要搅拌太久,好容易面粉生筋)
10用手动打蛋器重新快速搅拌蛋白,搅拌至顺滑
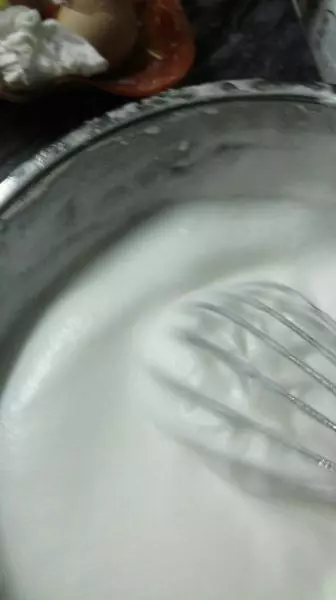
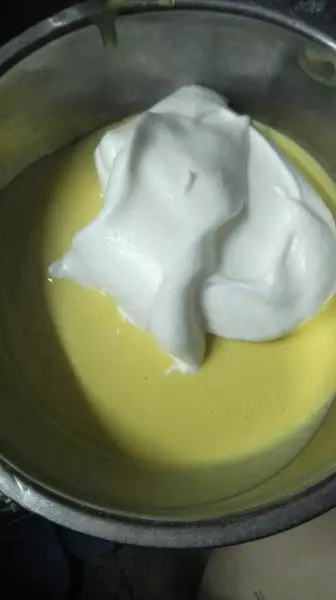
11将三分一的蛋白放进面浆均匀搅拌
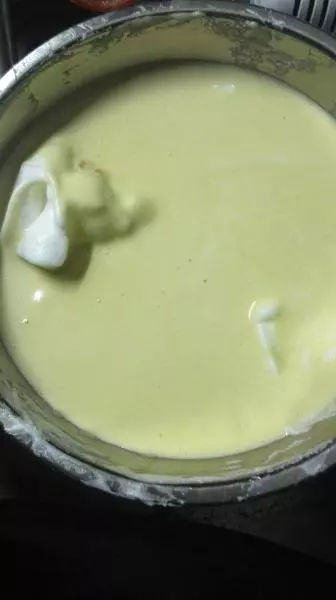
12首次混和好的面浆倒入剩余的蛋白中继续“切拌式”搅拌面浆。不要快速打圈搅拌,这样好容易面粉生筋
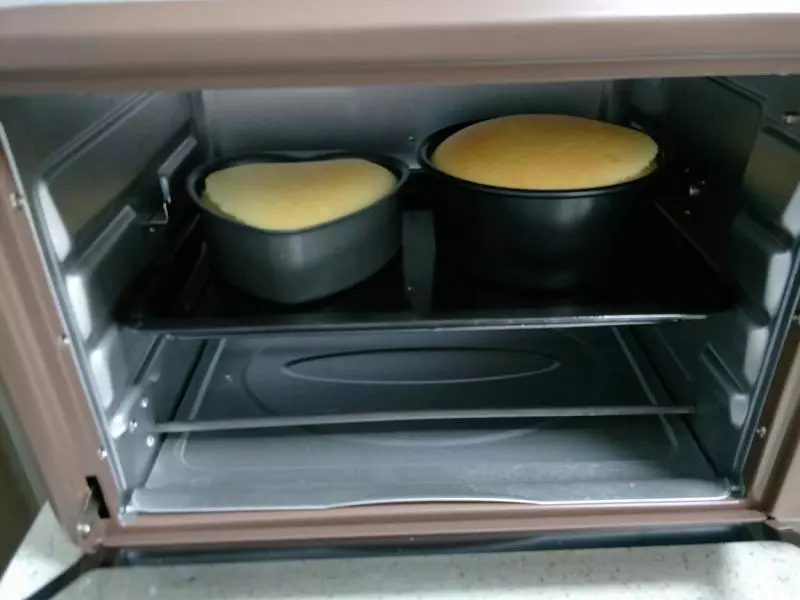
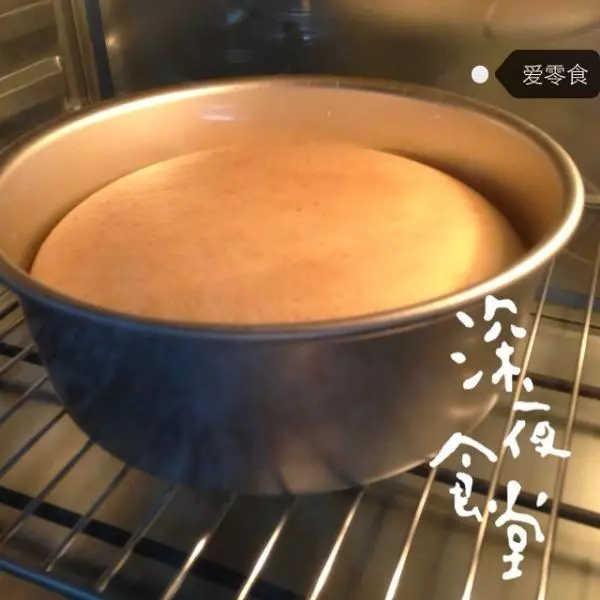
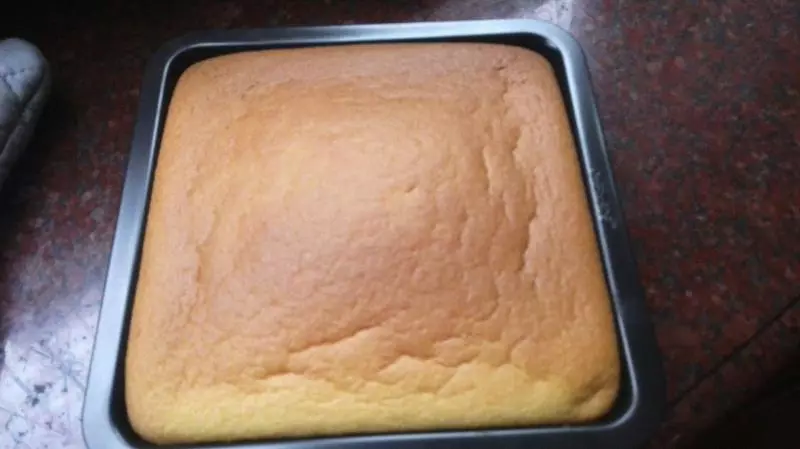
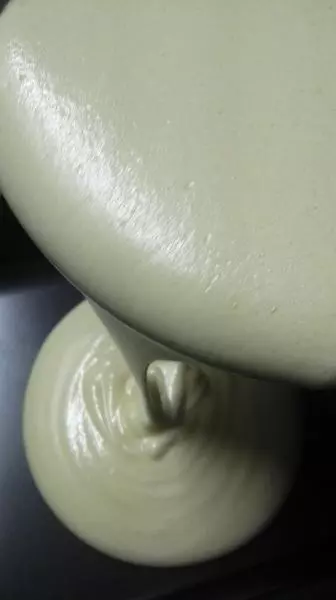
13将完全混和好的面浆倒入准备好的烤盘内
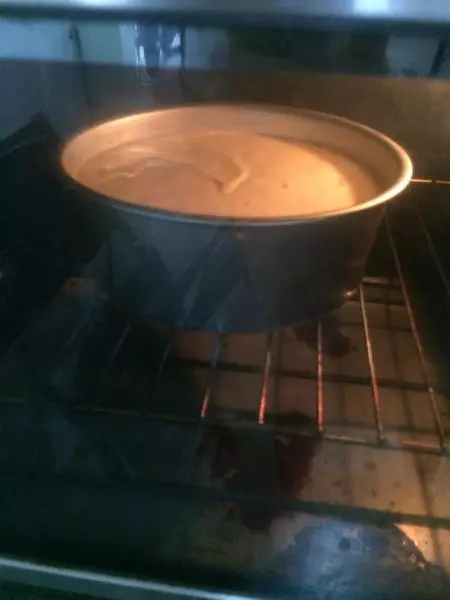
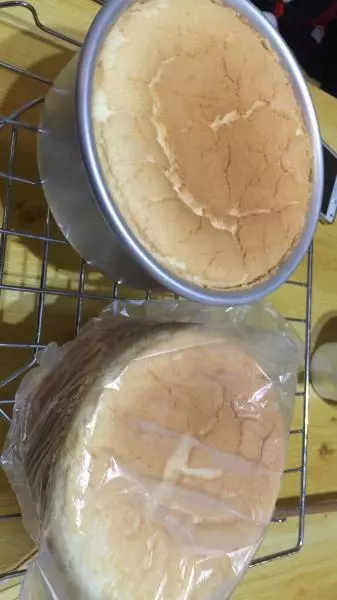
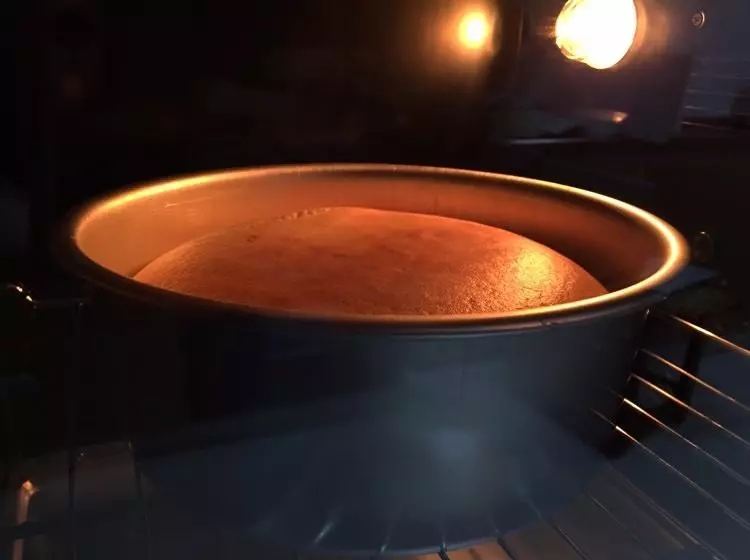
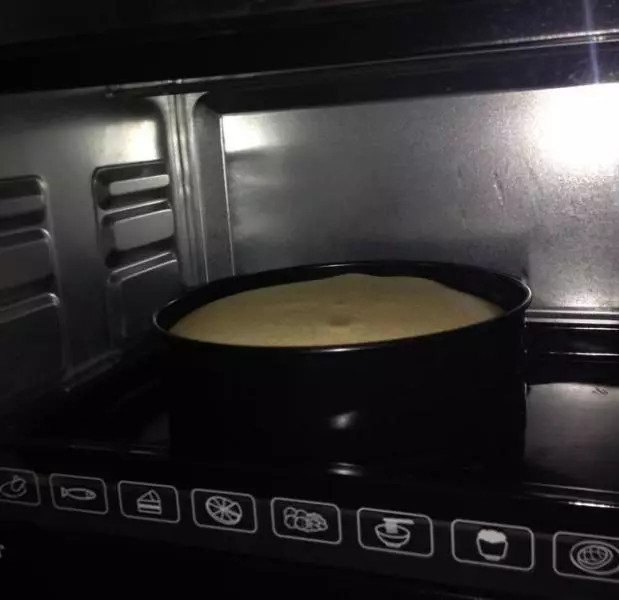
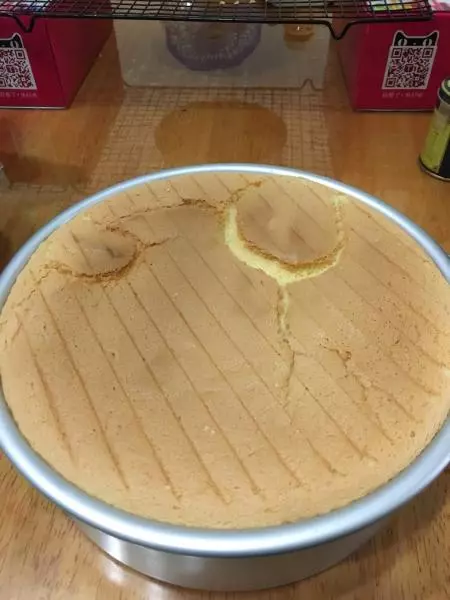
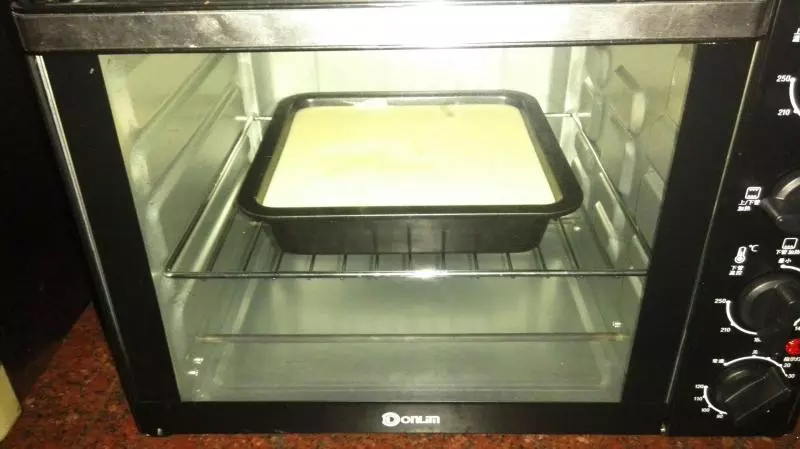
14放入已预热好的烤箱,将烤箱温度调至上下180度,时间20分钟
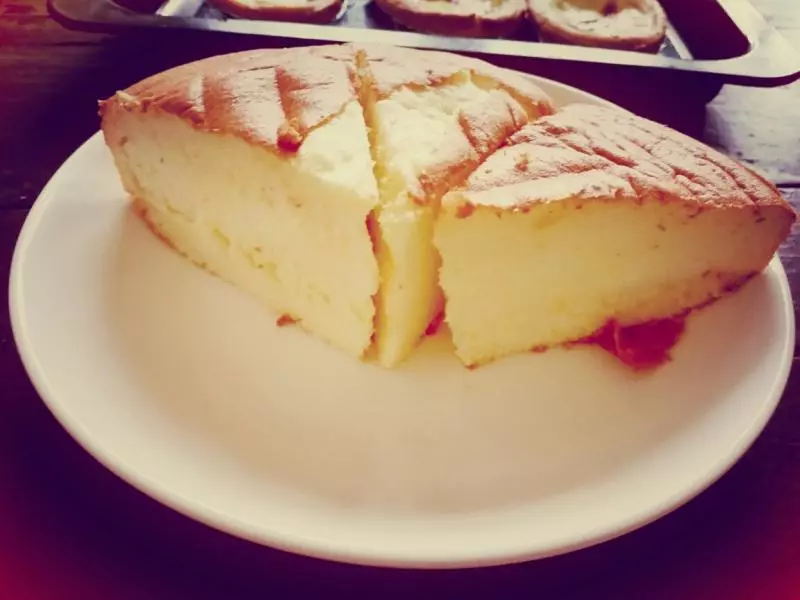
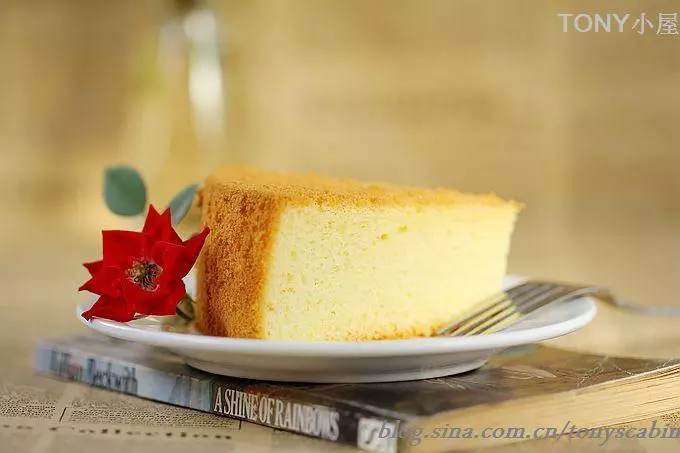
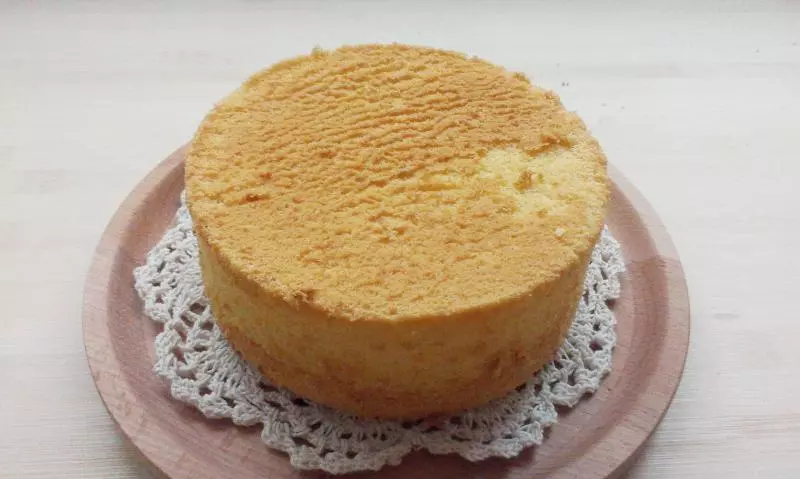
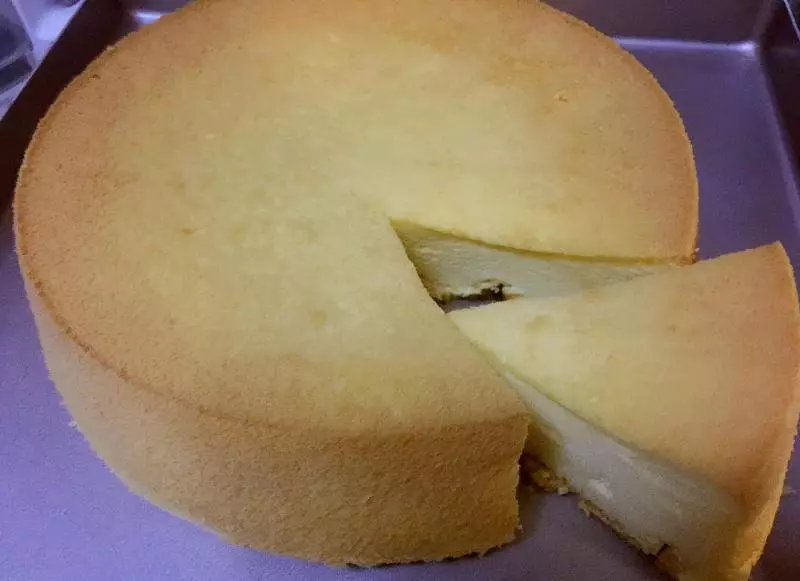
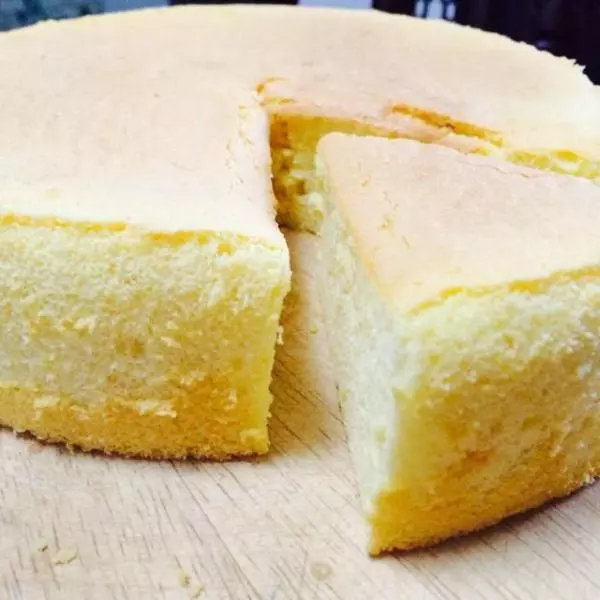
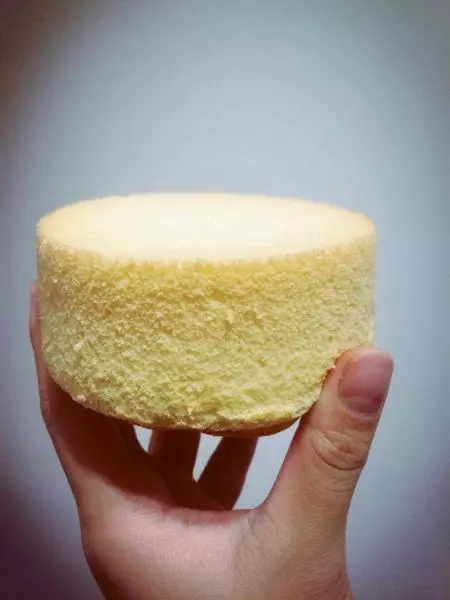
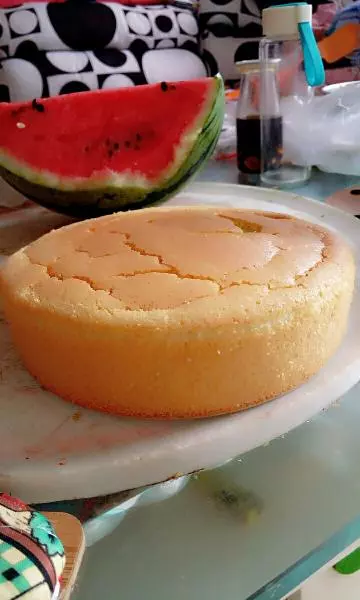
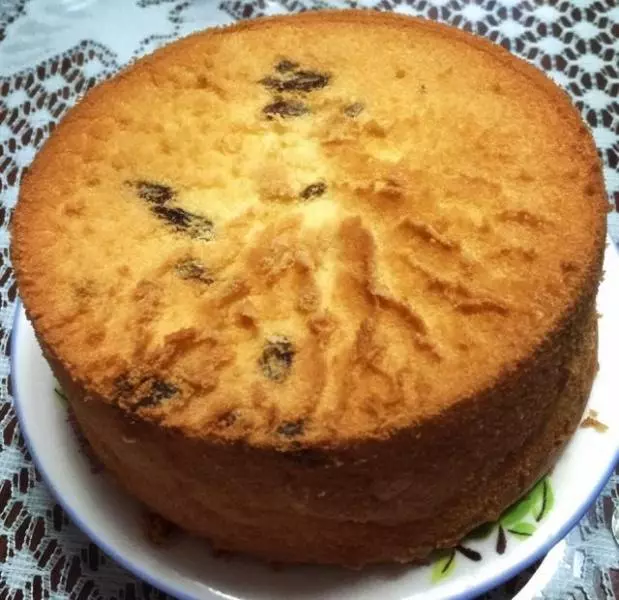
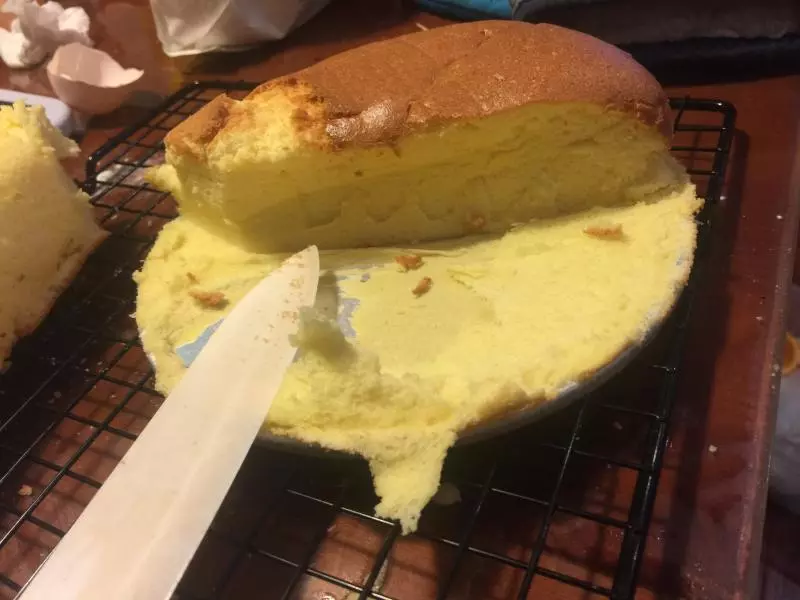
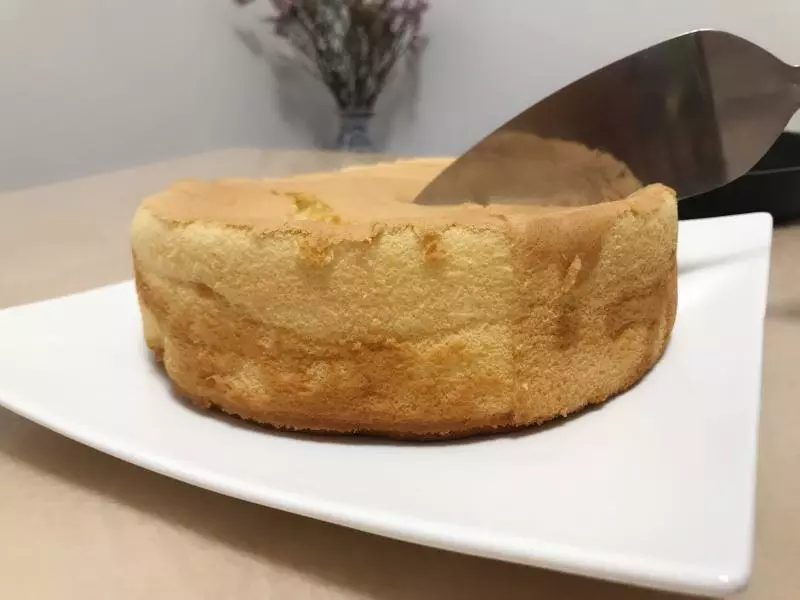
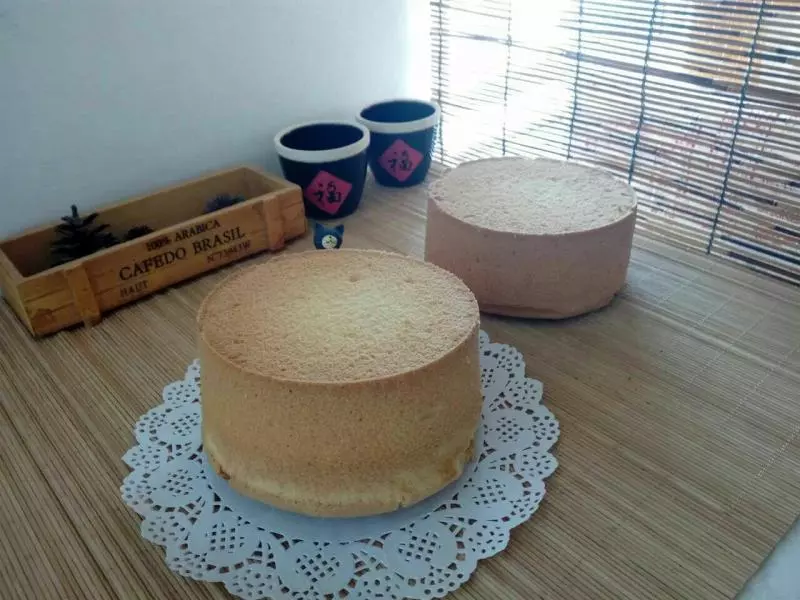
15香滑的蛋糕出炉了