原料
鸡蛋: 4个, 幼砂糖: 40g, 玉米油: 38g, 牛奶: 38g, 香草精: 1g, 柠檬汁: 3g, 澳芒: 1个, 红心火龙果: 1个, 奇异果: 2个, 淡奶油: 250g, 幼砂糖: 25g, 低粉: 45g
步骤
1取4枚鸡蛋,分别将蛋白蛋黄分开。盛蛋白的盆要无水无油
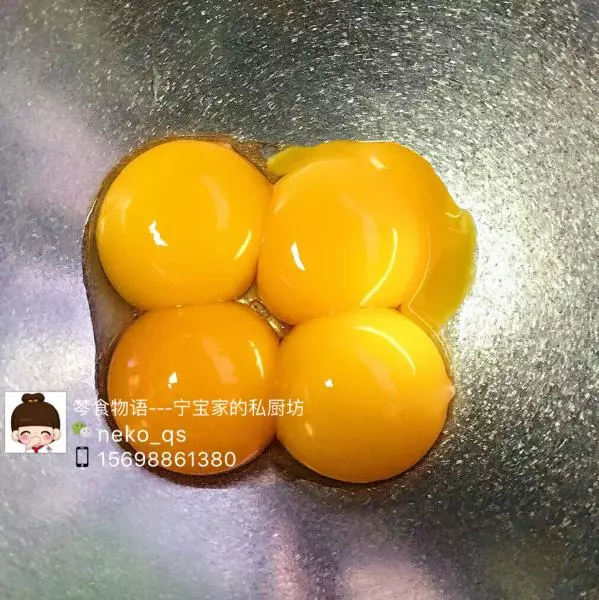
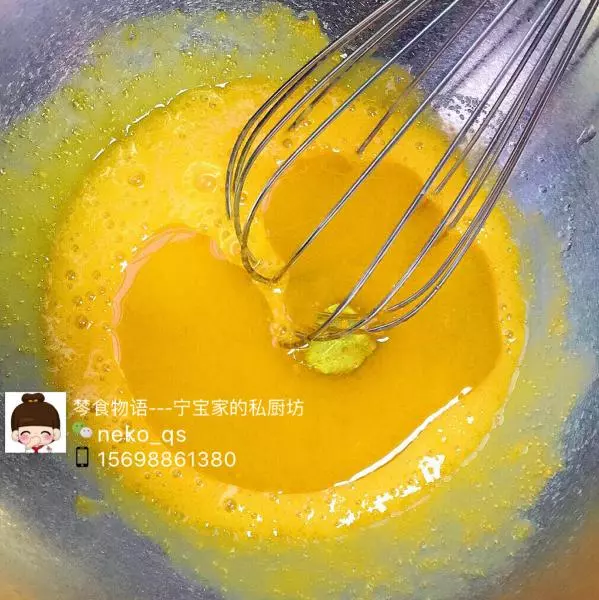
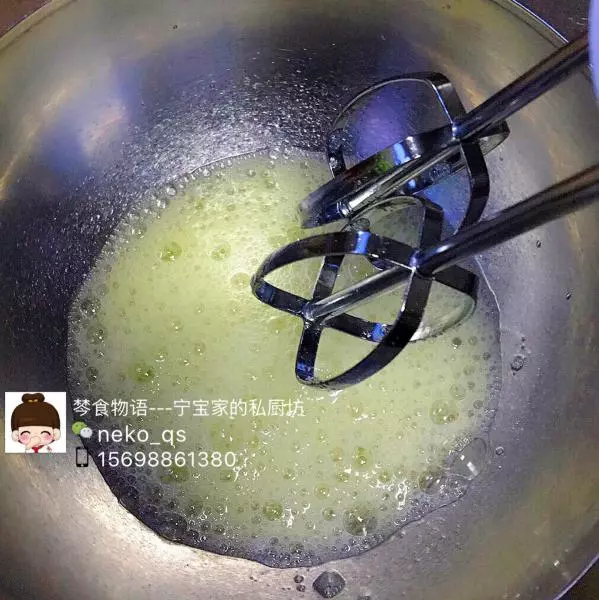
2在蛋黄中加入10g幼砂糖并用手动打蛋器搅打均匀
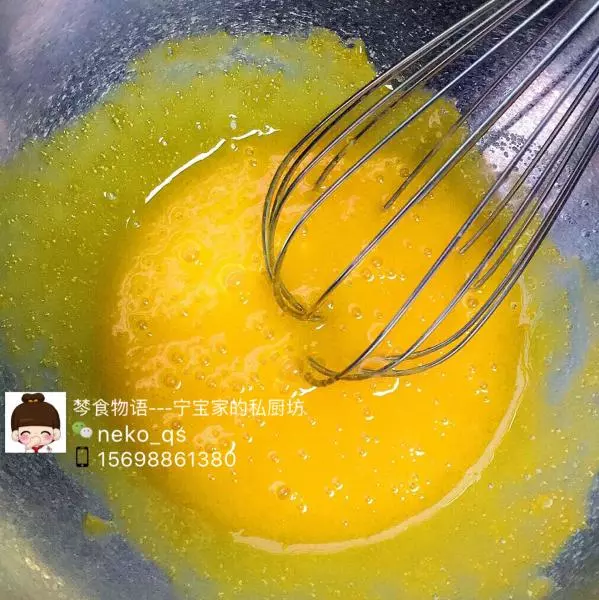
3然后加入玉米油
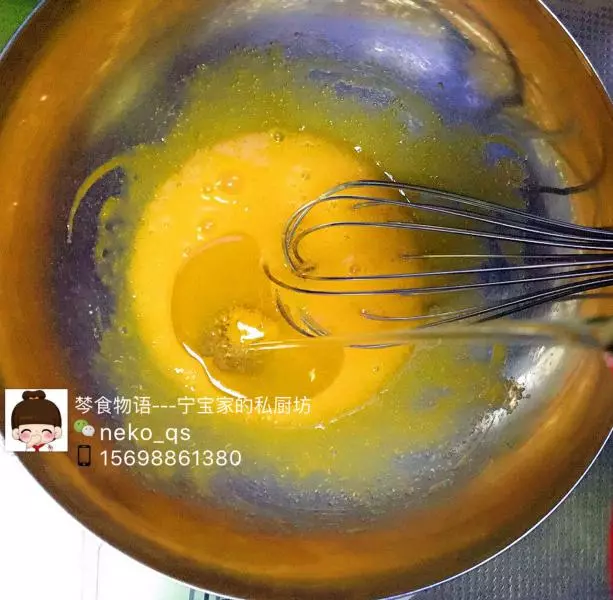
4可一次性全部加入,然后继续用手动打蛋器搅打均匀
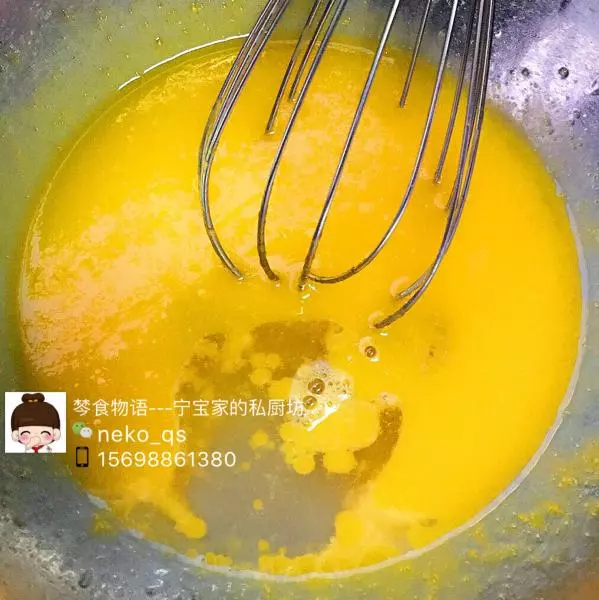
5然后加入牛奶,家里正好没有牛奶就用等量清水代替了牛奶。然后继续搅拌均匀
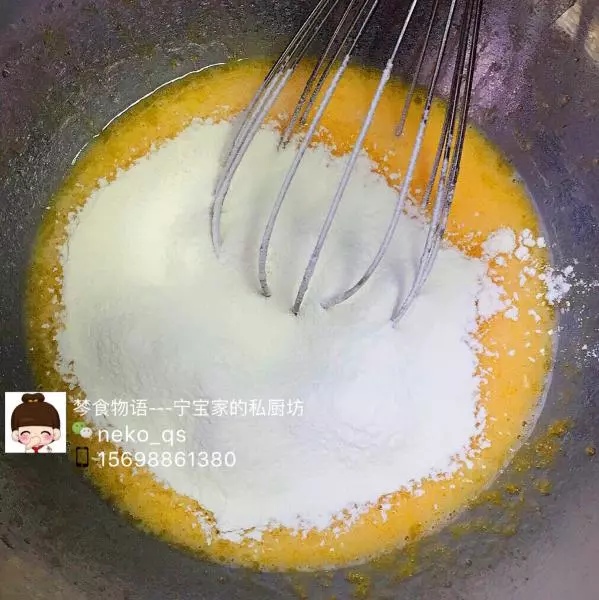
6在搅拌好的蛋黄液中一次性加入过筛好的低粉,然后继续用手动打蛋器搅拌均匀(有人说不可以搅拌,但我每次都是搅拌,感觉没有任何关系)在搅拌好的蛋黄糊中加入少许香草精以增加蛋糕的香气。然后放入一旁备用
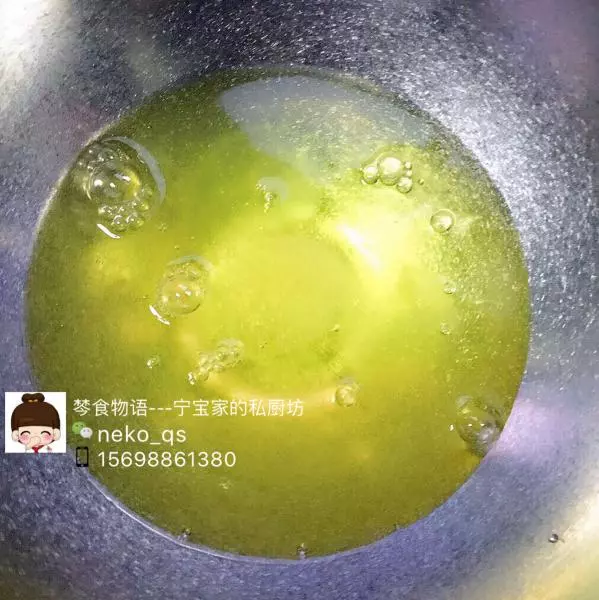
7在打发蛋白前我们可以先开始提前预热烤箱,预热的时候温度可以稍微高一点,我一般会直接调到180度,然后在开始打发蛋白。我们在蛋清中加入适量柠檬汁
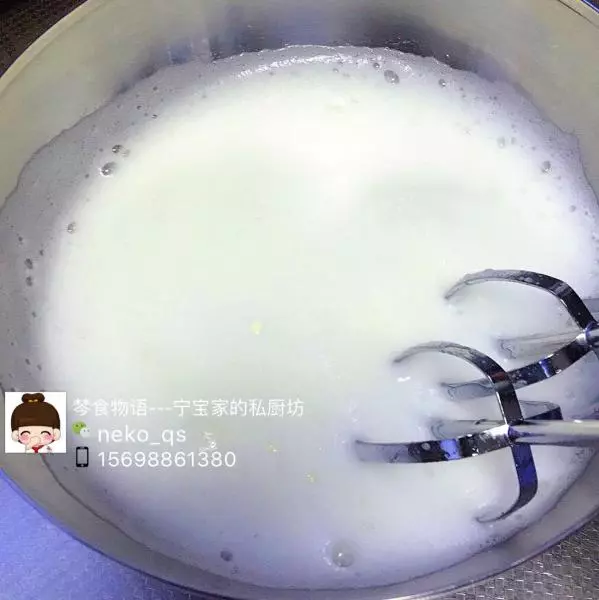
8用电动打蛋器中低速打出鱼眼泡后第一次加入10g砂糖
9继续打至泡沫细腻的时候第二次加入砂糖10g并改用中高速打发
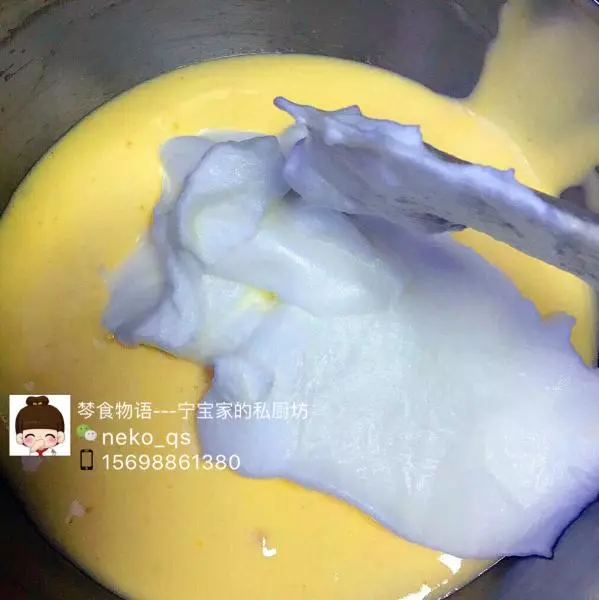
10待打至纹路清晰的时候可以第三次加入砂糖10g,并改用高速继续打发
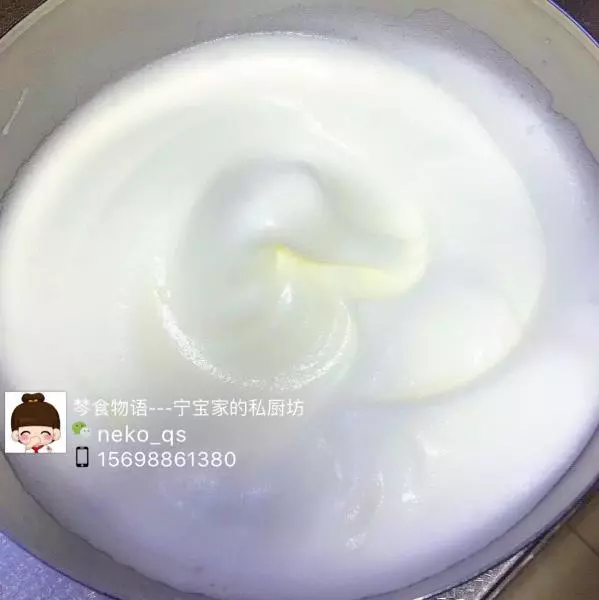
11直至提起打蛋器蛋白成鹰嘴勾状态

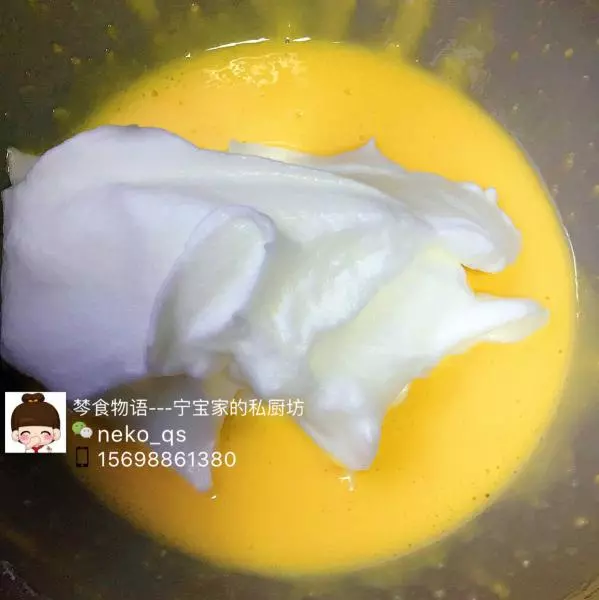
12将蛋白分三次与一开始做好的蛋黄糊混合均匀,混合时只能翻拌切拌(千万不可以搅拌)
13第一次混合均匀后可以第二次加入蛋白,与第一次一手法一样
14第三次是把前两次混合好后的蛋糕糊全部一次性倒入最后剩下的蛋白中,继续翻拌混合均匀
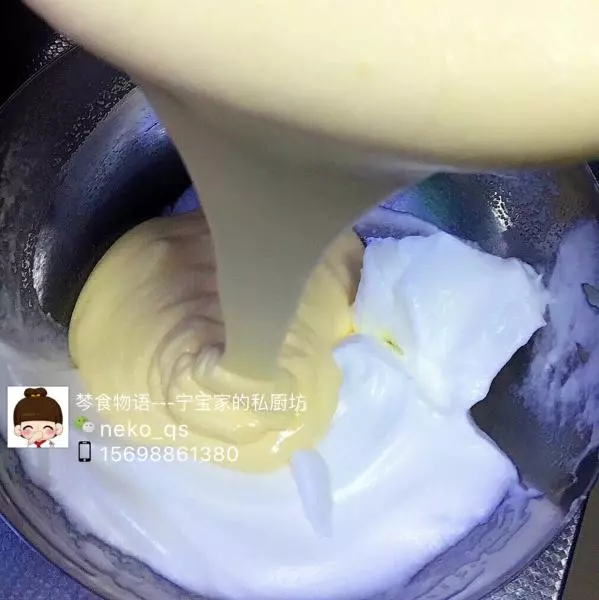
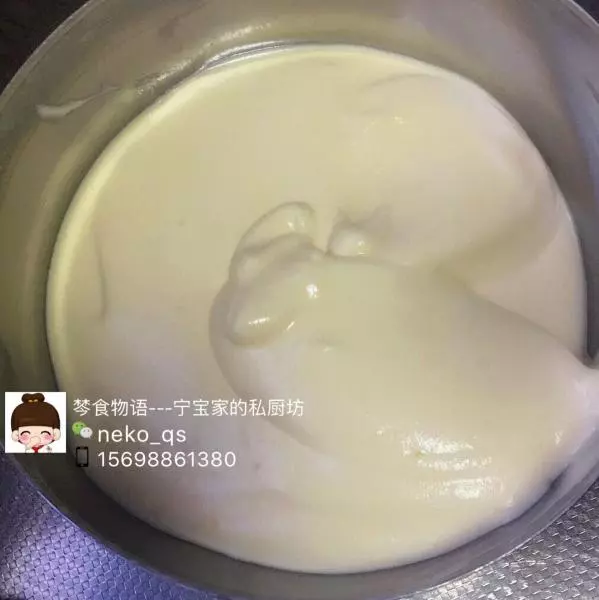
15此时蛋糕糊已做好
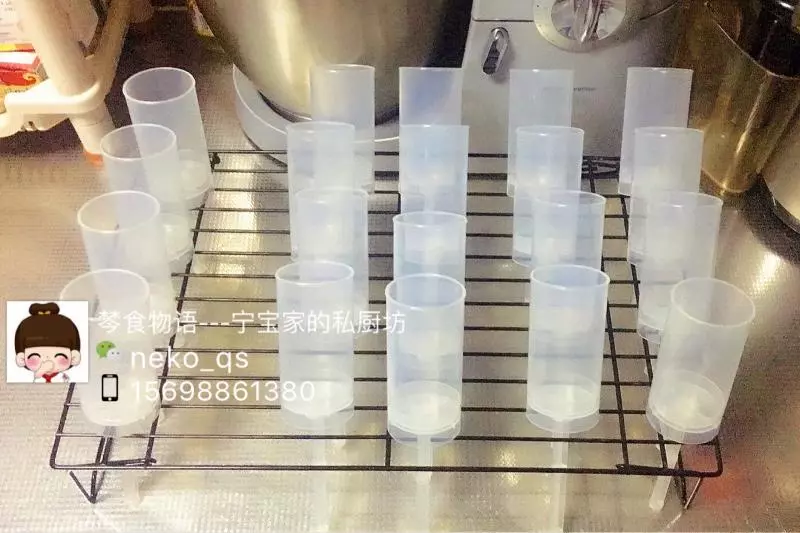
16将蛋糕糊倒入事先准备好的模具中,全部倒入后四边抹平,抬起装有蛋糕糊的模具至台面30cm左右处迅速松手使蛋糕糊里的空气振出后在放入提前预热好烤箱
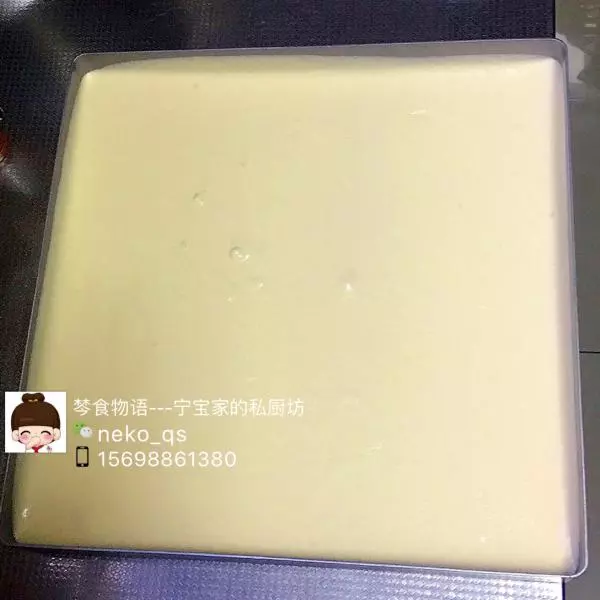
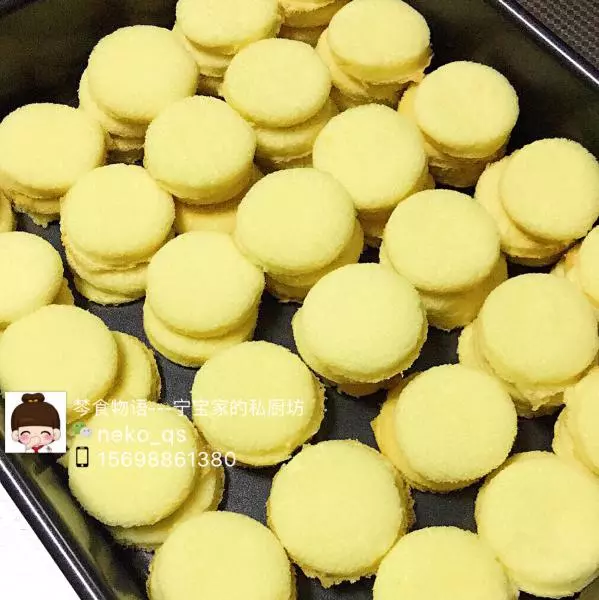
17175度18分钟,我用的是卡氏智能52升的烤箱,具体温度和时间请根据自己的烤箱适当作出调整

18出炉后抬至距台面30cm左右处迅速摔一下烤盘逼出热气,将蛋糕倒扣出模,撕去油布,在网架上降温晾凉
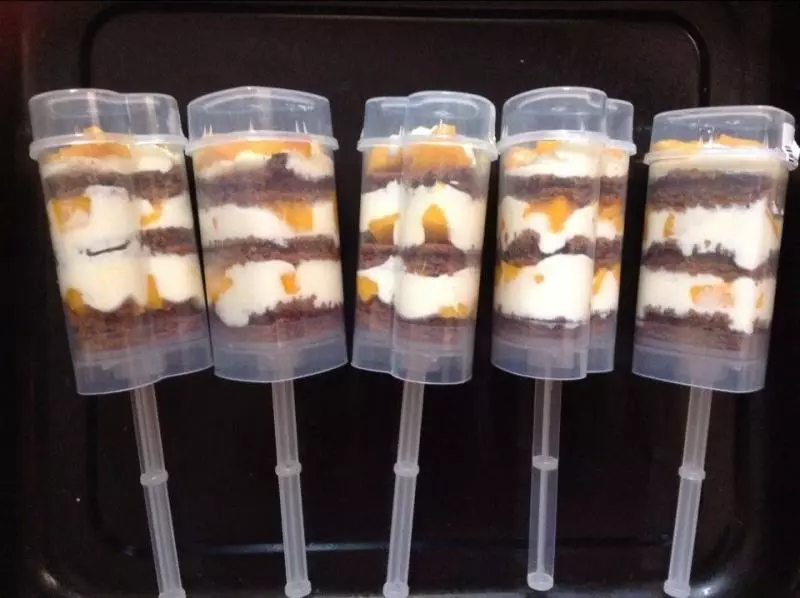
19待蛋糕冷却后用推推乐的上盖将蛋糕切割成一个个圆形蛋糕片
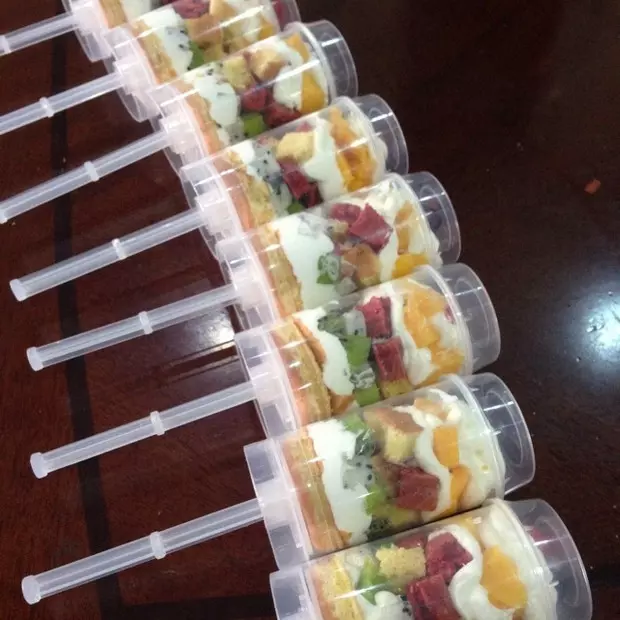
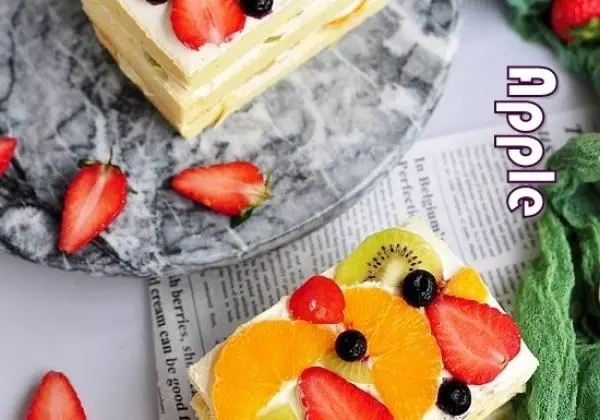
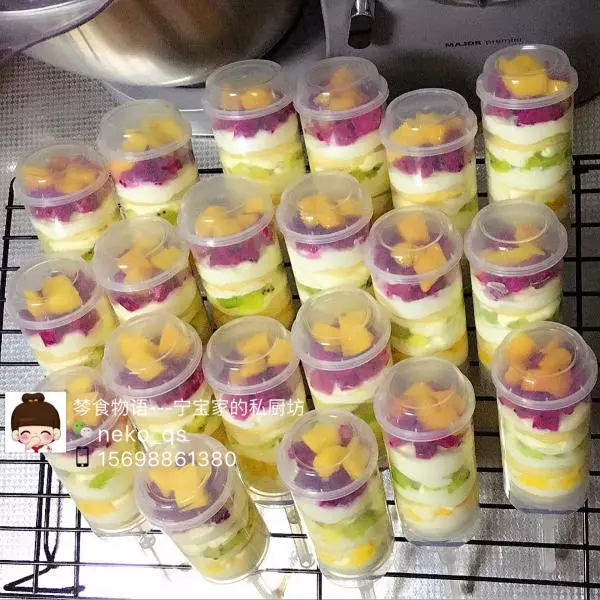
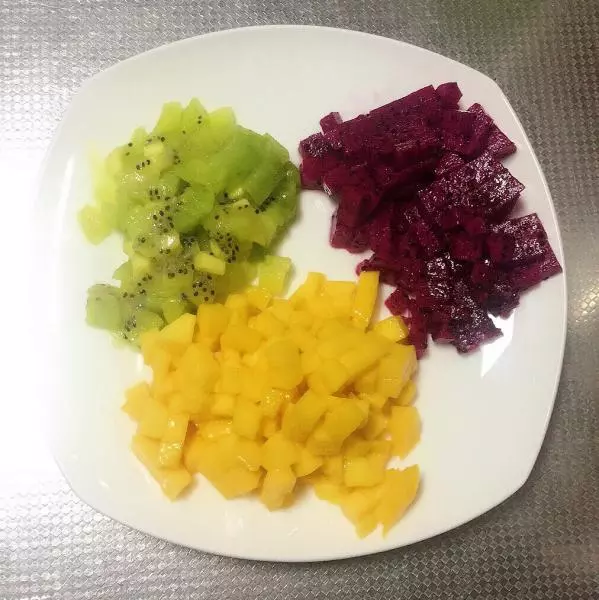
20将事先准备好的各种水果切丁冷藏备用
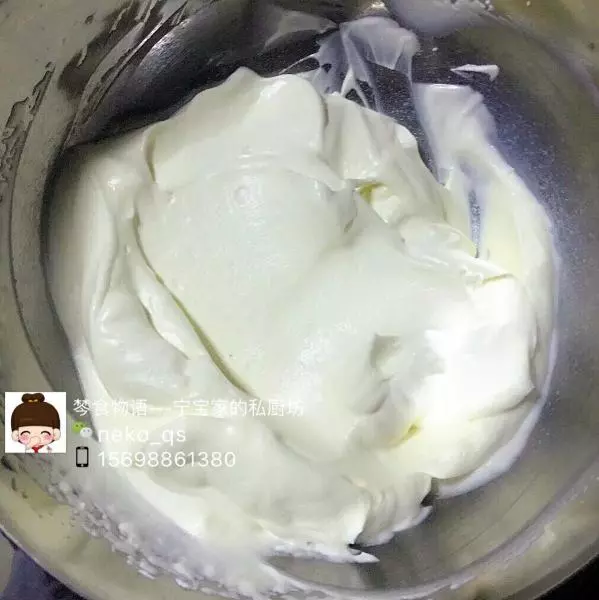
21淡奶油加糖打发至9成
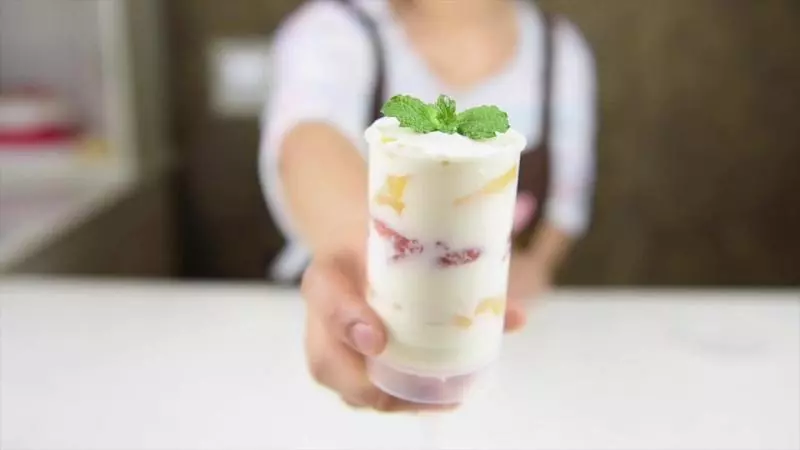
22现在就可以开始组装推推乐蛋糕啦
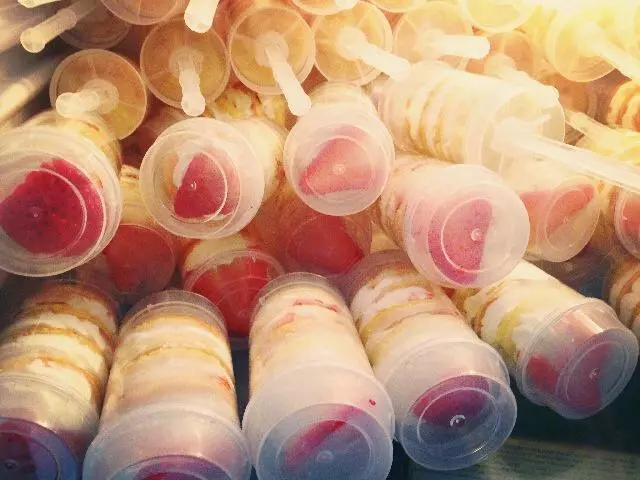
23按照自己喜欢的样子随便搭配,我这次是一层蛋糕一层奶油一层水果再加一层奶油然后再蛋糕、奶油、水果、奶油,蛋糕……
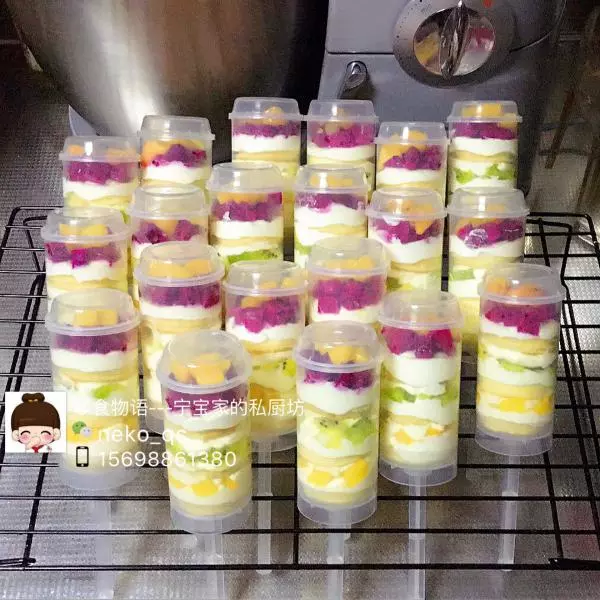
24最上面一层可以多装些水果

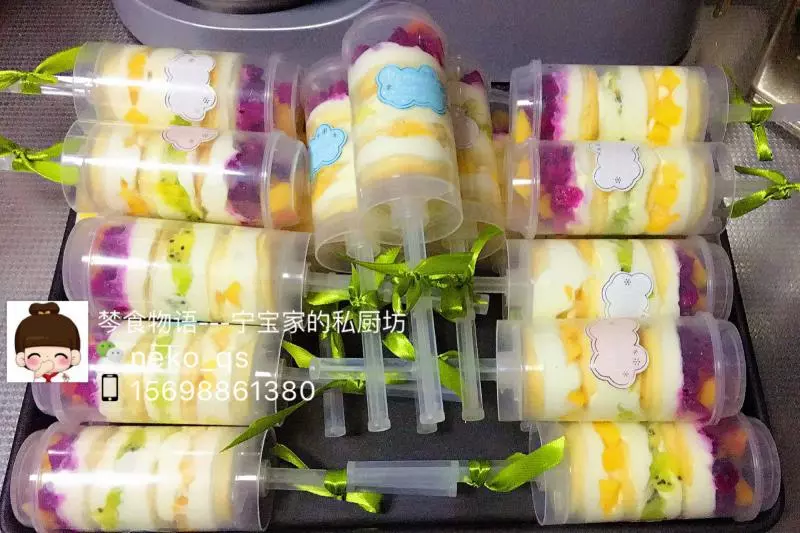
25贴上标签绑上?,好看好吃好玩的推推乐水果蛋糕就完成啦!等明天宝贝要把它们拿去幼儿园和小朋友们一起分享啦?
小技巧
1.水果可以提前切好放入冰箱冷藏 2.我用的28*28方盘,大约可以切出36个圆蛋糕片约做12个推推乐 3.如果改用三能长方形烤盘大约可出40个蛋糕片