简介
最近的榴梿价格越来越亲民了,买了整个的大榴梿边吃边霍霍~吼吼
原料
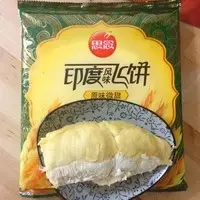
思念飞饼 一袋, 榴梿肉 100克, 鸡蛋 一只(只用蛋黄)
步骤
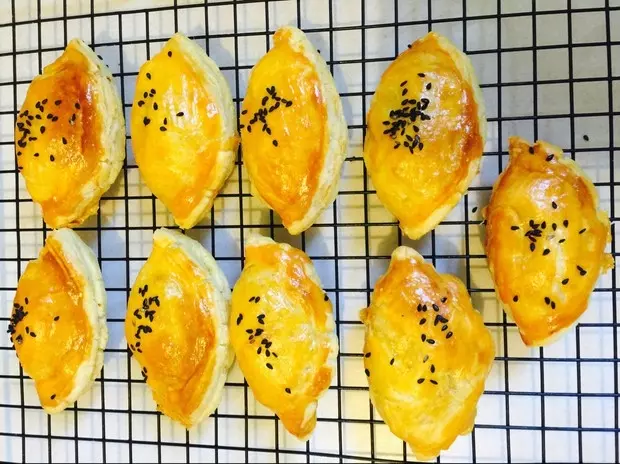
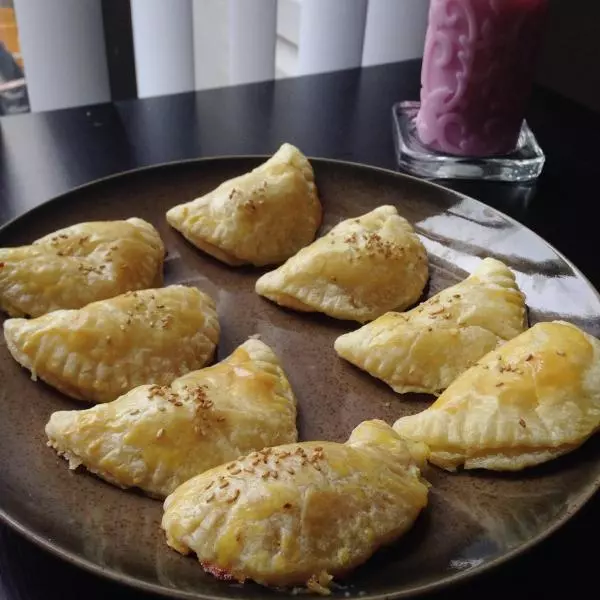
1准备材料:榴莲肉,飞饼
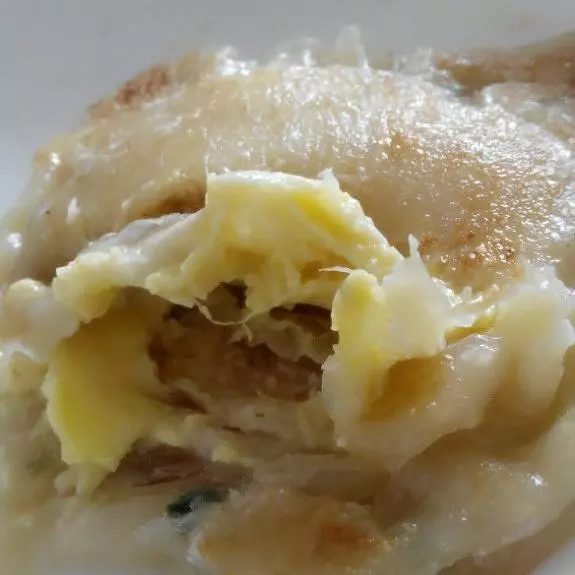
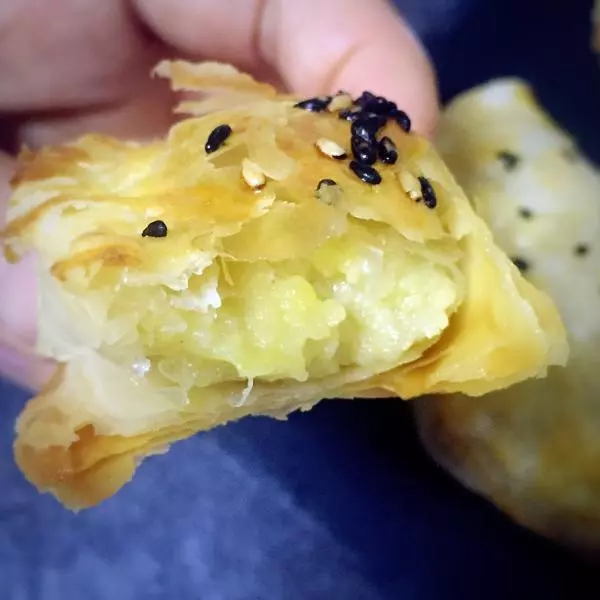
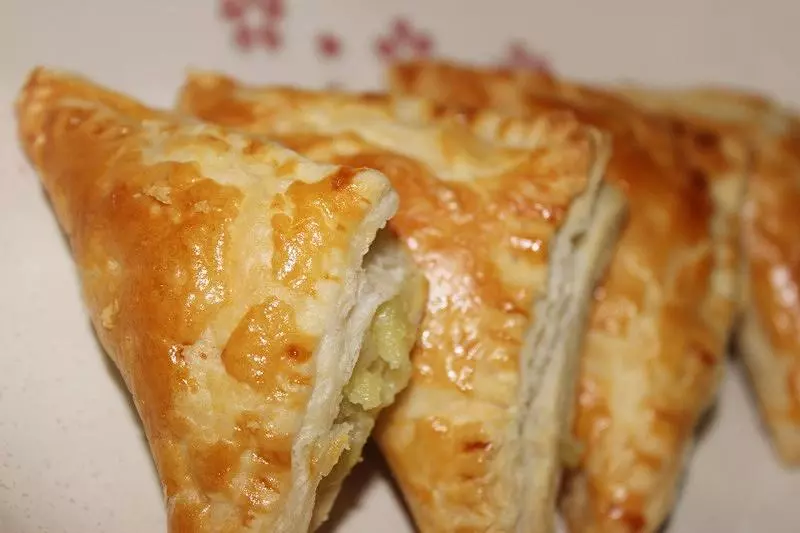
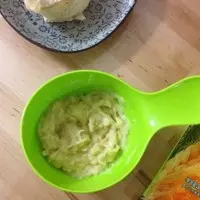
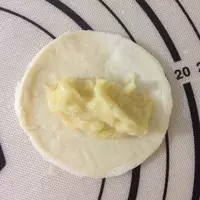
2用勺子将榴莲肉变成榴莲泥备用
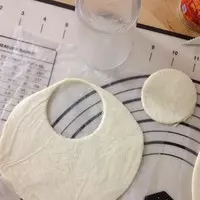
3自己找个圆口的杯子碗啥啥的,在飞饼上扣出一个个榴莲酥的酥皮~
4放上榴莲肉~
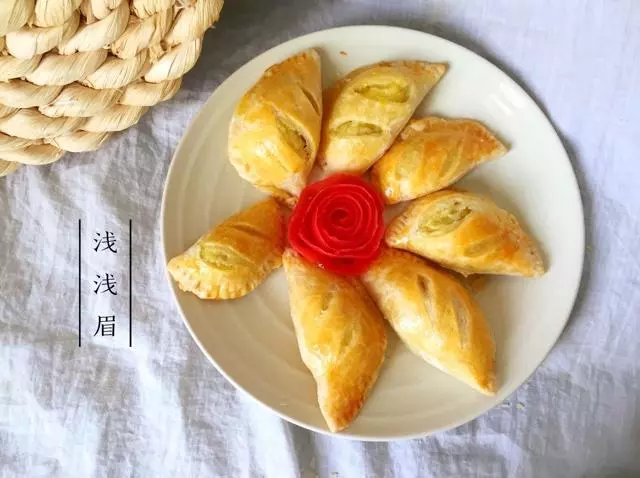
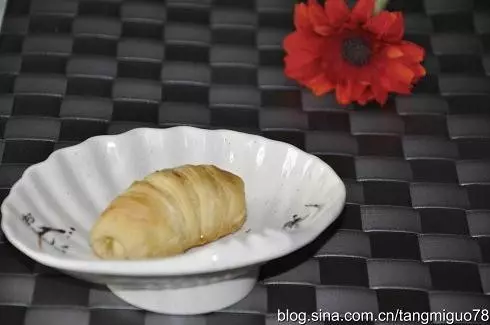
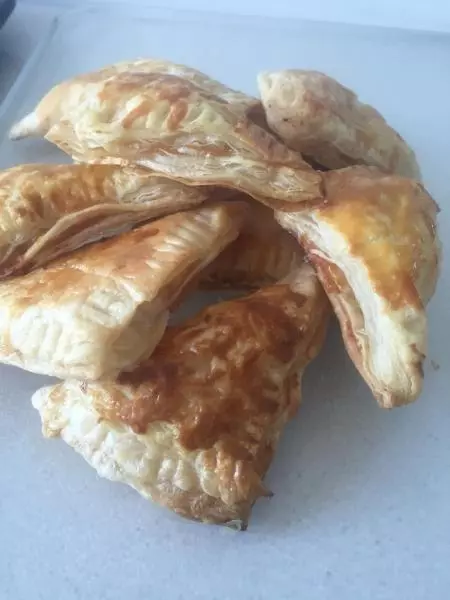
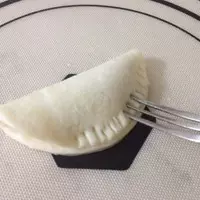
5饼皮对折包住榴莲馅,用小叉子压实边缘~
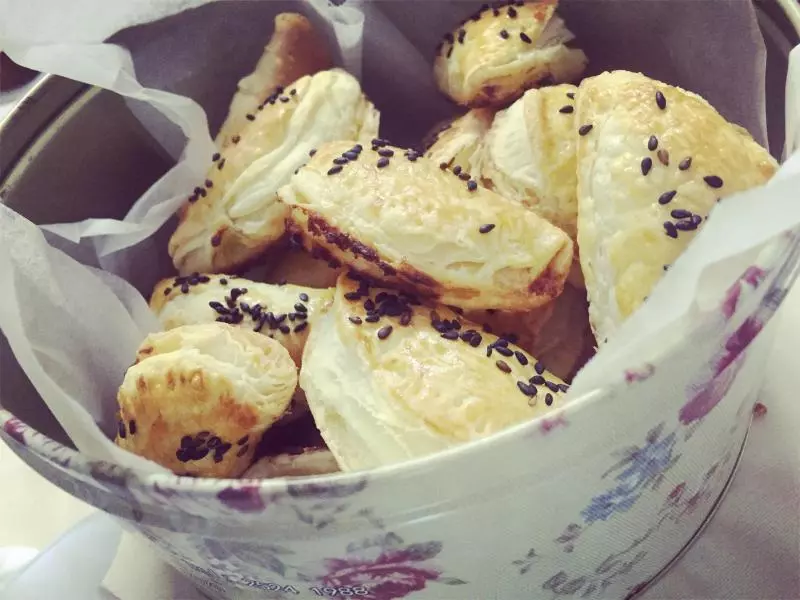
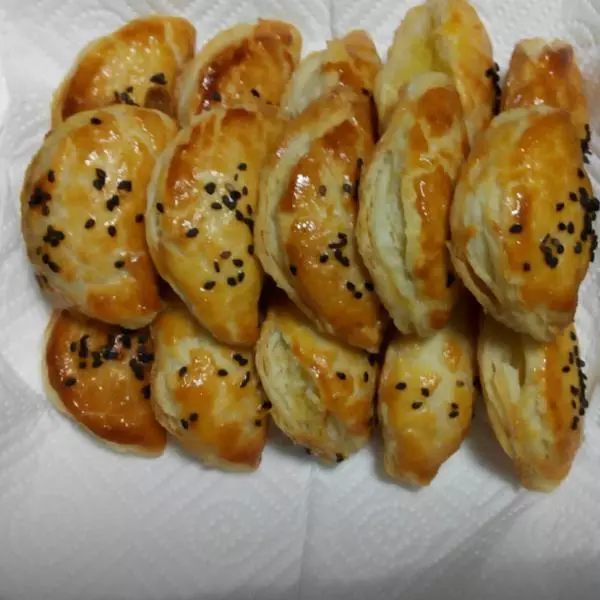
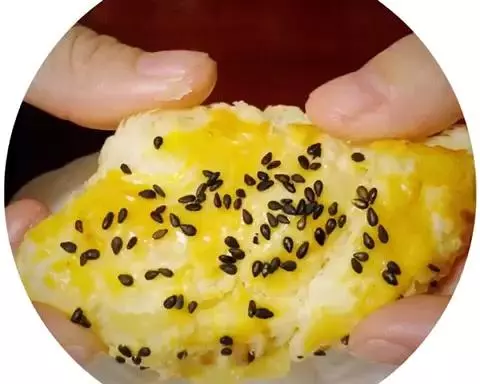
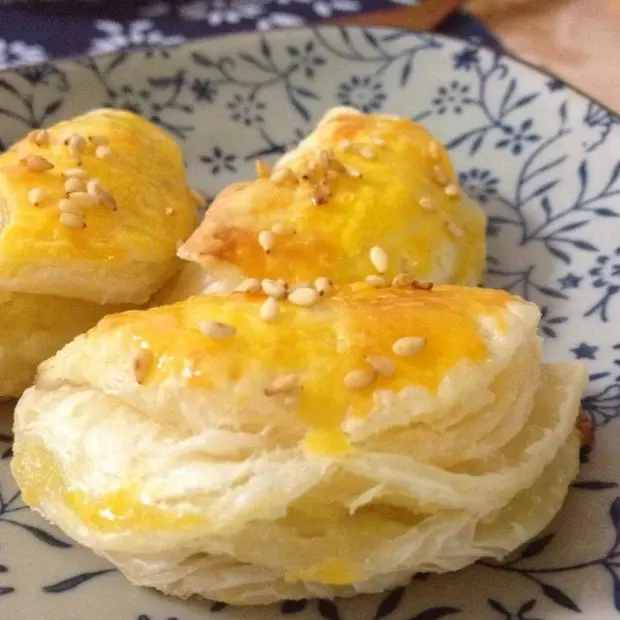
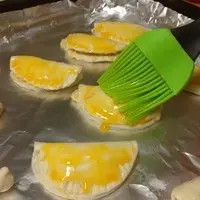
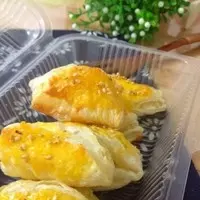
6做好的榴莲酥刷上蛋黄液~
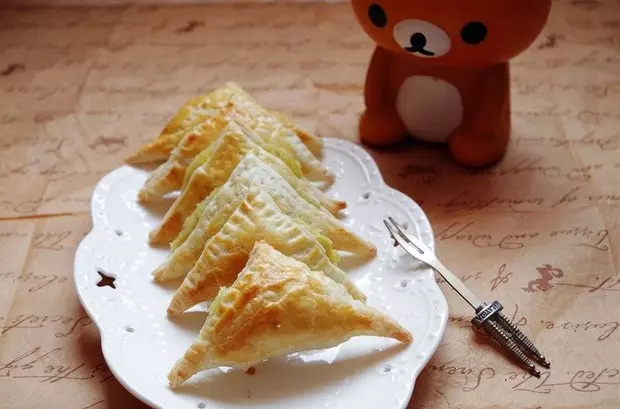
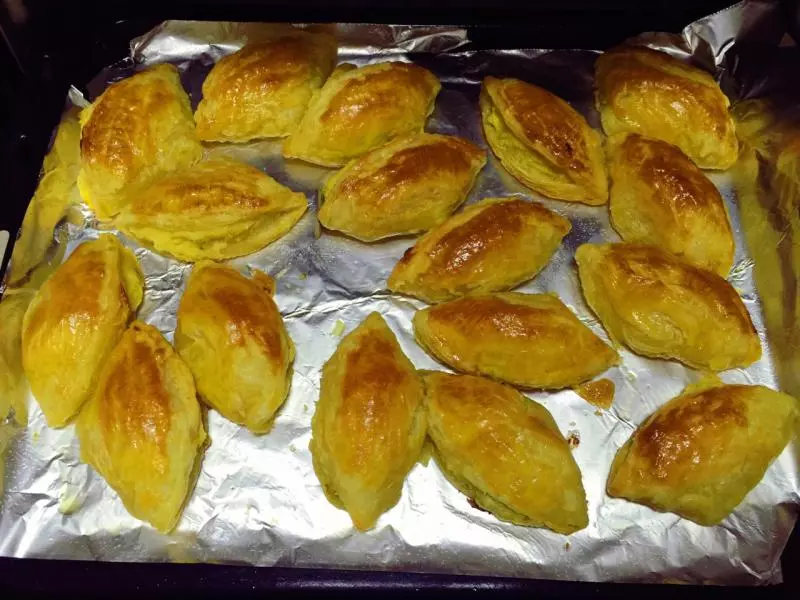
7烤箱180度,15分钟,就OK了!
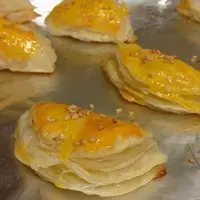
8很简单的有木有!很好呲滴!!
小技巧
1:飞饼最好选择甜味的这样才不会影响到榴梿酥最终的味道,2;扣饼皮不要太小,影响最后的形状;3,刷蛋黄液,蛋清的不要:)4,喜欢甜甜的的感觉的可以在榴梿泥里加入糖~