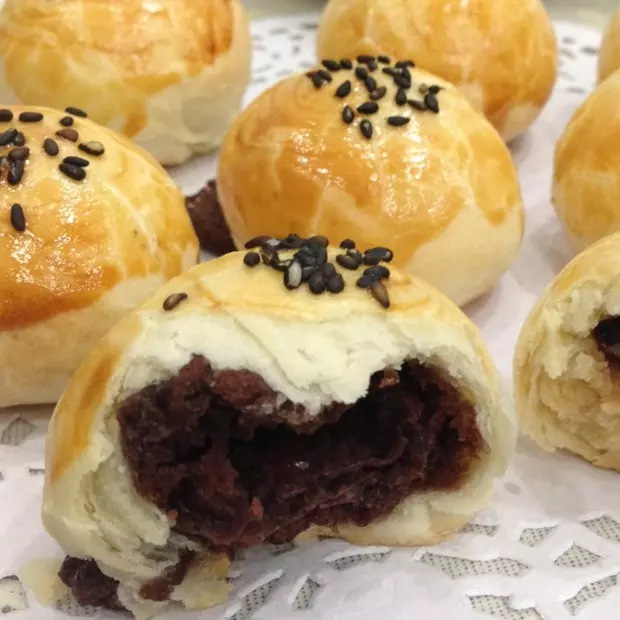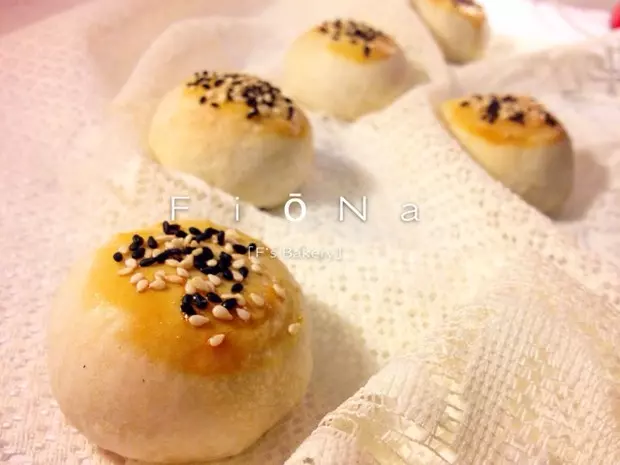
简介
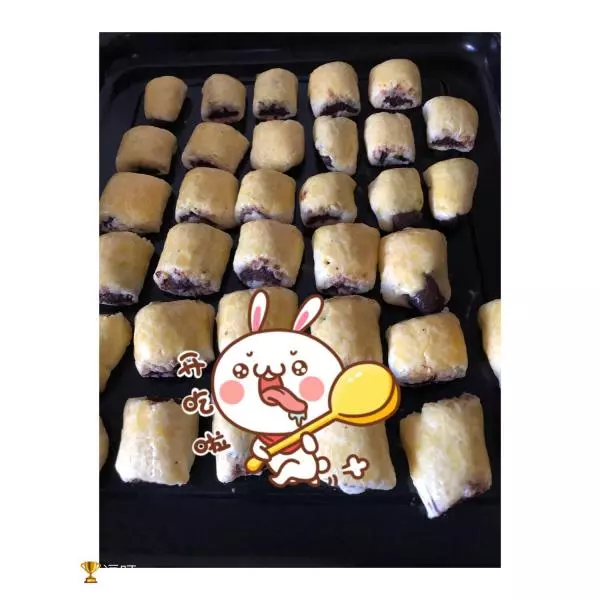
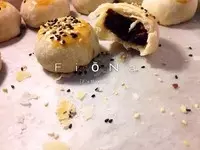
试过好多方子,发现都特别难操作。到后期就干到没办法包了。 今天给大家分享一下,到后期都还非常好操作,同时酥皮也是层次分明哈。 此配方还可以用来制作绿豆酥,椰蓉酥等
大年将至,自己动手备年货也是几百年的传统啦(≧∇≦)
参考分量:24个
原料
••水油皮••, 中筋面粉 200g, 油(猪油或葵花油) 80g, 清水 90g, 白砂糖 60g, ••油酥••, 低筋面粉 220g, 油(猪油或葵花油) 90g, ••其他••, 红豆沙 适量, 黑、白芝麻 适量, 蛋液 适量
步骤
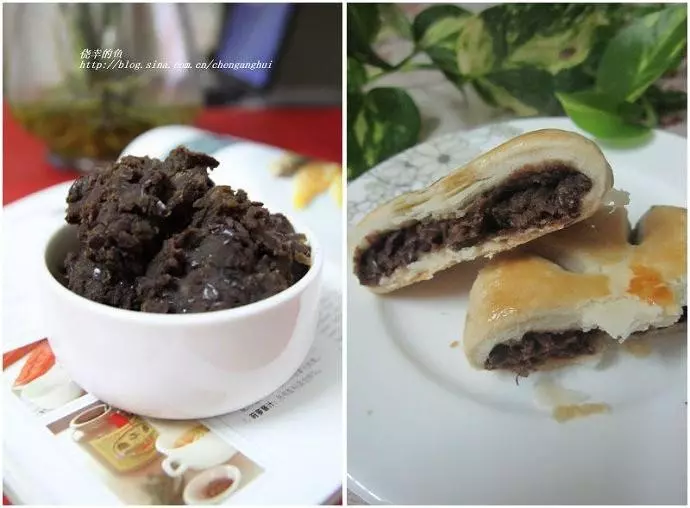
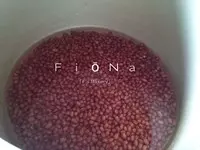
1简单说一下自制红豆沙该注意的:1.清水浸泡一夜 2.清水没过浸泡后的红豆1cm即可,多了一会儿收干水分会吐血 3.放进高压锅里大火上气后转小火压制40-50分钟左右
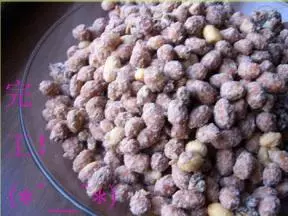
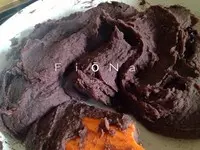
2已经非常软烂,也没什么水分了
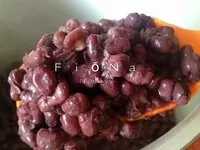
3不想用料理棒打细腻的就用刮刀按压。不过我不喜欢吃到大片大片的红豆皮=_= 细腻点口感比较好
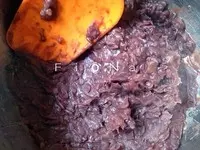
4放进锅里收干水分。加少量葵花油与适量白砂糖/冰糖。 没有月饼的馅料要求高,多油反而味道怪怪的
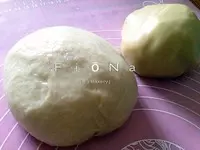
5水油团(左一)揉至光滑有韧性 油酥团(右一)揉至光滑 盖上保鲜膜醒发30分钟
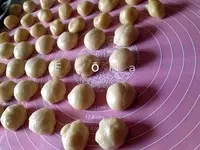
6醒发期间可以先备起24个红豆沙球

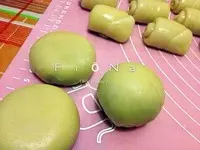
7醒发好的两份面团分别平均分为24等份
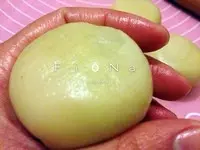
8取一个水油皮把油酥包起来
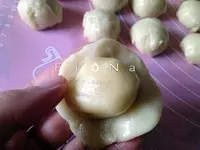
9方法随意,严实裹起即可。收口朝下 。全部包好后,盖上保鲜膜醒发15-30分钟
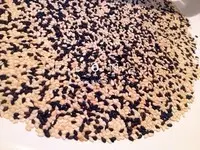
10中途可以准备表面装饰用的黑白芝麻。在无油无水的锅里翻炒出香味即可。放凉备用
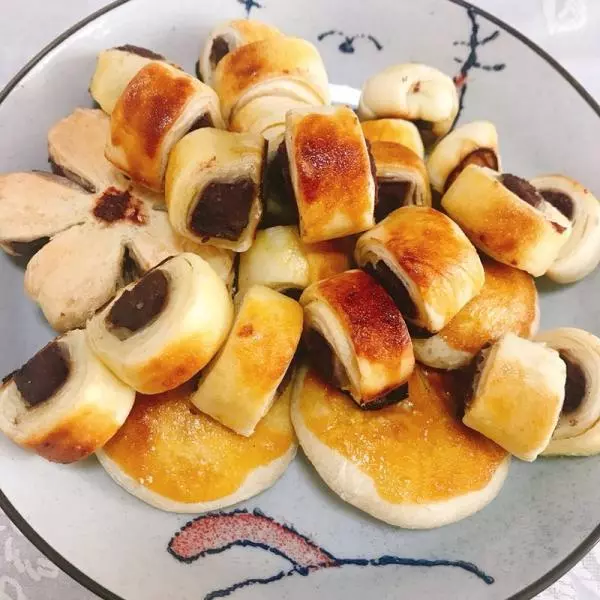
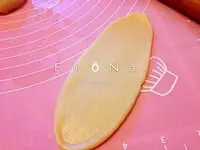
11取一个酥皮团,由中间向上、下两端擀开
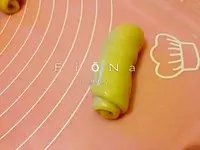
12由上往下卷起

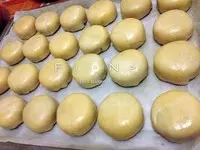
13醒发15分钟,不醒发也可。直接操作。 竖着摆放
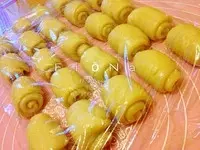
14与之前相同,由中间向上、下两端擀开。酥皮越来越长了。依旧由上往下卷起

15全部卷好后,再次醒发15分钟
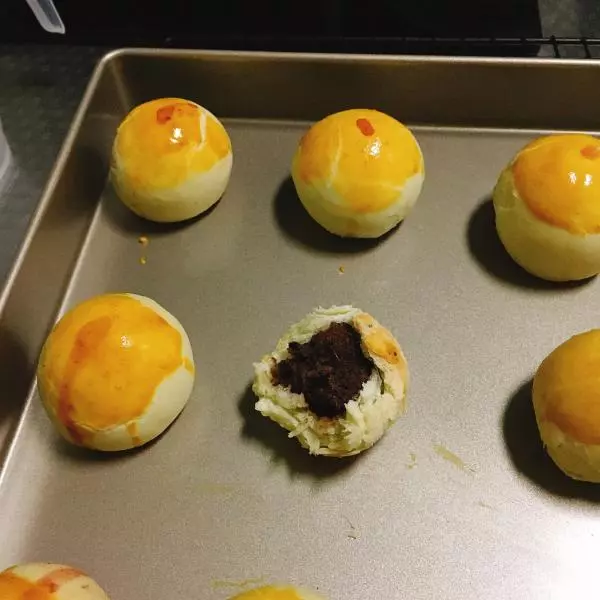
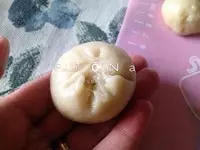
16取一个酥皮团,擀圆。周边薄一些。包入红豆沙球
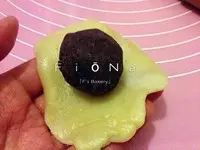
17收口朝下。整形。
18可借助虎口帮忙整形
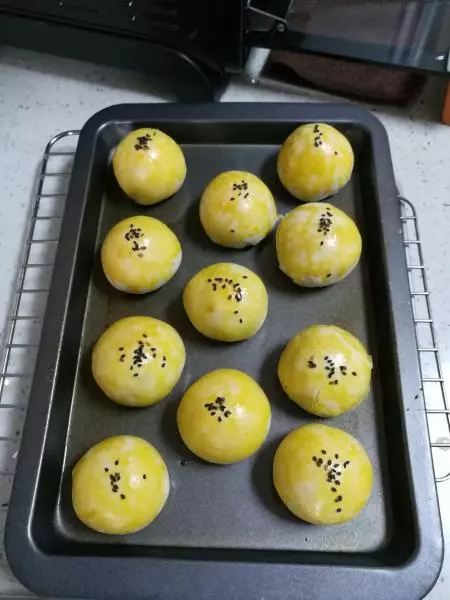
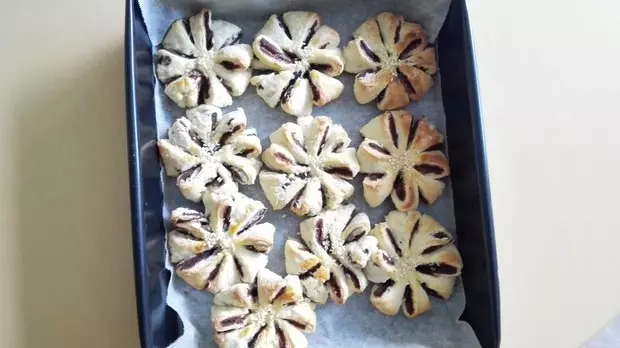
19一一排入垫了油纸的烤盘。不用留太大缝隙
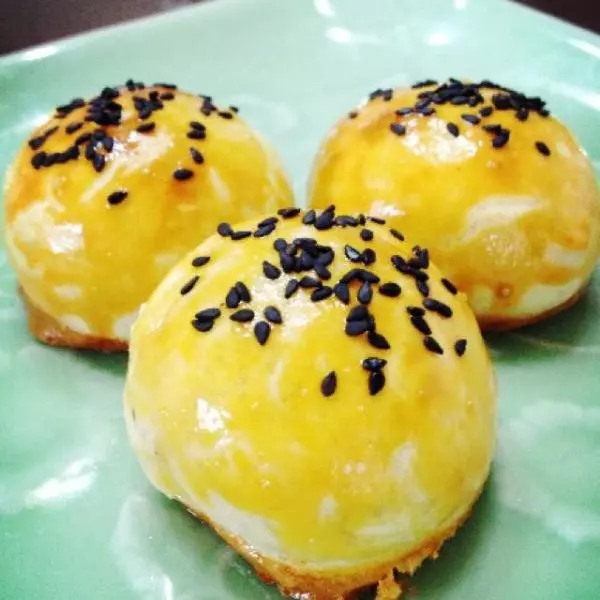
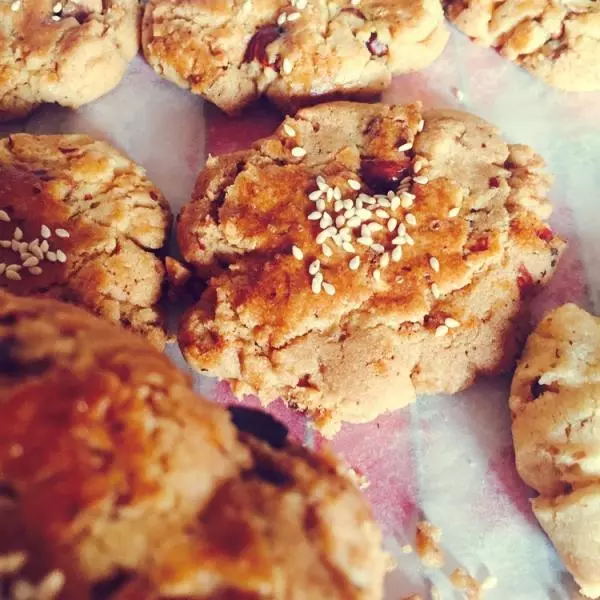
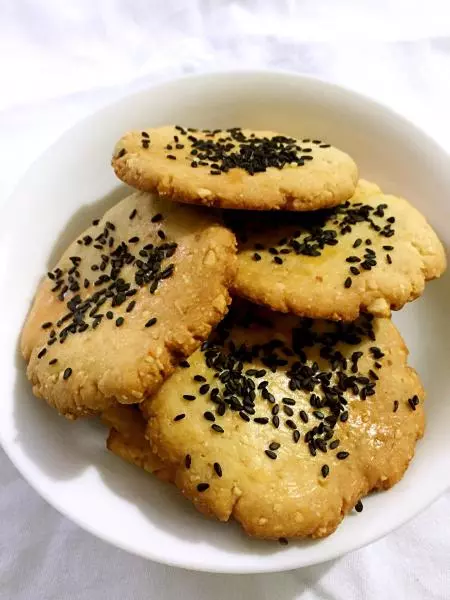
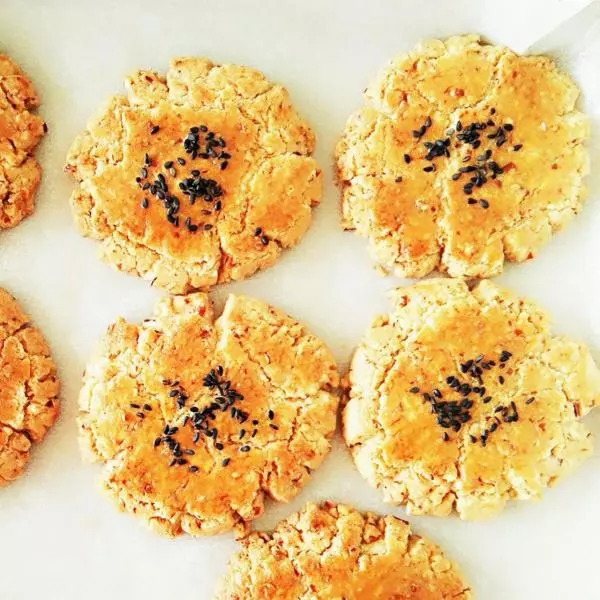
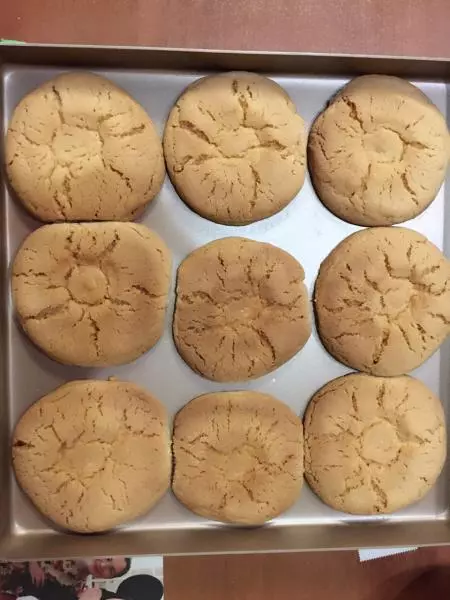
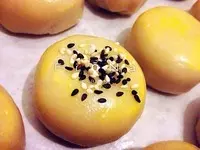
20刷上一层薄薄的蛋液,撒上适量芝麻
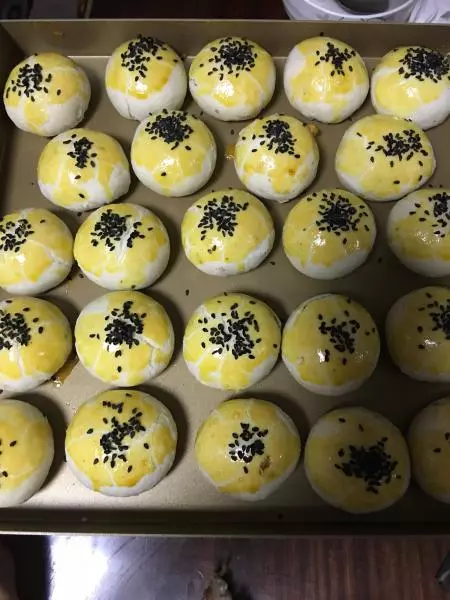
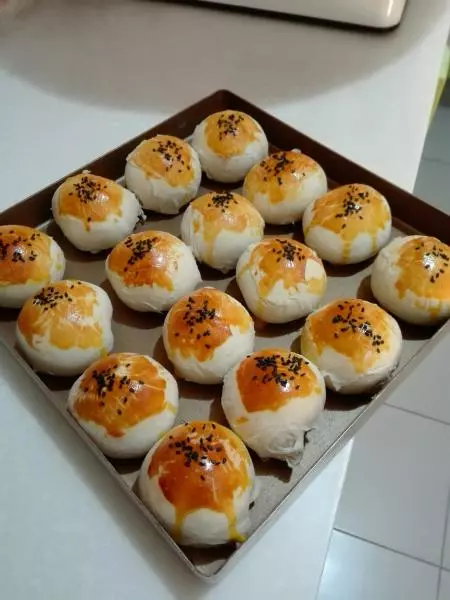
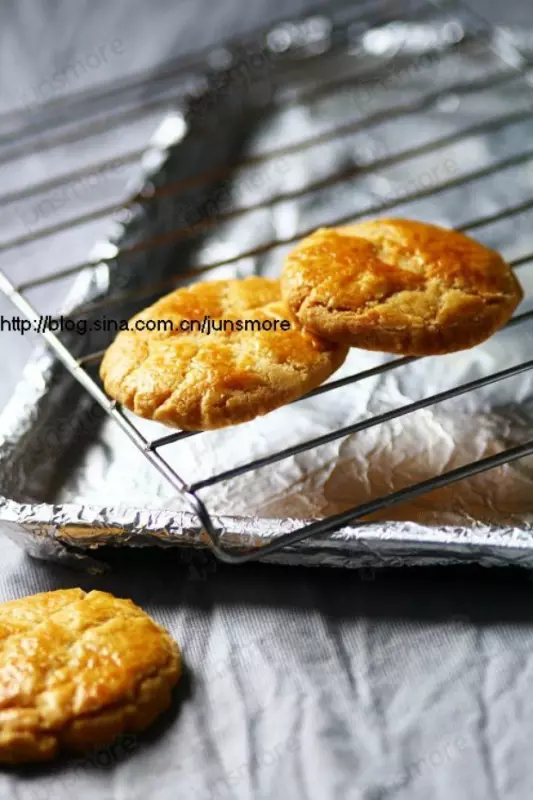
21烘烤:烤箱中层,150度,35分钟左右(依个人烤箱脾气而定,仅供参考)
小技巧
•水油皮需要揉至光滑有一定的韧性,但不是出膜,我看了很多方子说要像做面包的面团一样出膜,其实个人感觉是不需要的。按照此配方,一样层次分明,酥得掉渣哈。
•中途的醒发时间不用特别准确也不打紧
•很多人问为什么我做的红豆沙不好吃?根据前面几点来做的是适合红豆酥,别放太多油。油多了就是月饼馅啦〜