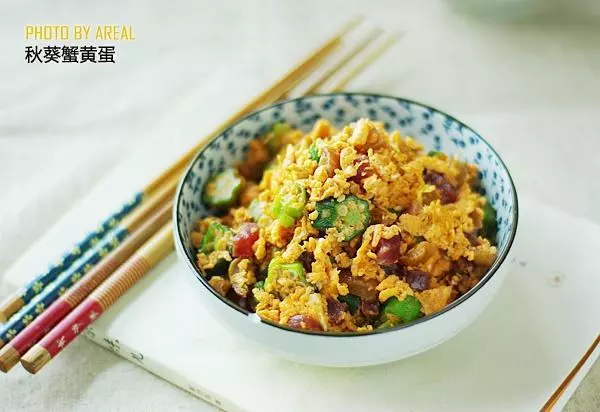
简介
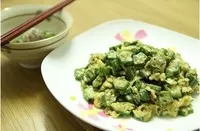
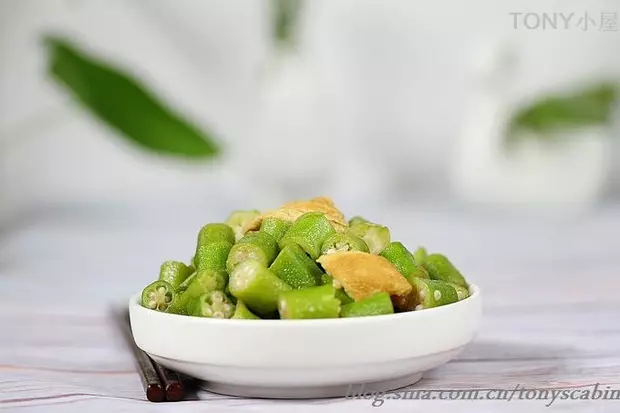
旅游的时候巧合吃过秋葵,后来便念念不忘,最近看见秋葵便跃跃欲试。简单得很的家常小菜。
原料
秋葵, 鸡蛋
步骤
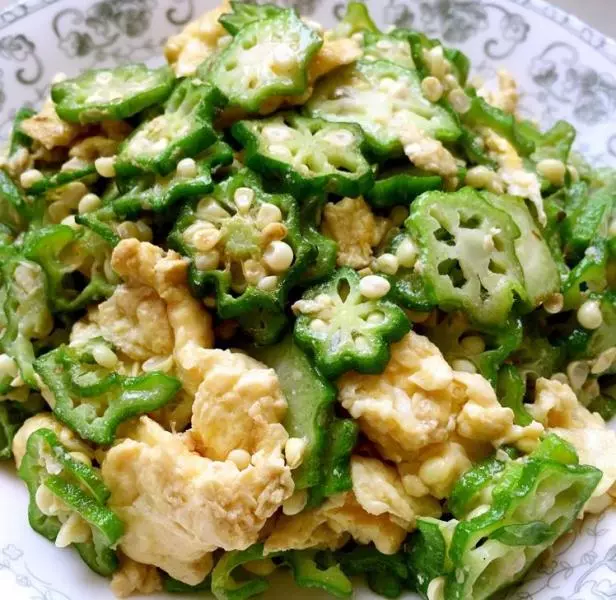
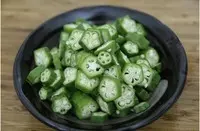
1秋葵清洗干净,切断,平均厚度05cm左右。

2横切面的秋葵是星星状。秋葵有胶水状的汁液,所以切断时要小心滑手。
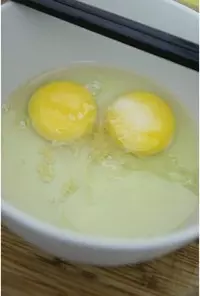
3发蛋,加入少量盐巴和鸡粉调味,加入少量的油和清水一起发的蛋炒出来比较滑比较松软。
4油锅烧热,将秋葵快速煸炒一下。盐巴调味,秋葵的味道很清单所以不加入太多的调料,怕盖了原本的味道。

5秋葵易熟,所以煸炒一下即可,淋入蛋液。
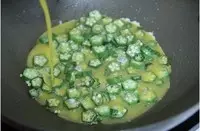
6快速的翻炒,让蛋液尽量裹住秋葵。
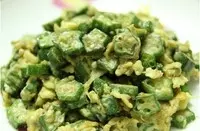
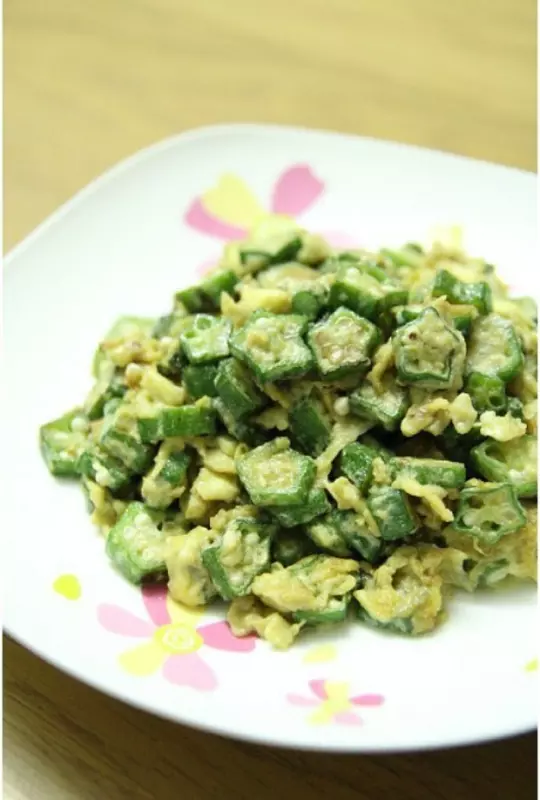
7蛋液炒熟即可。