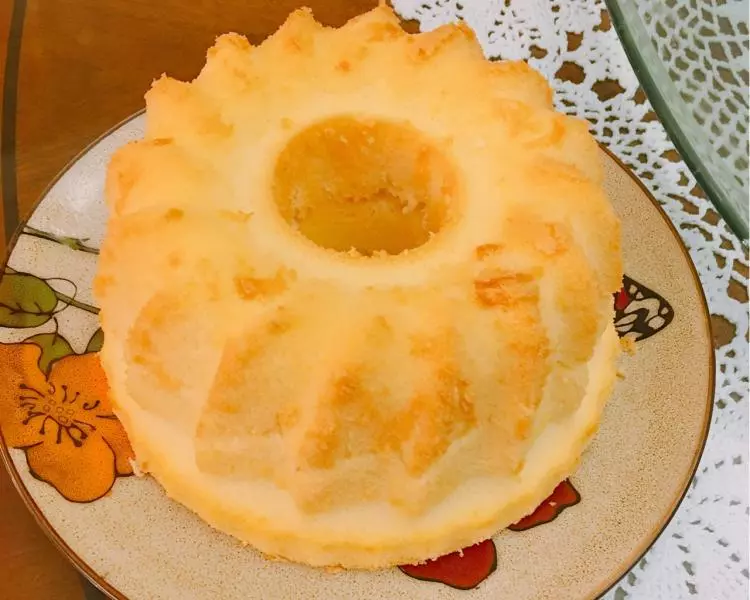
简介
这是一款做起来简单,吃起来非常软的蛋糕
原料
清水 25克, 牛奶 25克, 色拉油 20克, 低筋面粉 40克, 玉米淀粉 20克, 泡打粉 1克, 蛋黄 45克, 蛋清 75克, 砂糖 55克, 塔塔粉 1克, 盐 1克, 丘比沙拉酱 适量, 肉松 适量
步骤
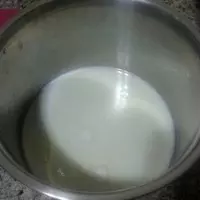
1先将清水,牛奶,色拉油搅拌均匀!
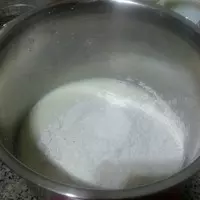
2再加入低筋面粉,玉米淀粉,泡打粉用手动打蛋器搅拌至无颗粒为止!
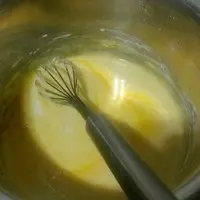
3在面糊中加入蛋黄,搅拌至完全融合!
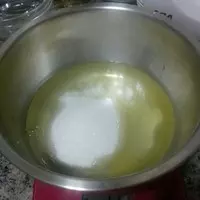
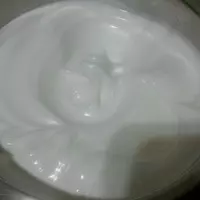
4将蛋清中加入所有砂糖,盐,塔塔粉,用电动打蛋器由低速转入快速把蛋白打至湿性发泡!
5步骤图,细腻无气泡
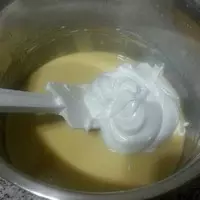
6分三次把蛋白加入到鸡蛋面糊中,搅拌均匀
7选用一个圆孔裱花嘴,装入裱花袋中。将面糊倒入!

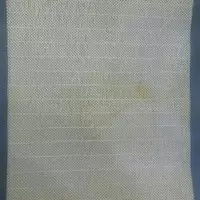
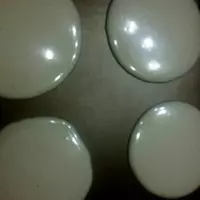
8烤架上放上耐高温的烤垫,将面糊挤成圆型的四个饼!
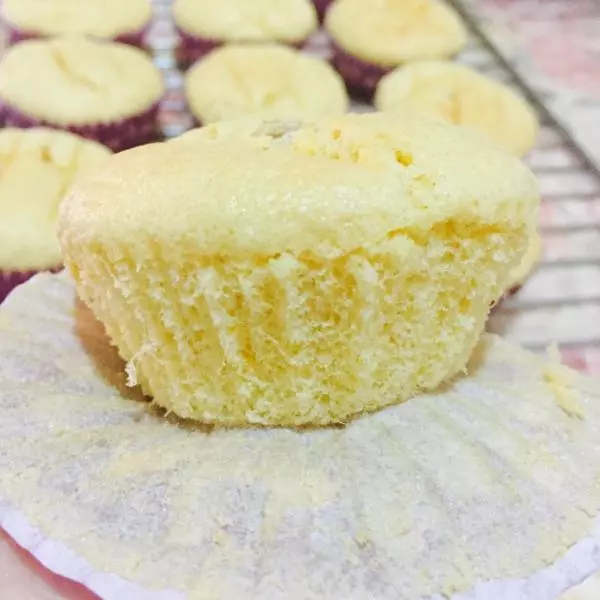
9如图~入烤箱170度15分钟即可
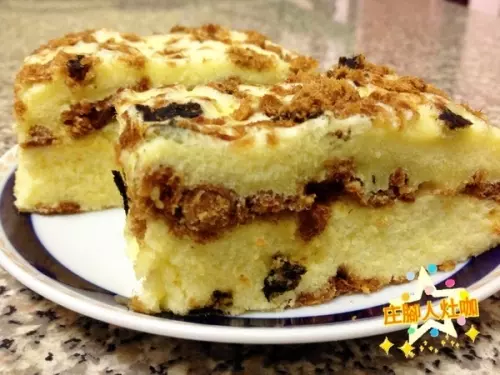
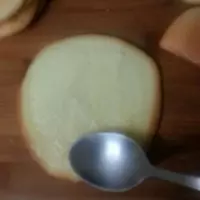
10烤好的蛋糕,放凉后用刀从中间切一刀,不要切断开,摸上丘比沙拉酱!
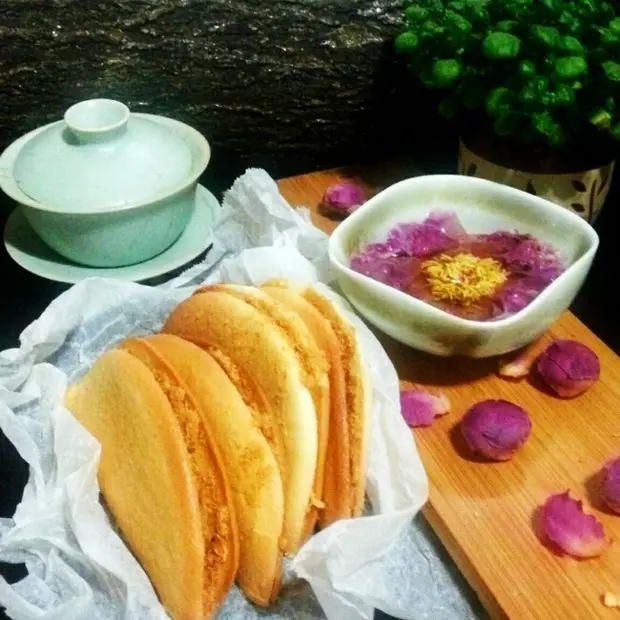
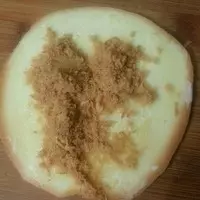
11撒上肉松,然后对折!肉松夹心蛋糕就做好了!
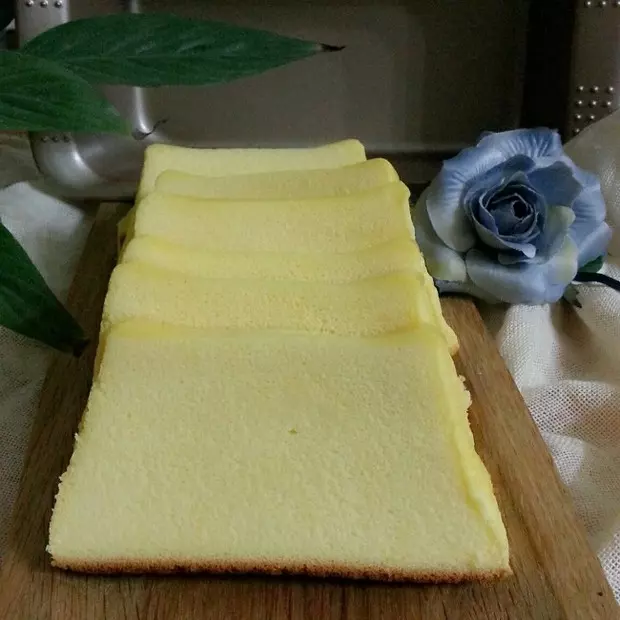
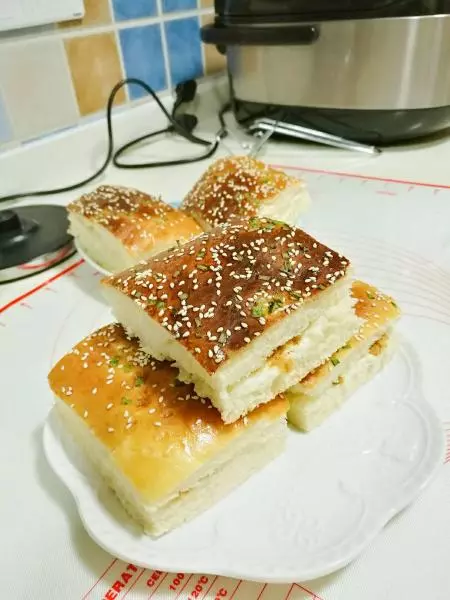
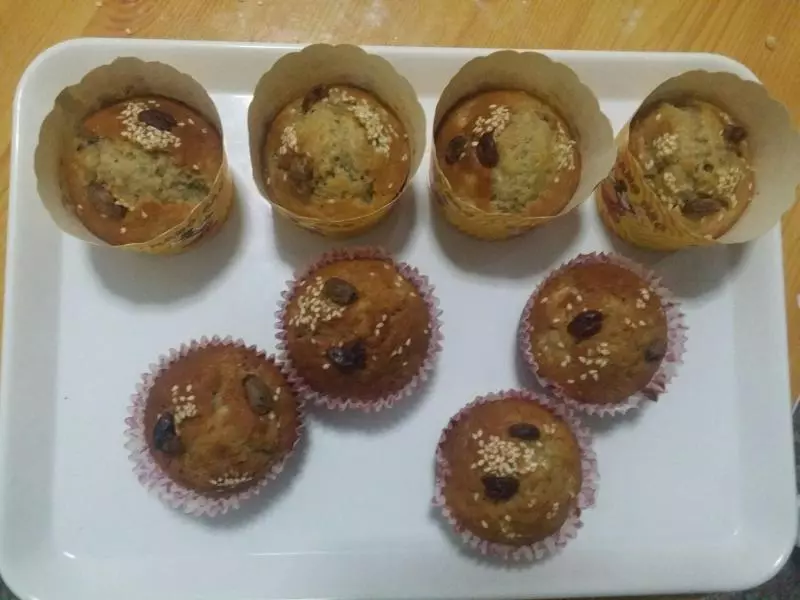
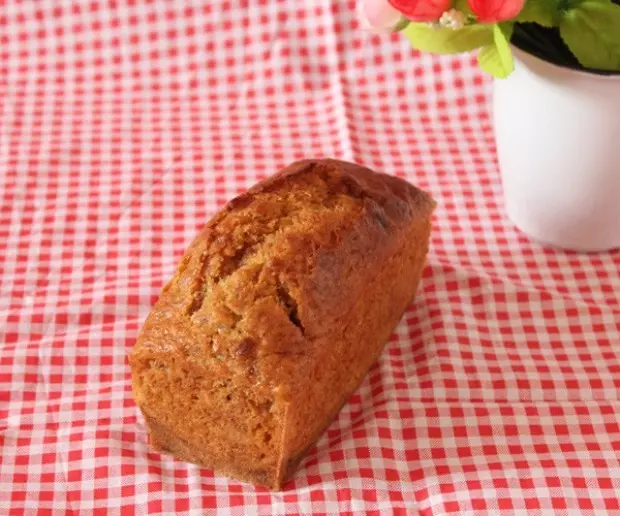
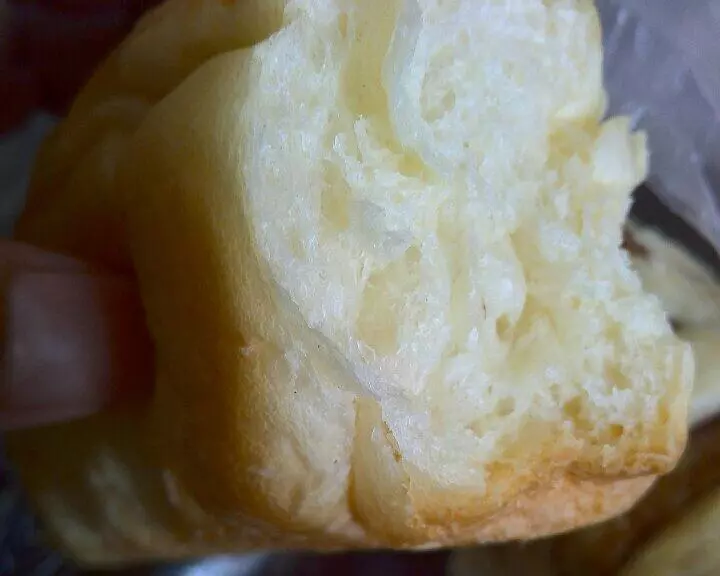
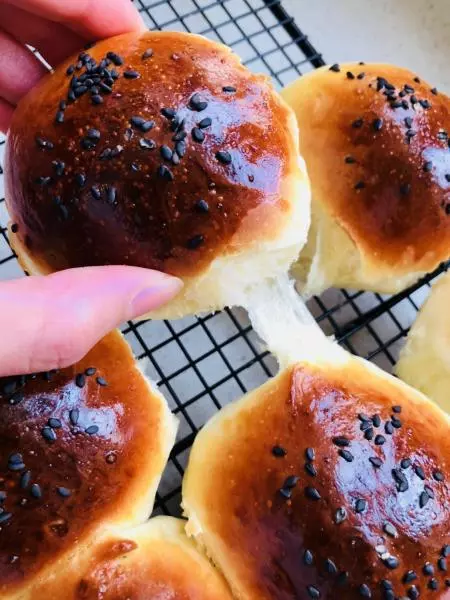
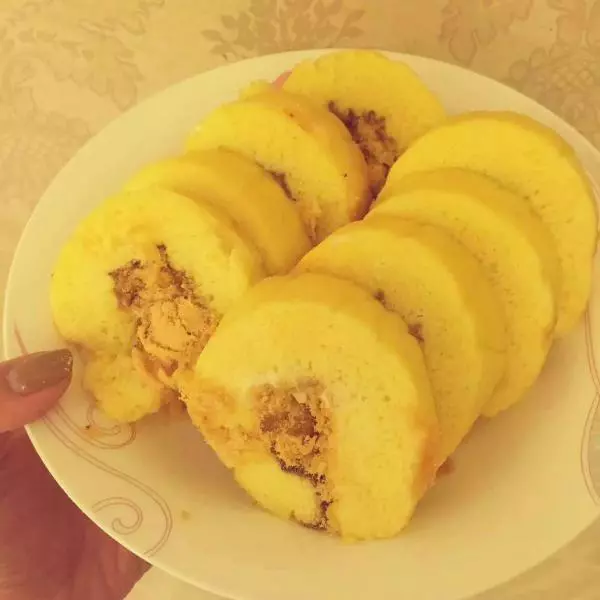
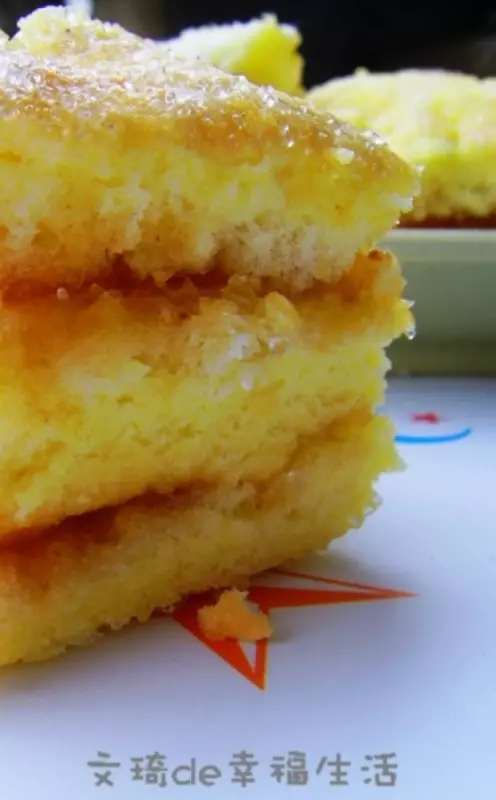
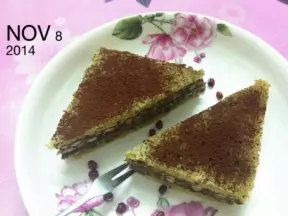
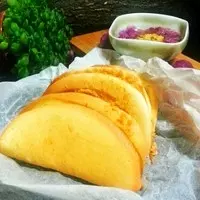
12成品
小技巧
蛋糕烤时不要直接挤入烤盘,经自己实验根本不好取下来! 请选用耐高温不粘油布或烤垫!