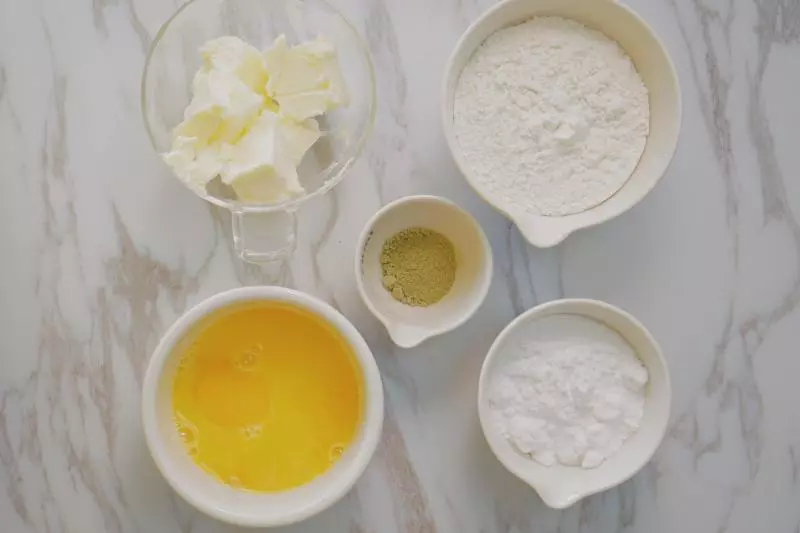
原料
心形蛋糕食材?: , 低筋面粉: 60g, 红曲粉: 10g, 玉米淀粉: 15g, 糖粉: 60g, 黄油: 40g, 鸡蛋: 3个, 香草精: 3g, 磅蛋糕食材?: , 低筋面粉: 150g, 抹茶粉: 10g, 泡打粉: 4g, 糖粉: 60g, 黄油: 140g, 鸡蛋: 3个
步骤
1心形蛋糕食材
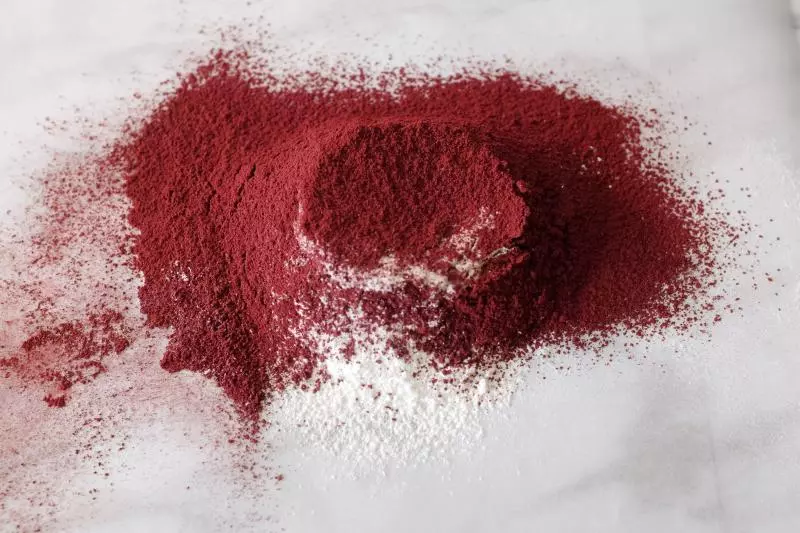
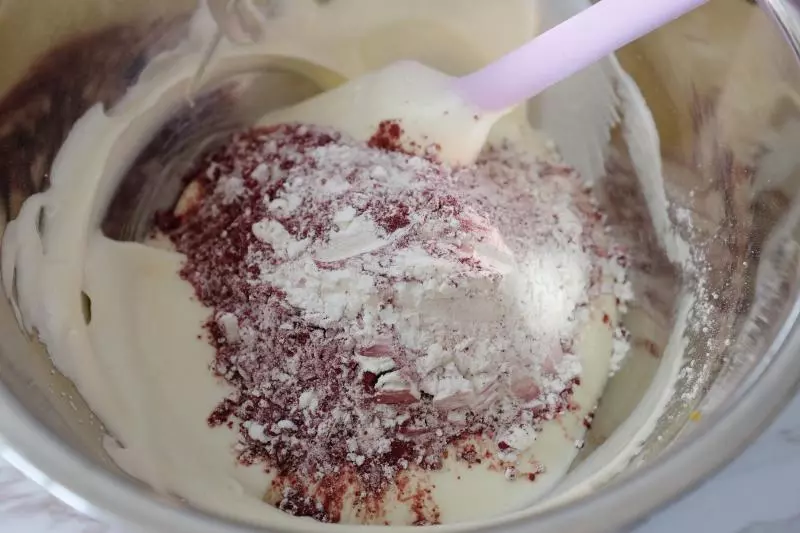
2低粉+红曲粉+玉米淀粉混合过筛
3蛋清和蛋黄分离,准备一个无水无油的打蛋盆,高速打发蛋清,至呈现明显的大泡泡时,加入三分之一的糖粉;
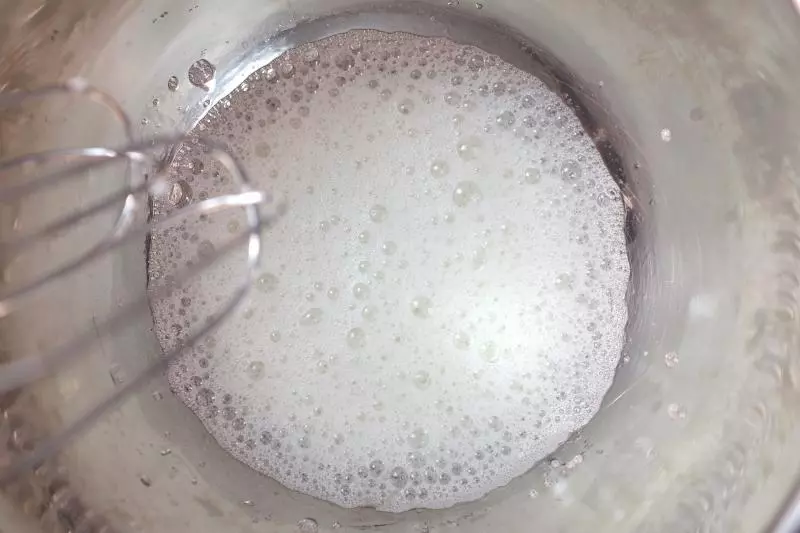
4继续打发至泡沫消失,蛋清变的细腻顺滑时再加入三分之一的糖粉;打至湿性发泡的时候加入剩下的糖粉,继续打发至出现明显的纹路和阻力。
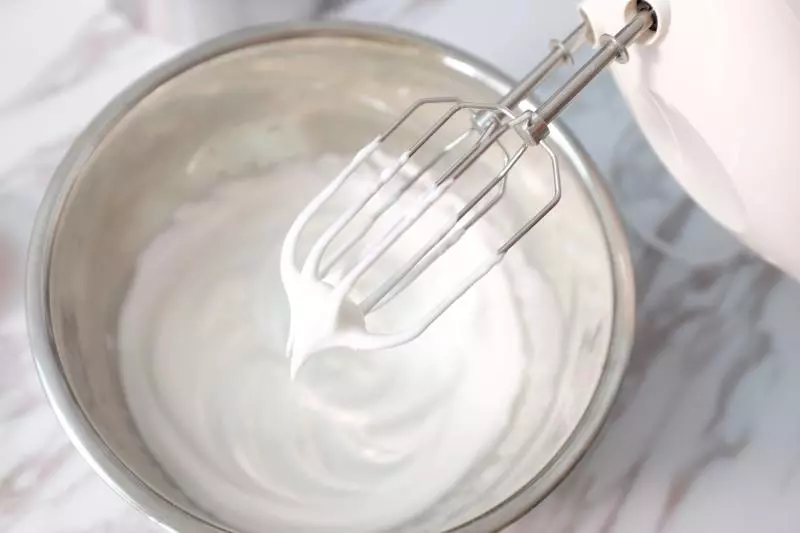
5打至干性发泡

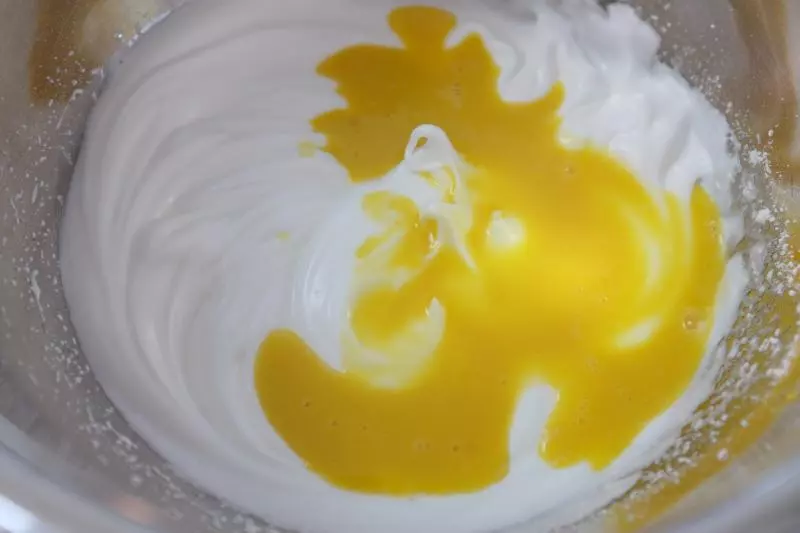
6蛋黄+香草精打散,倒入打发好的蛋清中,翻拌均匀
7加入过筛的粉类,翻拌均匀,不要转圈圈搅拌
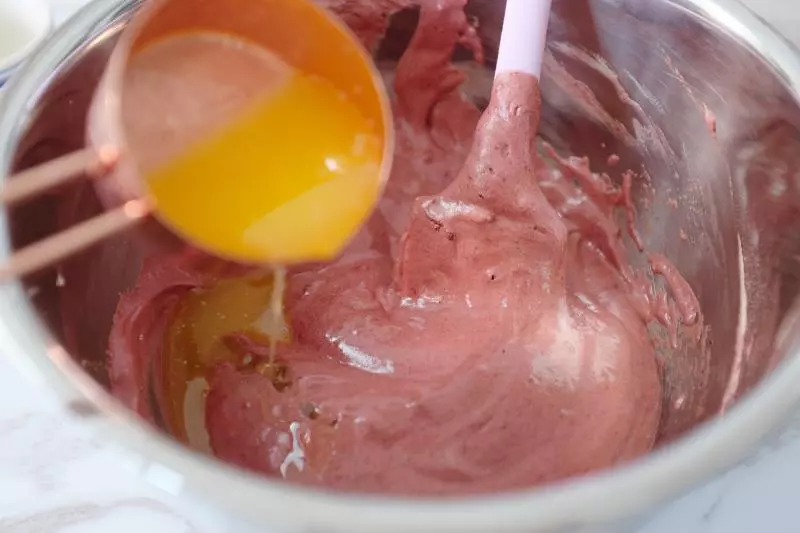
8黄油隔热水融化成液体,倒入面糊中
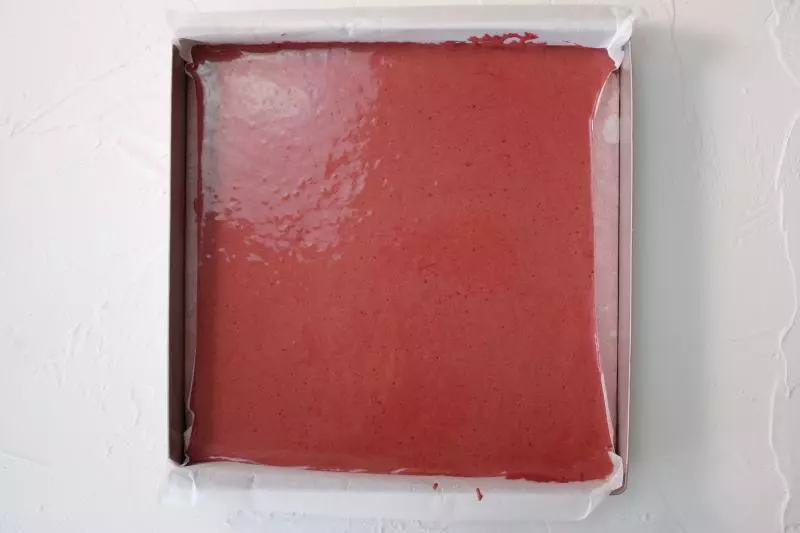
9烤盘铺一层烤纸,倒入面糊(我用的28*28的方形烤盘),用刮刀将表面刮平,烤盘垂直震一下,震出大气泡 烤箱180度预热5分钟,烤10-15分钟
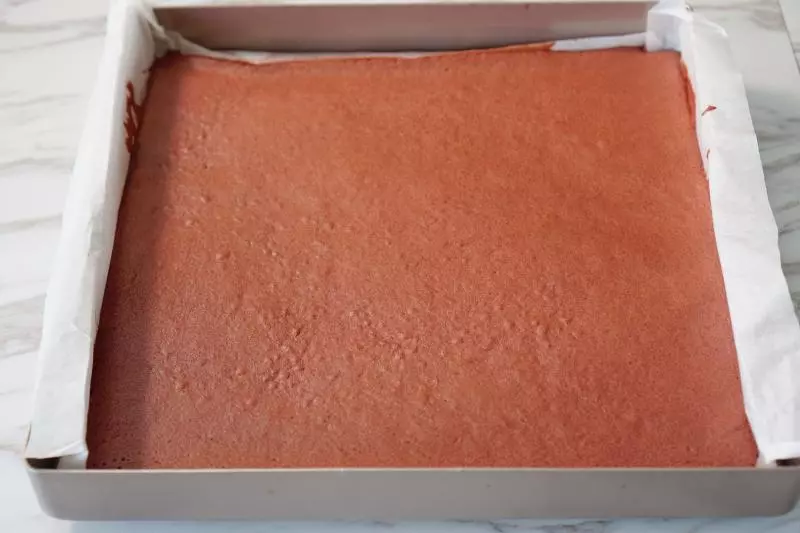
10烤好的蛋糕,从烤盘拿出,撕去烤纸
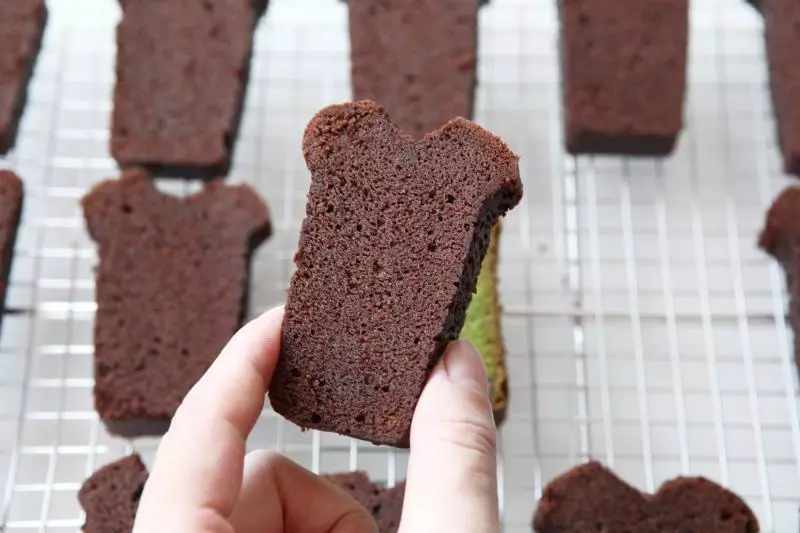
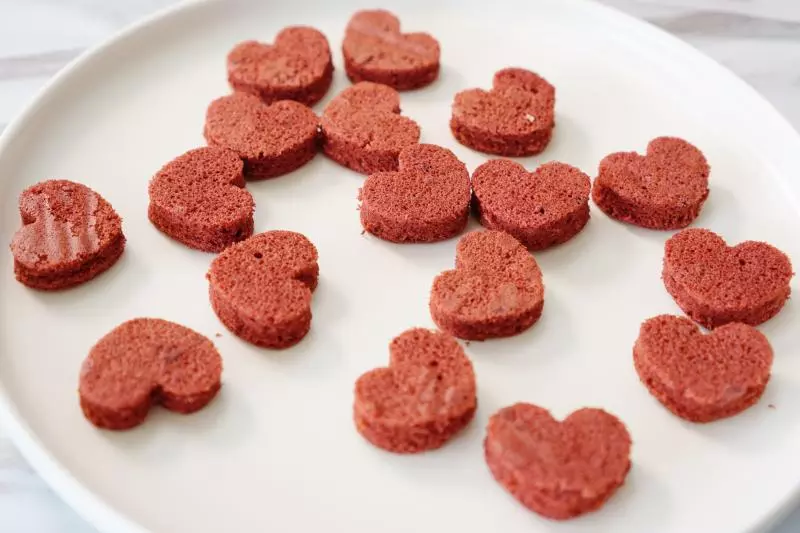
11用心形模具压出形状,我用的是做便当的小模具,

12如果没有心形模具,那就用纸裁一个心形,按着形状用刀切出心形 压好的心形放在一边待用 接下来来做磅蛋糕
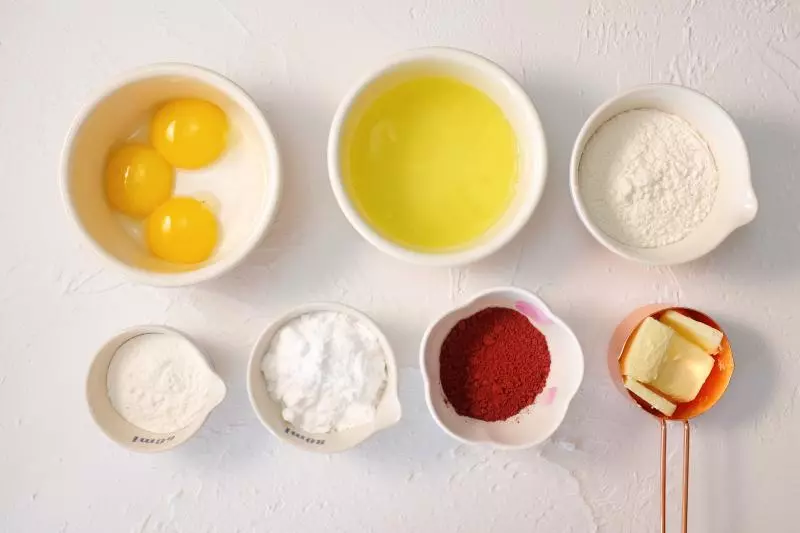
13磅蛋糕食材
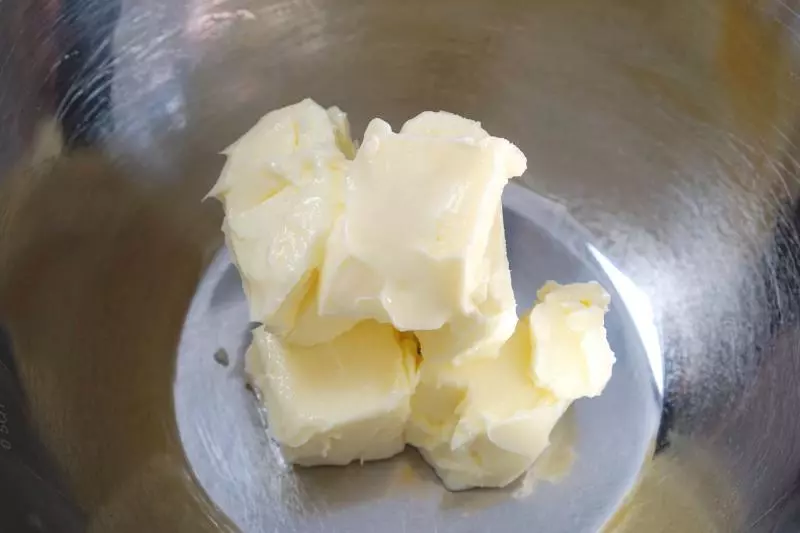
14黄油室温软化,放入打蛋盆
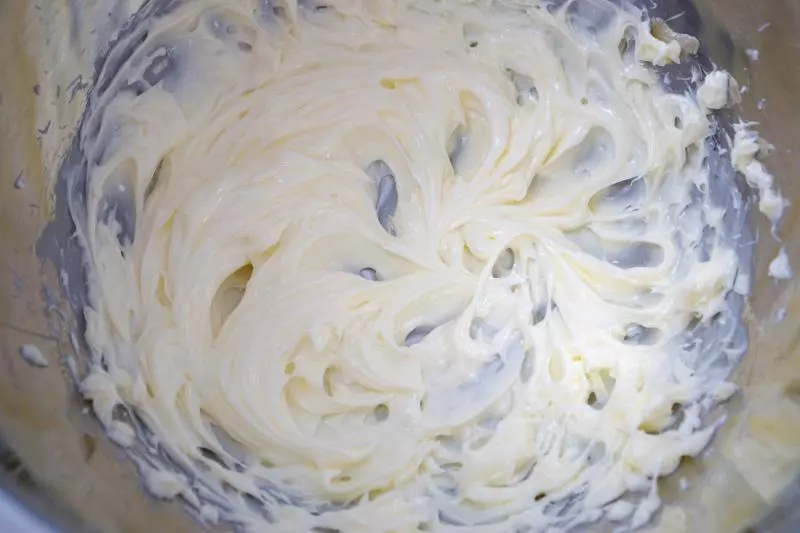
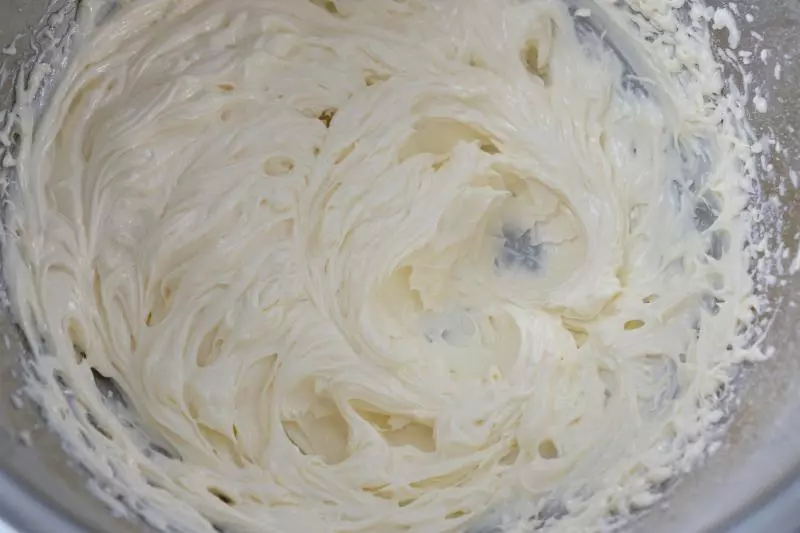
15软化好的黄油先用打蛋器打至顺滑
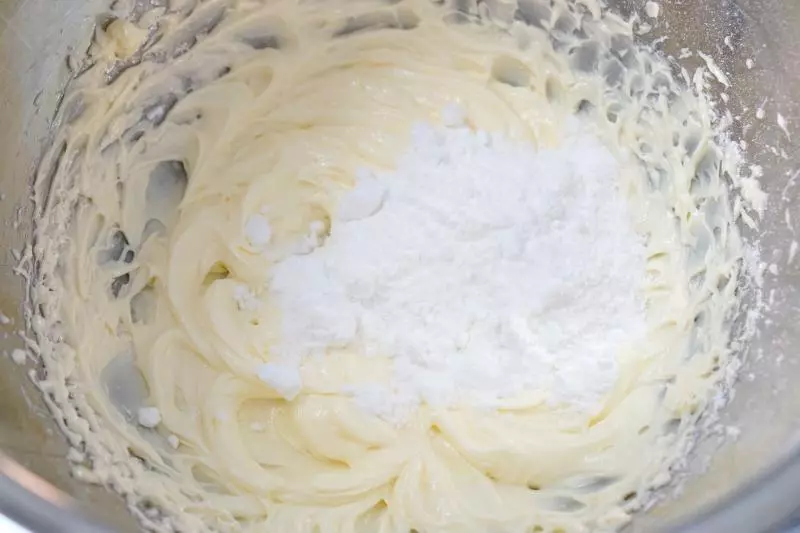
16然后分两次加入糖粉,打发至黄油变白,体积变大,
17打发好的黄油,体积2倍大,颜色发白
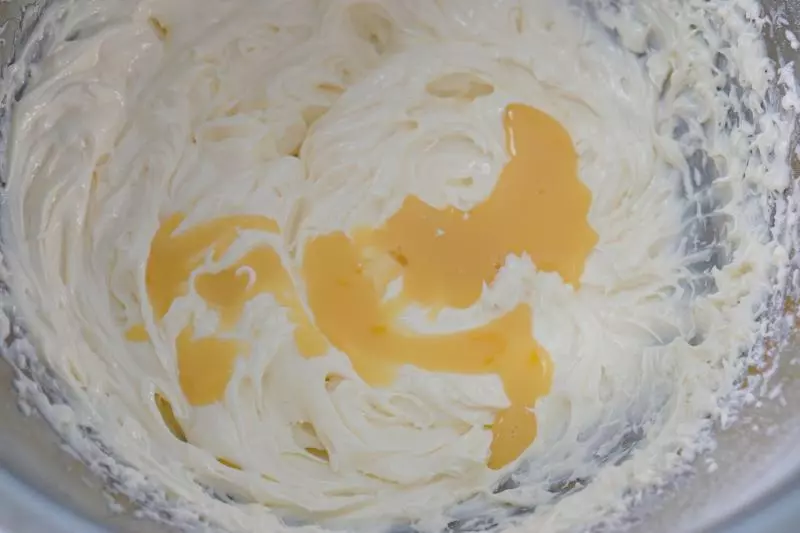
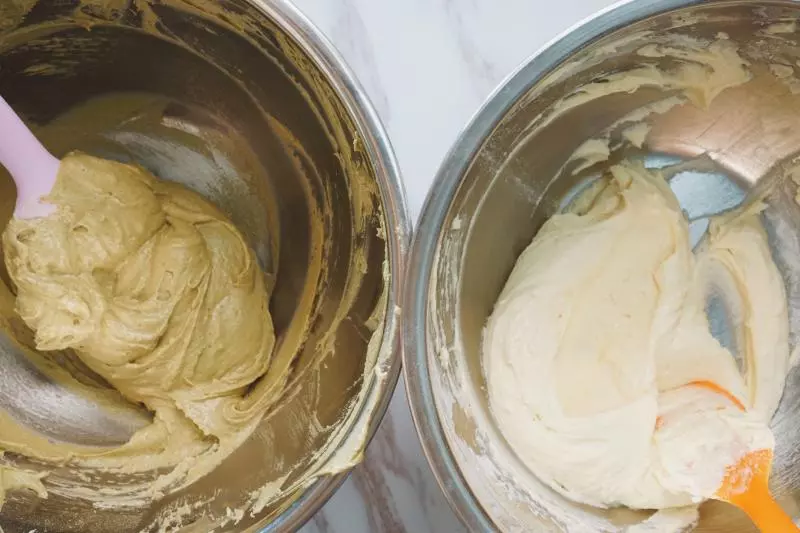
18分四次加入蛋液,每加一次蛋液,都用高速打发,
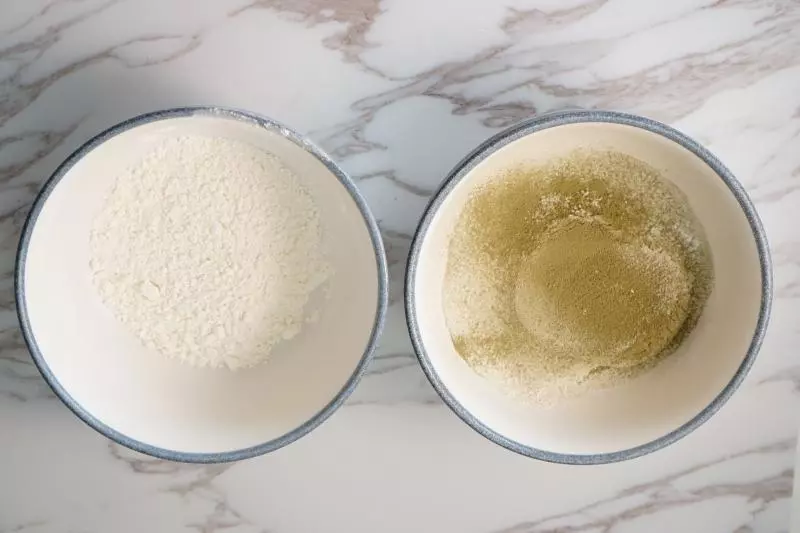
1970g低粉+2g泡打粉+10g抹茶粉混合均匀,过筛 80g低粉+2g泡打粉混合均匀,过筛
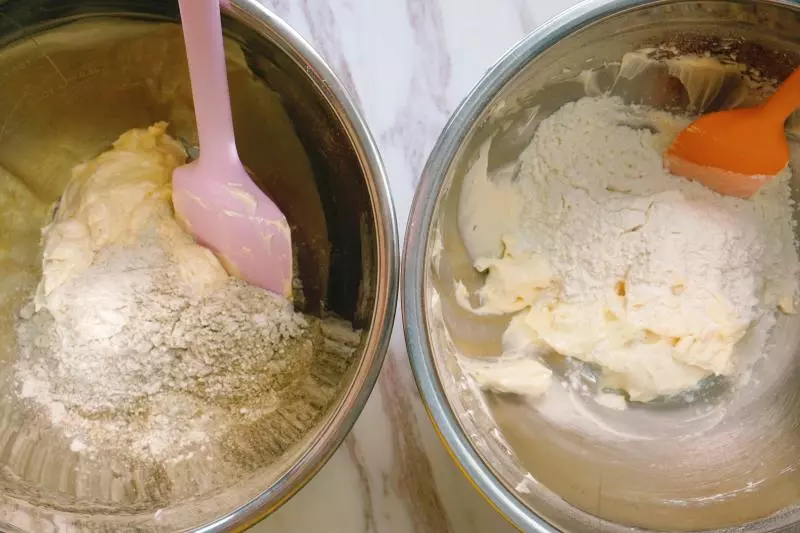
20打发好的黄油分成两份,分别加入分好的粉类
21分别搅拌均匀,搅拌的过程中面糊会起筋,所以烘培时就会膨胀的很高,
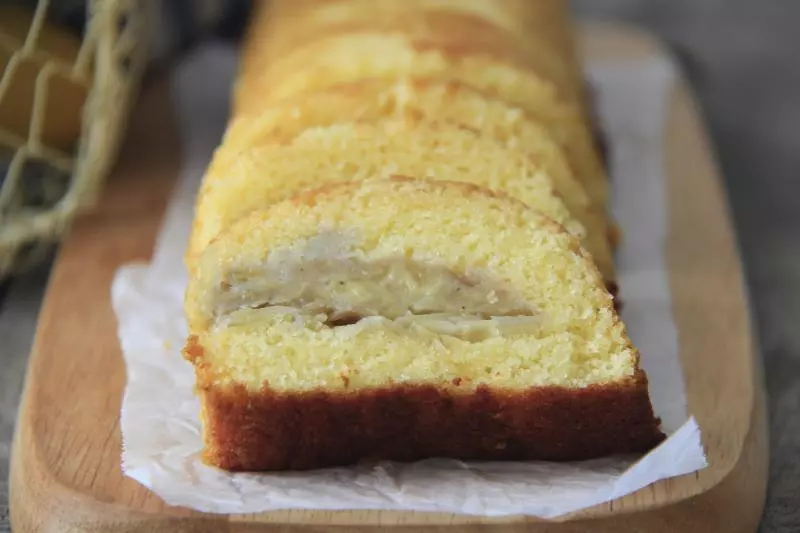
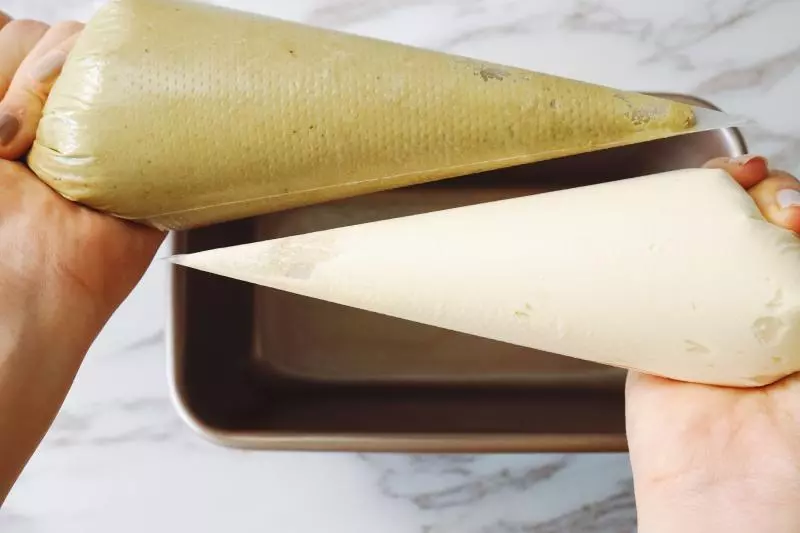
22裱花袋放入杯子中,倒入面糊
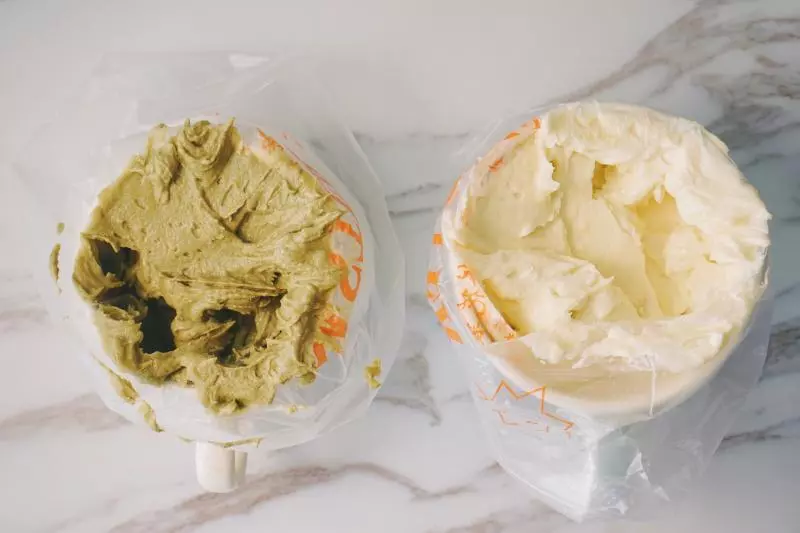
23装好的面糊
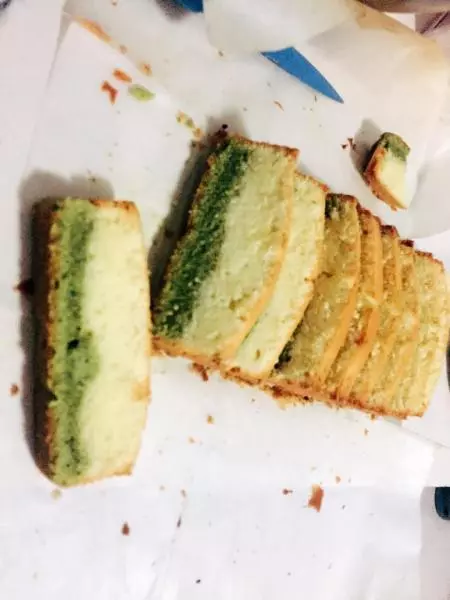
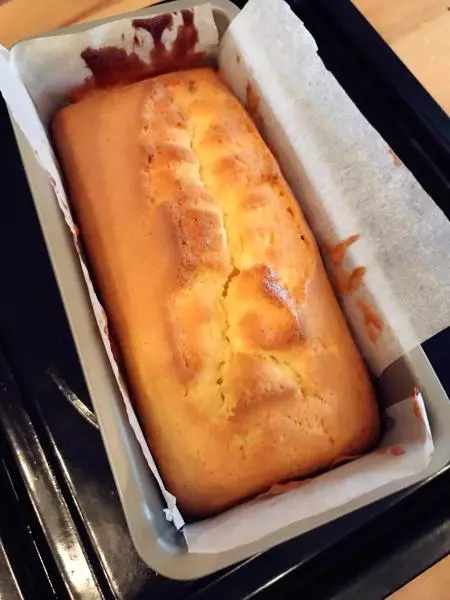
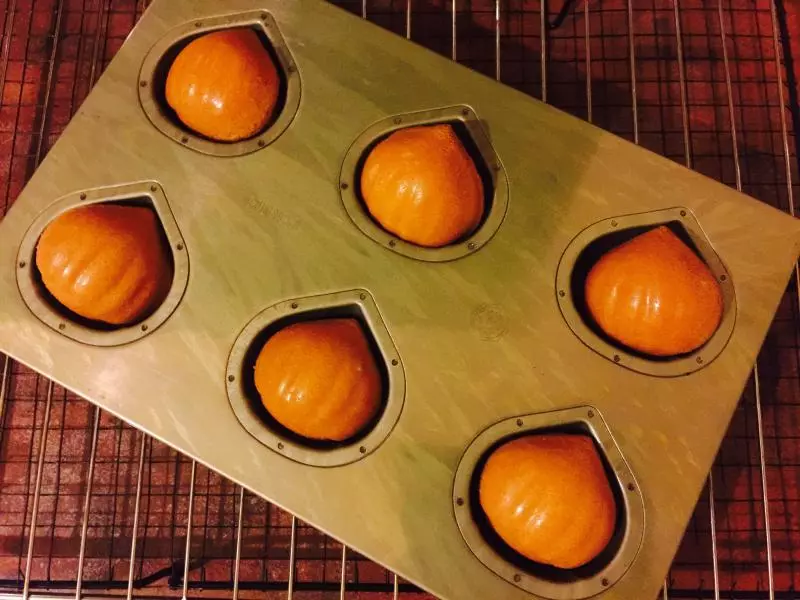
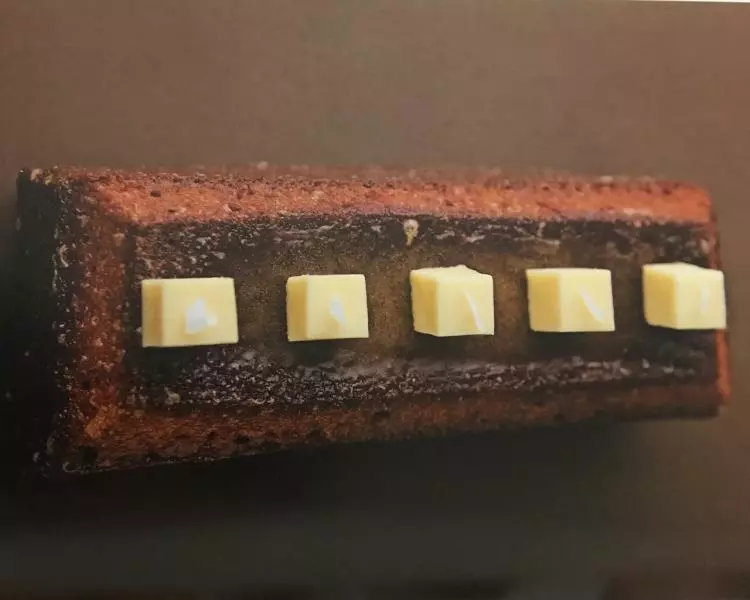
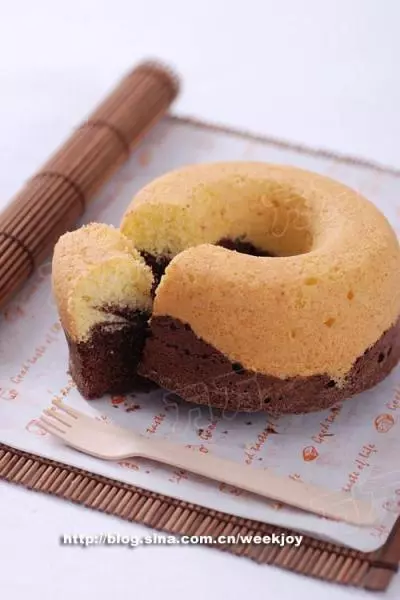
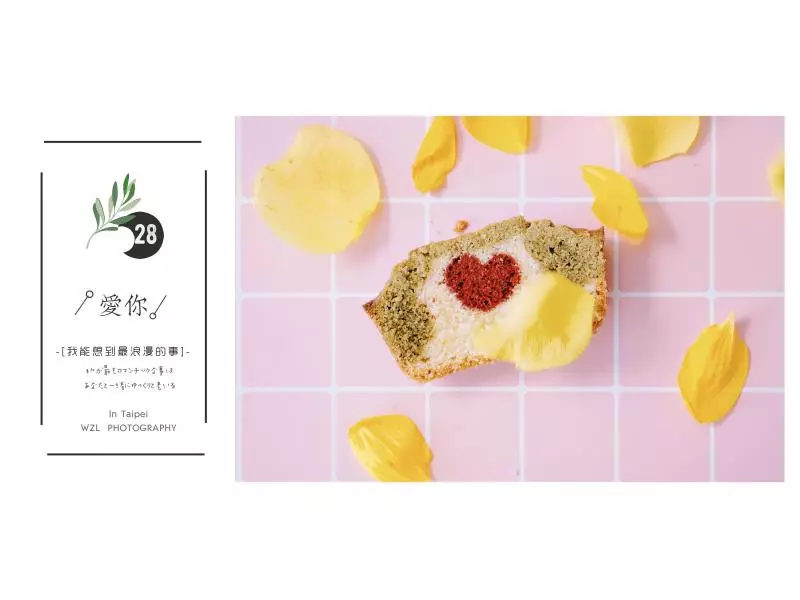
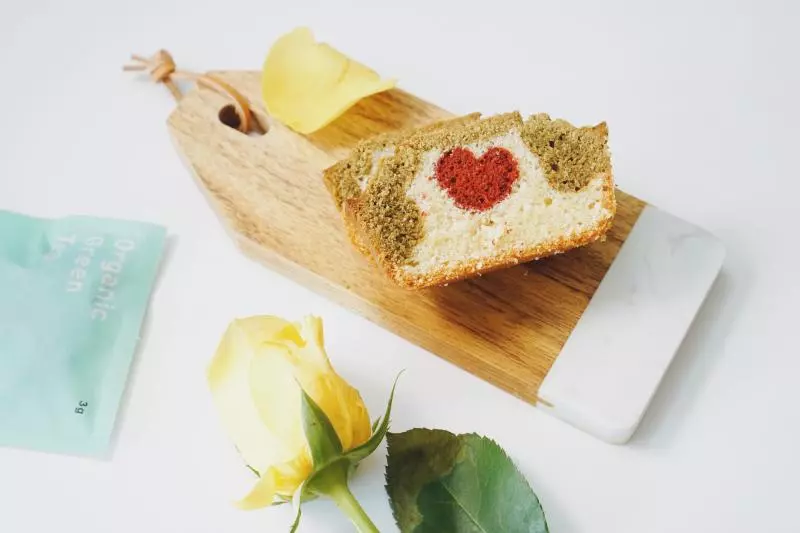
24先挤入白色面糊,放入之前准备好的心形蛋糕,再挤入抹茶面糊
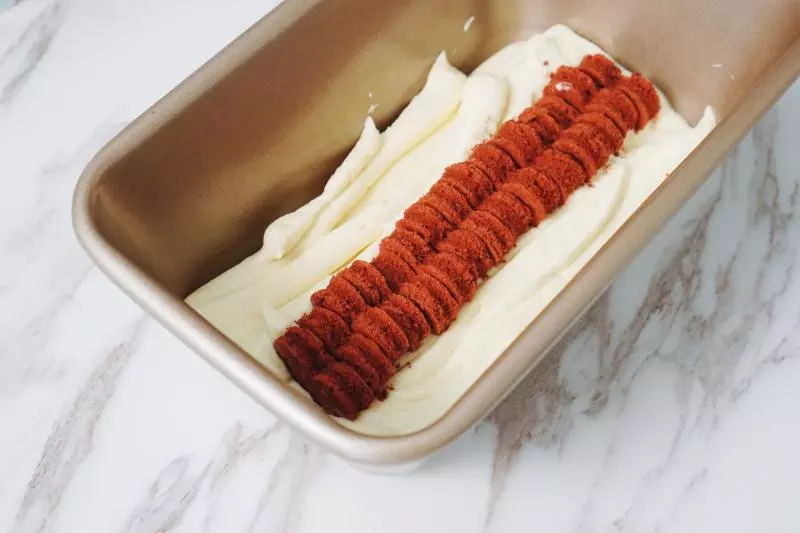
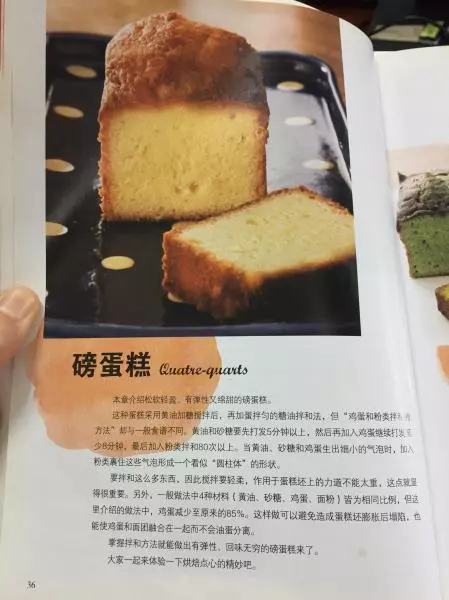
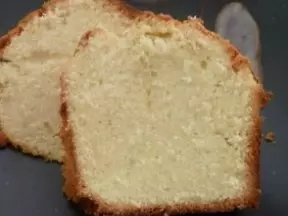
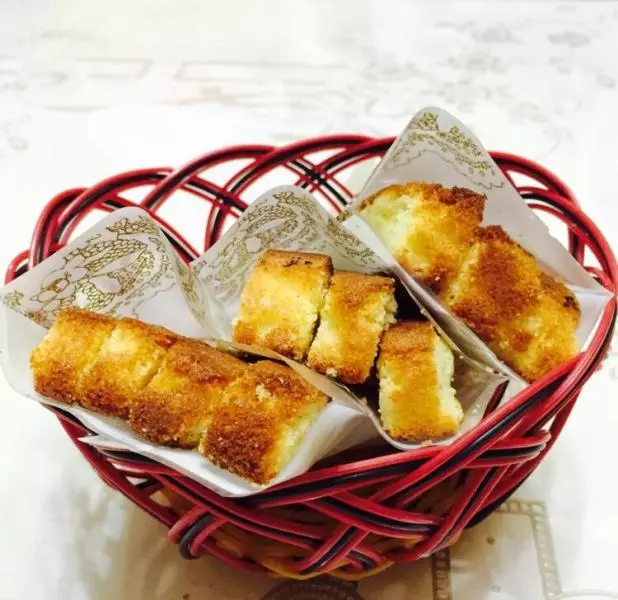
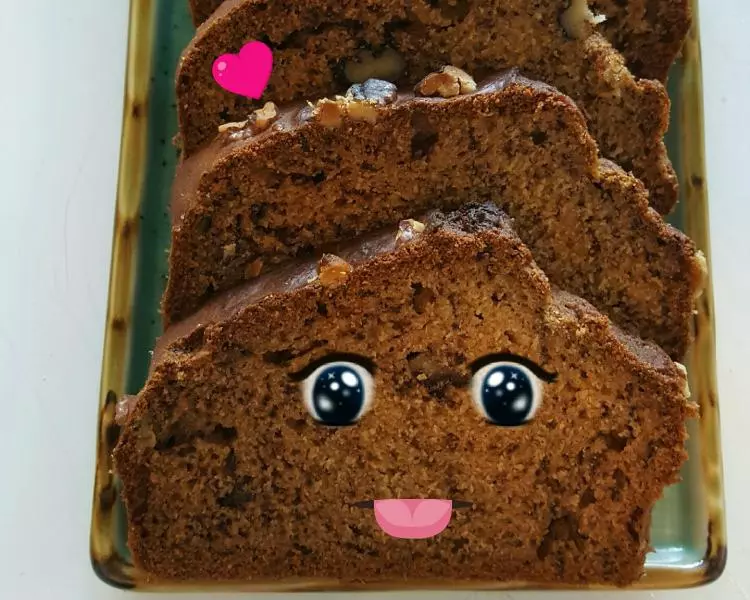
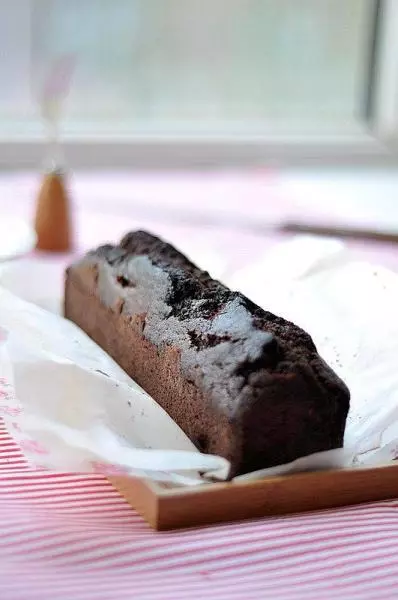
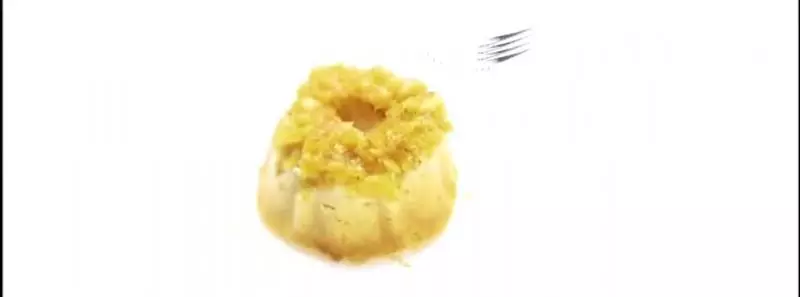
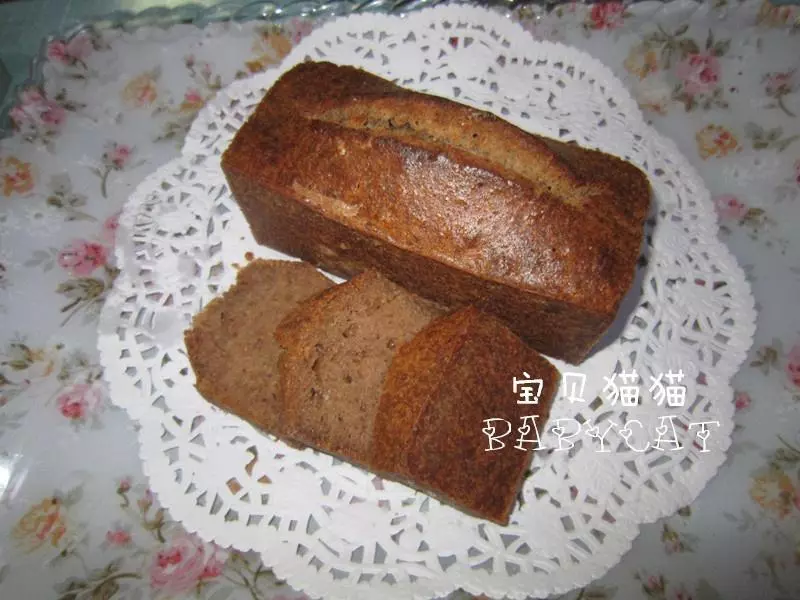
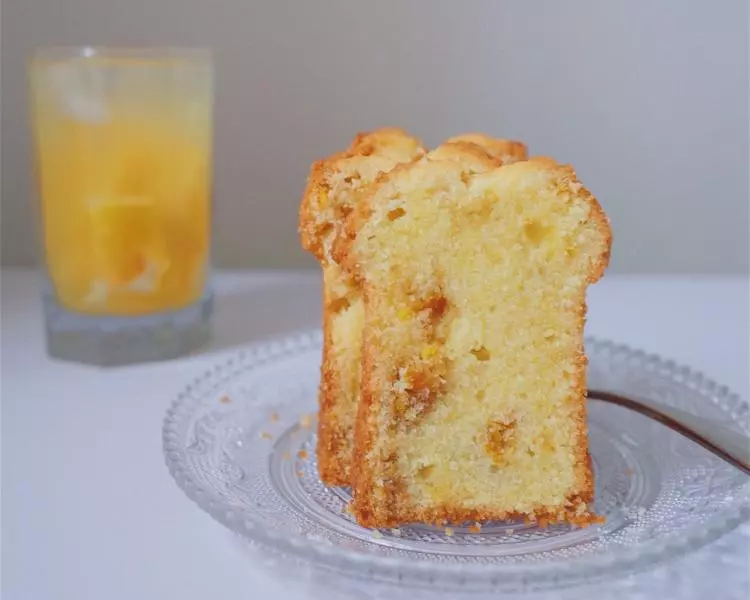
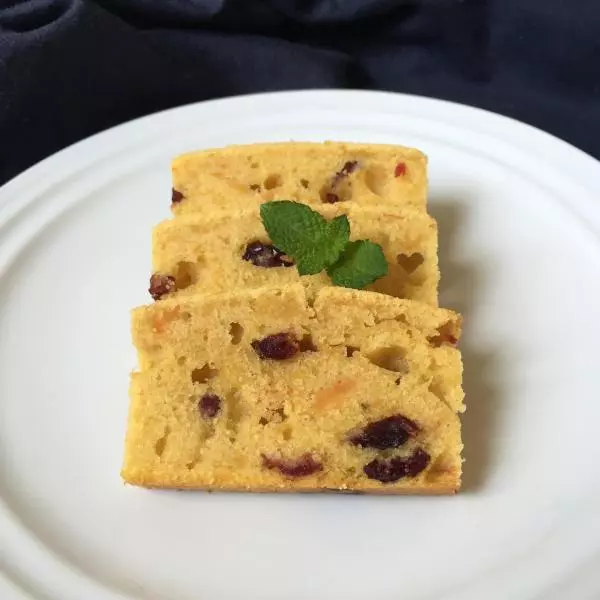
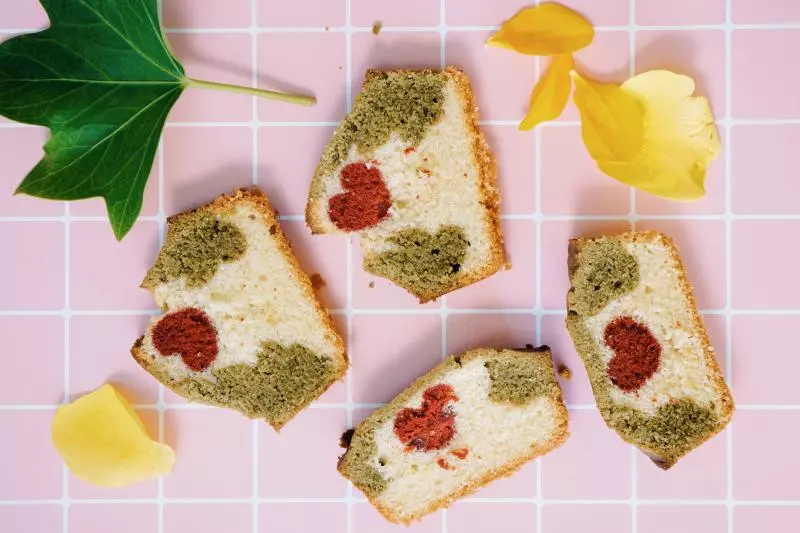
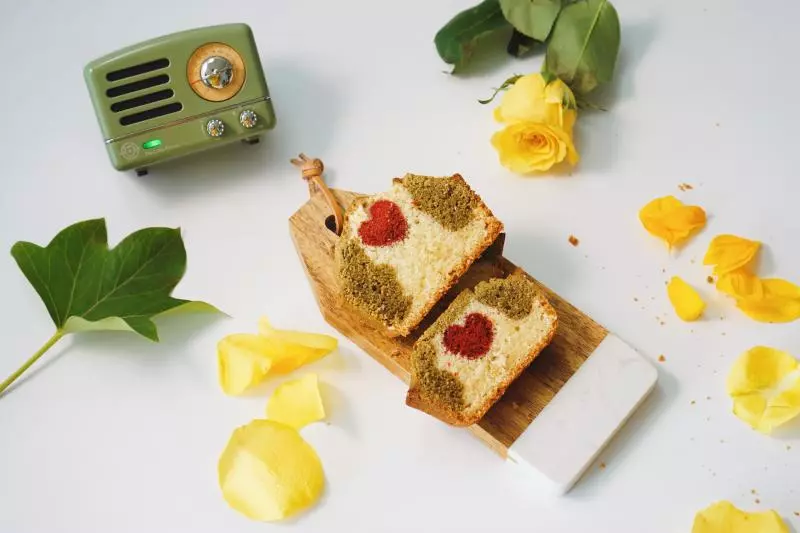
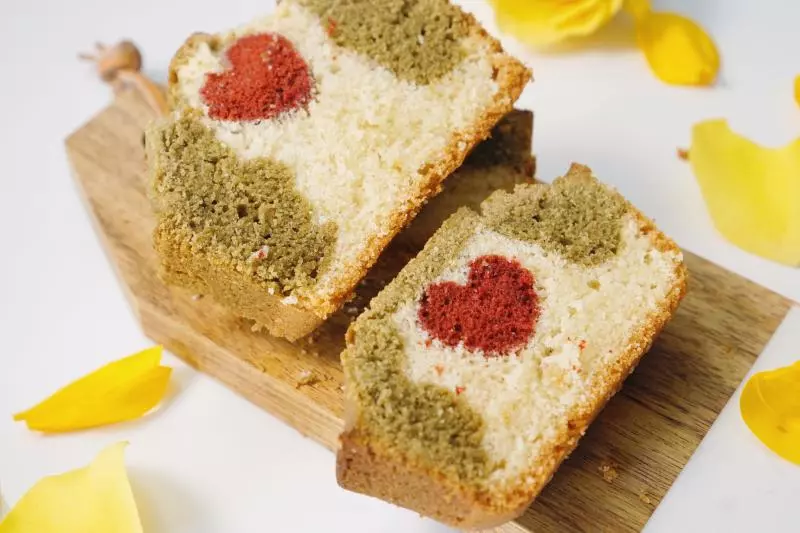
25挤完以后,用刮刀把表面抹光滑,使中间低,两边高,这样蛋糕就会出现自然的裂纹,震去大气泡, 烤箱180度预热10分钟,中层烤40分钟,

26表面上色,找一根牙签插入蛋糕,拿出没有湿面糊就说明烤好了 烤好后脱模凉于烤网上,刷一层糖水(20g细砂糖+40g水,加热冷却后使用),趁热刷,
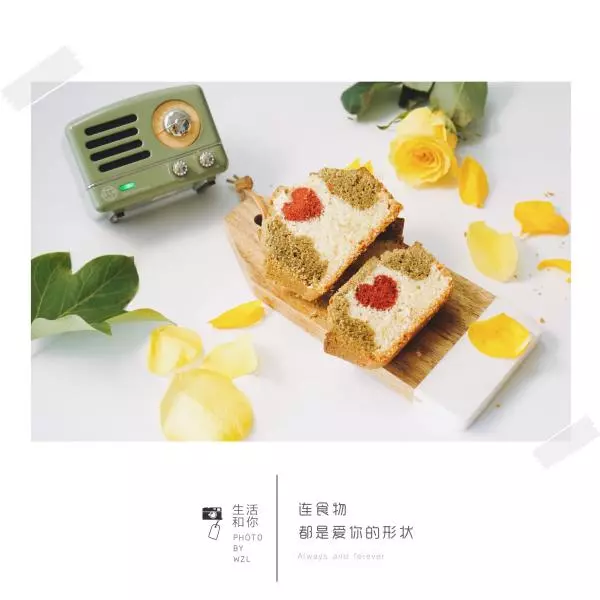
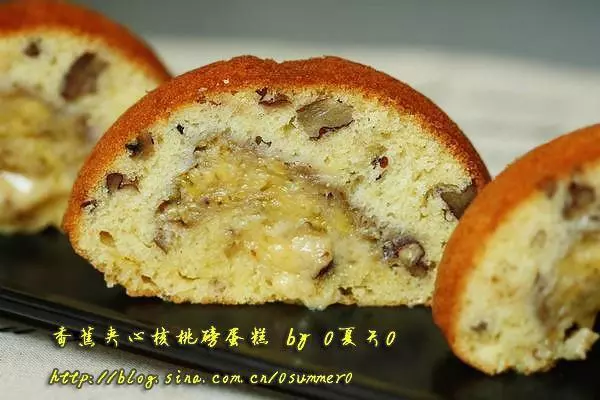
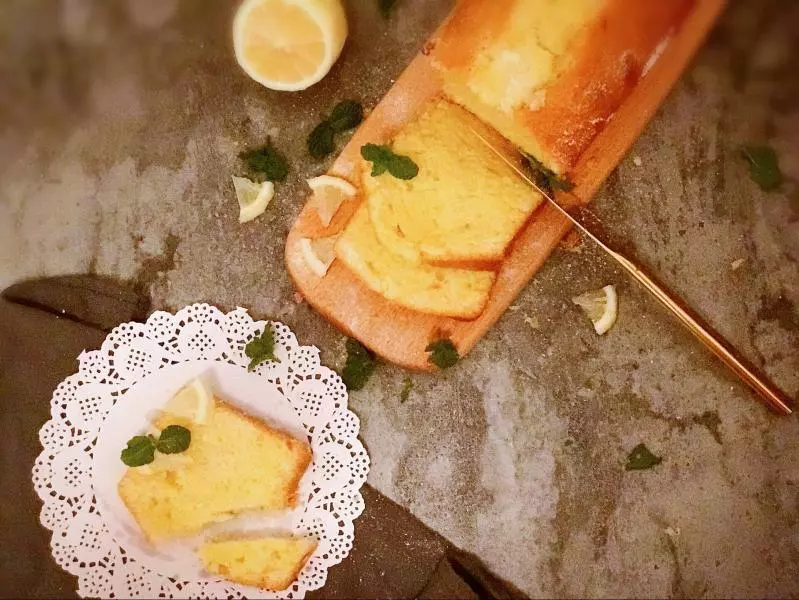
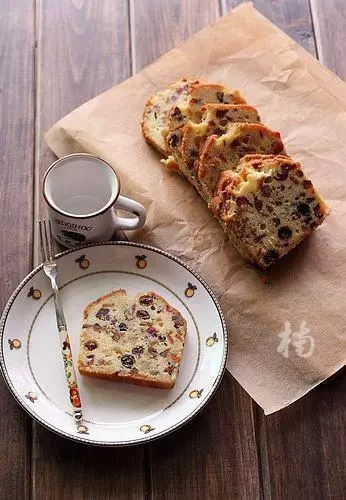
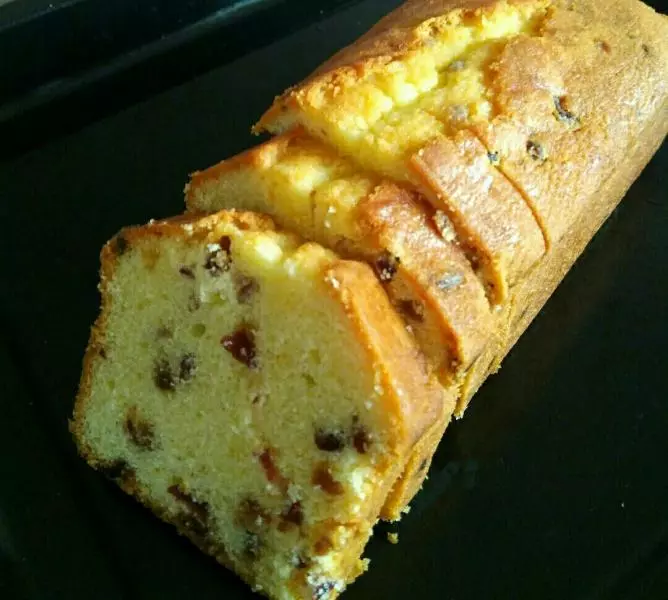
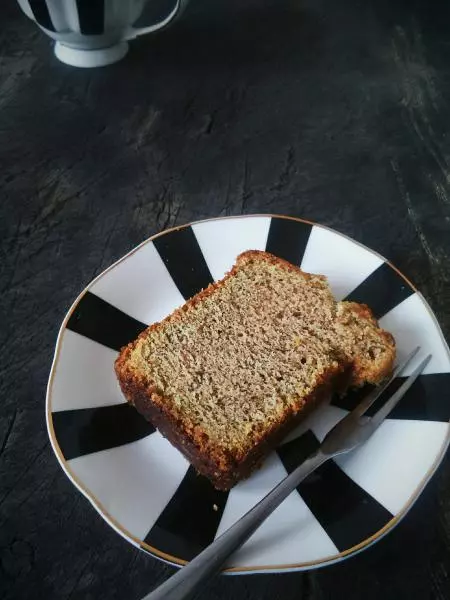
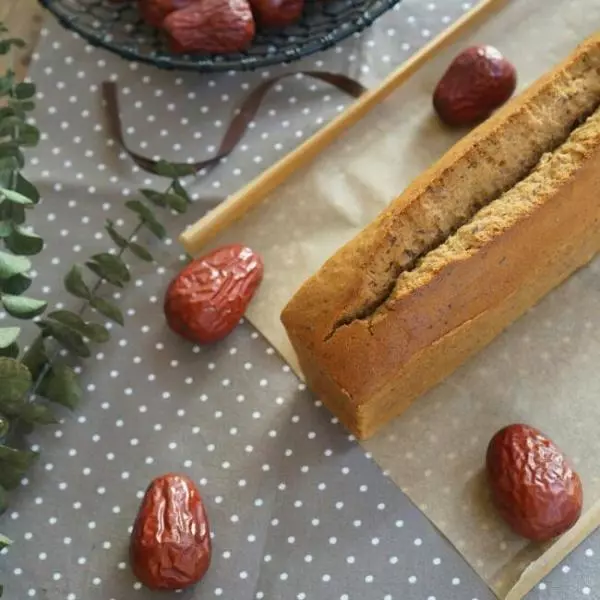
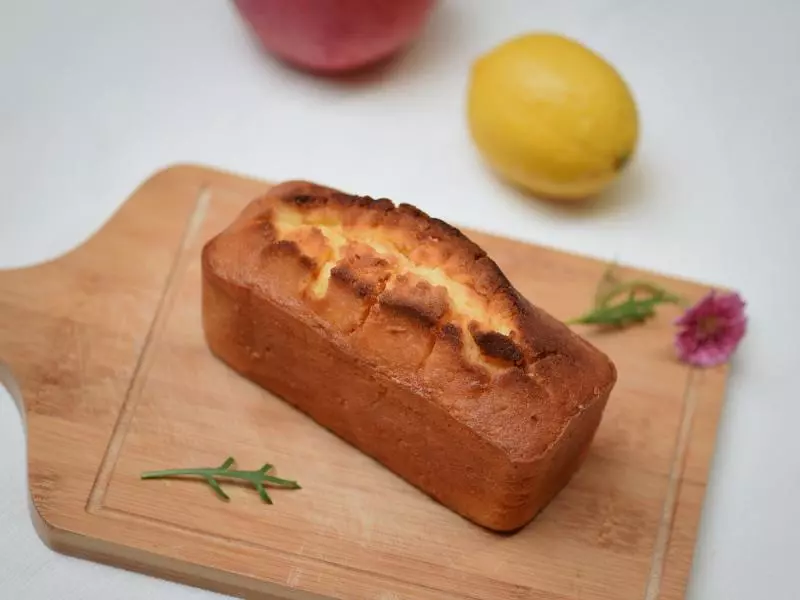
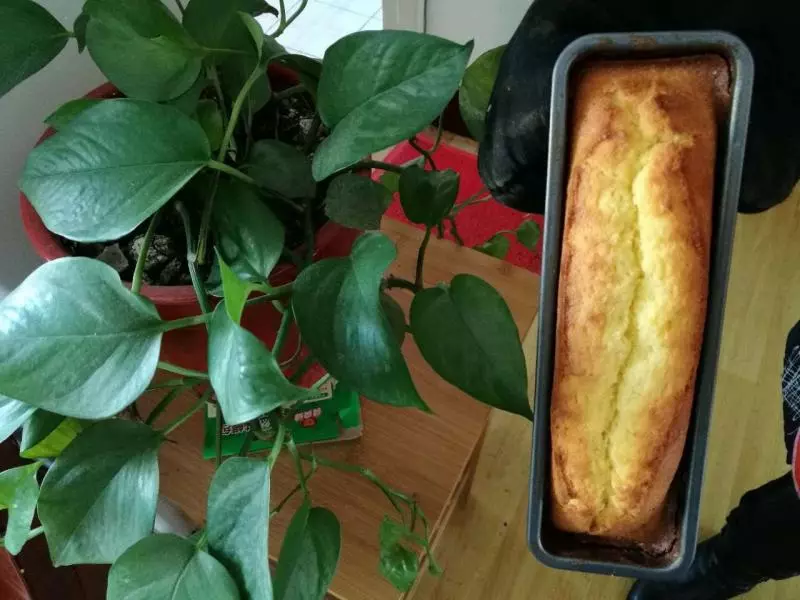
27成品图
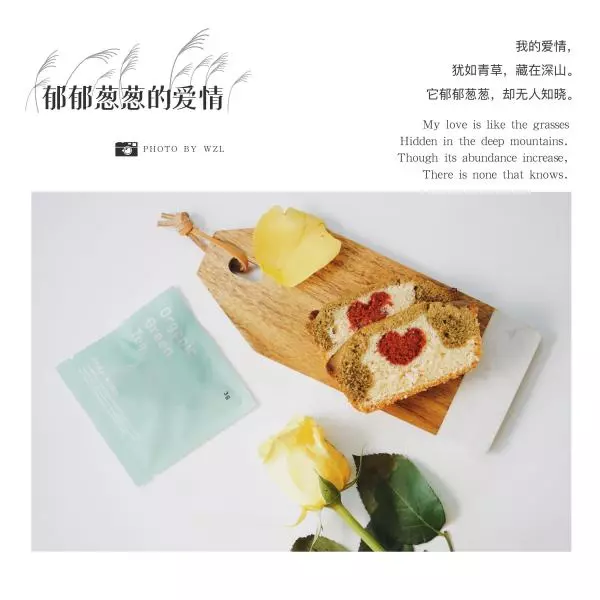
28成品图
29成品图
30成品图
31祝你有个好胃口
小技巧
◆小贴士◆ ①、磅蛋糕黄油的打发很重要,每一步都不要偷懒哦,特别是鸡蛋,一定要分次加入~ ②、放入密封袋冷藏保存,食用时回温即可 ③、最后的糖水很关键,可以让蛋糕不那么干涩,噎人 ④、磅蛋糕有很多做法,这不是唯一的 ▲ 我做的时候没有考虑到模具的大小,食材量少了,所以形状不太完美,下面的方子是经过调整的,大家做之前看一下你的模具是不是和我的一样