原料
高筋面粉 150克, 温水 80克, 干酵母 2克, 马苏里拉芝士 120克, 鲜虾 18只, 彩椒 适量, 番茄沙司 适量, 泰国酸辣酱 适量, 蜂蜜水 适量, 芝士粉 少许
步骤
1酵母加入温水中化开后,加入高筋粉中,揉成光滑的面团,揉到扩张更好
2蒙上保鲜膜,放在温暖处,发酵至2倍大小
3面团发酵的时候,准备披萨馅。彩椒切小件,虾去壳去虾线。
4彩椒先用锅炒出水分或者直接用烤箱烤几分钟,不然烤出来的披萨会出水。我是直接在锅里炒。然后用锅的余温把洗净的虾放去沥干水分。

5披萨盘抹油,发好的面团擀成跟披萨盘差不多大小的圆形,盖上保鲜膜,醒20分钟。

6醒好的面皮用叉子叉上些小洞洞,以免烤的时候中间膨胀。

7饼底刷色拉油

8倒上适量的番茄沙司

9刷泰国酸辣酱

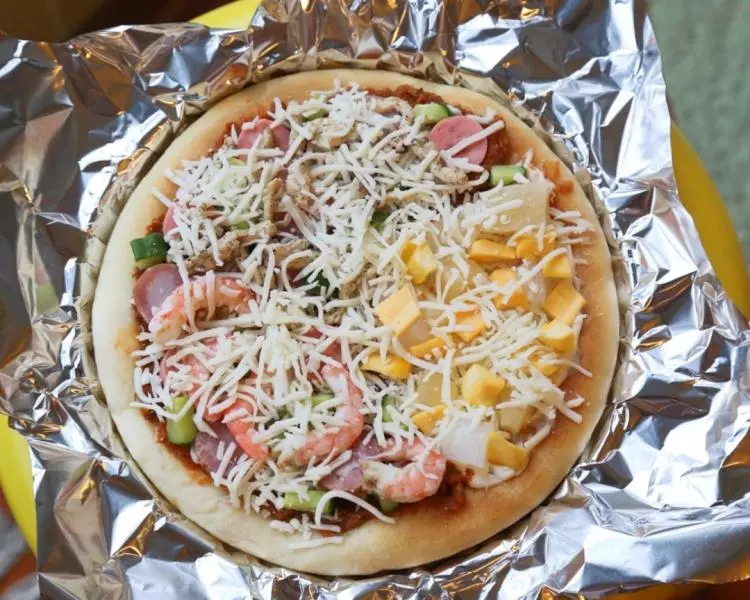
10撒一层马苏里拉芝士

11铺上彩椒

12再撒一层马苏里拉芝士

13再铺上火退

14再撒一层马苏里拉芝士

15铺上大虾

16蜂蜜水刷披萨边。烤箱预热,中层200°10分钟

1710分钟后将披萨取出

18在表面再撒上马苏里拉芝士

19再烤5分钟

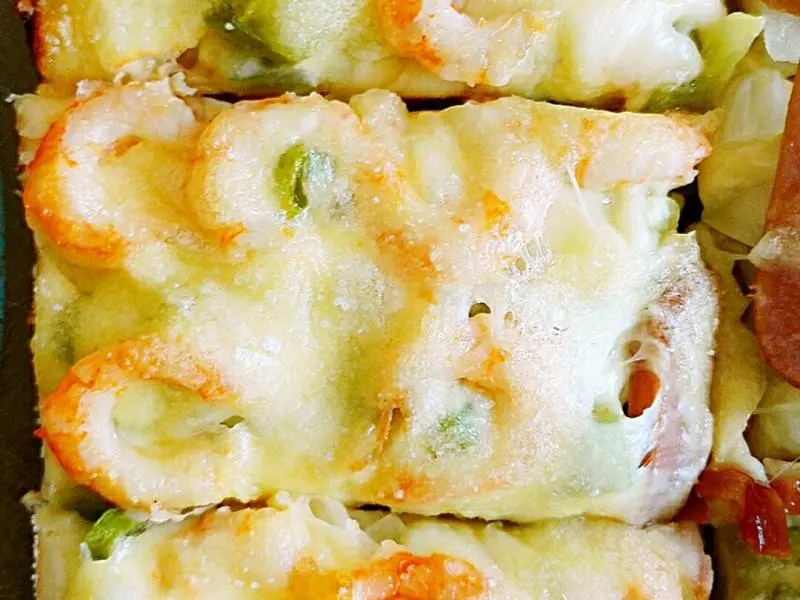
20披萨出炉!

21在表面撒些芝士粉会更香哦

22拉丝有木有!

小技巧
1.烤10分钟后的披萨再撒最后一层芝士,拉丝会更漂亮,口味也更浓郁。不是很喜欢芝士的人可以少放; 2 最后撒上的芝士粉是提味用的,没有也可以不撒。但是撒了更好吃的。有披萨草的也可以撒一些~