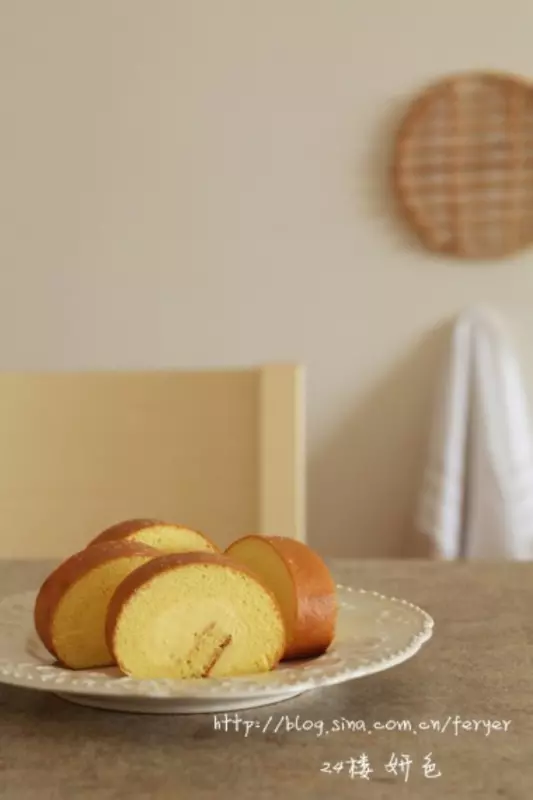
简介
比起戚风蛋糕卷的先筛粉,后加蛋白;比起海绵蛋糕卷的先混合蛋白最后筛粉。小山蛋糕卷的做法正好中和了两者的做法,采用了先混合半量的蛋白,然后筛粉,最后再混合半量蛋糕的做法;这样巧妙的做法很好的结合了戚风蛋糕卷松软,海绵蛋糕卷柔韧的特点。 最后加入的即将煮沸的牛奶和黄油,也是平时操作中很少涉及到了,加入之后会发现面糊变得更顺滑,成品也非常松软有弹性。 喜欢蛋糕卷的朋友,也要尝试一下这款散发了淡淡蜂蜜香气的松软可口的小山蛋糕卷哈。
原料
蛋黄 4个, 低筋面粉 47g, 蛋白 107g, 细砂糖 10g, 蜂蜜 20g, 细砂糖 40g, 无盐黄油 10g, 牛奶 24g, 牛奶 200g, 软化黄油 60g, 蛋黄 2个, 细砂糖 15g, 低筋面粉 10g, 玉米淀粉 10g, 香草精 几滴
步骤
1准备好所有材料

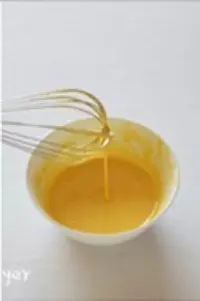
2蛋黄+10g细砂糖拌匀,然后加入约40度的蜂蜜

3搅拌到体积增大,颜色明显变浅,液体粘稠,滴落和划过都有明显纹路
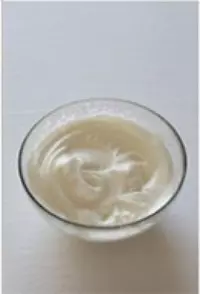
4冷藏温度的蛋白,分3次加入40g细砂糖,打到能拉起直立略弯的蛋白钩~
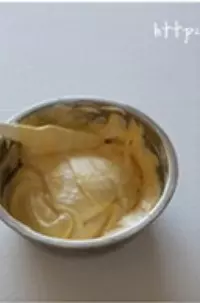
5将一半量的蛋白放入步骤3的蛋黄液中,用橡皮刮刀拌匀

6分两次将低筋面粉筛入上一步中,用橡皮刮刀翻拌均匀
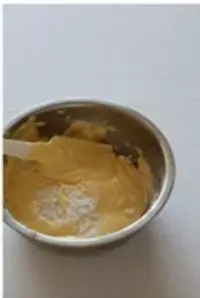
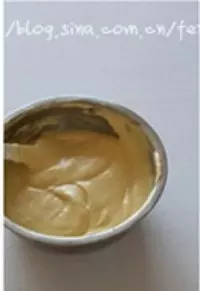
7加入剩余半量的蛋白(因为搁置了一会,重新打几下,恢复顺滑才能使用),用橡皮刮刀翻拌均匀
8牛奶+黄油,加热到沸腾前的状态。然后倒入上一步中,翻拌均匀
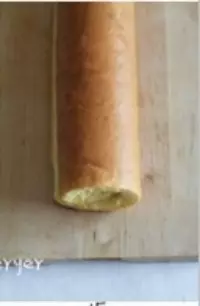
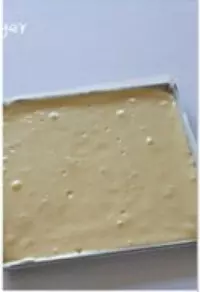
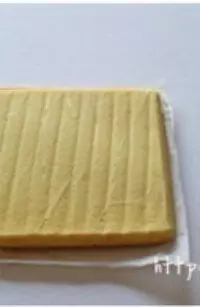
9倒入铺有烘焙纸的烤盘中,抹平,轻磕烤盘,放入烤箱180度13分钟,中层,至表面呈现金黄色,出炉连烤盘在台面上磕一下,震出高热,然后连同烘焙纸将蛋糕片移在烤架上降温
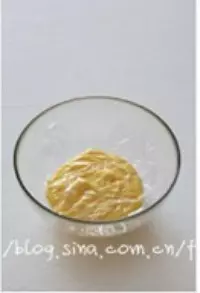
10黄油馅:蛋黄+15g细砂糖搅拌至体积增大,颜色明显变浅,液体粘稠,滴落和划过都有明显纹路~然后筛入低筋面粉和玉米淀粉混合均匀,然后加入牛奶和香草精拌匀~然后倒入小锅内,小火加热,先用木勺搅拌,稍变粘稠时改小号打蛋器不停搅拌,会经历一个从很粘稠到稍微稀一点的状态,舀起具有低落状态,这时就可以关火了,注意不要糊底

11将卡士达酱移入大碗中,在酱上直接覆盖保鲜膜,冷藏至放凉
12分2次加入彻底软化的黄油,用电动打蛋器将酱料打成膏状,不流动,有黄油打发的感觉,如果感觉偏软可以稍冷藏到合适的硬度,这样卡士达黄油馅就做好了

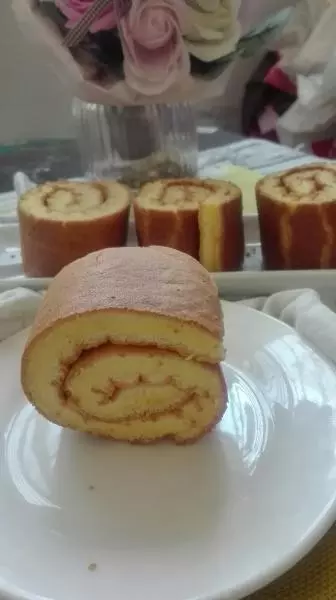
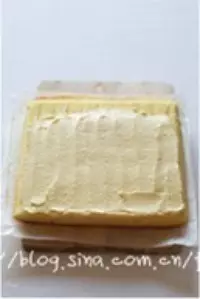
13卷蛋糕卷:蛋糕片放凉撕去烘焙纸,卷时的起始段切齐
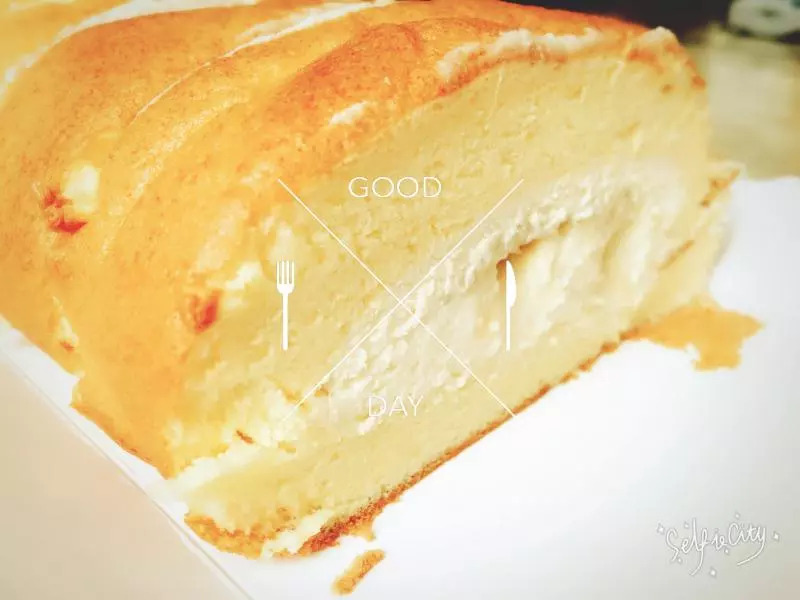
14涂抹之前做好的馅料,收尾端留2-3里面不涂馅料
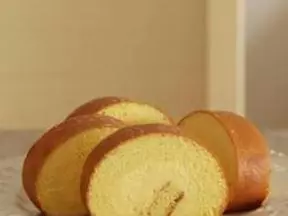
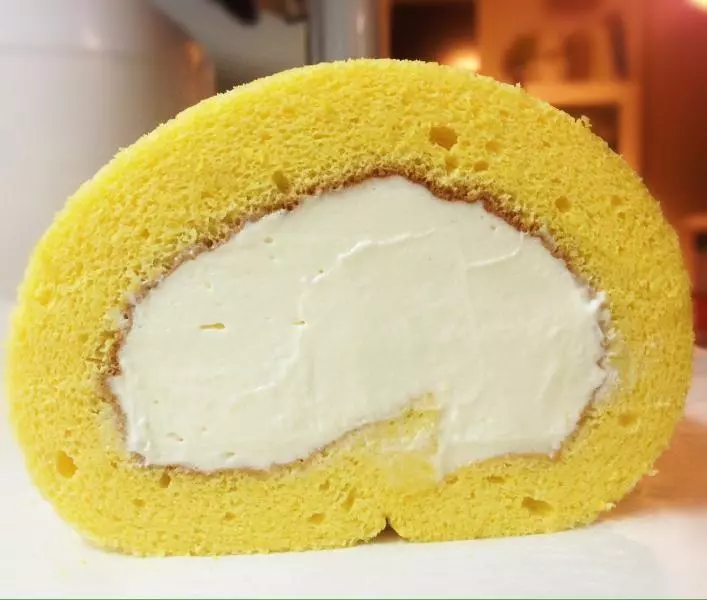
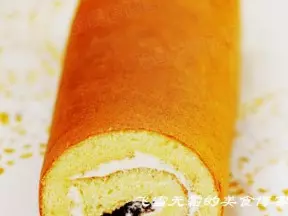
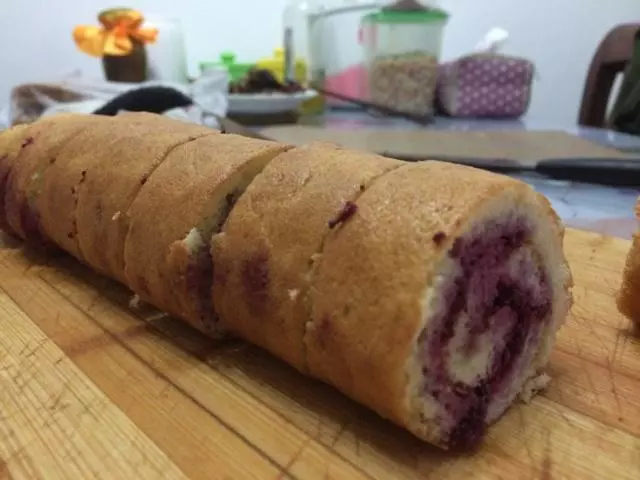
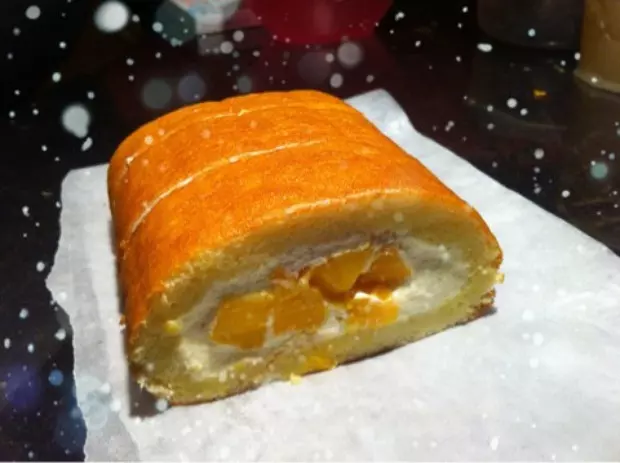
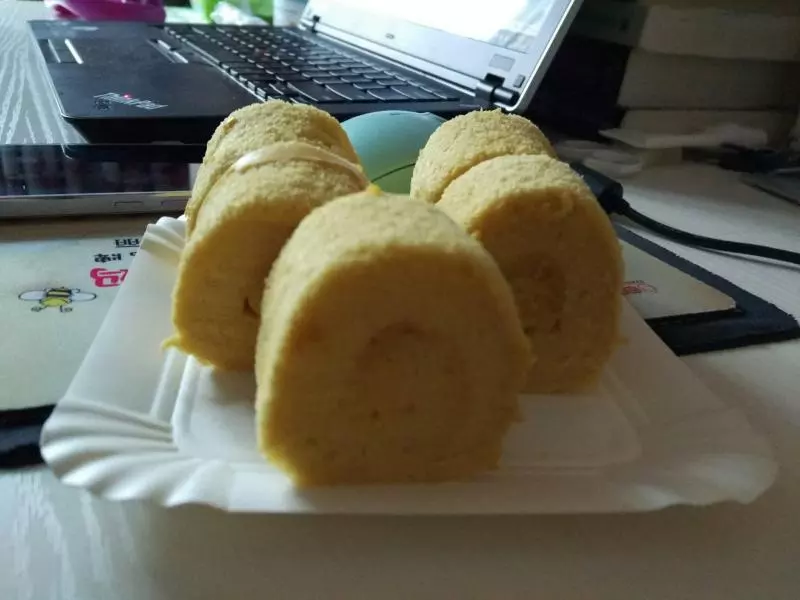
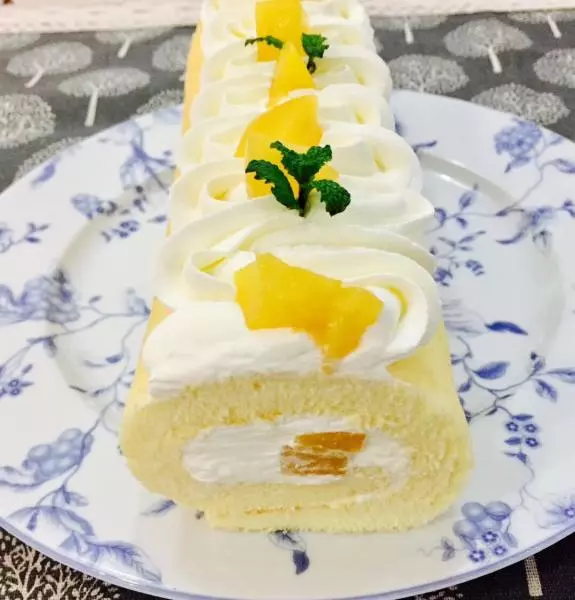
15顺势卷起蛋糕卷,手法要轻柔但是要快速进行;卷好后冷藏或冷冻10分钟左右定型。然后将底边修剪到正好压在蛋糕卷的底部,两头切齐,切块食用