简介
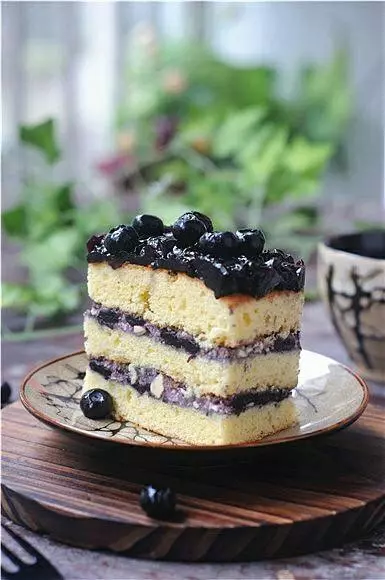
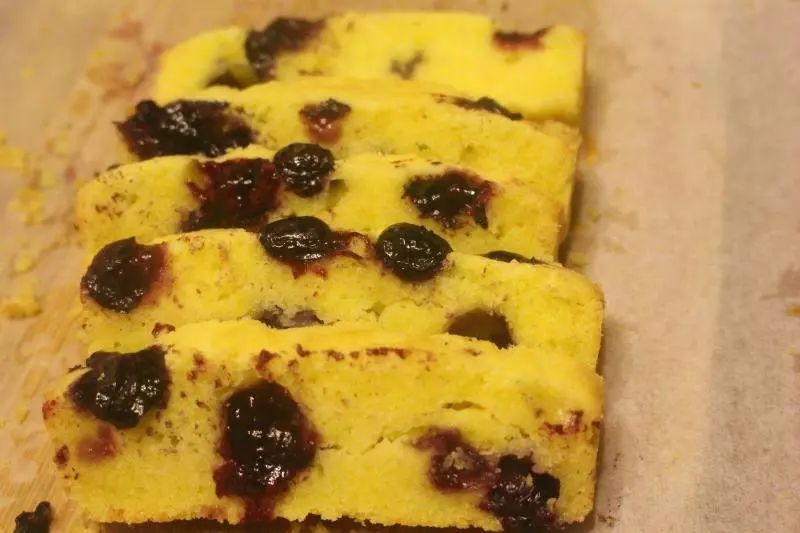
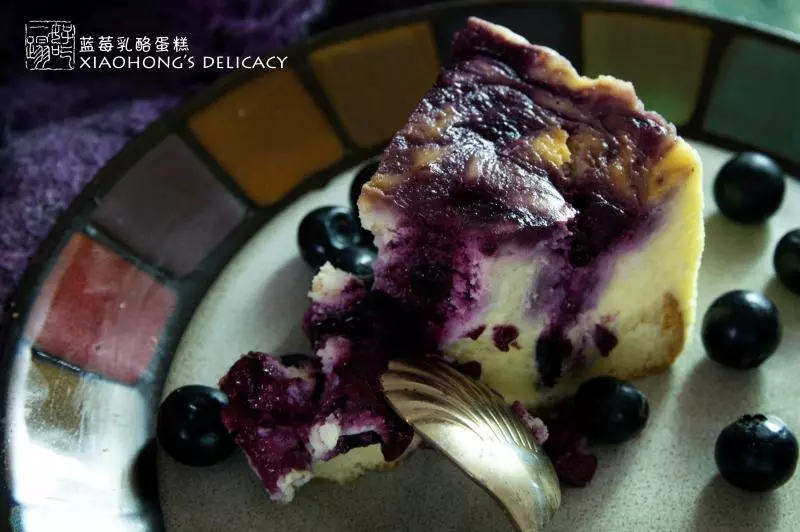
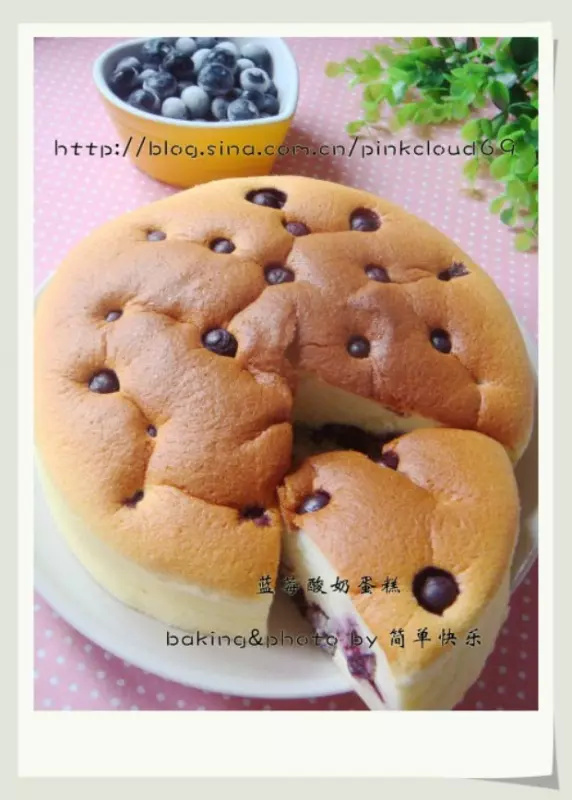
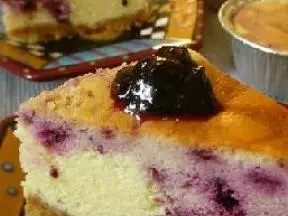
蓝莓经过烘烤,与蛋糕体完美融合,那酸甜的味道简直叫人欲罢不能。
原料
鸡蛋3个, 低筋面粉70克, 细砂糖40克, 玉米油20克, 蓝莓30克, 精盐1克
步骤
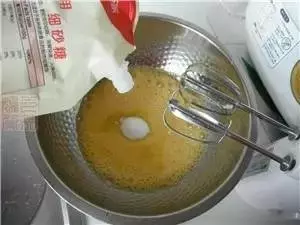
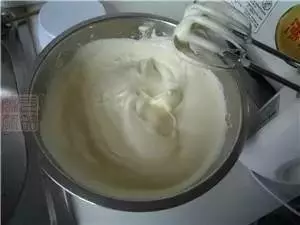
1将3个鸡蛋打入打蛋盆中,用电动打蛋器1档打出粗泡
2一次性加入细砂糖
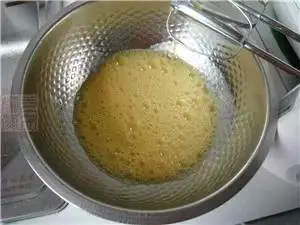
3然后用电动打蛋器4档打至蛋液变得浓稠,提起打蛋器能划出清晰不消失的纹路即可
4筛入低筋面粉和精盐,用刮刀翻拌至无干粉状
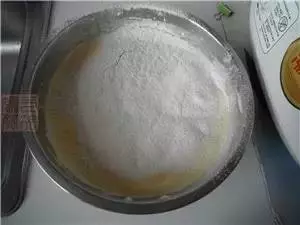
5转圈淋入玉米油

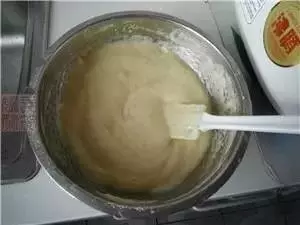
6 用刮刀拌匀
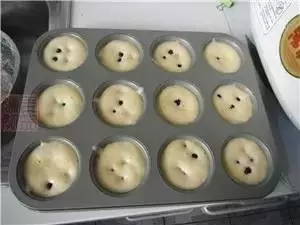
7然后将蛋糕糊倒入12连模中
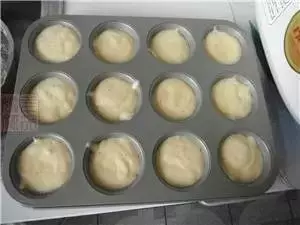
8 每格里再加入5颗蓝莓
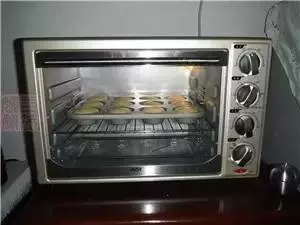
9入预热好的烤箱,中层,160度,上下火,热风烤20分钟
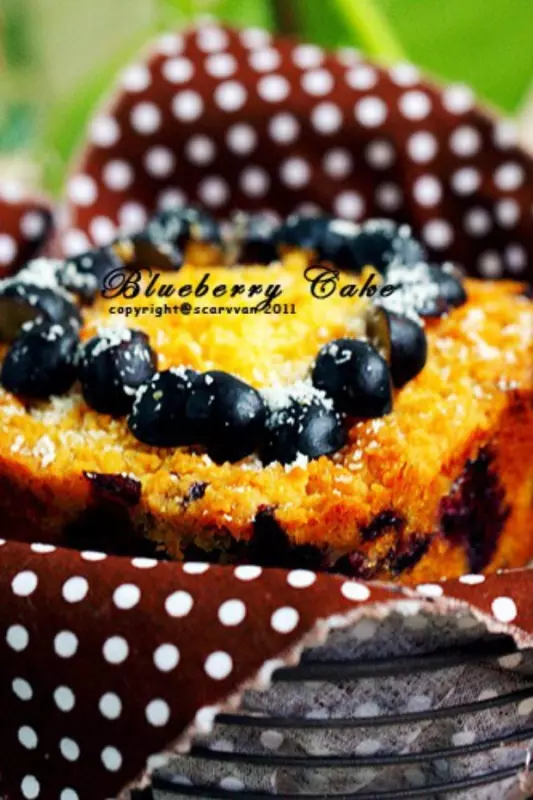
10 烤好的蓝莓蛋糕,凉透后脱模 作为早餐或下午茶都很不错呦

小技巧
糖量根据个人口味调整即可。