![](/images/node/18/184146.webp?1638101376)
原料
牛奶: 200ml, 蛋清: 一个, 白糖: 两勺(根据个人口味昂~), 草莓: 几个
步骤
1准备材料~为了让双皮奶更好看 我用的是进口牛奶 比较浓~
![](/images/seq/55/553270.webp?1638149387)
2把牛奶倒入碗中~
![](/images/seq/55/553271.webp?1638149387)
3盖上保鲜膜~
![](/images/seq/55/553272.webp?1638149387)
4上锅蒸大约十分钟~
![](/images/seq/55/553273.webp?1638149387)
5把鸡蛋打入碗中 用饮料瓶把蛋黄吸出~(我做的量大 正常牛奶200ml 一个蛋清就好。我这儿是用了400ml和两个蛋清)
![](/images/seq/55/553274.webp?1638149387)
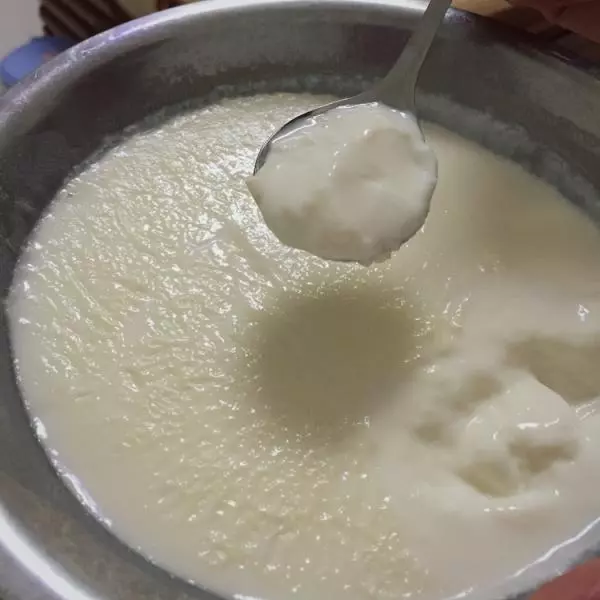
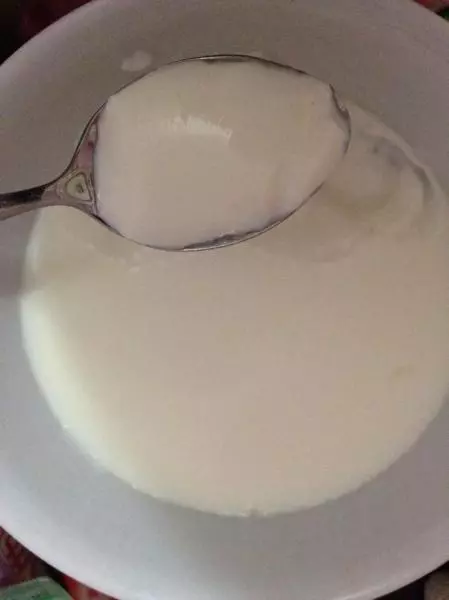
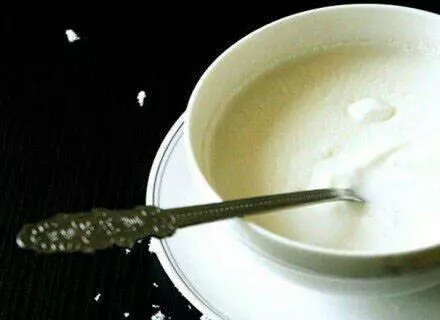
6出锅的热牛奶~好香啊~ 静置 把牛奶放凉 就会看到奶皮了~
![](/images/seq/55/553275.webp?1638149387)
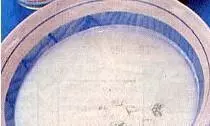
7放凉后的牛奶 沿碗边拿刀子划10厘米的口子 把牛奶倒出来(因为我也是第一次做 手忙脚乱...就没顾得上照相!)照相
8然后把蛋清 糖 一起倒入牛奶 搅拌均匀
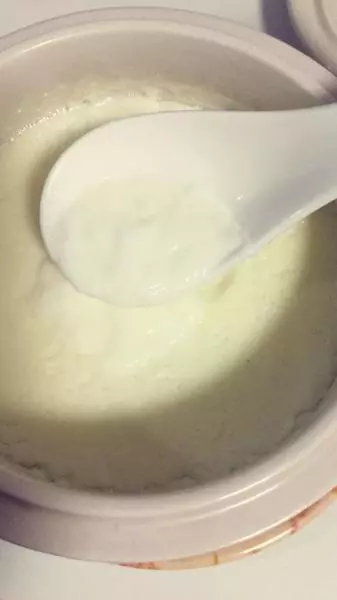
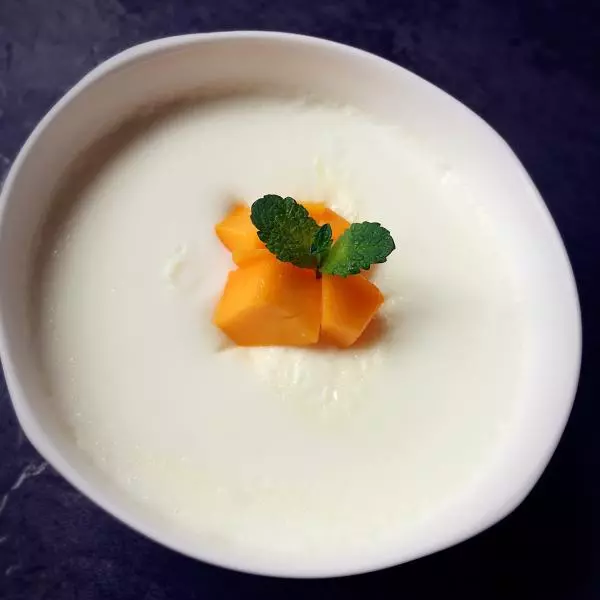
![](/images/seq/55/553277.webp?1638149387)
9过滤去掉蛋清中的筋(盗个图~)
![](/images/seq/55/553278.webp?1638149387)
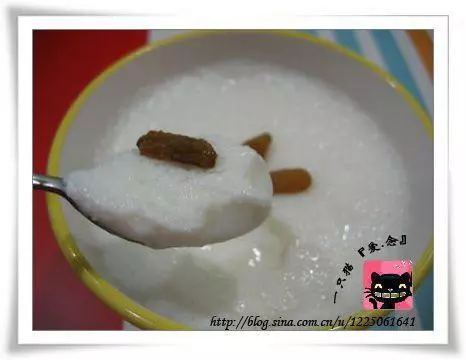
10把过滤好的液体按照刚才倒出来的口再倒回去
![](/images/seq/55/553279.webp?1638149387)
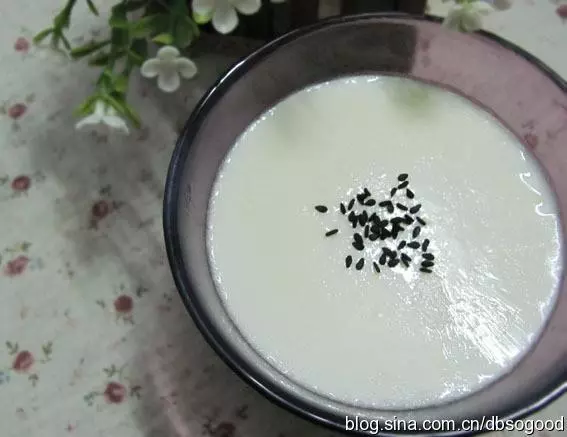
11盖上保鲜膜继续上锅~蒸10分钟 再焖5分钟~就OK了
![](/images/seq/55/553280.webp?1638149387)
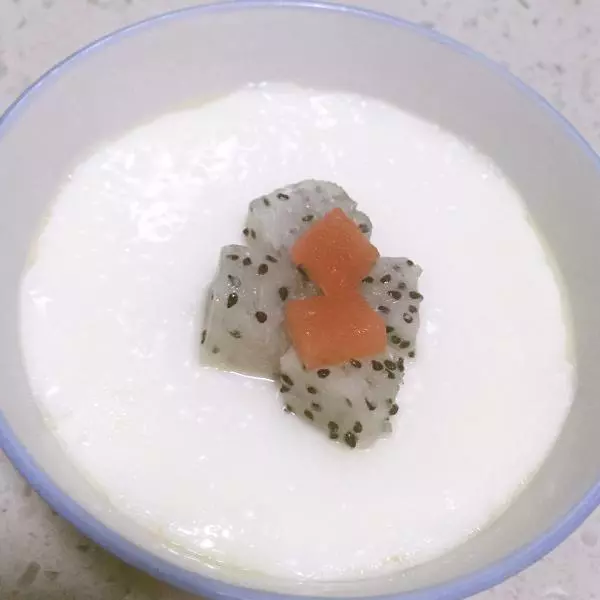
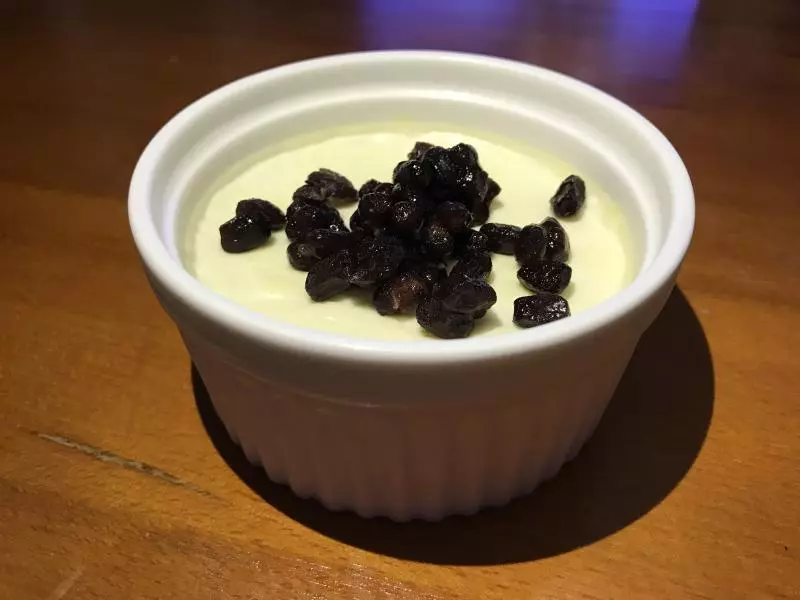
12出锅的双皮奶~看上去不错呢!(找了半天没找到薄荷叶!)
![](/images/seq/55/553281.webp?1638149387)
13放凉以后~
![](/images/seq/55/553282.webp?1638149388)
14准备草莓
![](/images/seq/55/553283.webp?1638149388)
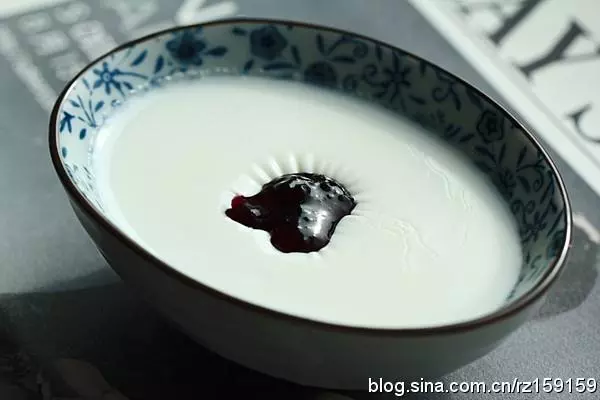
15将草莓切开~再一层双皮奶一层草莓的就OK了
![](/images/seq/55/553284.webp?1638149388)
16大功告成~看上去还不错~♥️♥️
![](/images/seq/55/553285.webp?1638149388)
17快来尝尝吧!
![](/images/seq/55/553286.webp?1638149388)