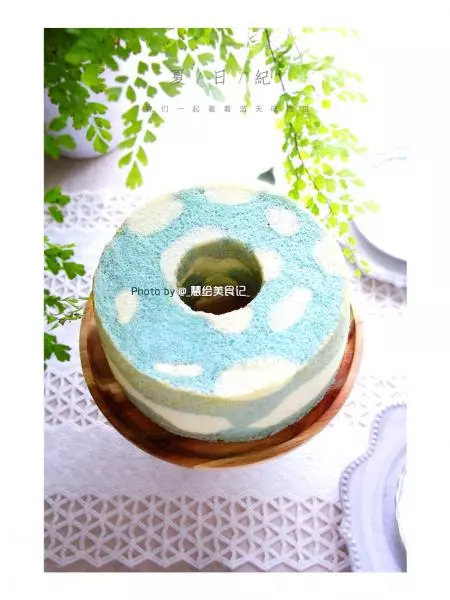
原料
①蛋黄糊部分 :: , 蛋黄: 75g, 糖粉: 30g, 玉米油: 60g, 牛奶: 60g, 低筋面粉: 70g, 蝶豆花粉: 20g, ②蛋白糊 :: , 蛋白: 200g, 柠檬汁: 几滴, 糖粉: 60g, ③模具 :: , 18cm烟囱戚风模: 一个
步骤
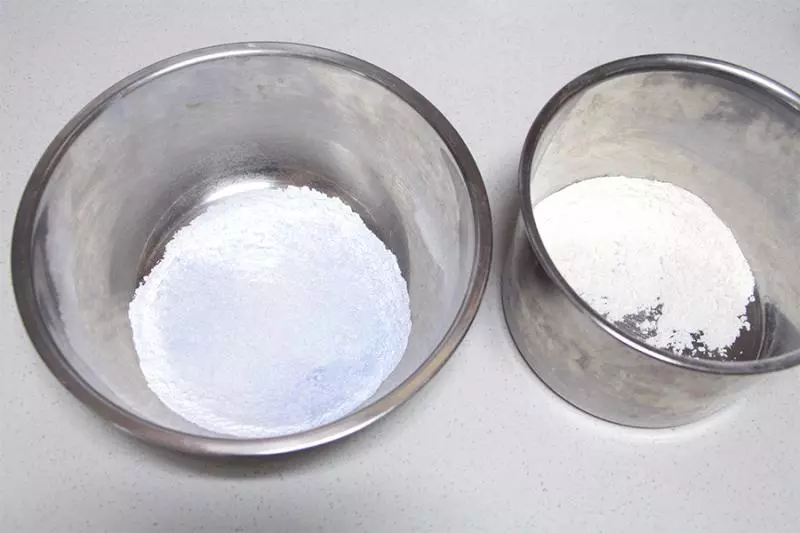
1先来做准备工作~ 把 70g面粉先分成两份,一份 18g,一份 52g,多的这一份再加入20g蝶豆花粉,分别过筛两次,我用 的60目的筛子。
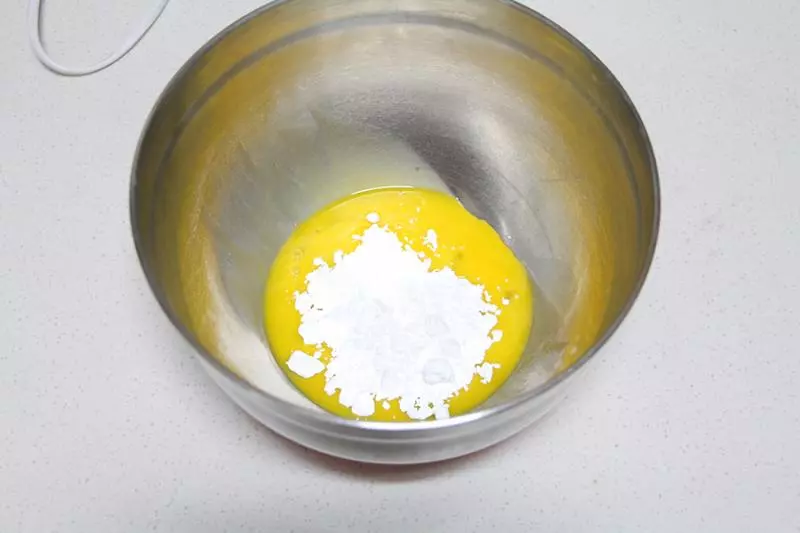
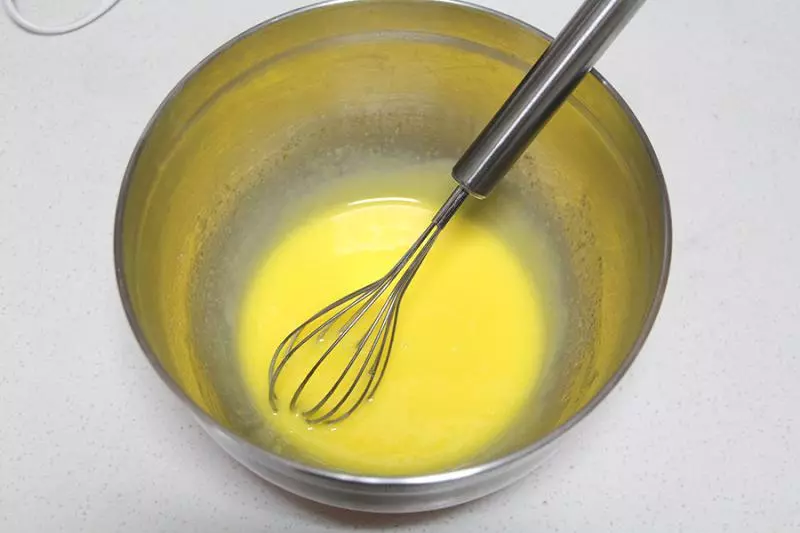
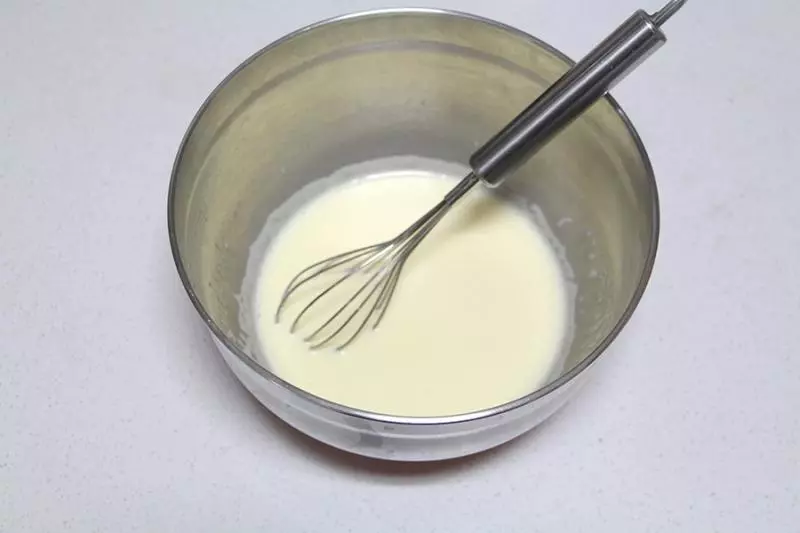
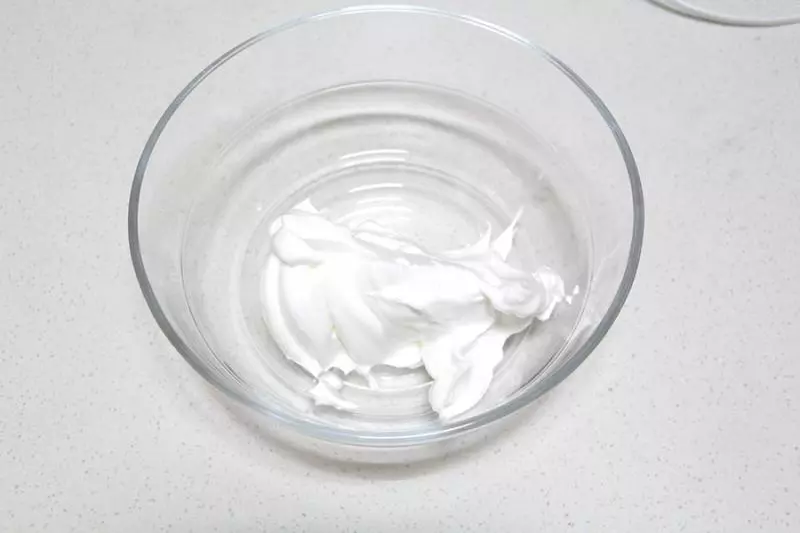
2蛋黄加入糖粉,用蛋抽搅打至颜色变浅、糖粉全部融合的状态。 **蛋白不用可以先放冰箱冷藏。
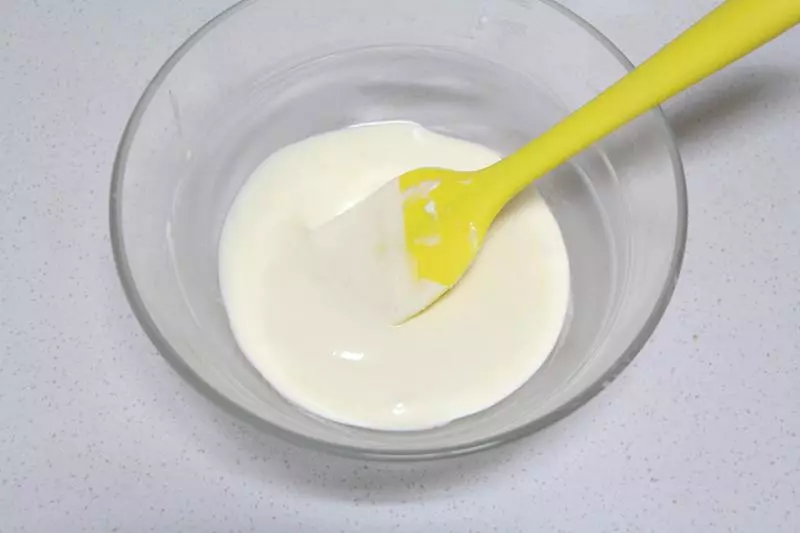
3然后加入玉米油,搅打均匀,再倒入牛奶。
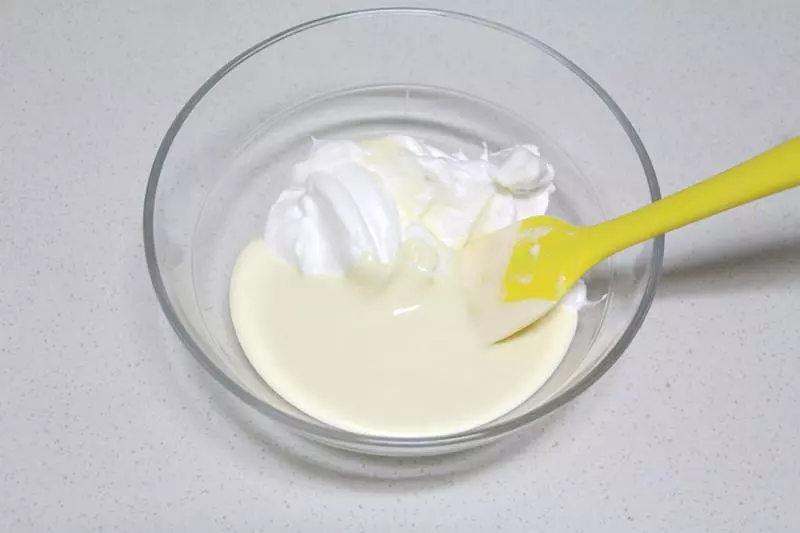
4继续搅打,打至乳化的状态。这个过程比较久,大概5分钟左右。
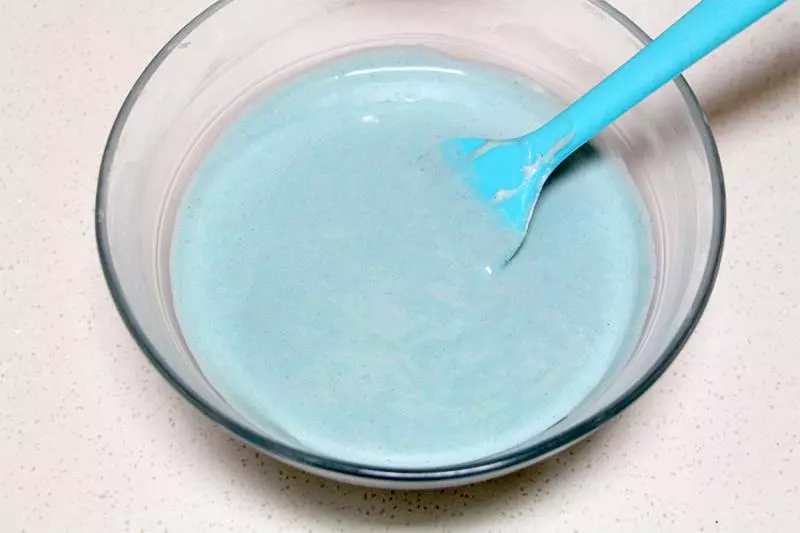
5然后蛋黄糊分出来 1/5,备用。
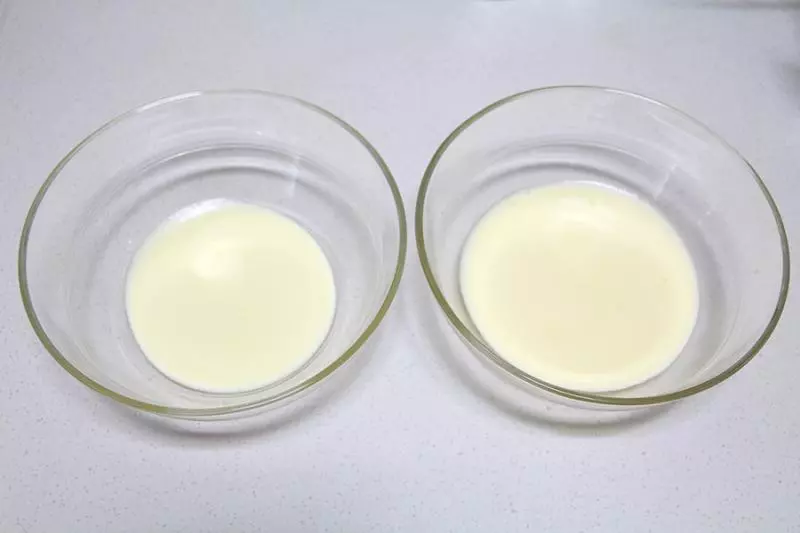
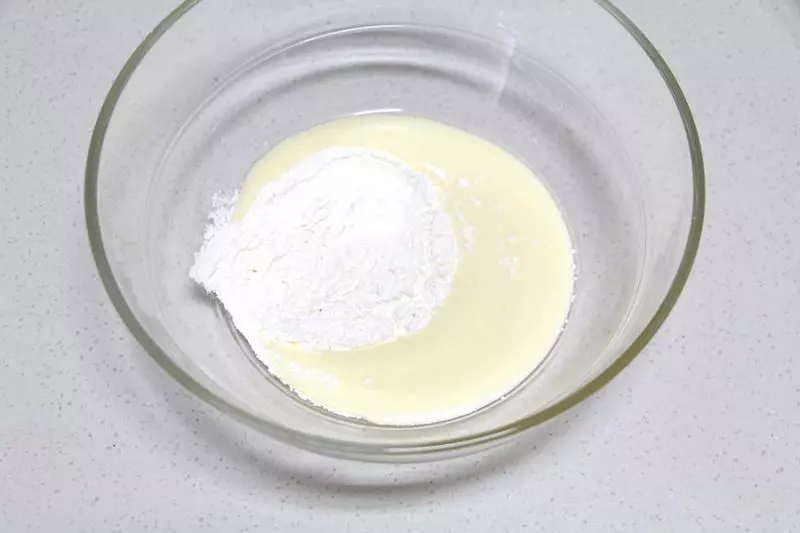
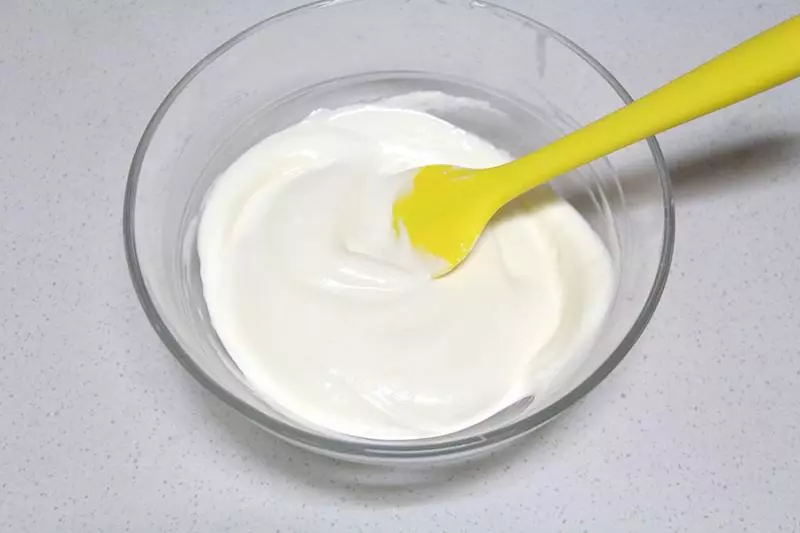
6把 18g低粉倒入少的这份蛋黄糊里,用蛋抽画一字形搅拌均匀。
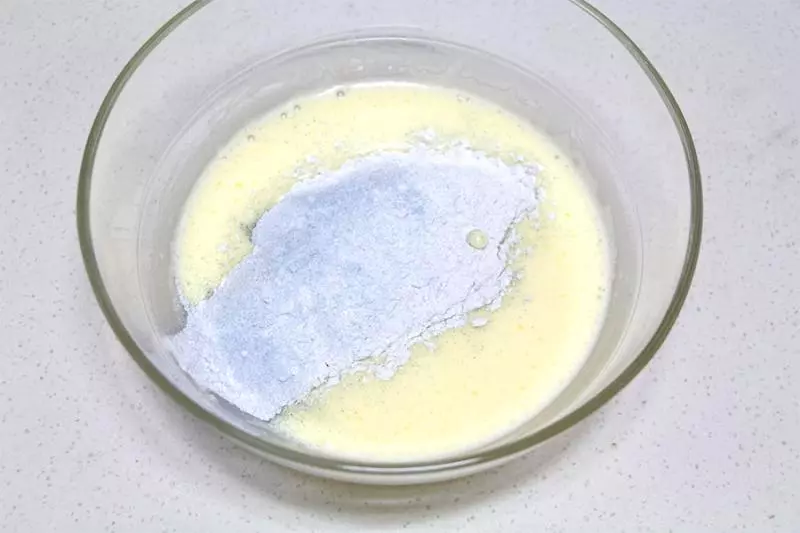
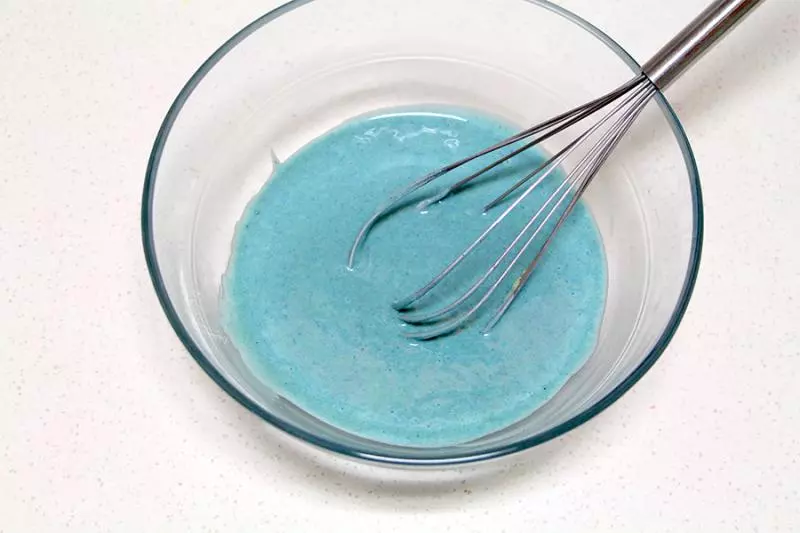
7再把 面粉和蝶豆花粉混合物倒入多的这份蛋黄糊里。
8也是用蛋抽画一字形搅拌均匀。
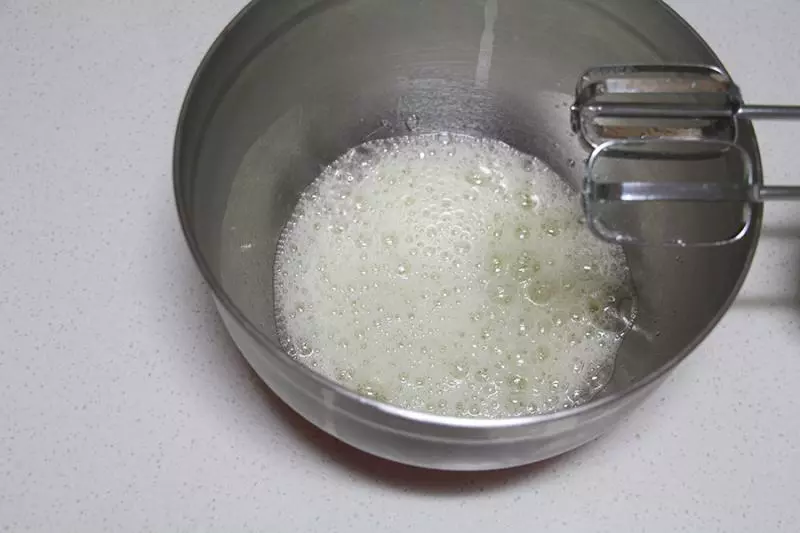
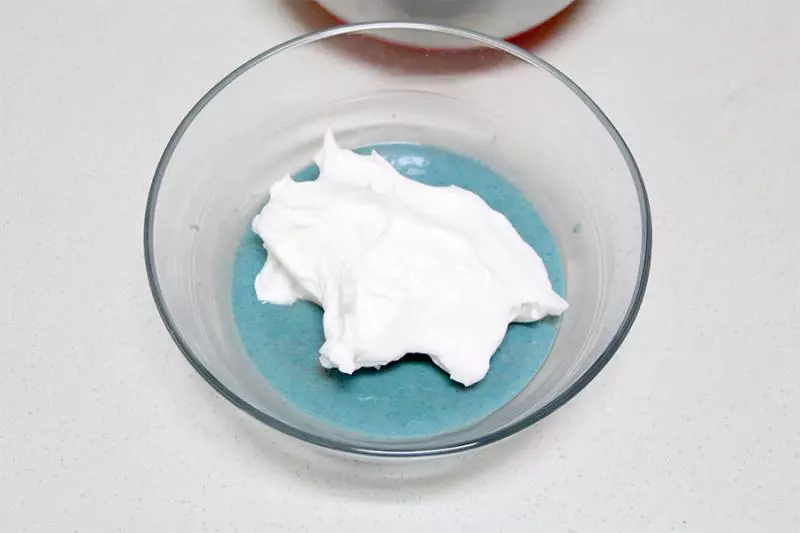
9然后来做蛋白霜。 从冰箱里取出蛋白,加入几滴柠檬汁,用电动打蛋器搅打成鱼眼泡的状态。
10然后加入1/3的糖粉。

11用电动打蛋器搅打至体积增大一倍,再加入1/3糖粉。
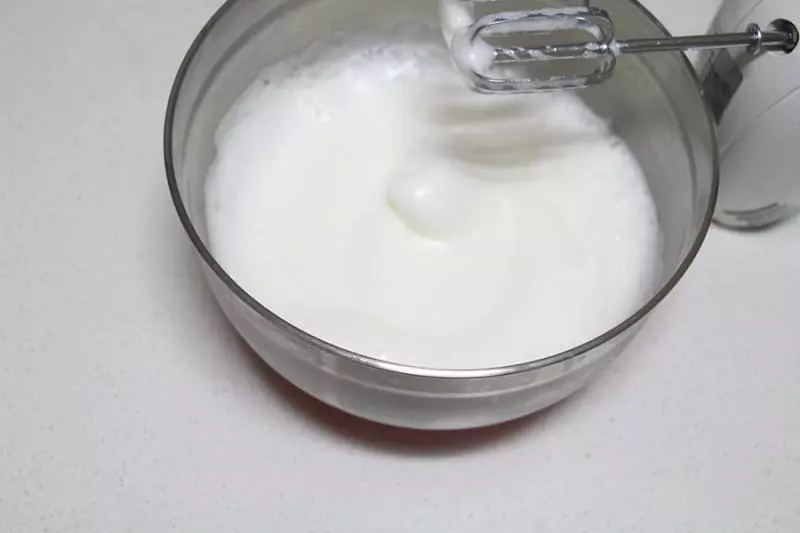
12继续搅打至能拉出弯钩的状态,加入剩余的糖粉,继续搅打。

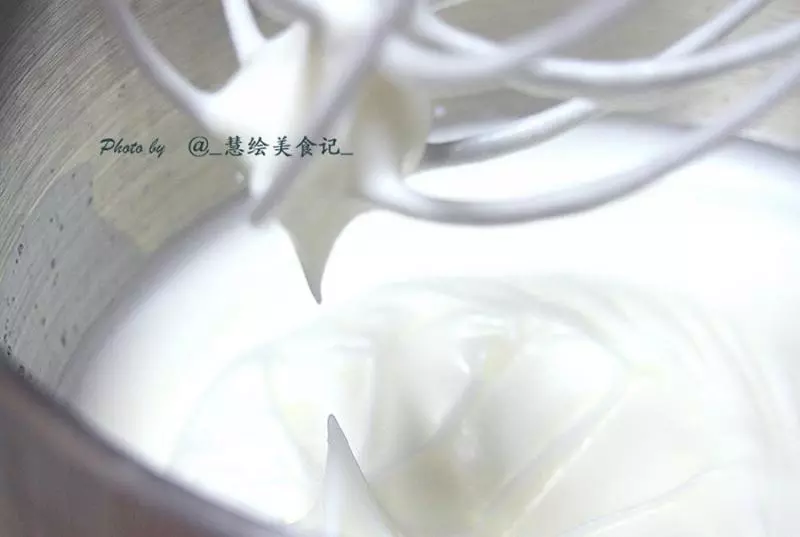
13高速打至干性发泡的状态,如下图所示~ 提起打蛋头,蛋白是很硬挺的状态。
14然后分出来 1/5 的蛋白霜。
15开始混合~先预热烤箱,上下管 170度。取白色的蛋黄糊和这份少量的蛋白霜,先取1/3蛋白霜放入蛋黄糊中,用刮刀快速翻拌均匀。
16然后将混合好的面糊全部倒入剩余的蛋白霜里,翻拌均匀。
17说一下翻拌手法:橡皮刮刀侧面接触蛋糊,从2点钟的位置开始通过中心,然后到达8点的位置,再着盆的侧面在9点的位置翻起面糊,接着左手逆时针方向转动盆子,右手翻拌完成一下,左手转一下盆子,不要一边翻拌一边转盆子,很容易消泡的。拌好的面糊细腻有光泽~
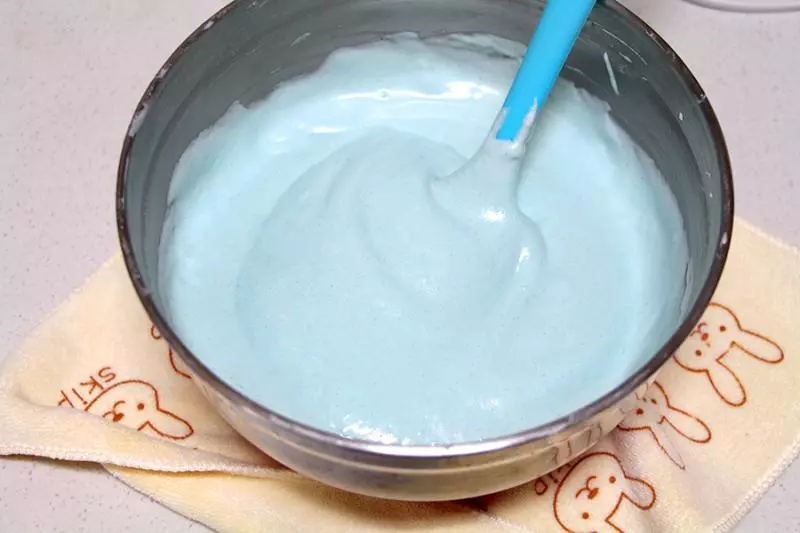
18白色的拌好之后,取蓝色的蛋黄糊和另一分量多的蛋白霜,也是先取1/3蛋白霜放入蛋黄糊中。
19用刮刀快速翻拌均匀。
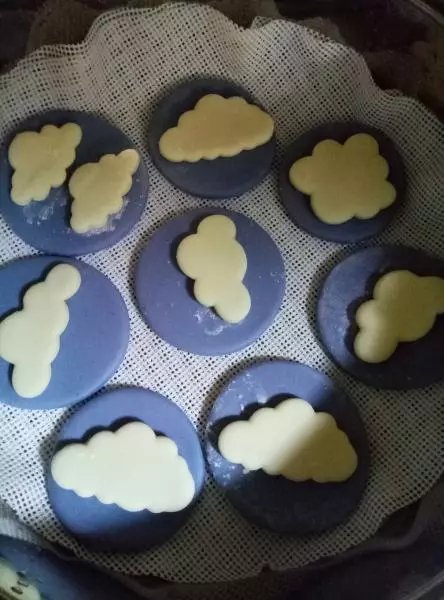
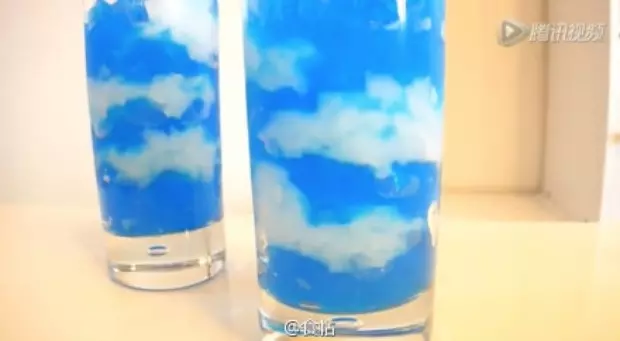
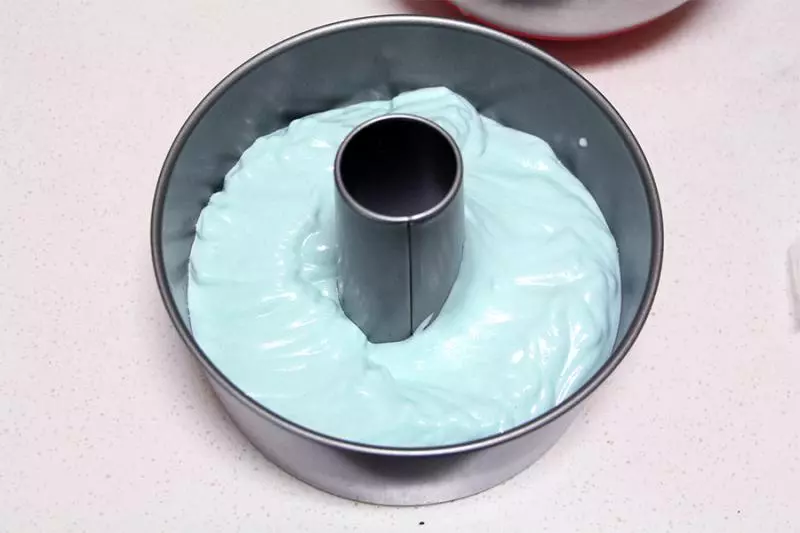
20然后将混合好的面糊全部倒入剩余的蛋白霜里,翻拌均匀。
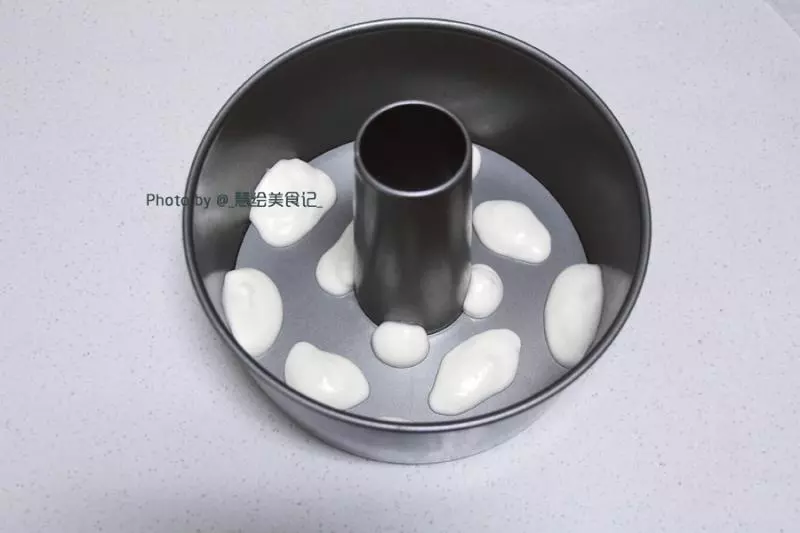
21把白色的蛋糕糊倒入裱花袋里。

22前端剪一个小口,如图在模具上挤出云朵的形状,然后入烤箱,160度烤一分半钟。注意烤箱不要关。
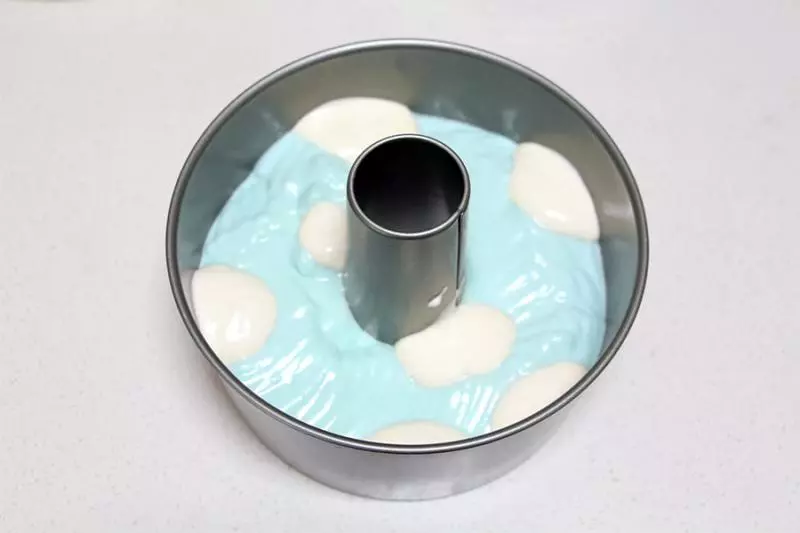
23然后倒入一部分蓝色的蛋糕糊。
24再挤上一些白色的云朵~这次的就不用烤了,可以重复这个过程,直到两种蛋糕糊都倒完为止。
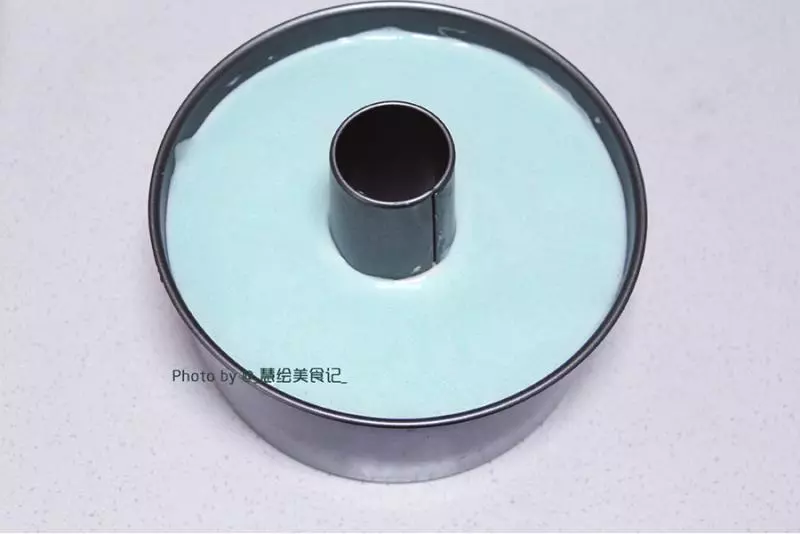
25全部倒好之后,轻震几下模具,然后放入预热好的烤箱,上下火170度烤15分钟,然后150度烤 30分钟。 **时间和温度可以根据自己家烤箱进行调整。
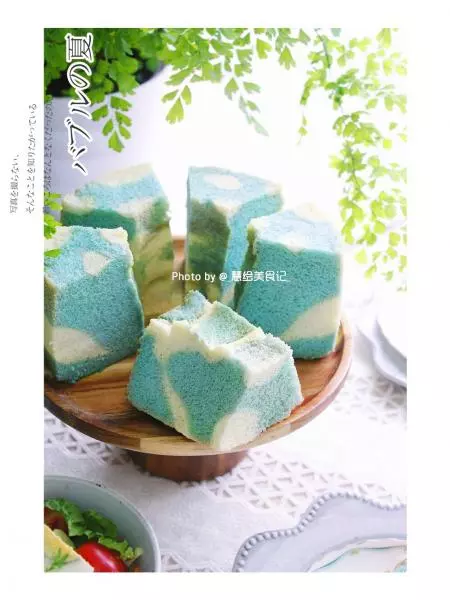
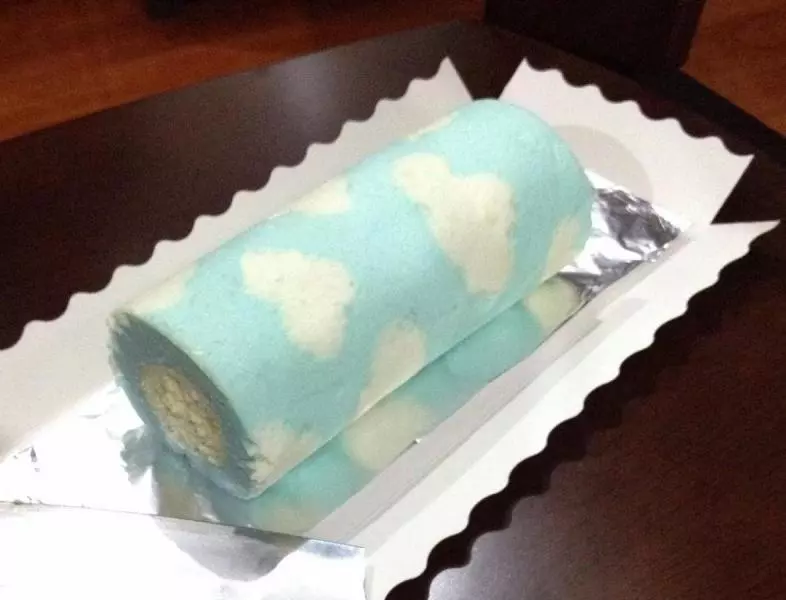
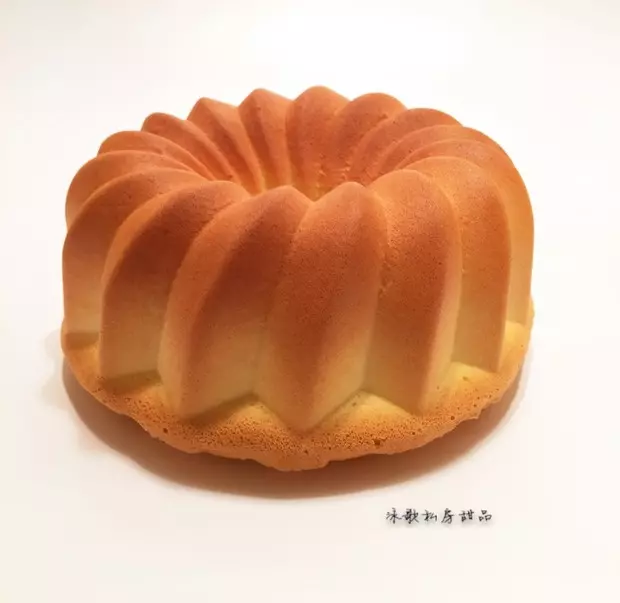
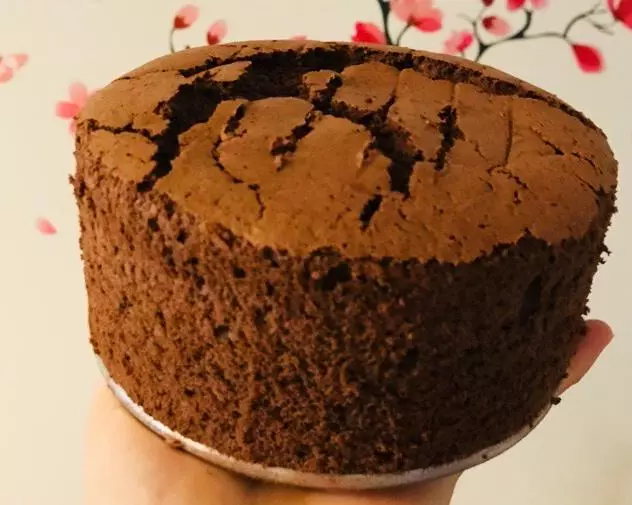
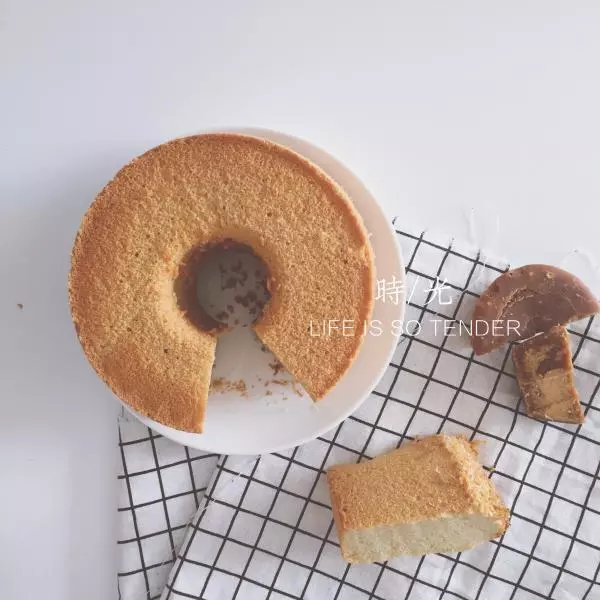
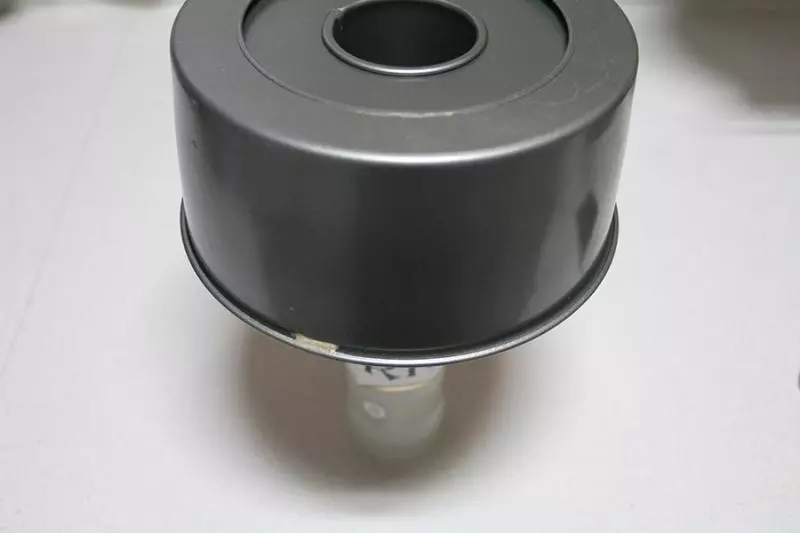
26烤好之后立即取出,倒扣晾凉。我一般是放置过夜。然后脱模就可以了~
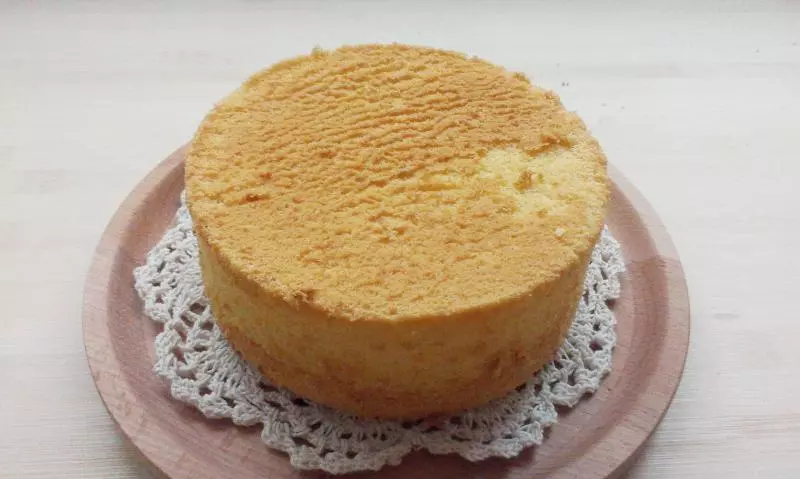
27顶部是如小火山一样的爆发状的,可以横着切掉一部分,就是干净整齐的样子了~
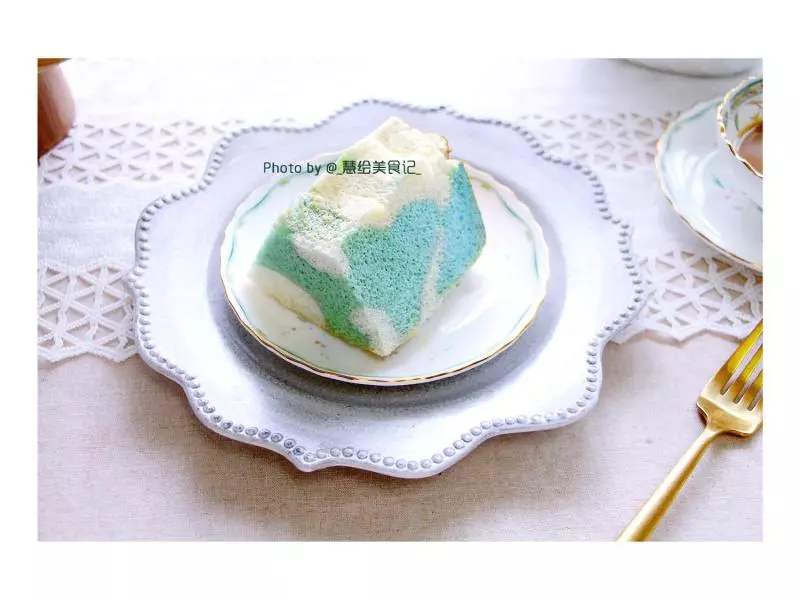
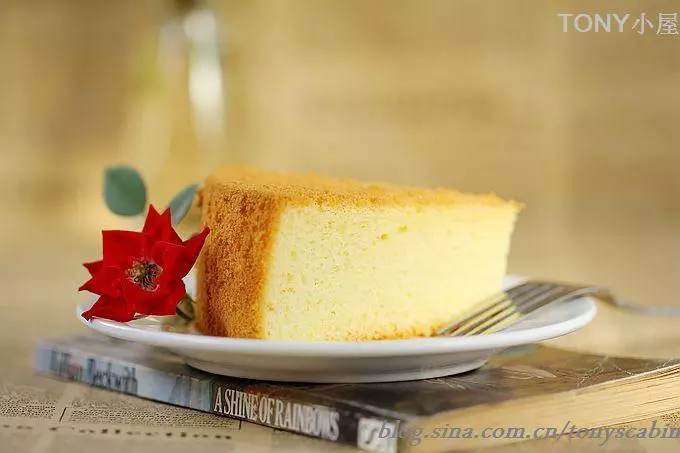
28完成~