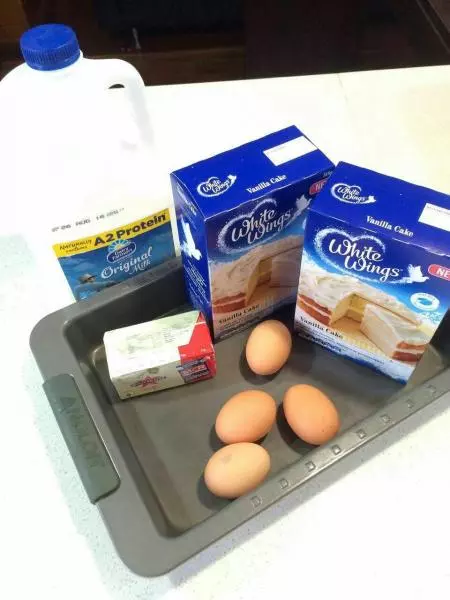
原料
白翼蛋糕粉: 两盒, 黄油: 适量, 贝蒂草莓涂层: 适量, 粉色翻糖: 适量, 红色食用色素: 适量, 鸡蛋: 4个
步骤
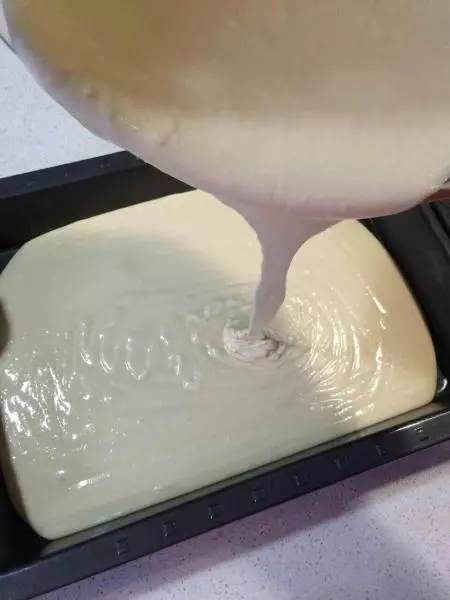
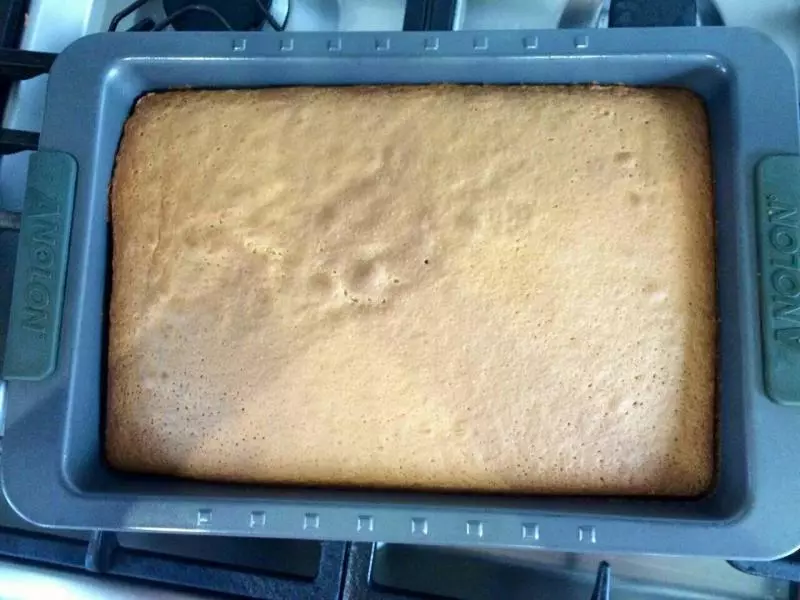
1因为使用的是现成的白翼蛋糕粉,国内的叫做预拌粉,无需打发鸡蛋,只需按照配比加4个鸡蛋,奶和黄油,用搅拌机搅拌均匀即可烤制
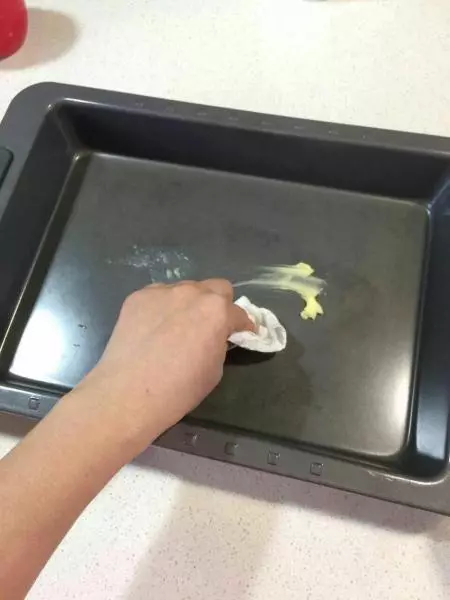
2预热烤箱,把托盘涂上黄油
3把搅拌均匀的糊倒入烤盘
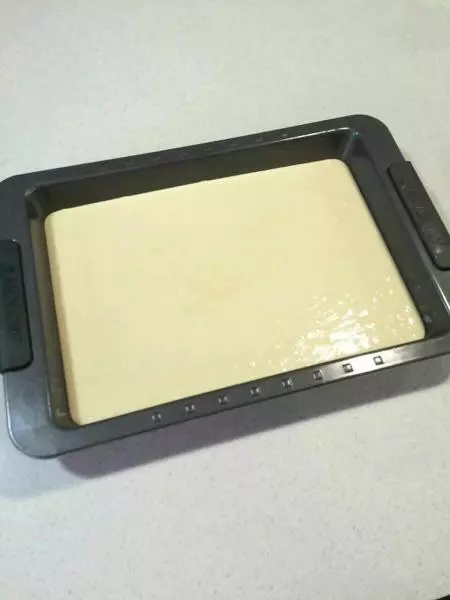
4震震去掉气泡
5160度左右烤制50-60分钟
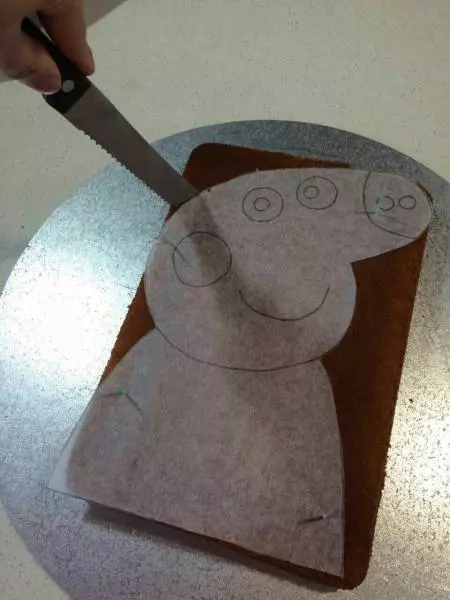
6提前准备图形,图形尺寸A3大小,根据图形切割
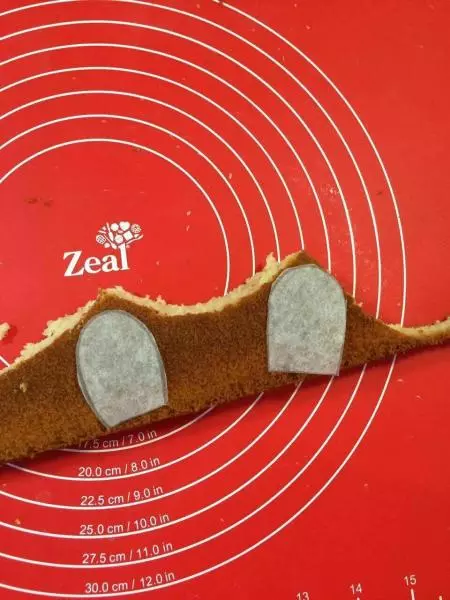
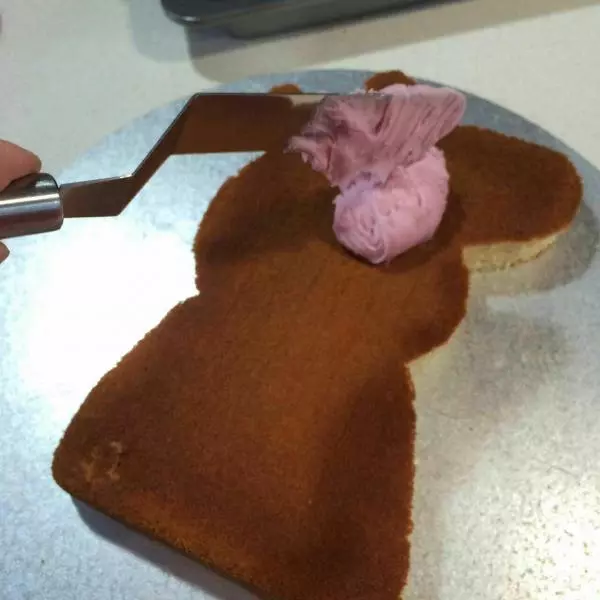
7切出耳朵造型
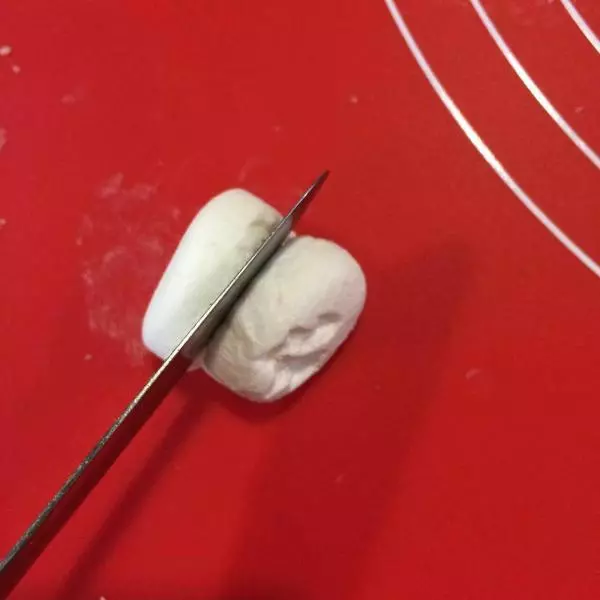
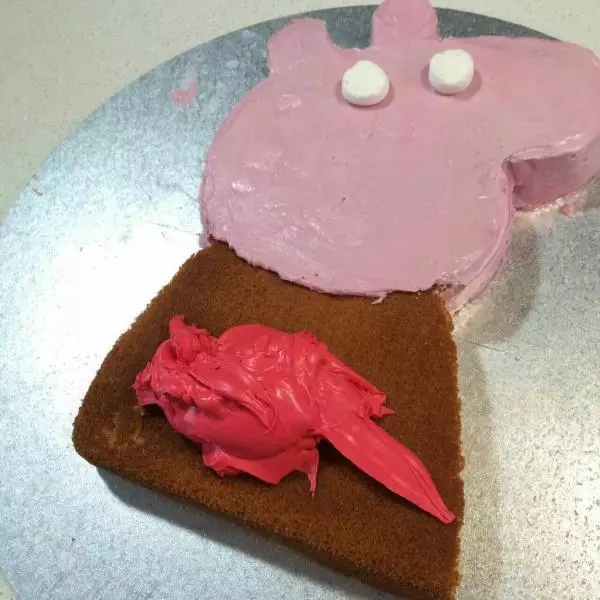
8棉花糖切成两半,做眼睛
9这里使用的是贝蒂涂层,直接涂在蛋糕上即可
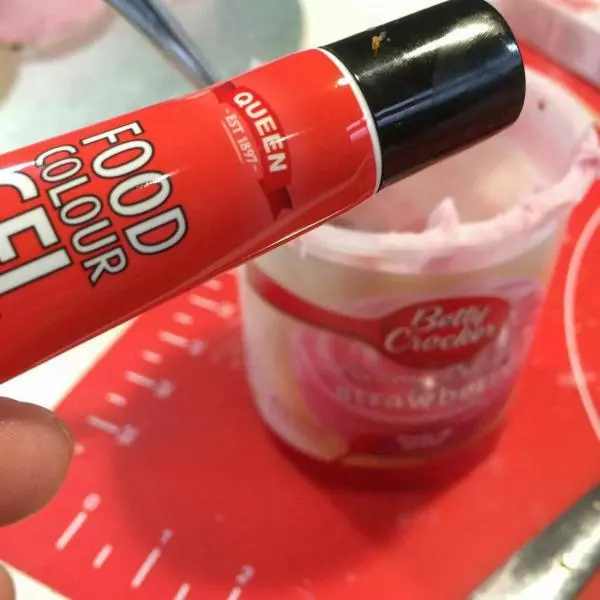
10在剩余的涂层里加上红色食用色素
11身体涂成红色
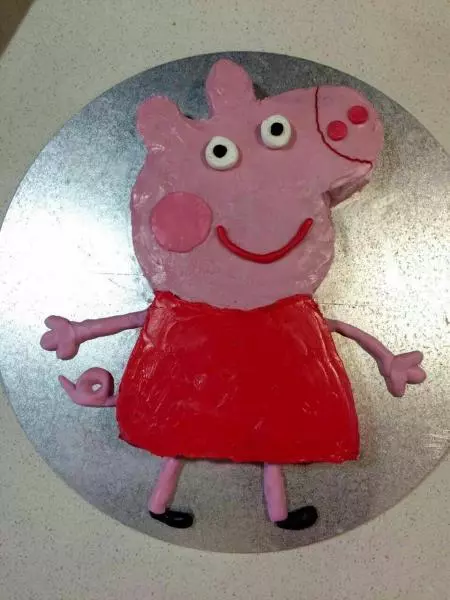
12粉色翻糖做脸蛋,尾巴和四肢

13用巧克力酱画眼睛
小技巧
如果没有涂层,可以用黄油打发奶油,黄油打发奶油的方子稍后放上