原料
蛋清: 5个小鸡蛋的蛋清或4个大鸡蛋的蛋清, 细砂糖: 44g, 蛋黄: 5个小鸡蛋的蛋黄或4个大鸡蛋的蛋黄, 豆浆: 87g, 低筋面粉: 88g, 玉米油: 53g
步骤
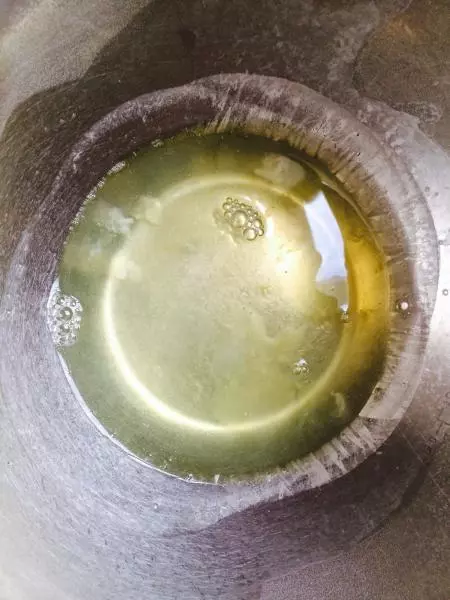
1首先,把蛋清蛋黄分离(这个多此一举的介绍会不会很烦啊哈)然后将蛋白放入冰箱冷冻
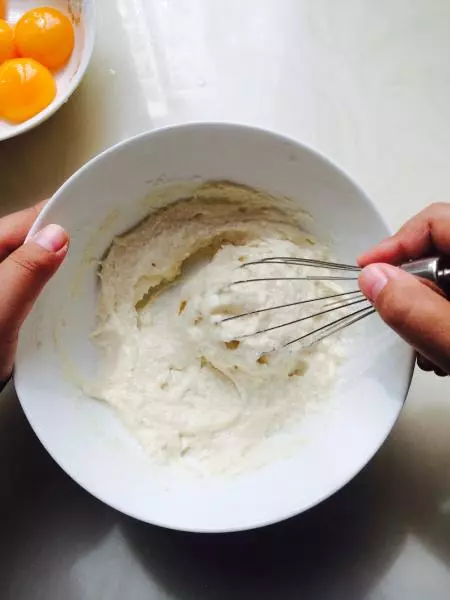
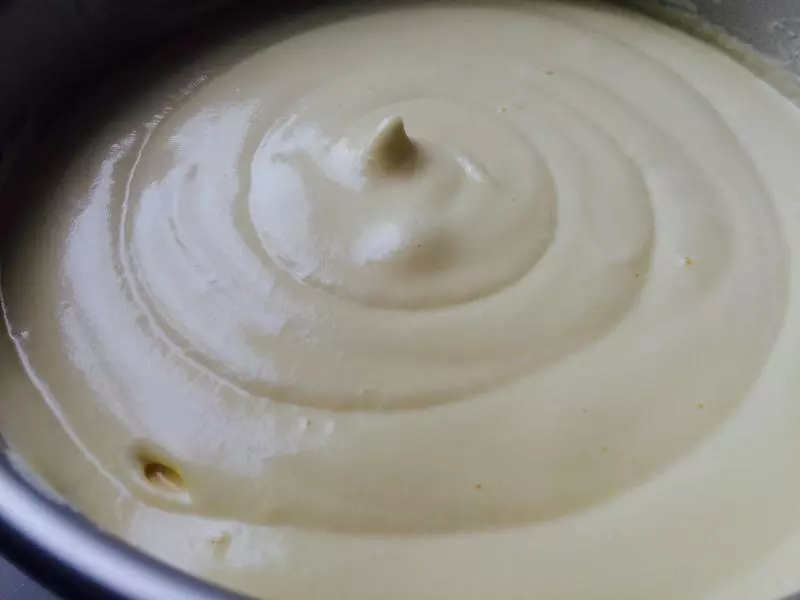
2将豆浆、油、低筋粉用蛋抽混合至上图状态 (混匀就行了不用搅拌太久)
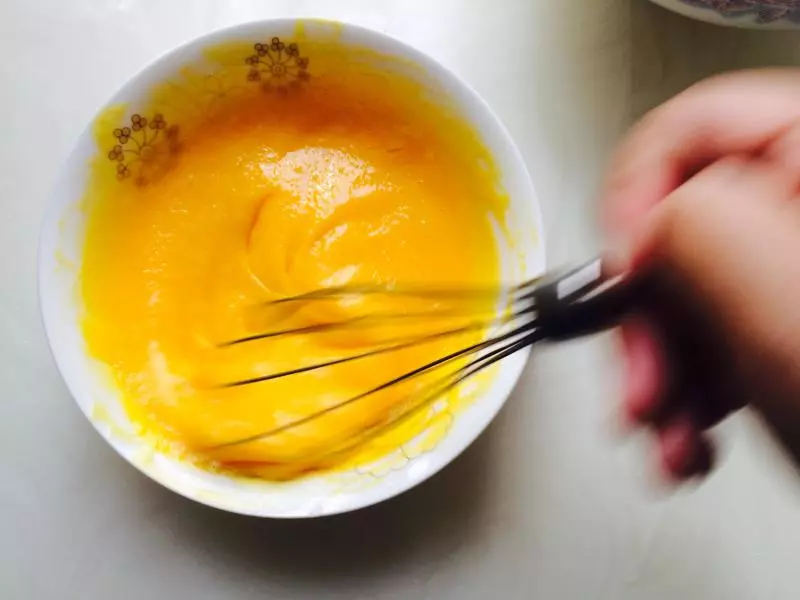
3将蛋黄用蛋抽疯狂的搅搅搅,直至蛋黄发白
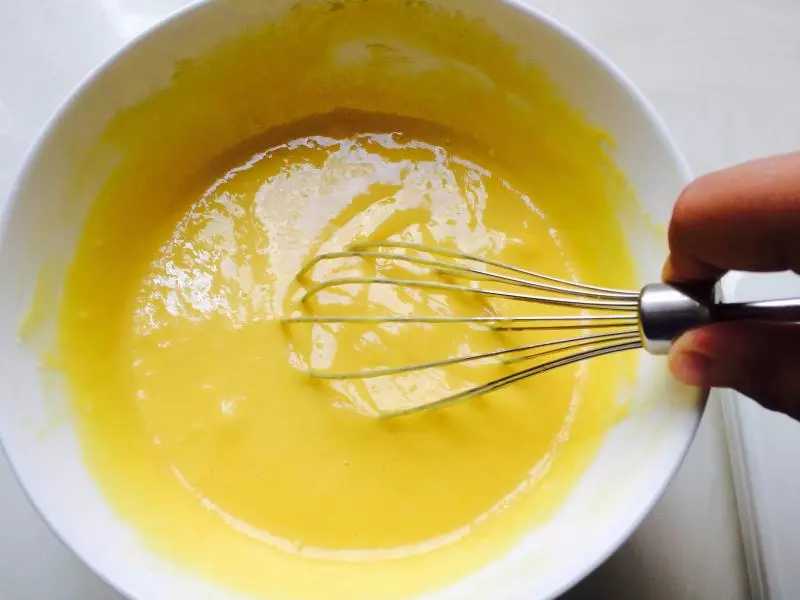
4加入步骤二中的混合物中,搅拌均匀 (和上面一样混匀就行了不用搅拌太久)
5冷冻过后的蛋白分三次下细砂糖,打至干性发泡
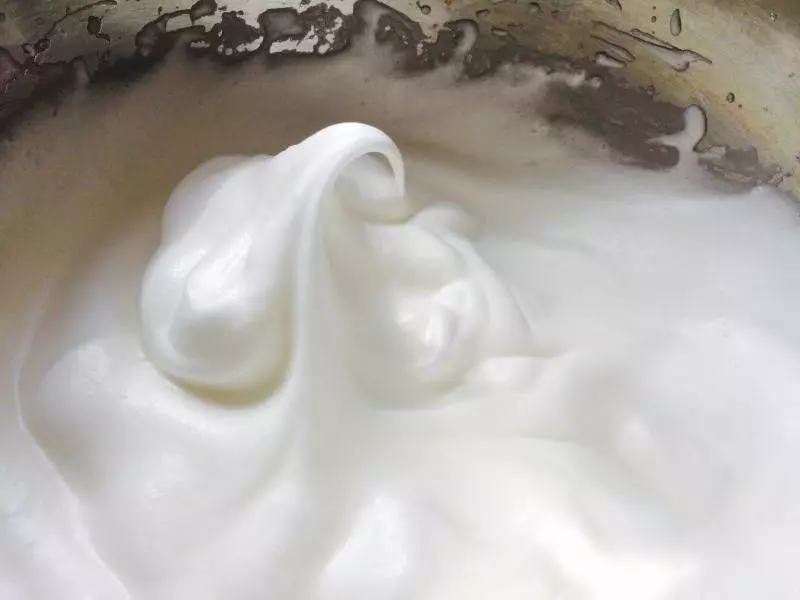
6这是湿性
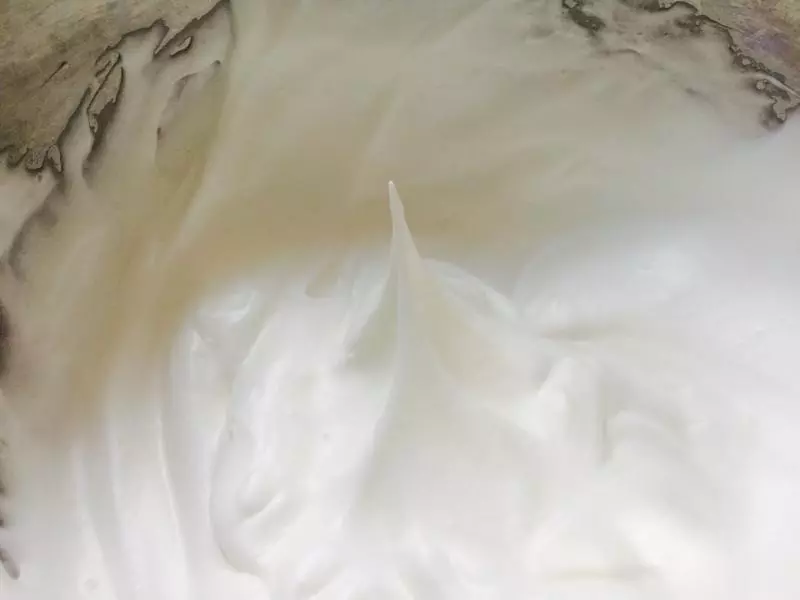
7这是干性
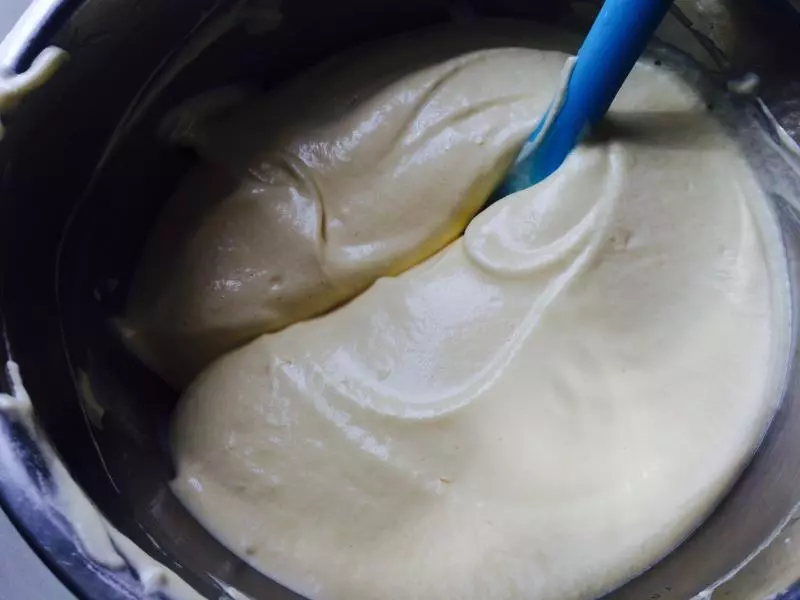
8蛋白霜分取二分之一,用刮刀翻拌。 翻拌均匀后把蛋糊再倒入蛋白霜中,再次用刮刀翻拌均匀,入模
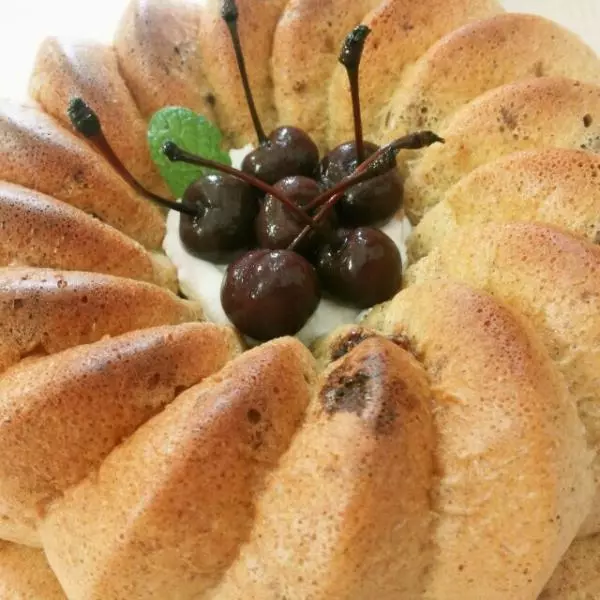
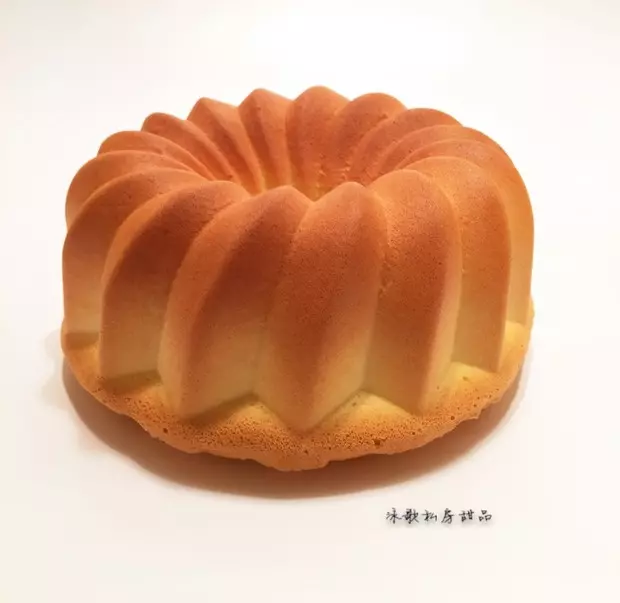
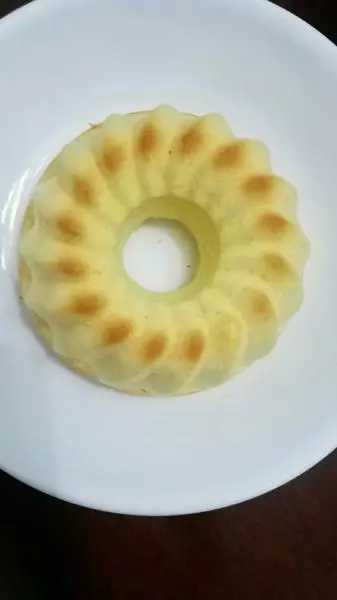
9入模后震几下,把大气泡震破 (不要问我为什么有花纹,因为 好(zuò)玩(zuō))
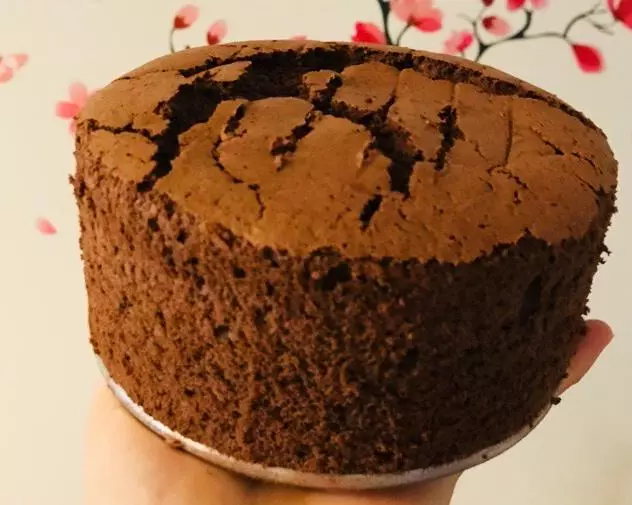
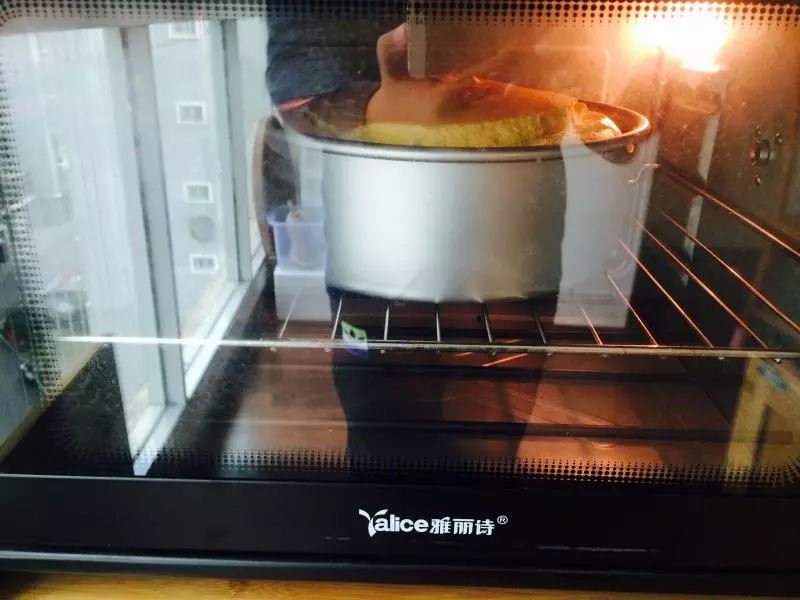
10入炉,放入上下火180度预热的烤箱中烤45分钟(你说看爆头不顺眼?管他那么多干嘛拉,好吃就行)
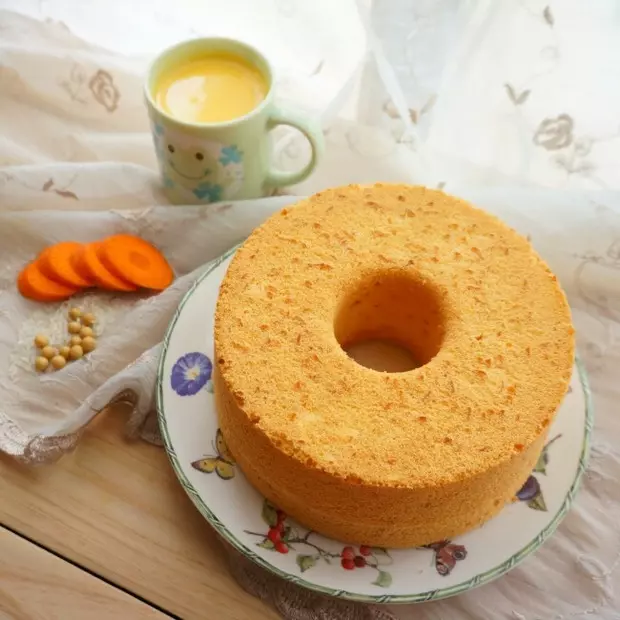
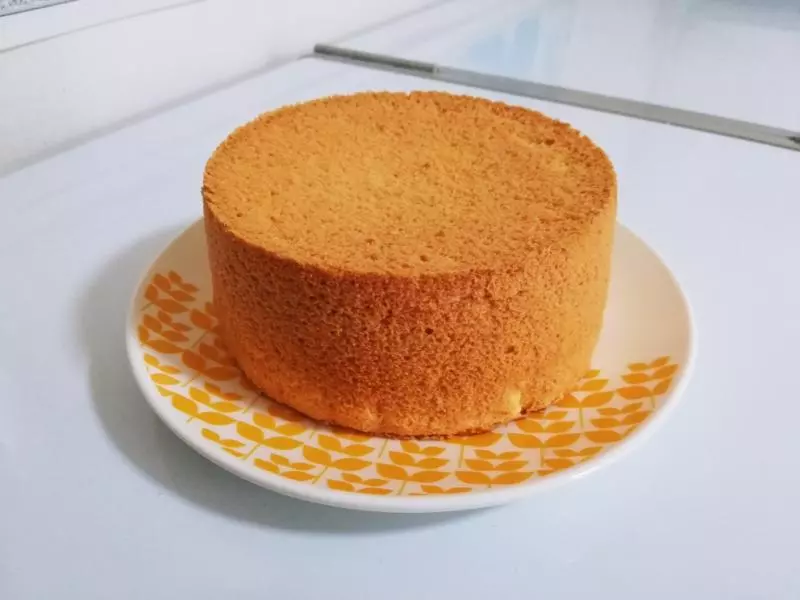
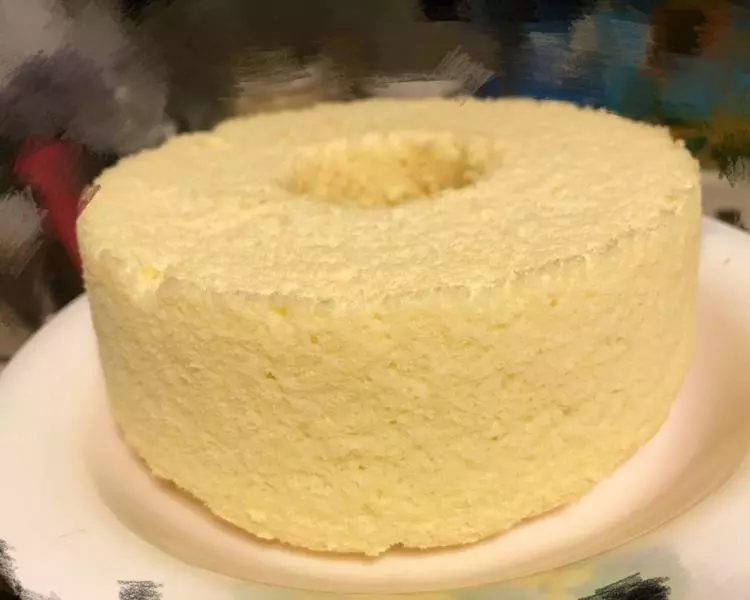
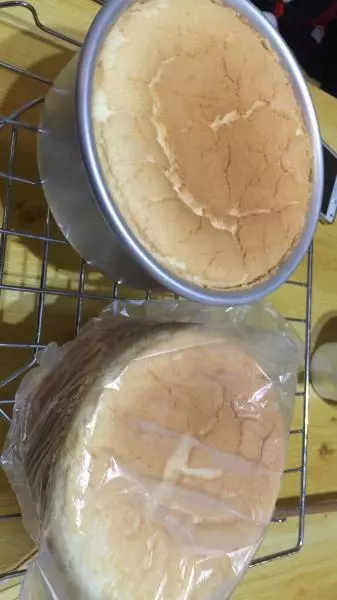
11出炉,震一下热气后立刻倒扣
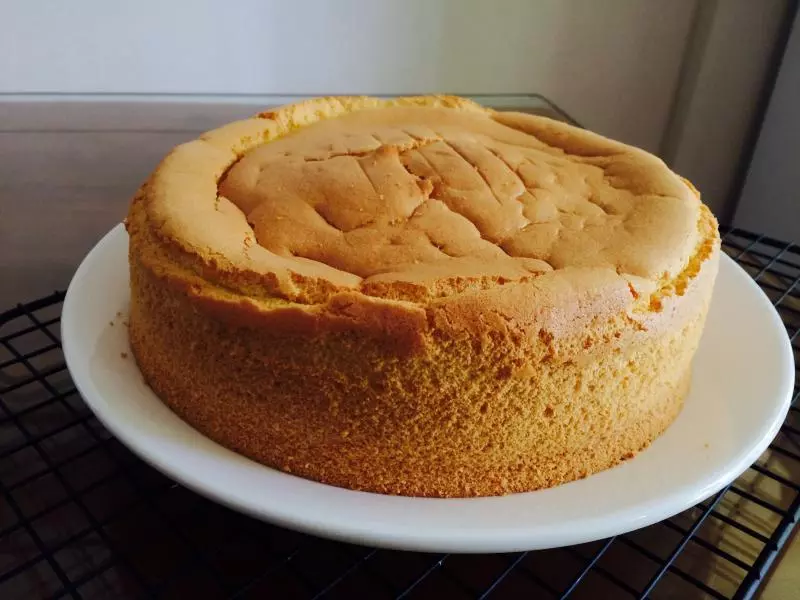
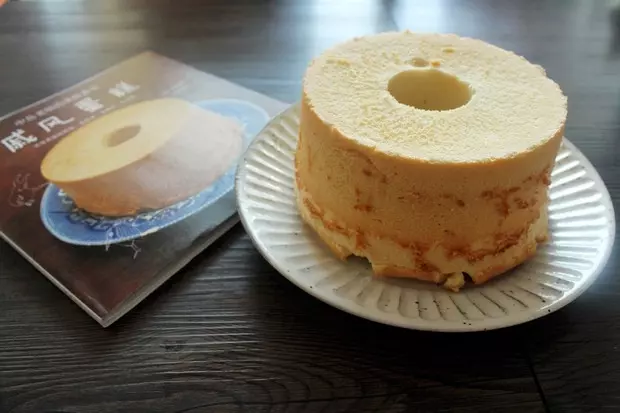
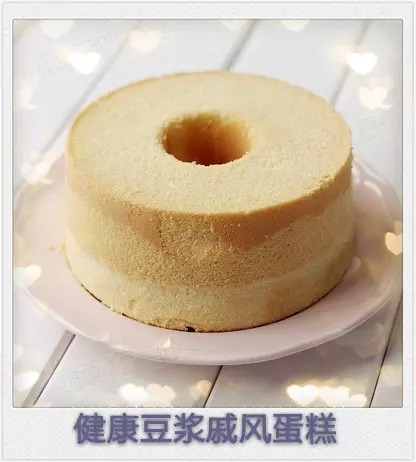
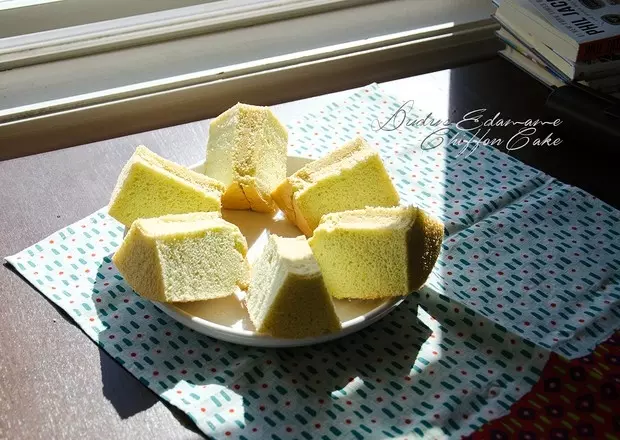
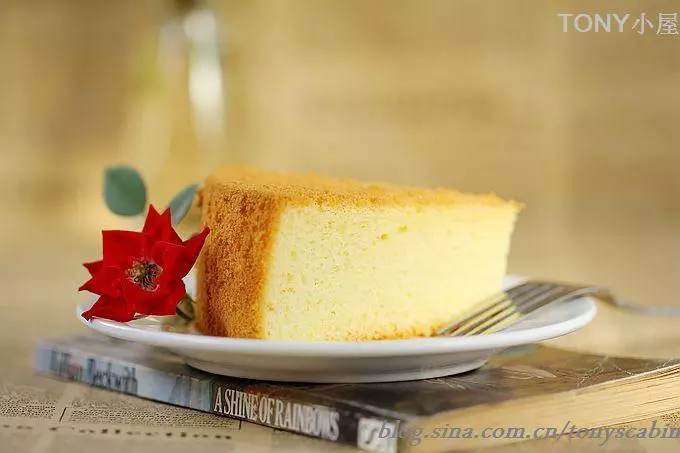
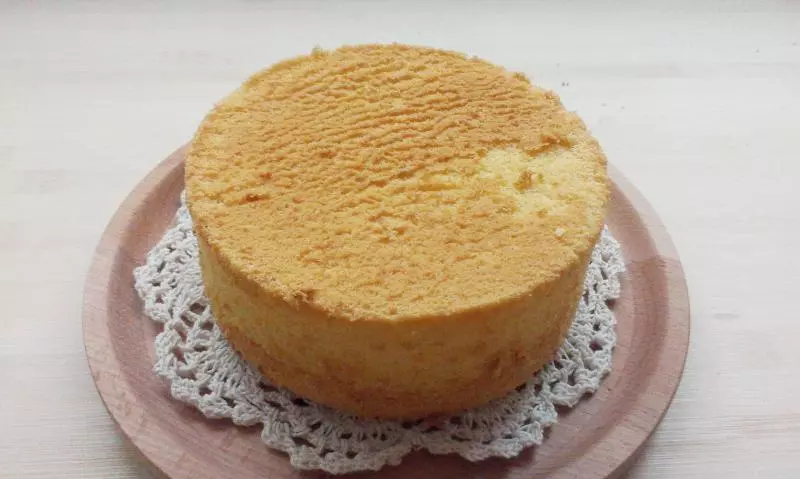
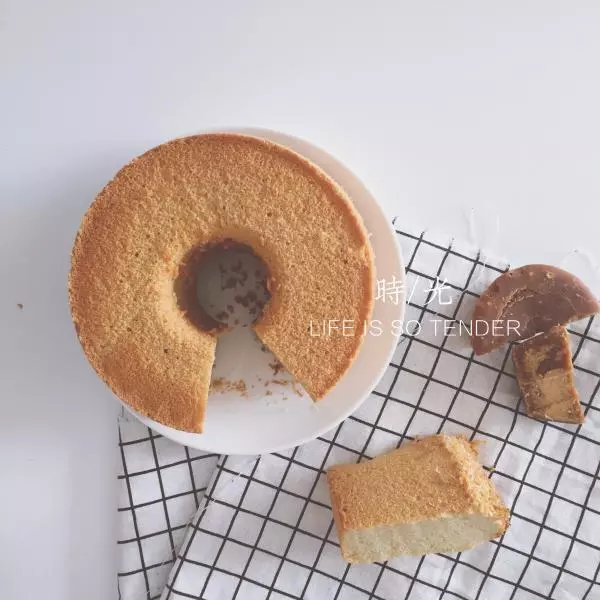
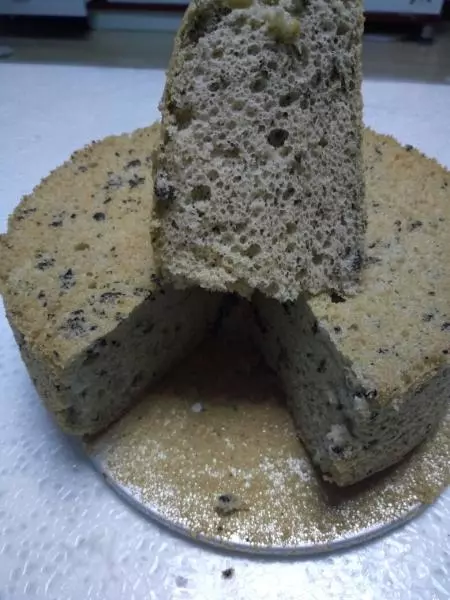
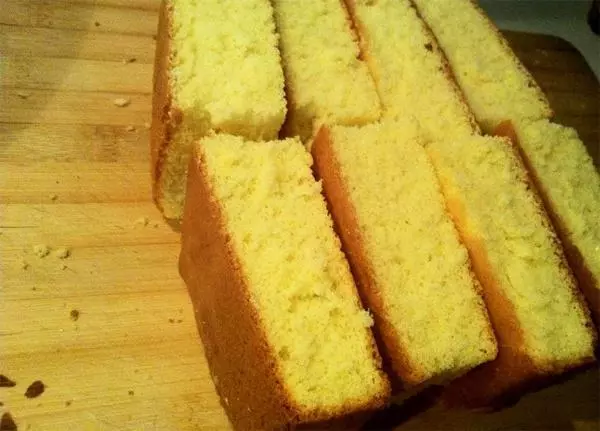
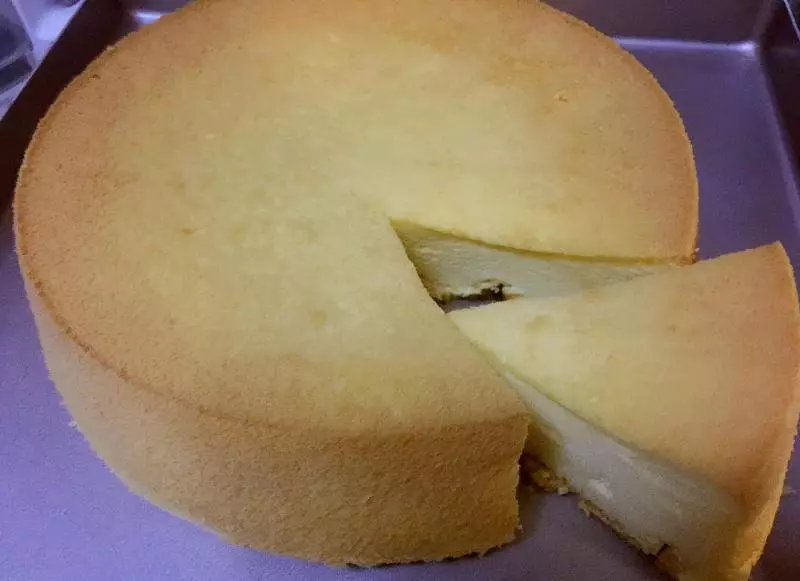
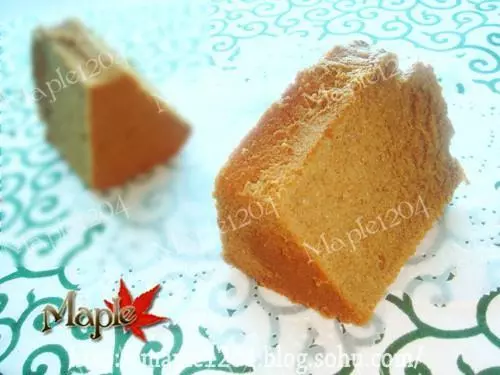
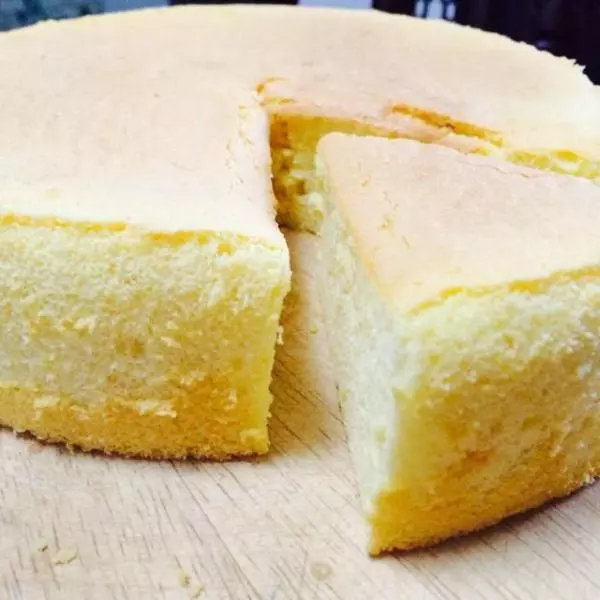
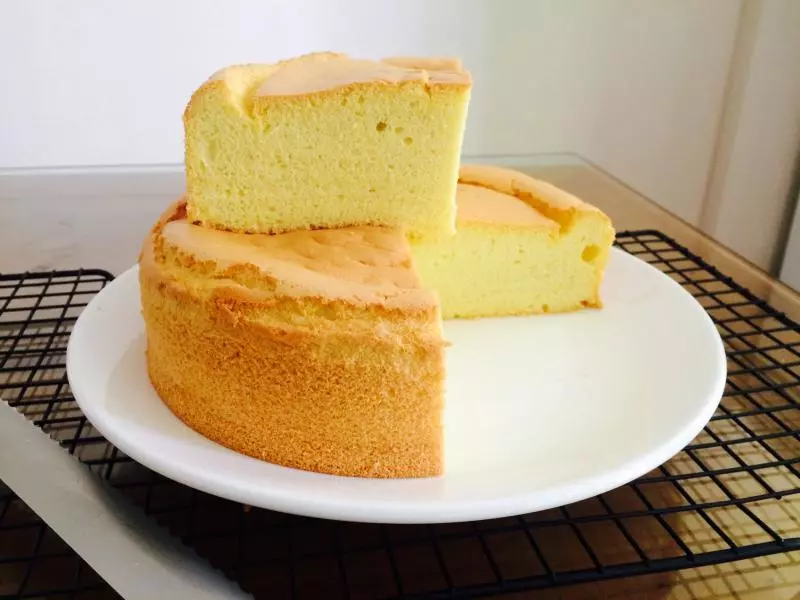
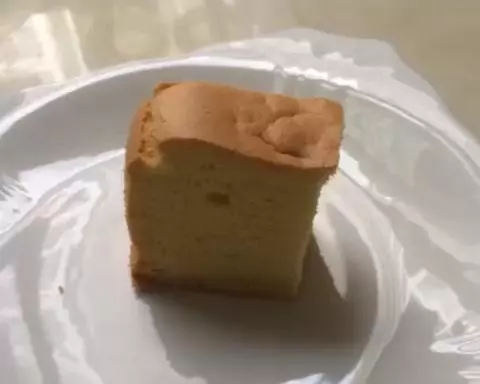
12晾凉后脱模,切片。

13用力一下去弹起来的瞬间好可爱!
小技巧
Tips: 一 切 按 方 走 ~ 不明白的地方可以看看我以前的菜谱