原料
鸡蛋: 5只, 低筋面粉: 90g, 细砂糖: 80g+25g, 纯牛奶: 50g, 植物油: 50g, 淡奶油: 250g, 草莓: 500g
步骤
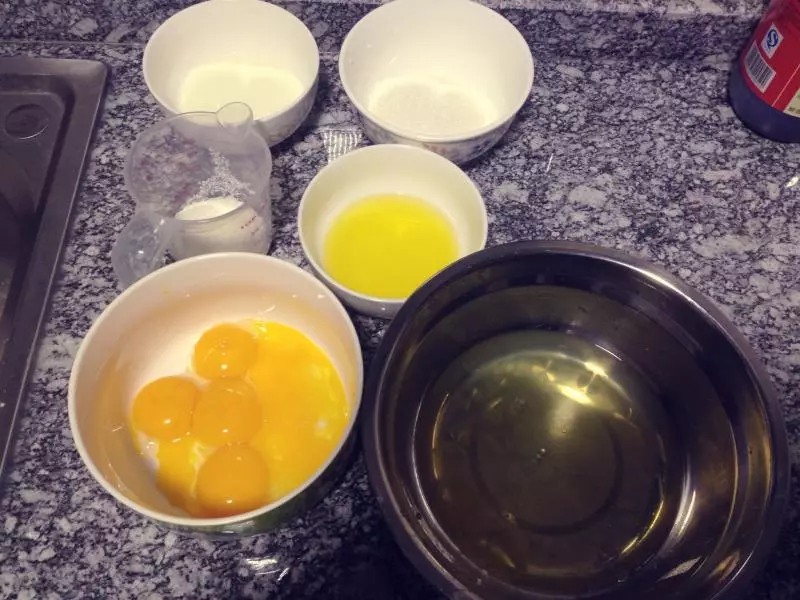
1做好准备工作,将鸡蛋蛋清蛋黄分离。
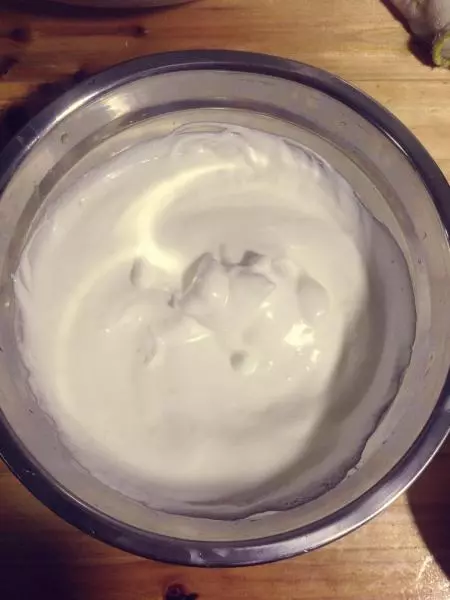
2用打电器将蛋白打发。
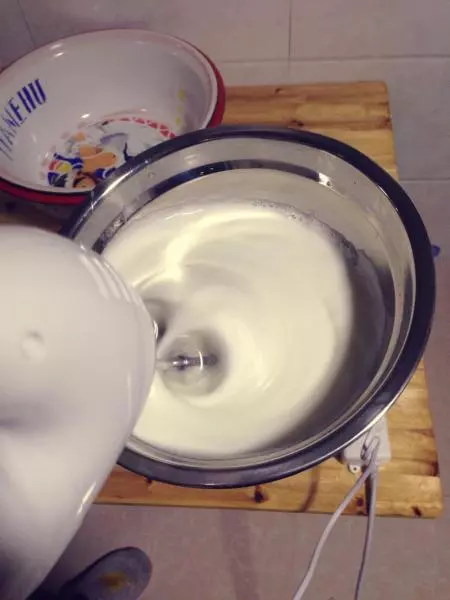
3蛋白打好后放入冰箱冷藏,备用。
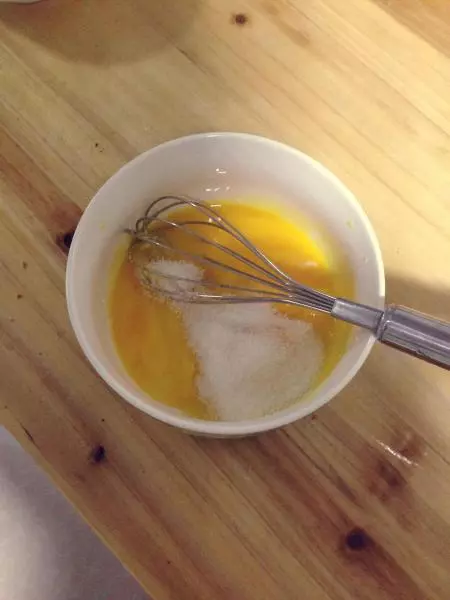
4蛋黄中混入30g砂糖,搅拌均匀,不可将蛋黄打的过分散。
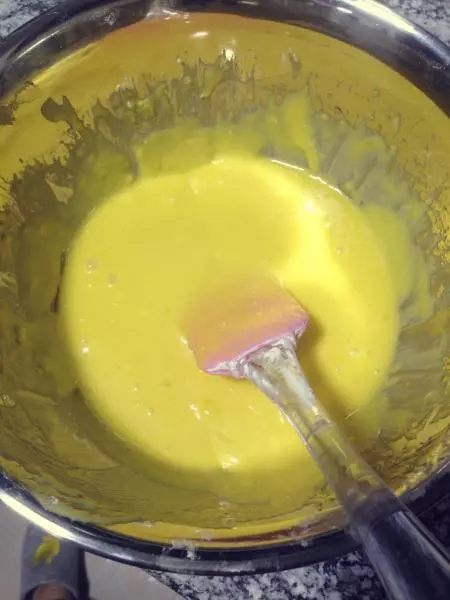
5蛋黄搅拌到颜色变浅黄,加入50g纯牛奶,50g植物油。

6搅拌均匀,备用。
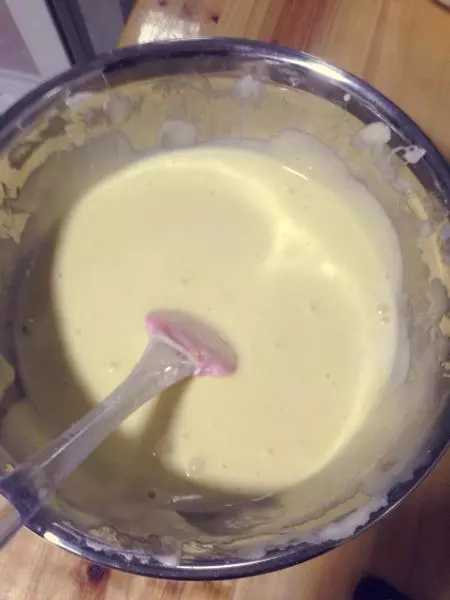
7冰箱取出蛋白,先取1/3混合步骤6材料,搅拌均匀(不可划圈搅拌)。共分3次取蛋白混合搅拌。
8将蛋糕液倒入8寸模具中,轻轻震几下,除去汽泡,放入烤箱。
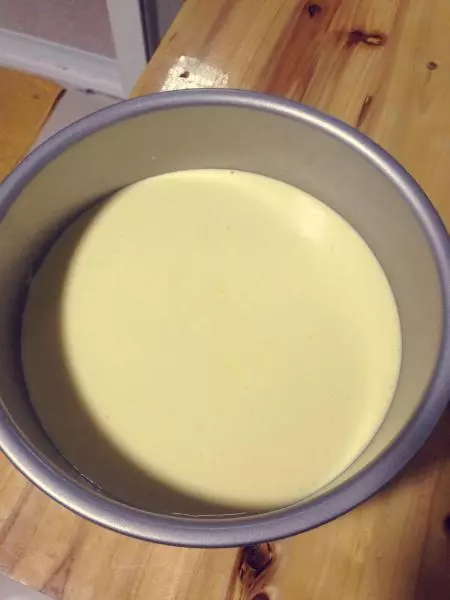
9170摄氏度,上下火,烤40分钟左右,注意观察,避免烤糊。

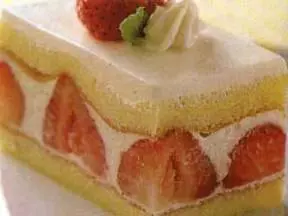
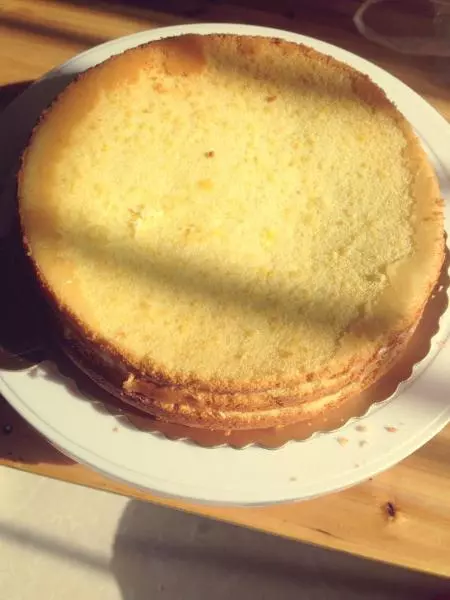
10冷却后取出,横切成三片簿片。
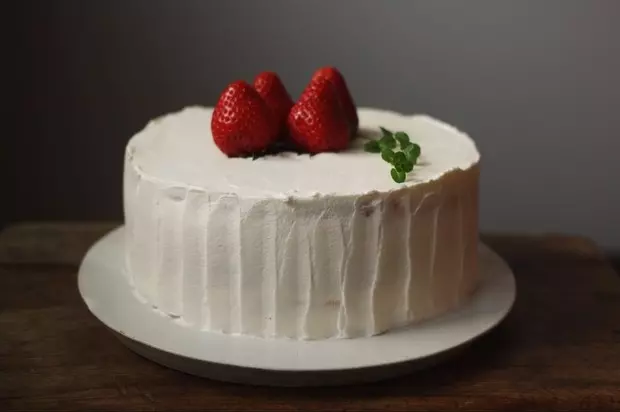
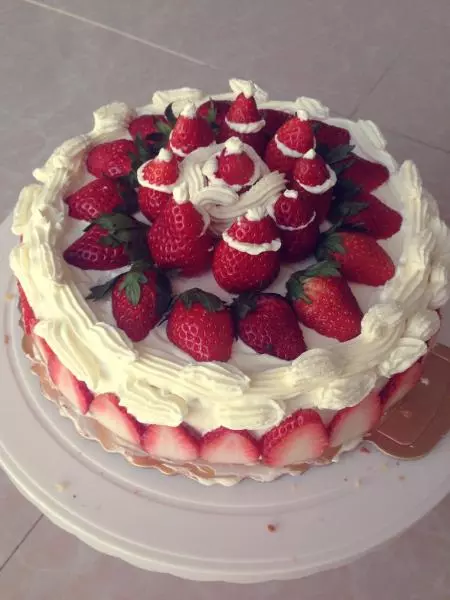
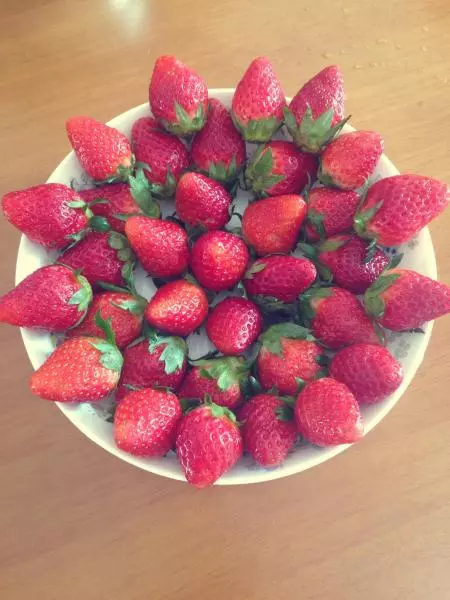
11草莓洗净,挑选漂亮的留用。
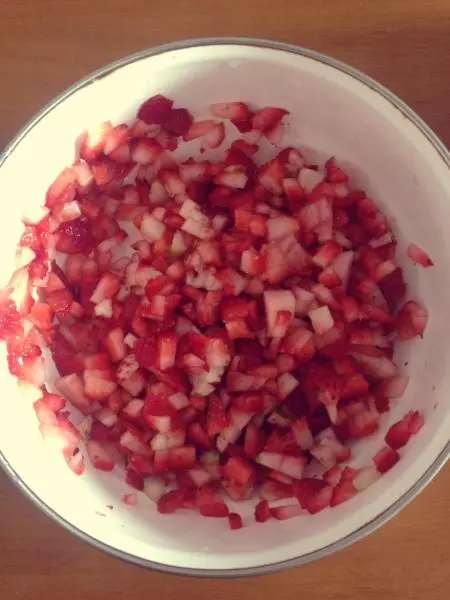
12其他的一部分切成丁,一部分切片。
13250g淡奶油加25g糖,打发。

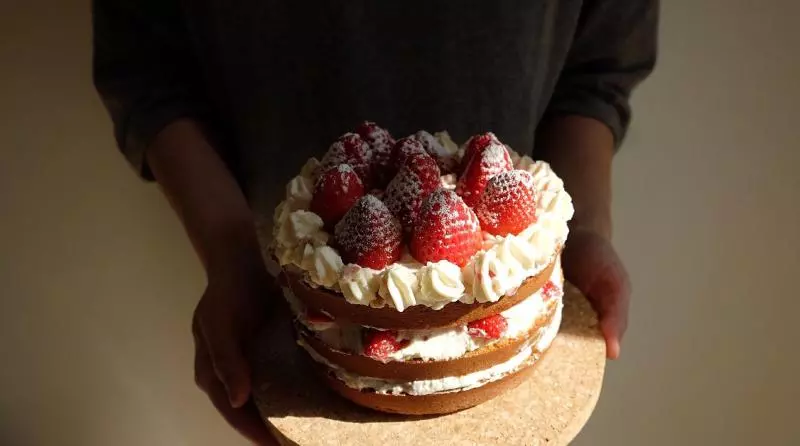
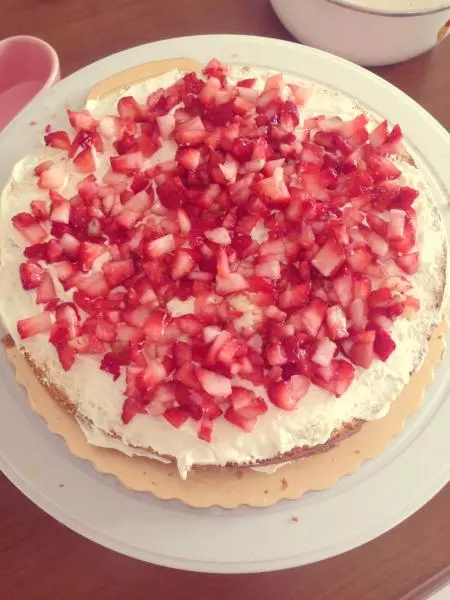
14取蛋糕簿片,先抺奶油,然后洒草莓丁上去。两层都要洒。
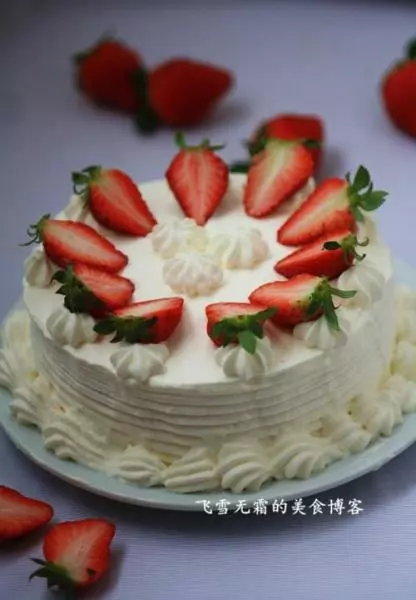
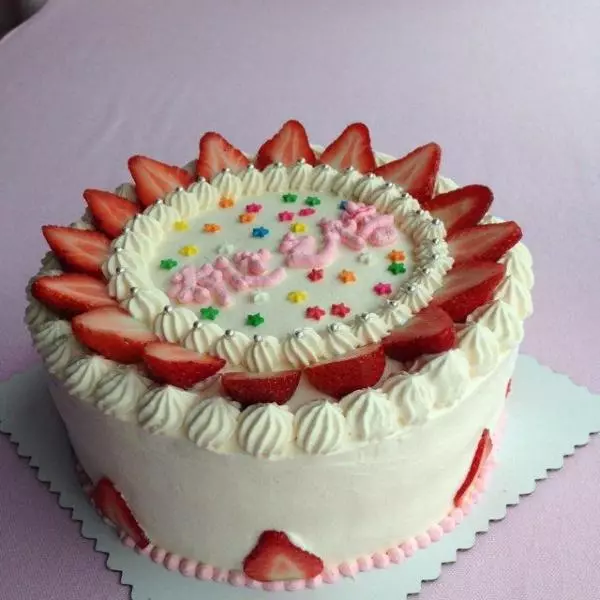
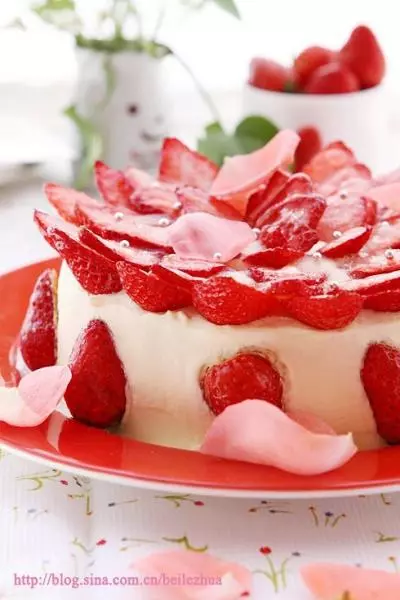
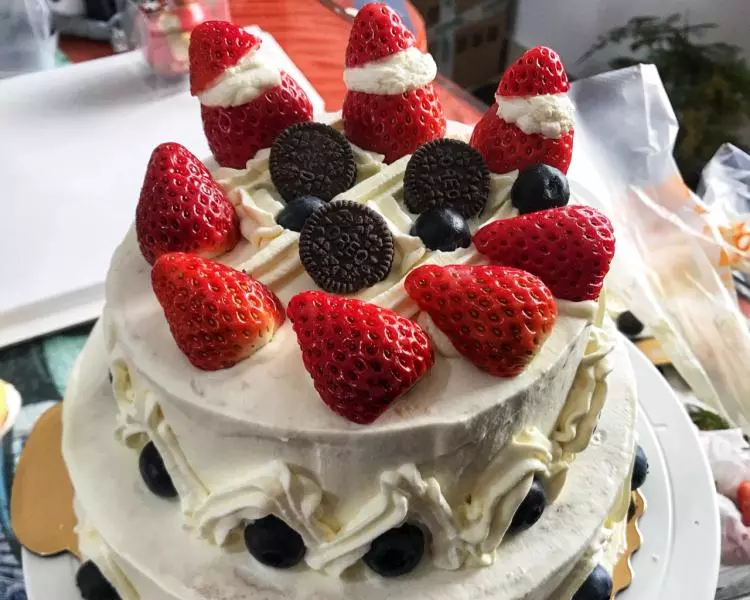
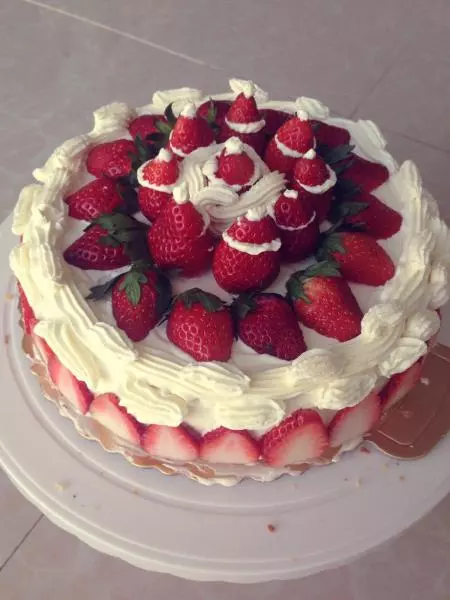
15侧面贴草莓片。
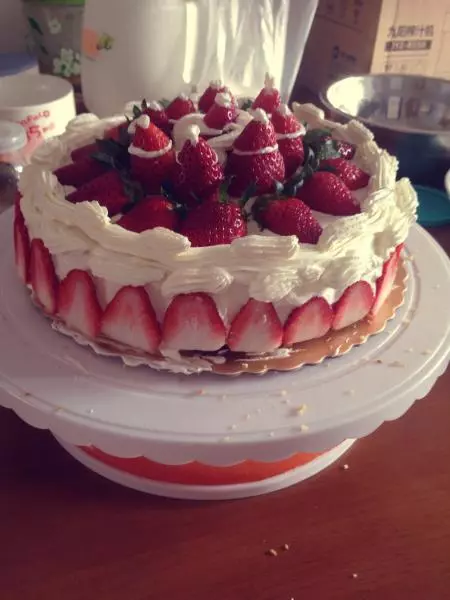
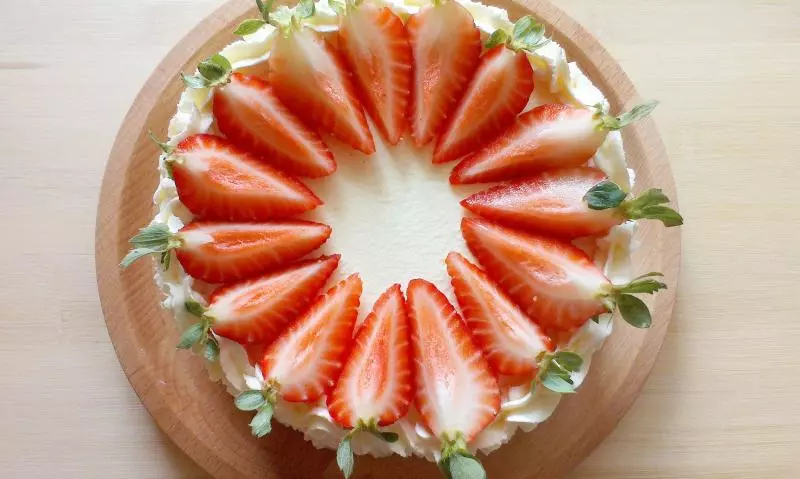
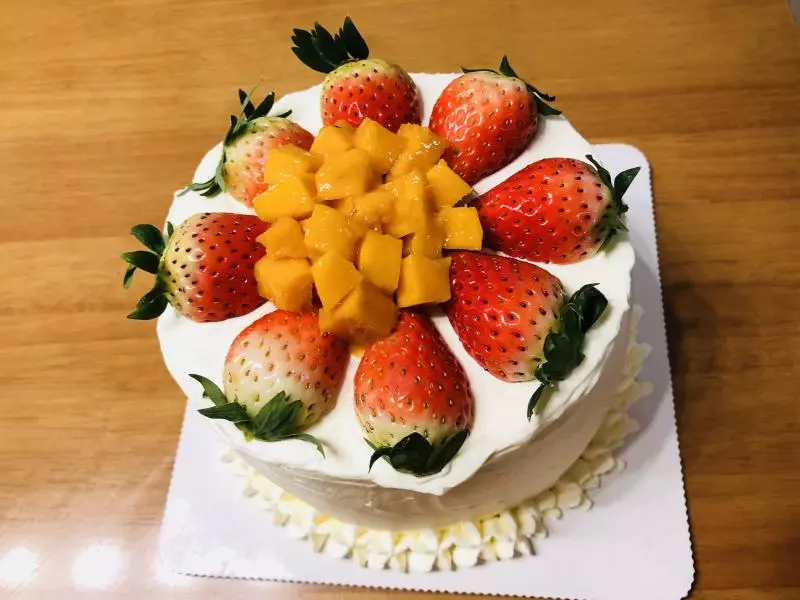
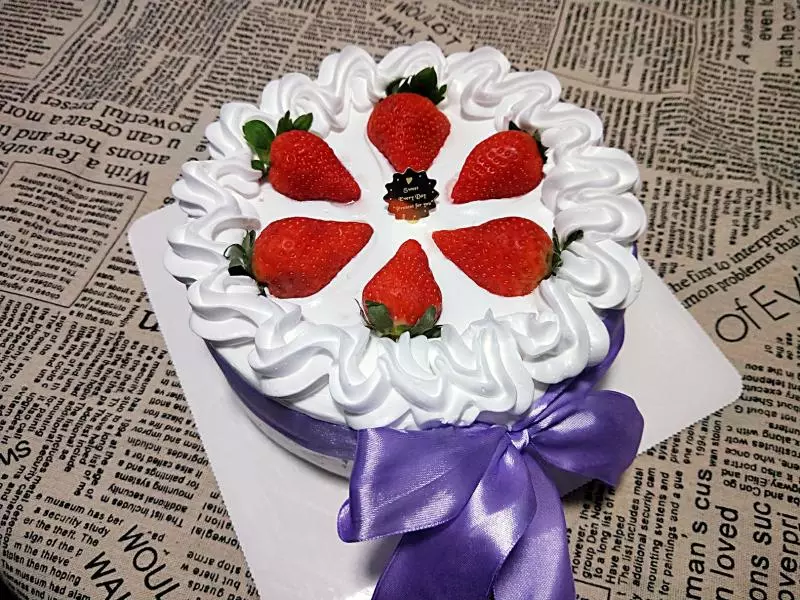
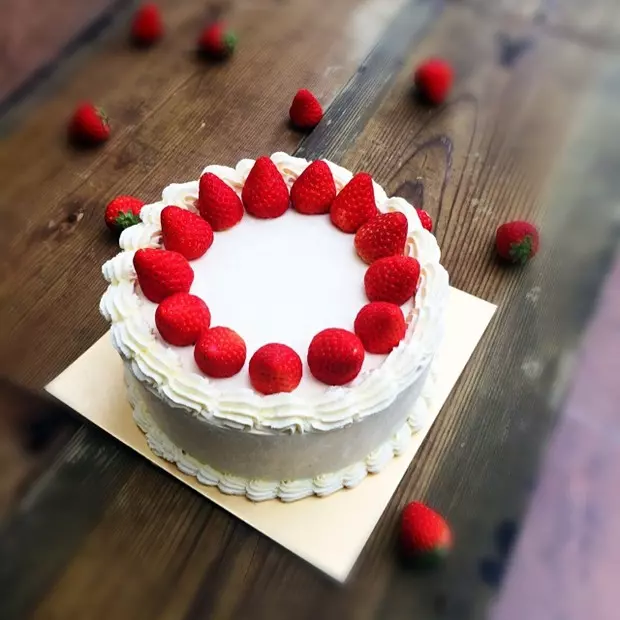
16草莓对半切贴中间,选几个大的放正中。

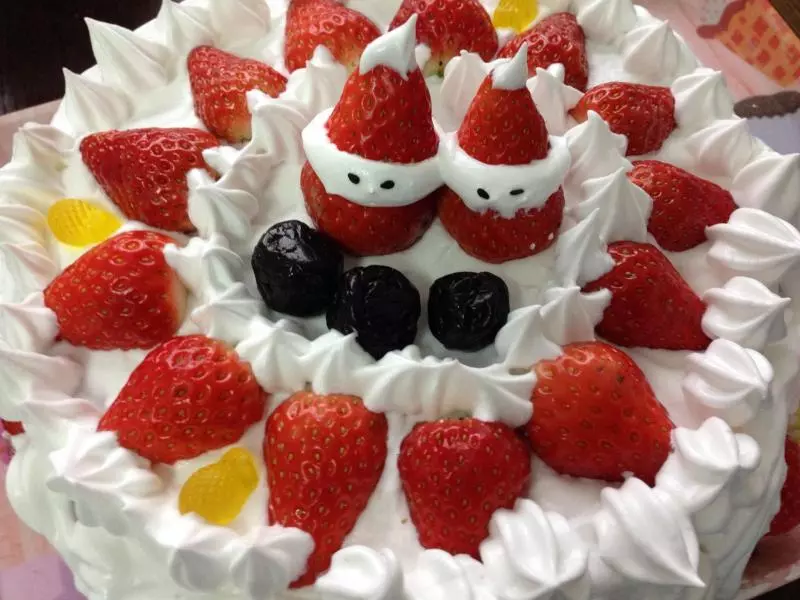
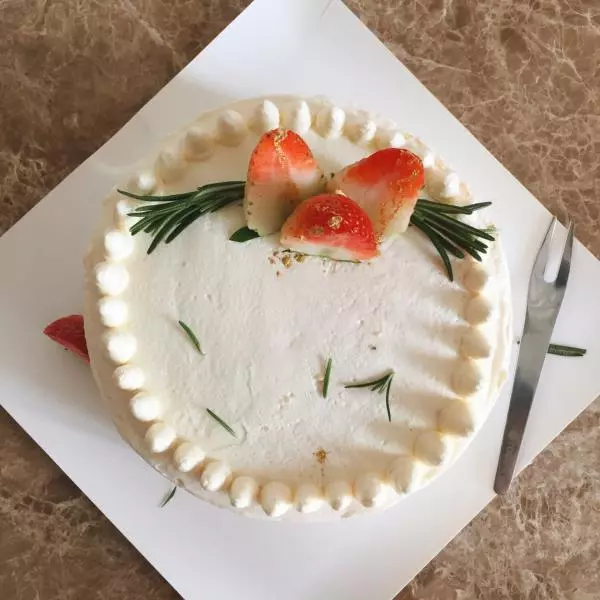
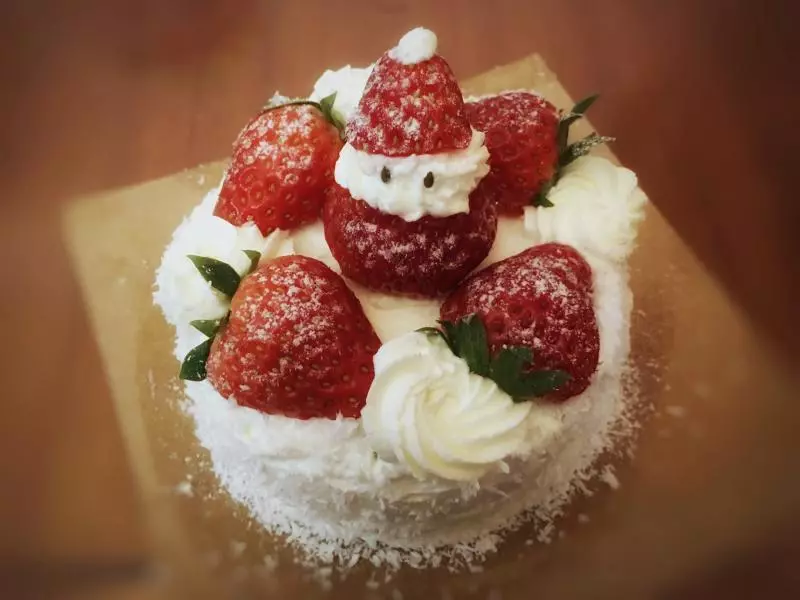
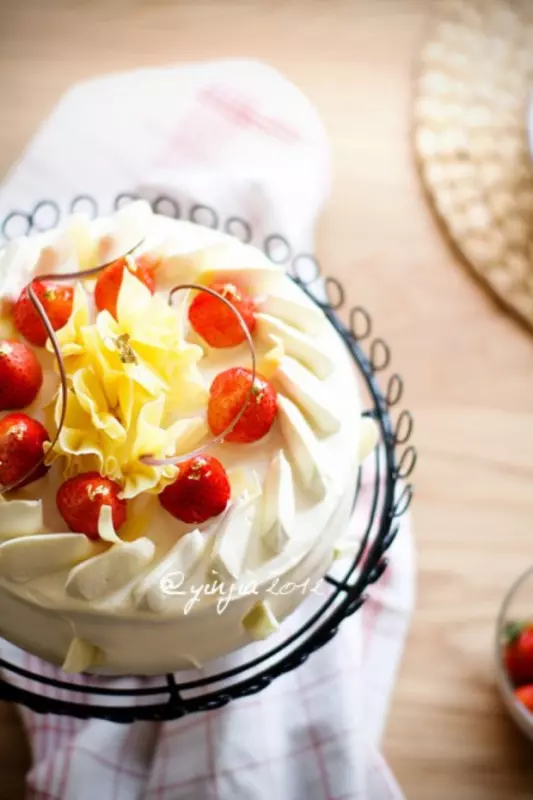
17裱花装饰一下。
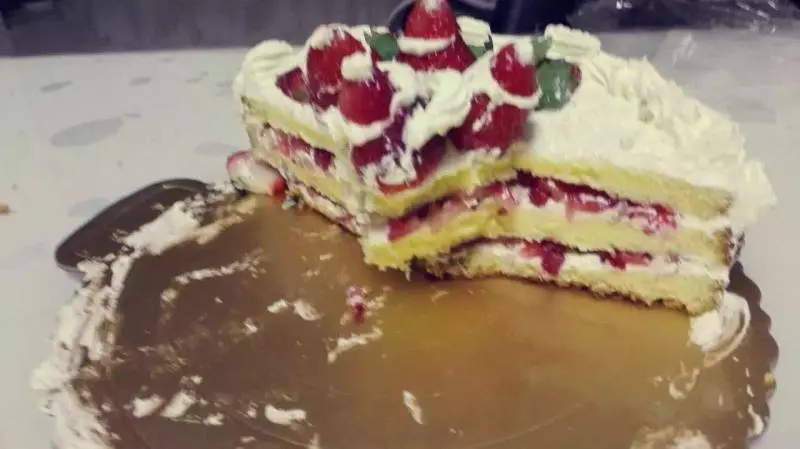
18这样吃的时候就是夹心的啦。
小技巧
草莓处理起来咯唆啊,可以按自己喜好设计的。祝君成功。