原料
低筋面粉: 126克, 糖粉: 66克, 牛奶: 900克, 鸡蛋: 8个(约440-450克), 黄油: 24克, 玉米淀粉: 80克, 草莓果粉: 15-20克, 夹馅: , 淡奶油: 750克, 吉利丁片: 3片(2.5克/片), 糖粉: 90克, 草莓?: 随意搭配
步骤
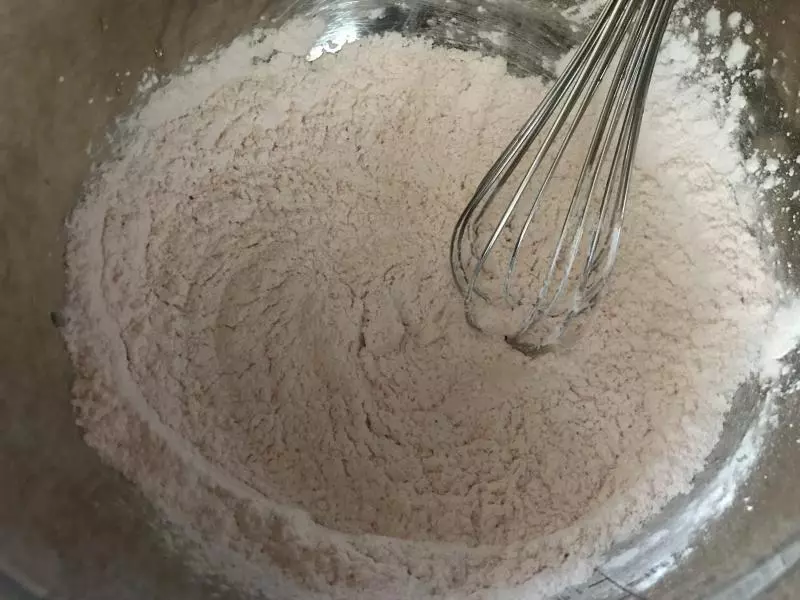
1把粉类混合放入不锈钢大容器里
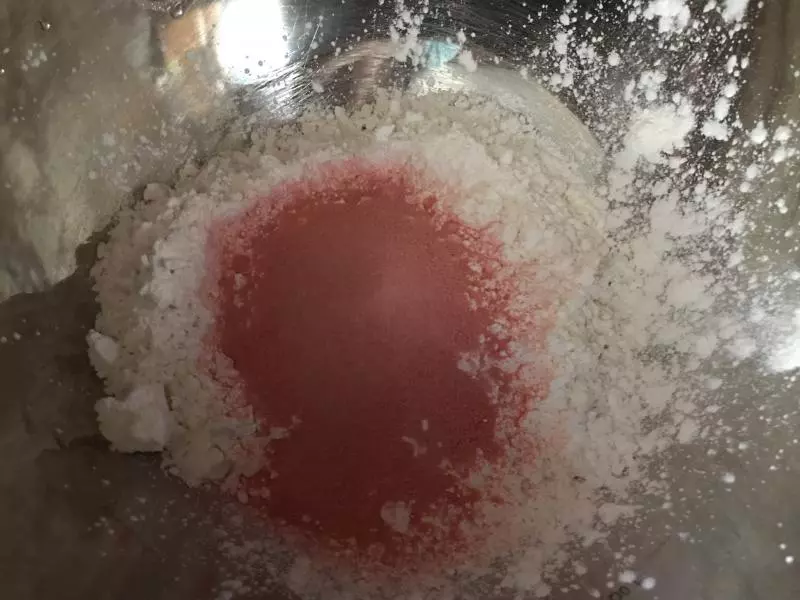
2用蛋抽搅拌均匀
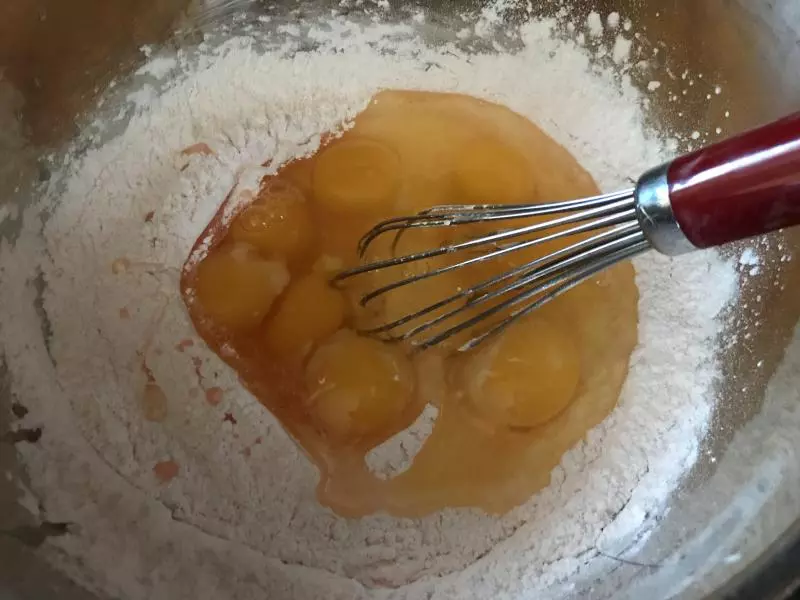
3再加入全鸡蛋搅拌均匀
4然后分三次加入牛奶搅拌均匀

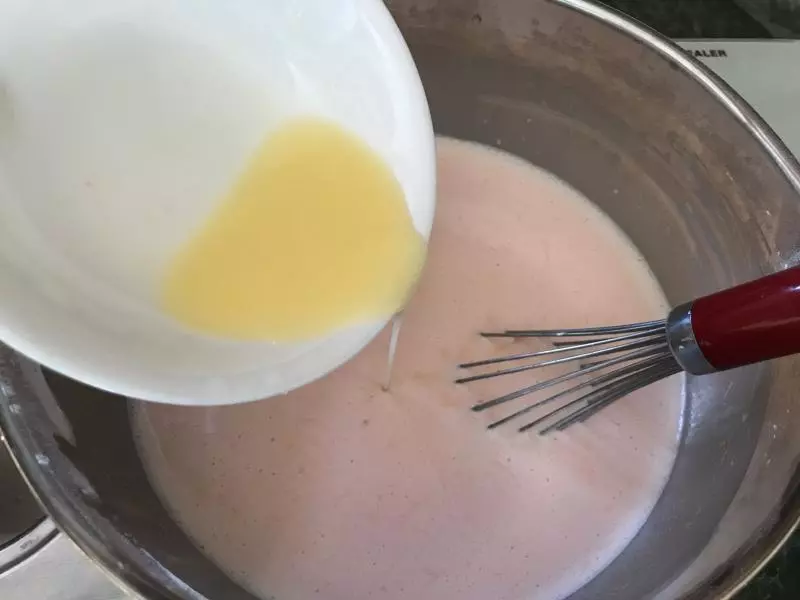
5把黄油隔热水融化或者放入微波炉加热30秒左右至其完全融化。然后加入到面糊里搅拌均匀。过筛至少2遍,盖上保鲜膜放入冰箱冷藏静置1个小时。
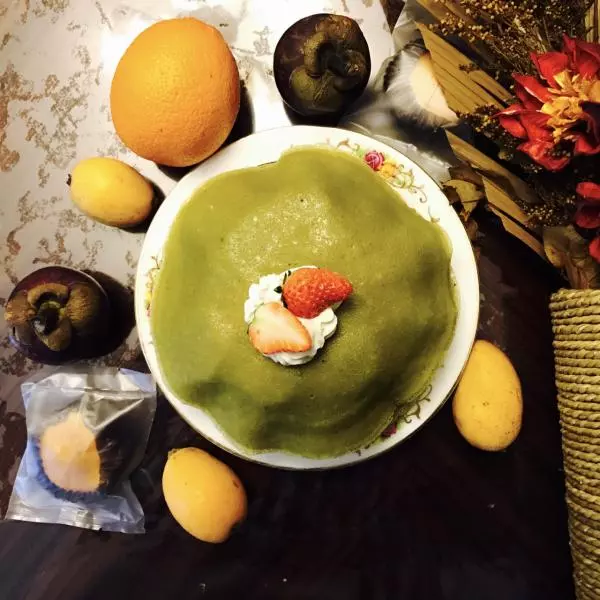
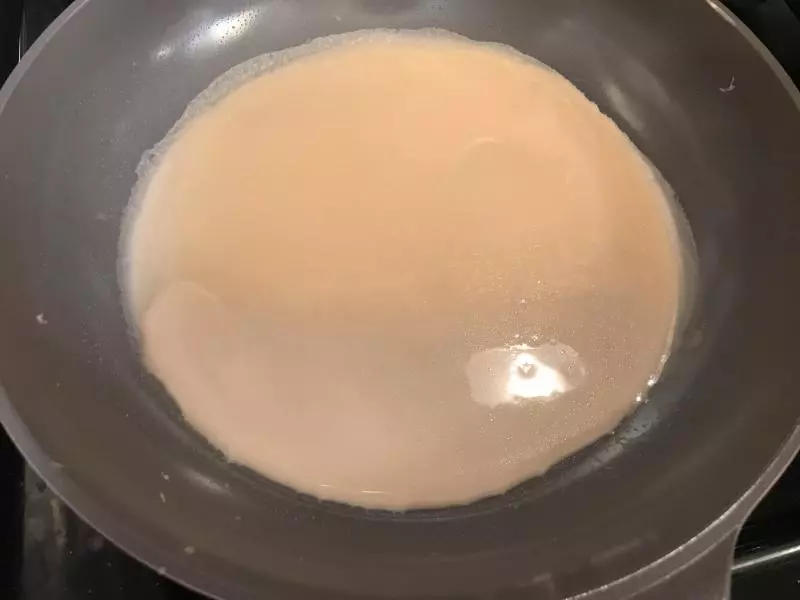
6把不粘锅小火加热片刻,用刷子刷上一层薄薄的食用油,然后倒入适量的面糊,摇晃至均匀后把多余的倒出来,小火煎30-40秒后,再反转煎10秒即可。
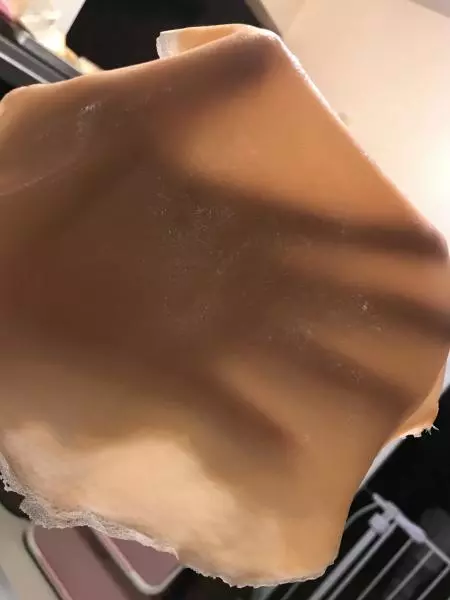
7薄薄的饼皮就这样做出来的啦……
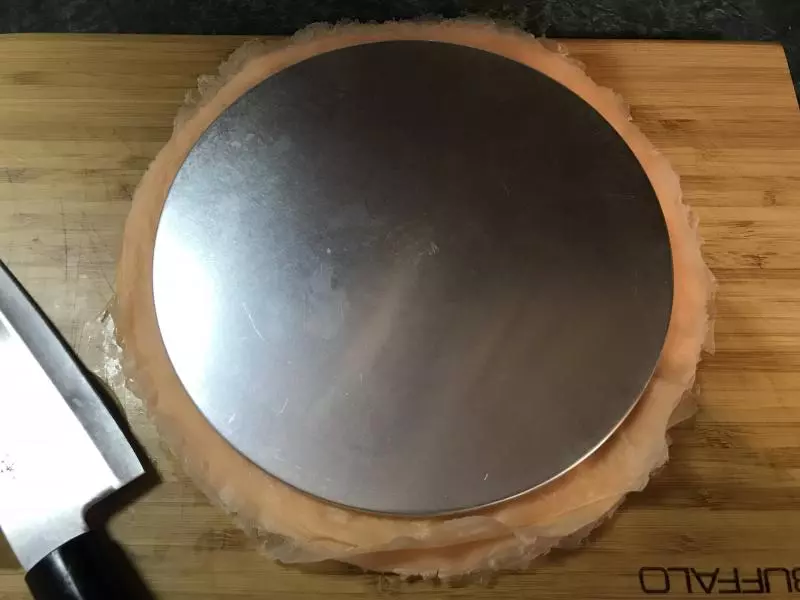
8把面糊都做成饼皮后,用8寸的活底蛋糕模做标准盖在饼皮上
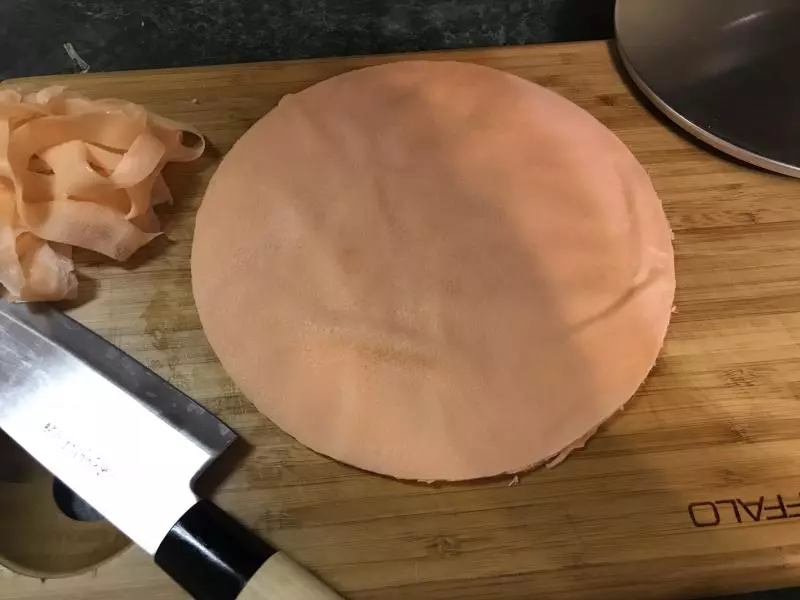
9裁剪出8寸大小的饼皮。
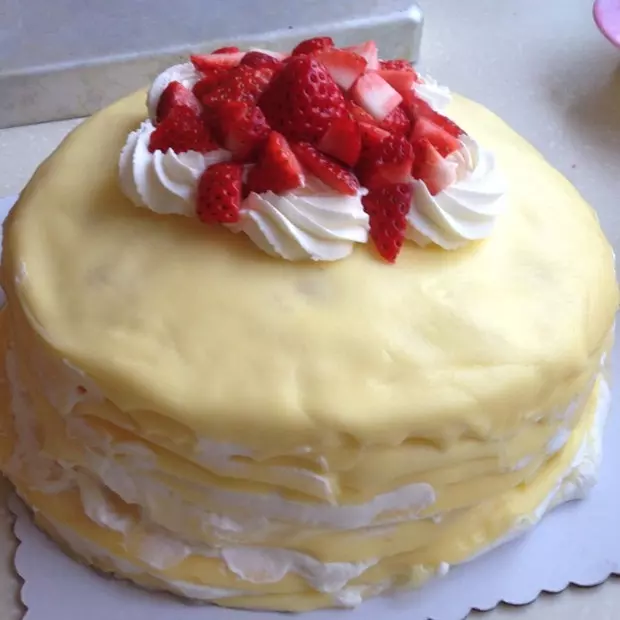
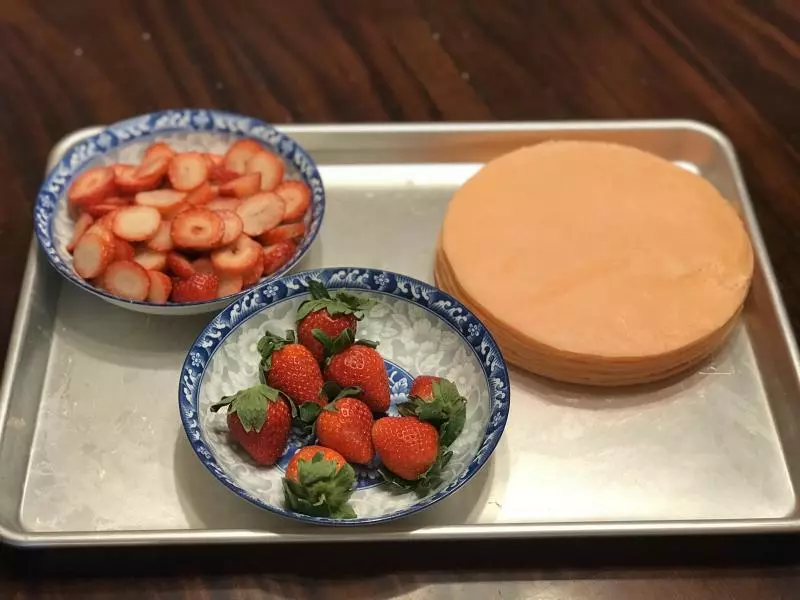
10把草莓?清洗干净,用纸巾把水分擦干,拿一些草莓去芯切成片状,留几个比较好看的不用切,待会用来做面部装饰
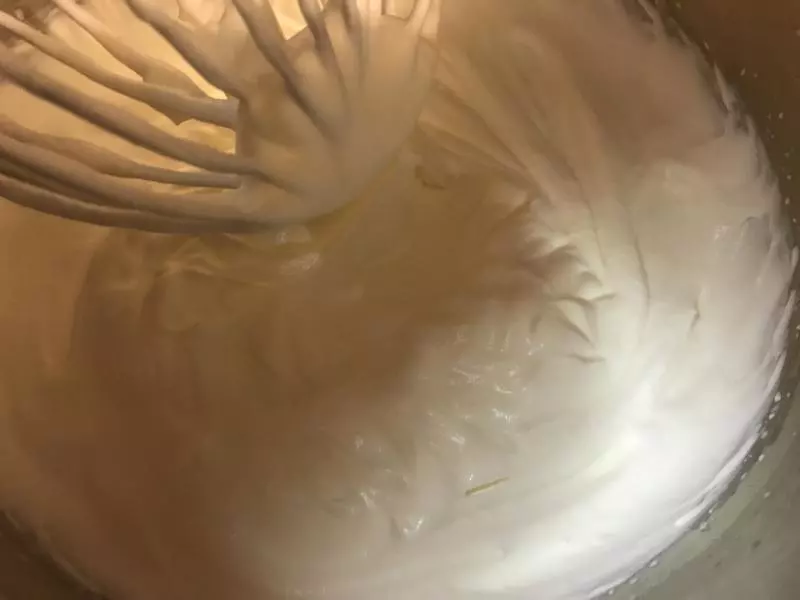
11奶油加入糖粉和融化后的吉利丁后搅拌均匀,然后打发至6成企身即可。
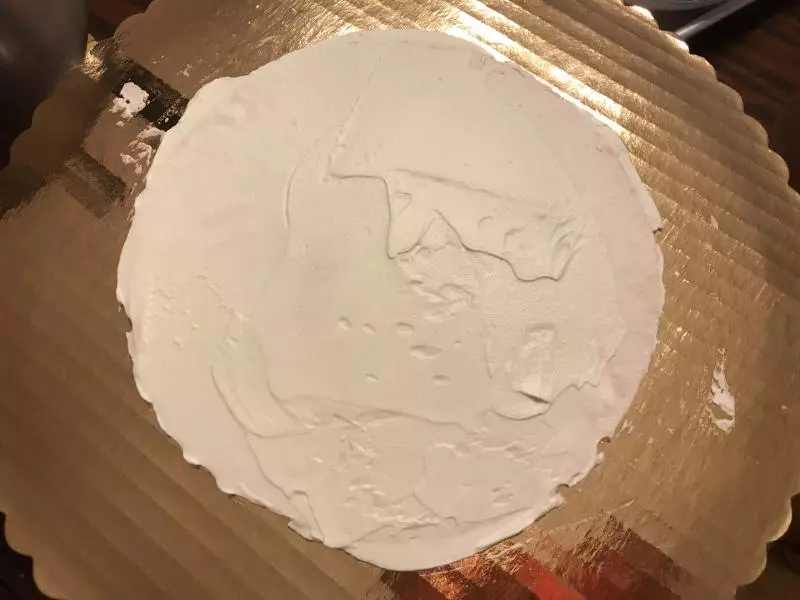
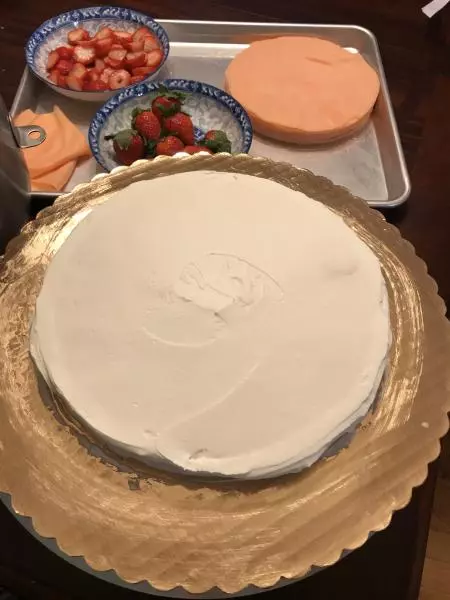
12把一块饼皮放在蛋糕托垫上,抹上一层薄薄的奶油

13抹平即可,不需要抹得很漂亮,但要把饼皮完全遮盖着
14然后盖上一层饼皮
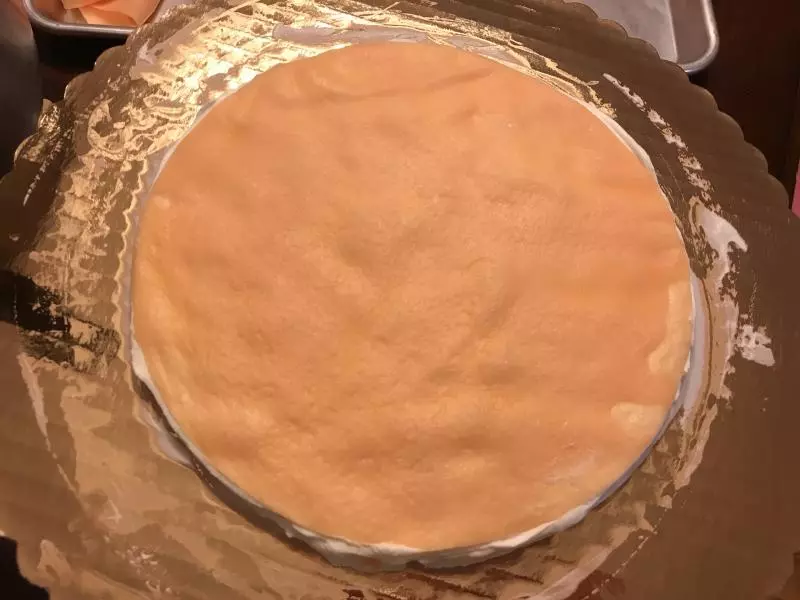
15再抹上一层薄薄的奶油,如此类推
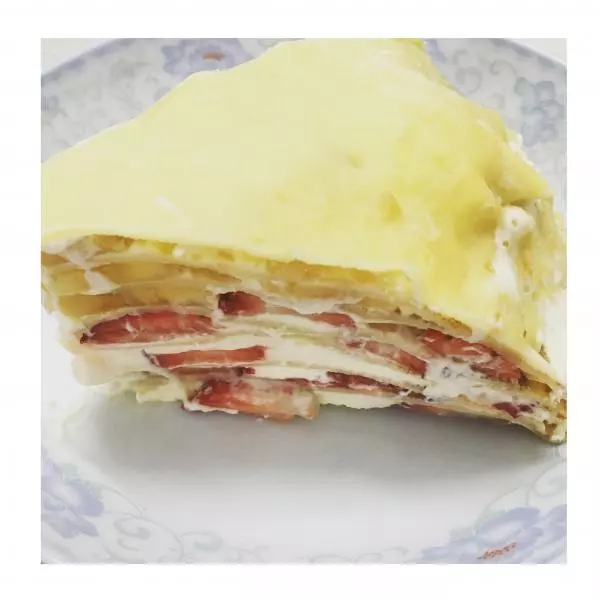
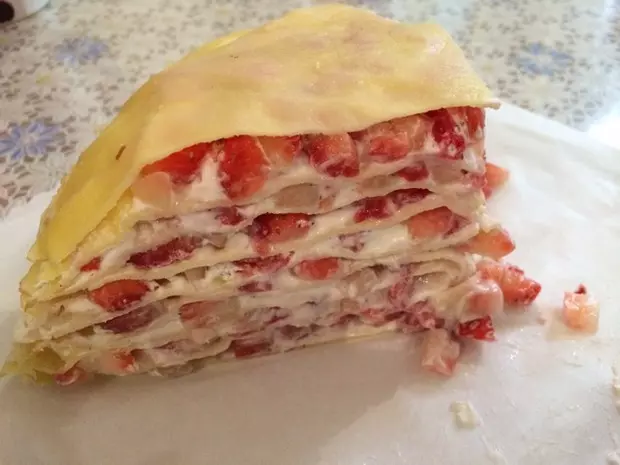
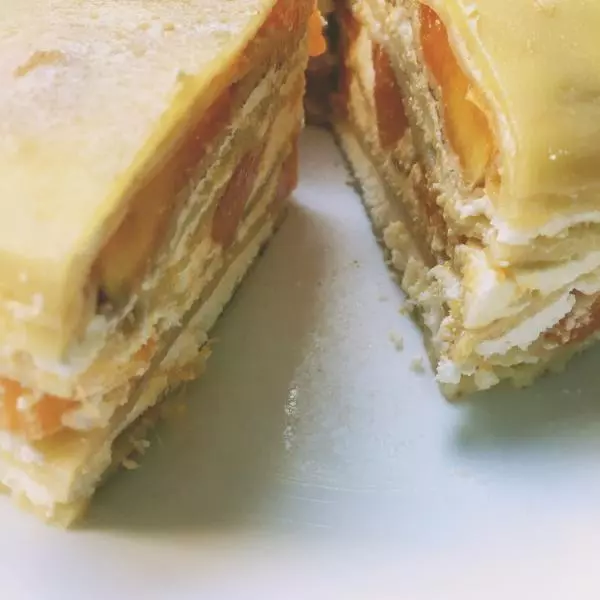
16到第四层的时候铺上草莓
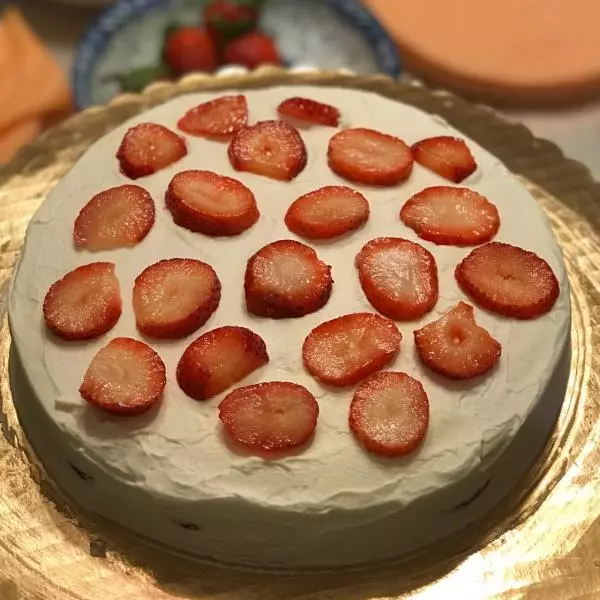
17再抹上一点奶油,把水果面抹平
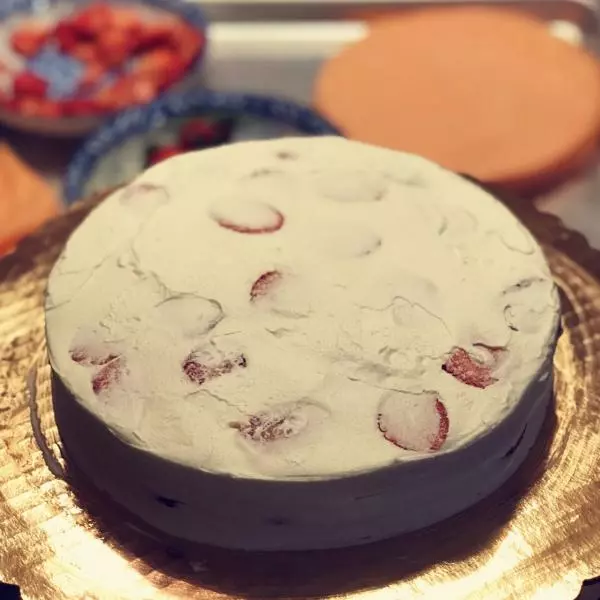
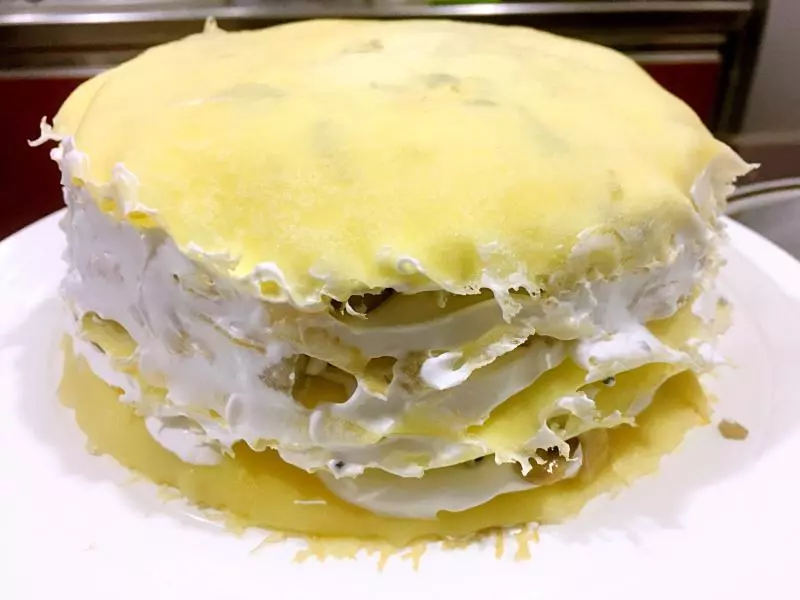
18再铺上一层饼皮
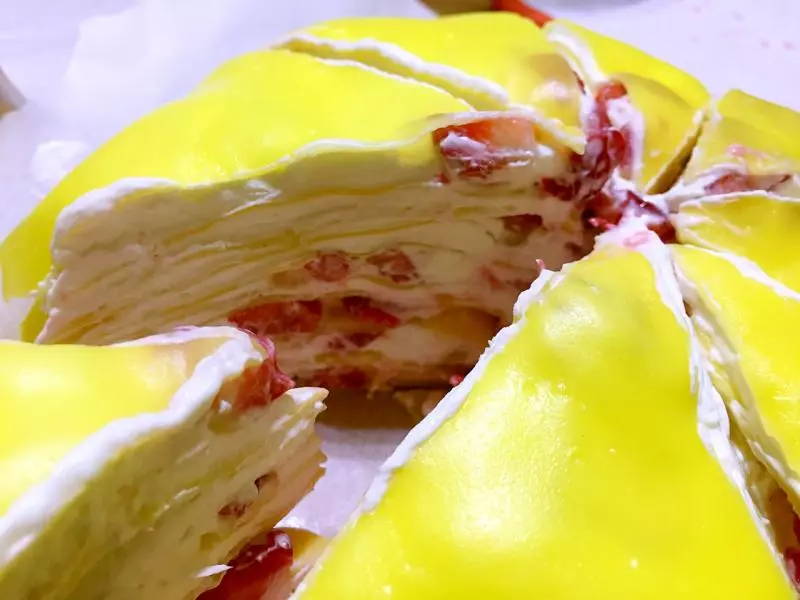
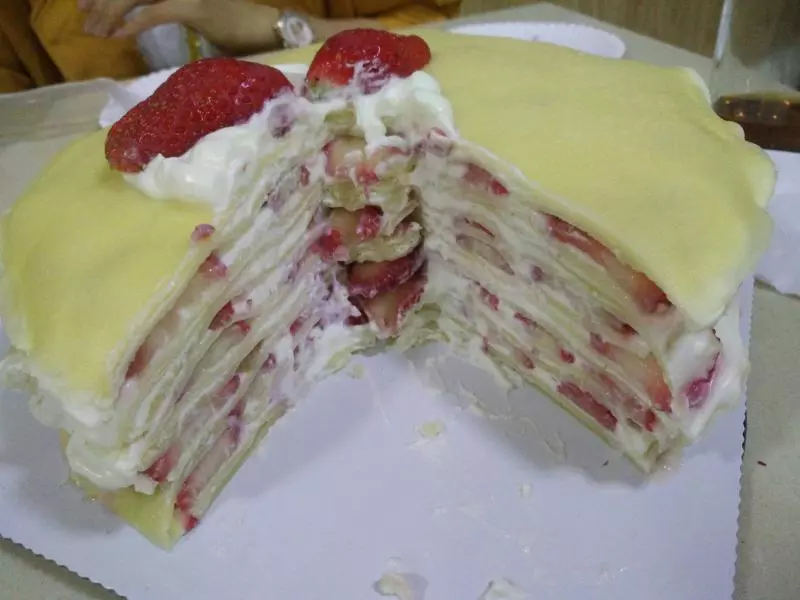
19抹上一层薄薄的奶油,再如此类推....每到第四层的时候就铺上一层水果,一共做三个水果层就可以,顺序就是第4、8、12层是水果层,第16层就是蛋糕面了……
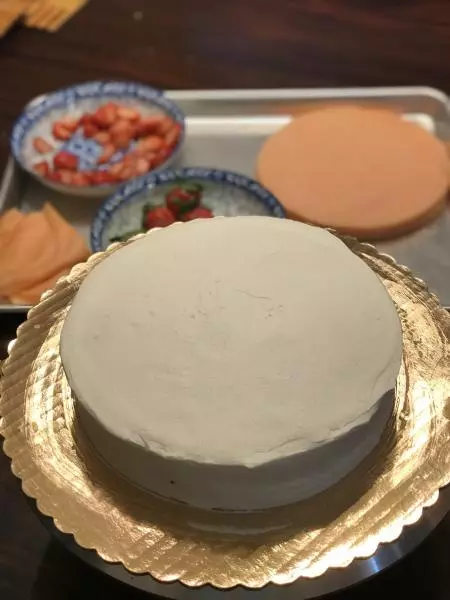
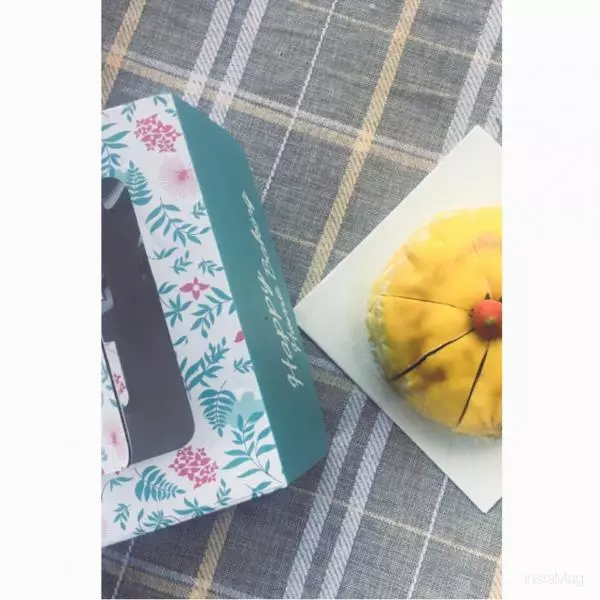
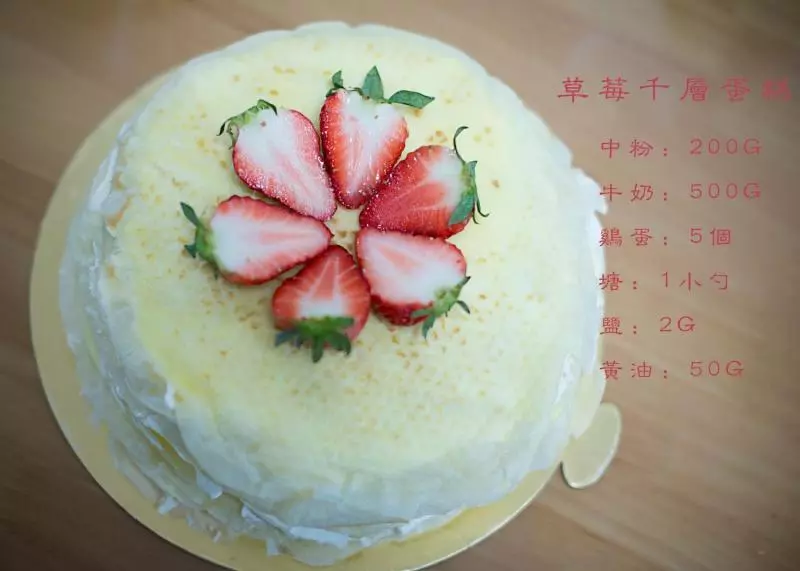
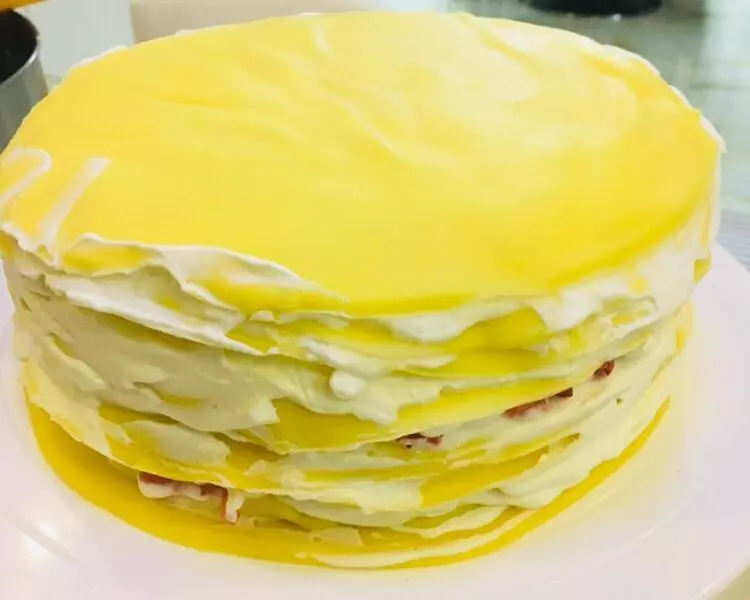
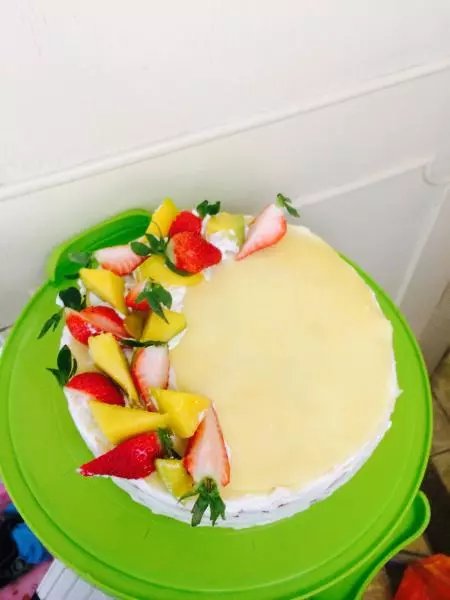
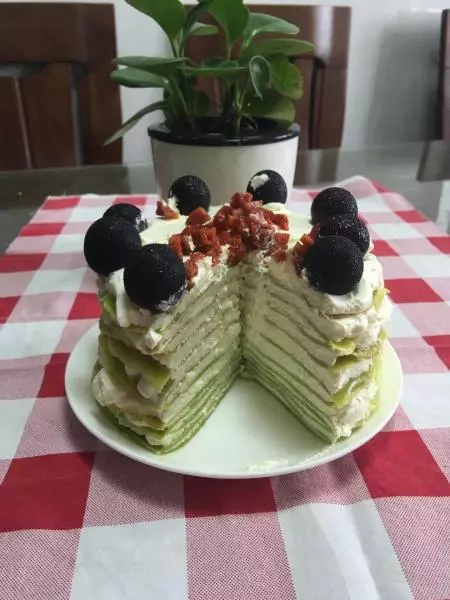
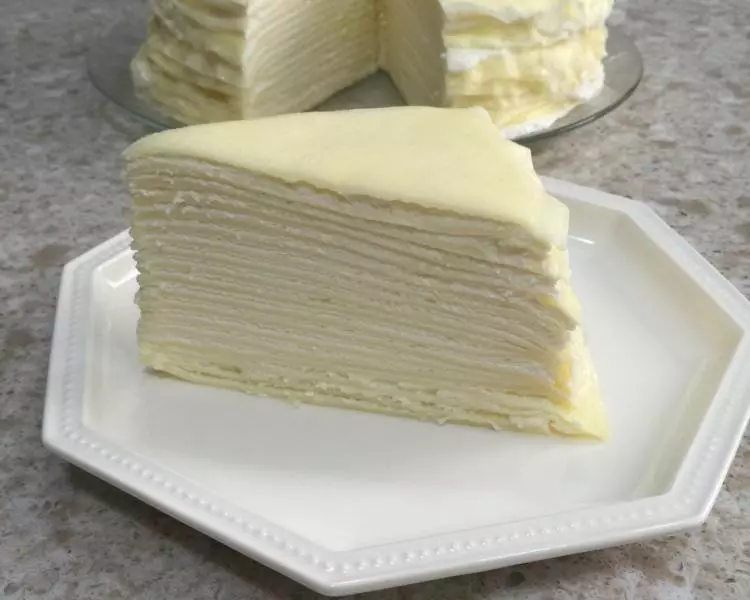
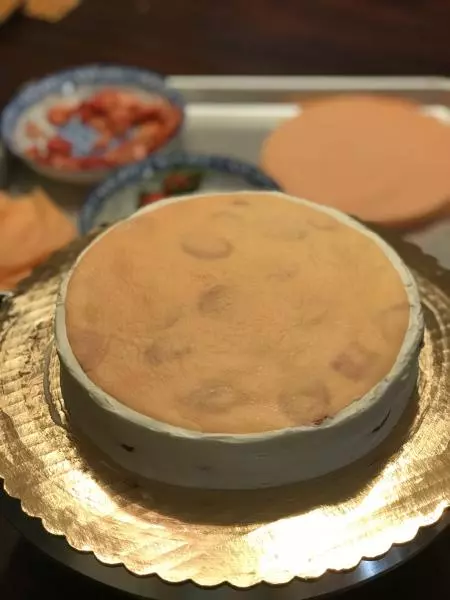
20做好后把蛋糕周边的奶油稍作抹平,刮走多余的奶油,再可以随意在面部做些装饰

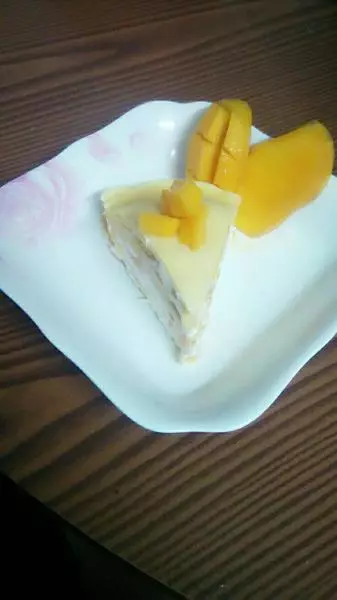
21装饰好以后在水果面上抹上一层果胶,让水果的颜色更保鲜又美观,然后放入冰箱冷藏至少3-4个小时,即可开切享用啦……??