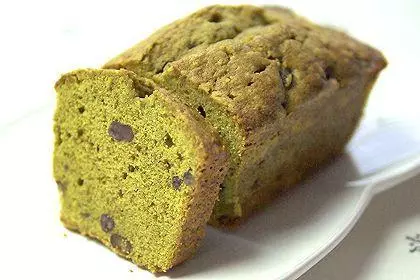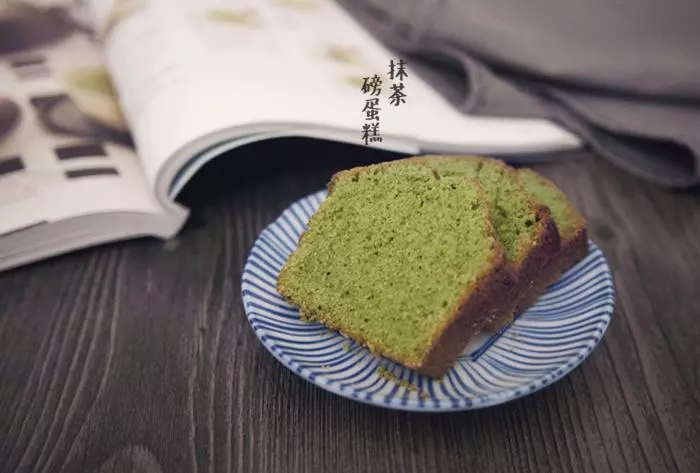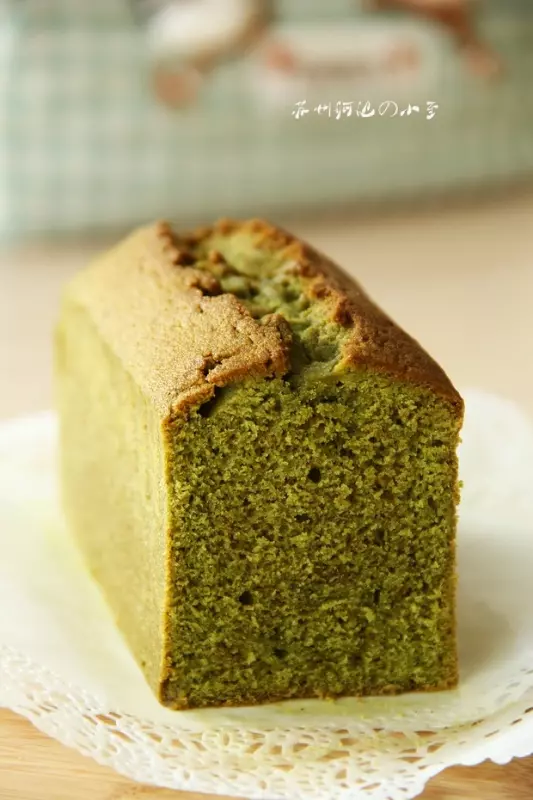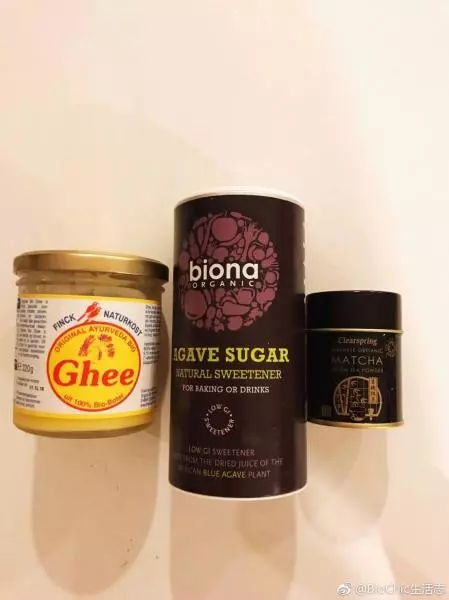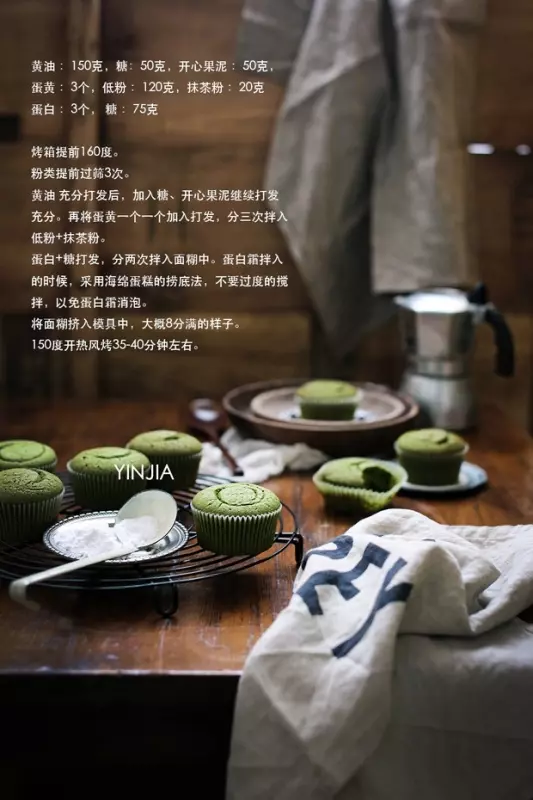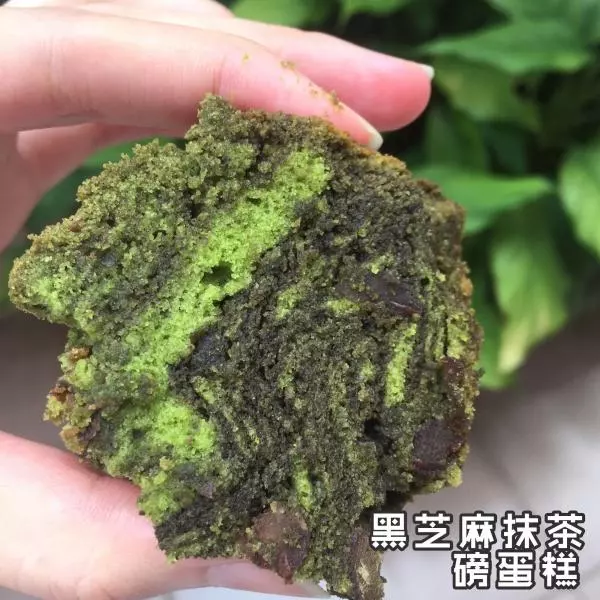
原料
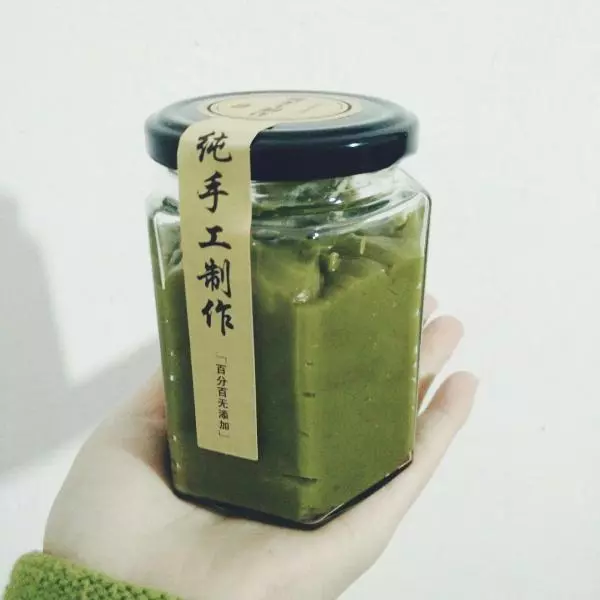
黄油: 100g, 细砂糖: 50g, 鸡蛋: 2个, 抹茶牛奶酱: 80g, 抹茶粉: 5g, 泡打粉: 1/2勺, 低粉: 125g
步骤
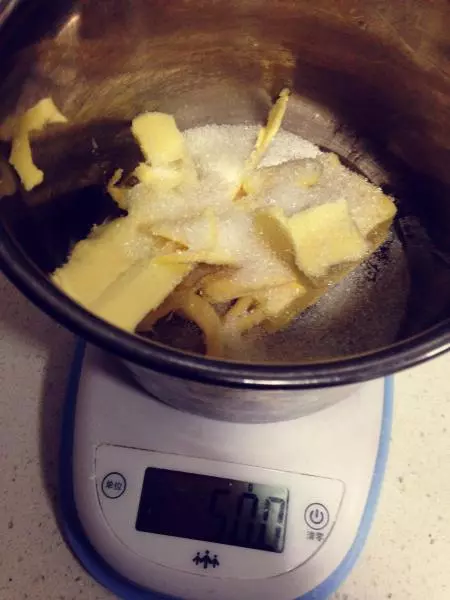
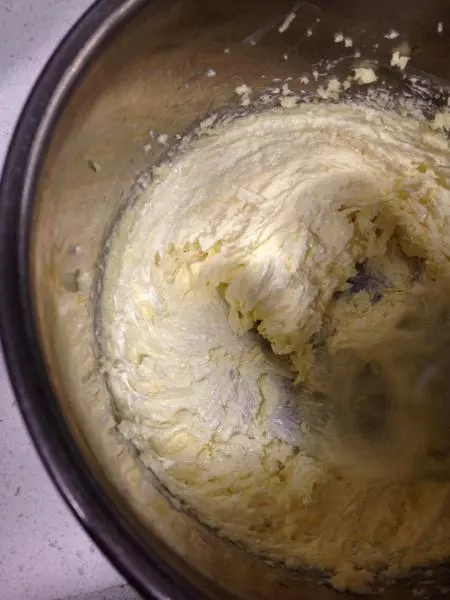
1黄油100g软化后加入50g细砂糖打发至蓬松
2打发
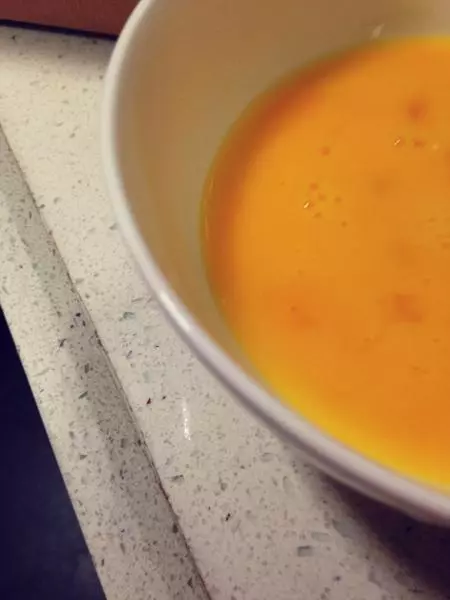
3两个鸡蛋打成鸡蛋液 分3~4次加入黄油 打发
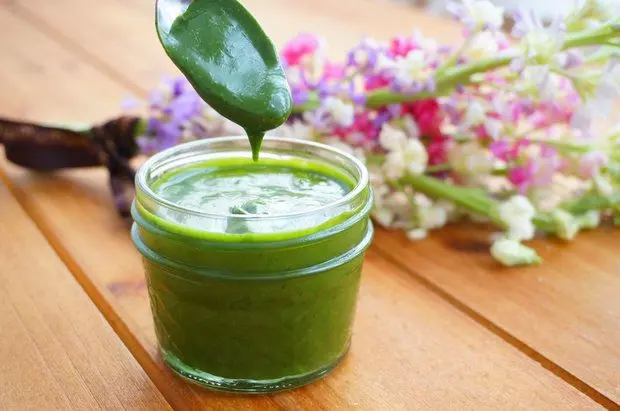
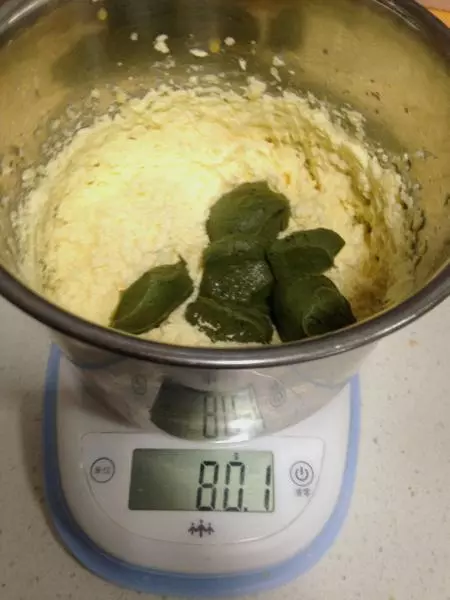
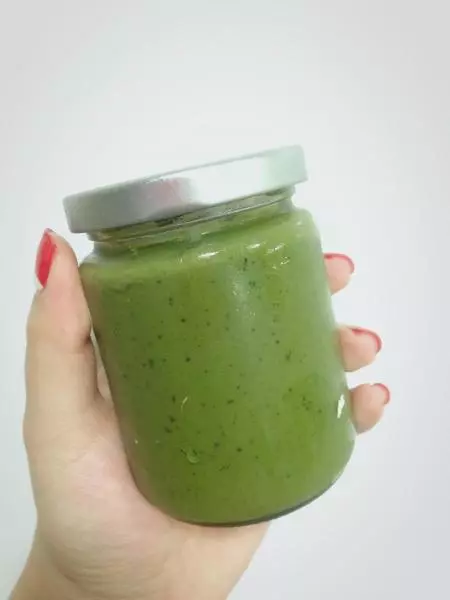
4与鸡蛋液混合均匀后加入80g抹茶酱 搅拌均匀
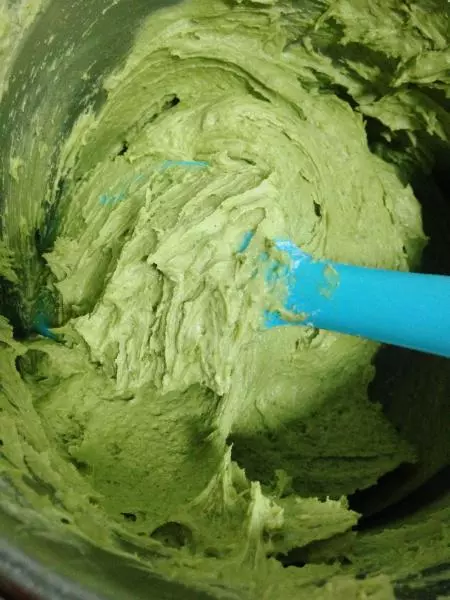
5搅拌均匀后 筛入抹茶粉、泡打粉和低粉

6‘j’字方式搅拌均匀 无干粉 面糊有光泽
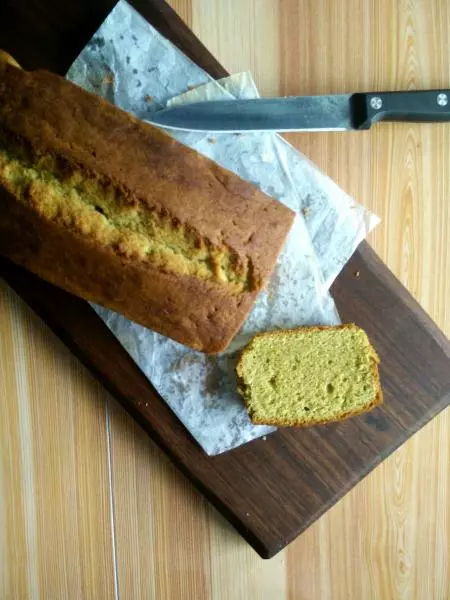
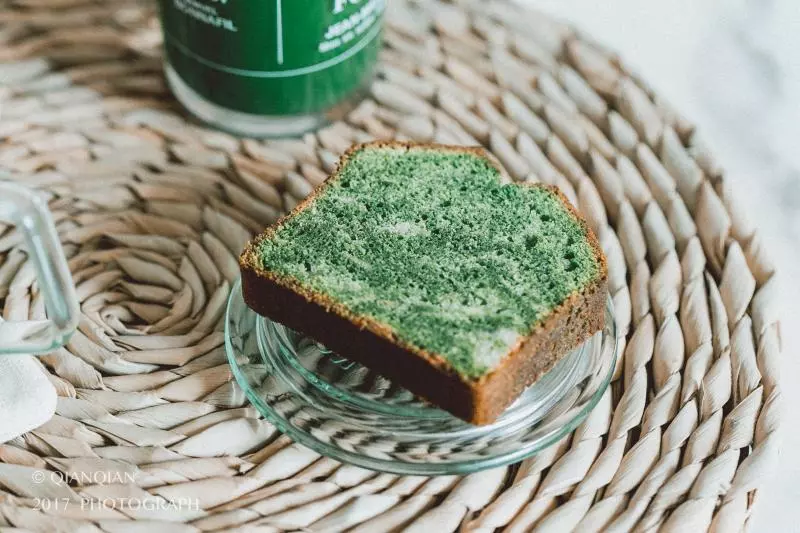
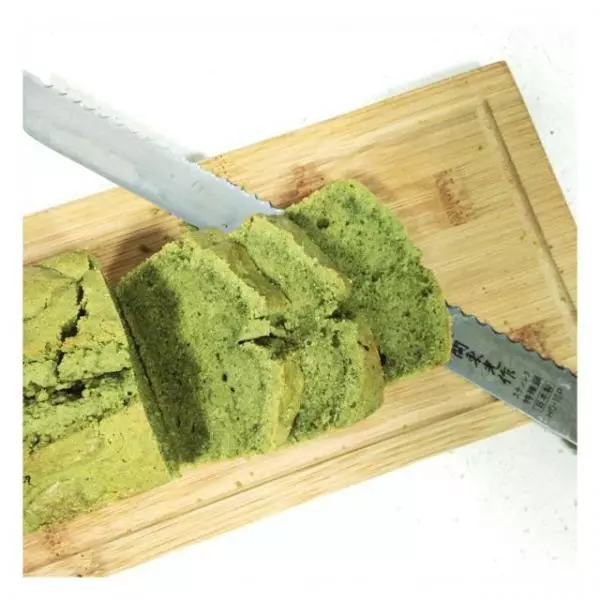
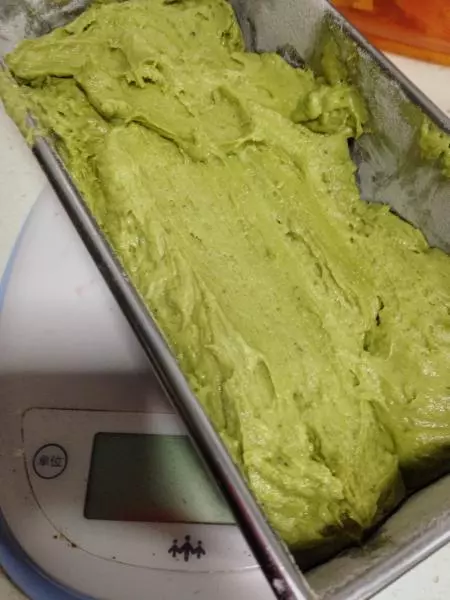
7倒入蛋糕模具 用刮刀将表面稍微抹平整
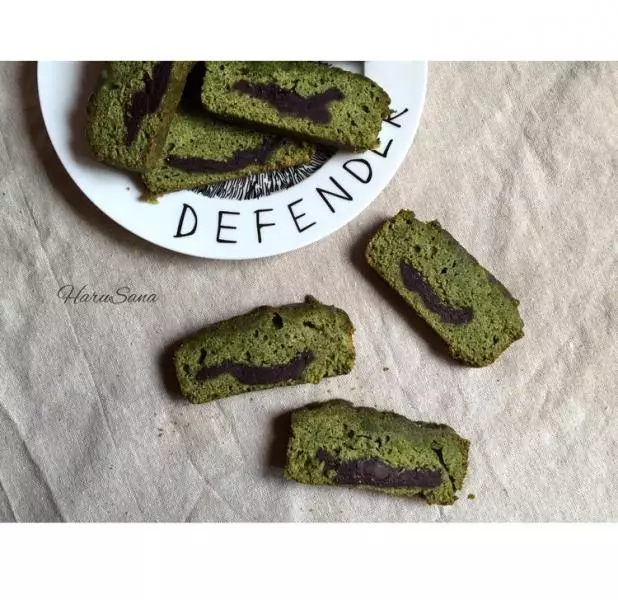
8烤箱预热175度后 放入蛋糕烤约20分钟后取出 用刀沾水后在蛋糕表面中间纵向割一下。然后放入烤箱继续烤30~35分钟
9最后的5~10分钟最好留意一下蛋糕表面的颜色变化 不想蛋糕变黄的可在上面加盖锡纸(我偷懒了=_=)
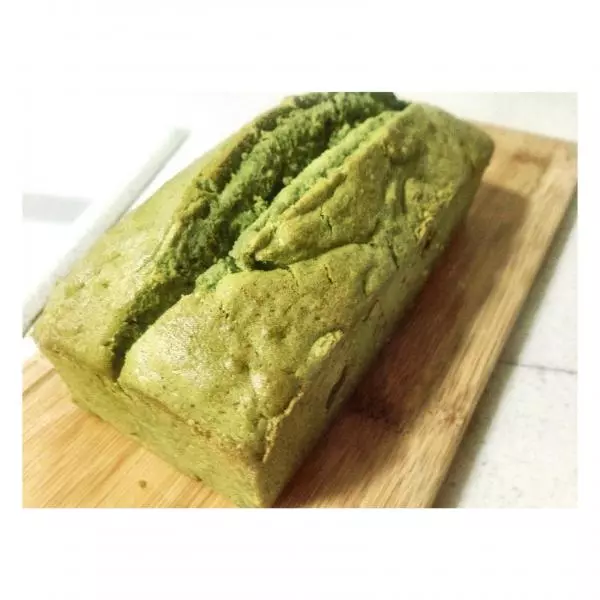
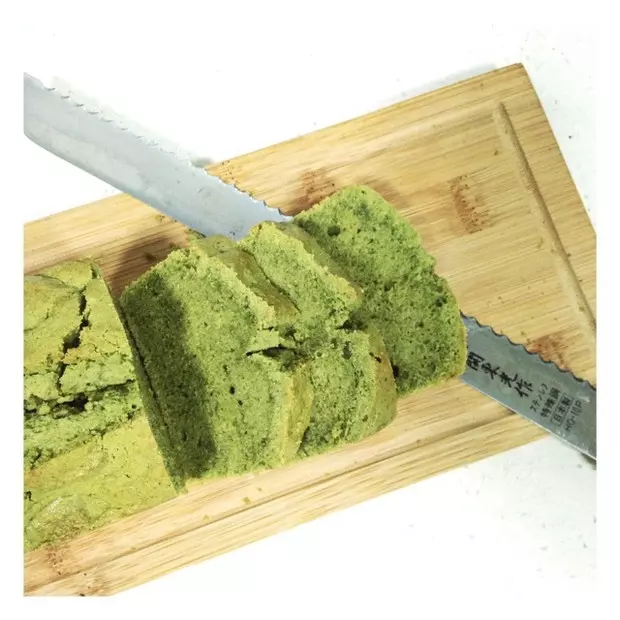
10大家中间割开的时候可以浅浅割一下就好 不要像我一样下手辣摸狠……切片时候都快从中间裂开了( i _ i )
小技巧
1.蛋糕模具提前刷上一层软化黄油(100g用量外的)然后扑上一层薄薄的高粉后放入冰箱冷藏待用 2.最后出炉如果怕没熟可以按一下蛋糕表面 没有沙沙声就是熟了。如果还没完全熟透可以加烤10分钟 3.50g砂糖对于我们家不爱吃太甜的人来说刚好,但如果是嗜甜又或者想用来配茶,可以酌量加10~20g糖,但第一次做还是先照着方子试一下