原料
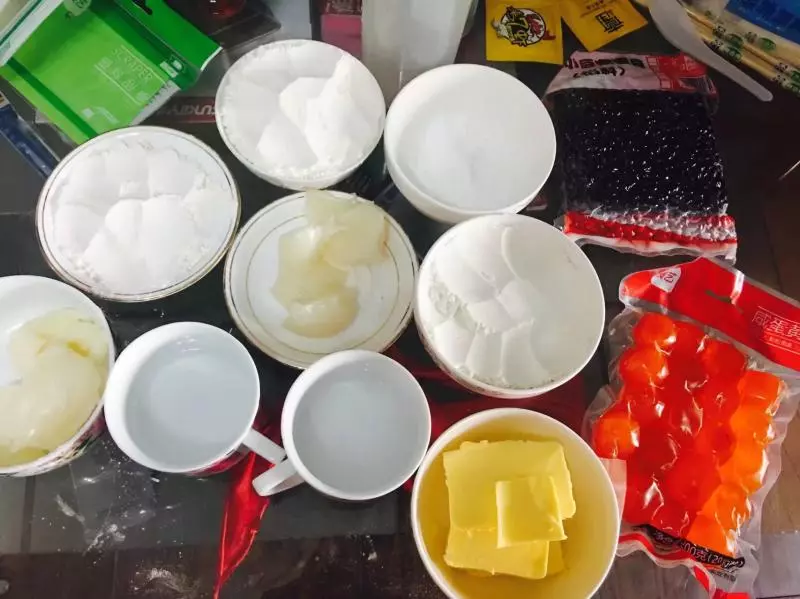
馅料: , 蜜红豆: 500克, 水: 500克, 咸蛋黄: 20颗, 玉米油: 适量, 装裱: , 鸡蛋黄: 2颗, 黑芝麻: 适量, 油皮: , 低筋粉: 50克, 中筋粉: 150克, 糖粉: 20克, 猪油: 20克, 热水: 60克, 凉水: 50克, 油酥: , 低筋粉: 180克, 猪油: 90克
步骤
1准备好以上配料 热水可以用到的时候再准备 否则容易凉了。
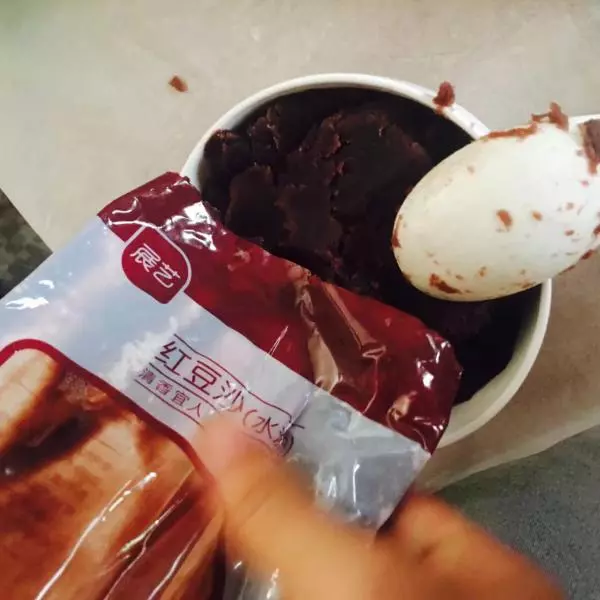
2蜜红豆或者红豆沙过水去糖分。大概十分钟,过完水把水倒掉焖几分钟开始继续煮至软烂,可以在一旁用勺子搅拌。
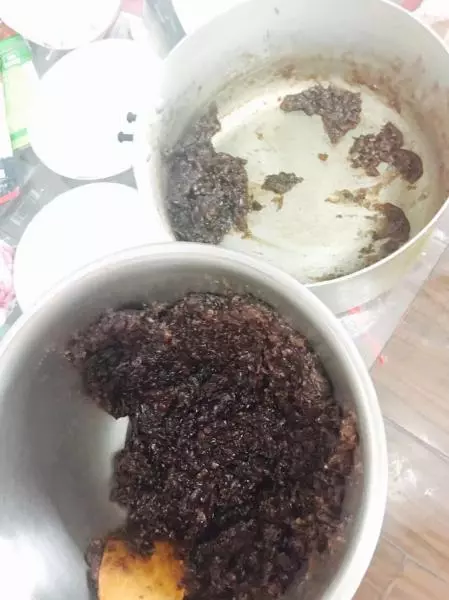
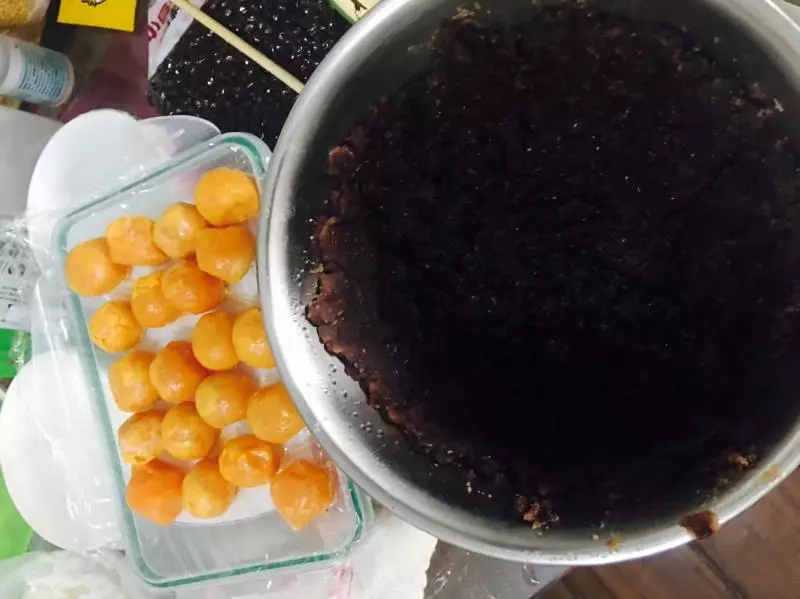
3煮好的红豆,挖出晾凉备用
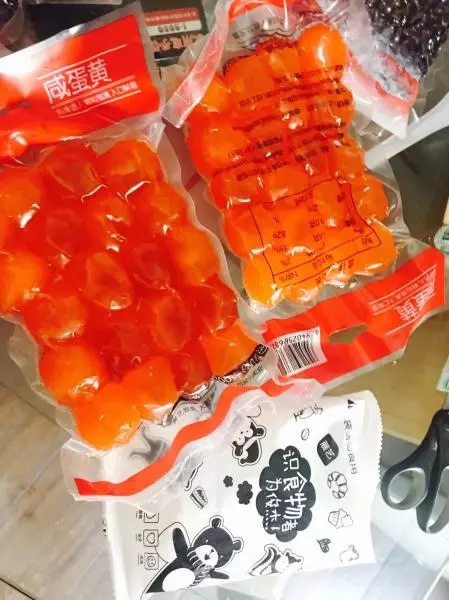
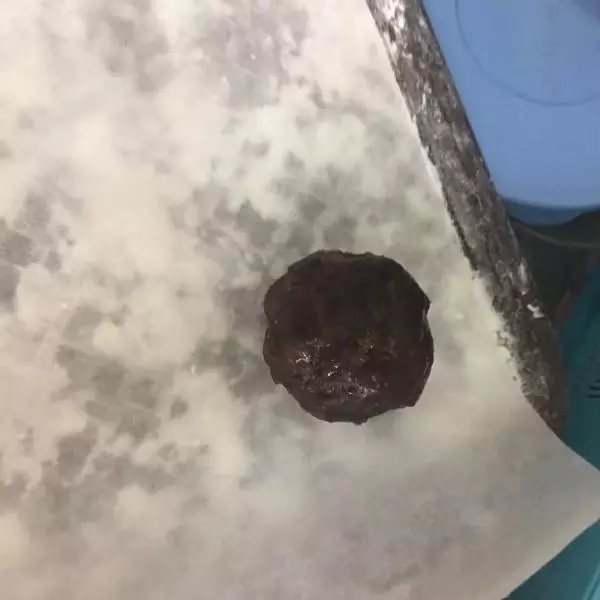
4准备咸蛋黄二十颗,这是在网上买的生咸蛋黄。先取出后浸泡在玉米或者其他油里,用一次性手套戴着每一个浸泡下。
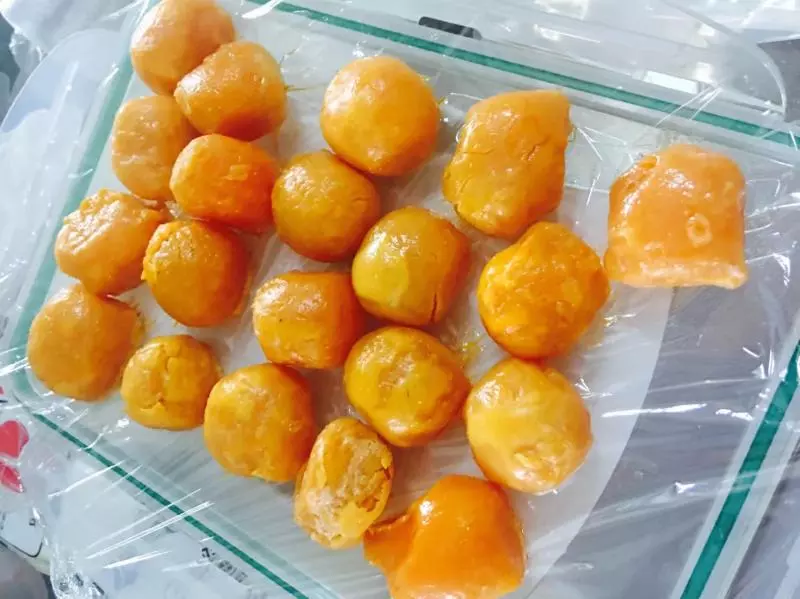
5放在锡纸烤盘上。预热烤箱,上下火180度 。之后放进咸蛋黄烤盘,中层六七分钟。

6取出晾凉备用。
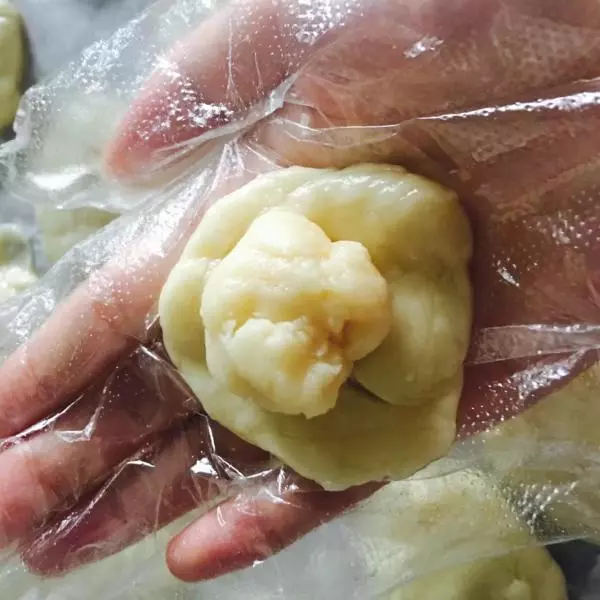
7准备好之前的红豆沙和咸蛋黄,将红豆沙分成二十小份
8将蛋黄包进红豆沙里
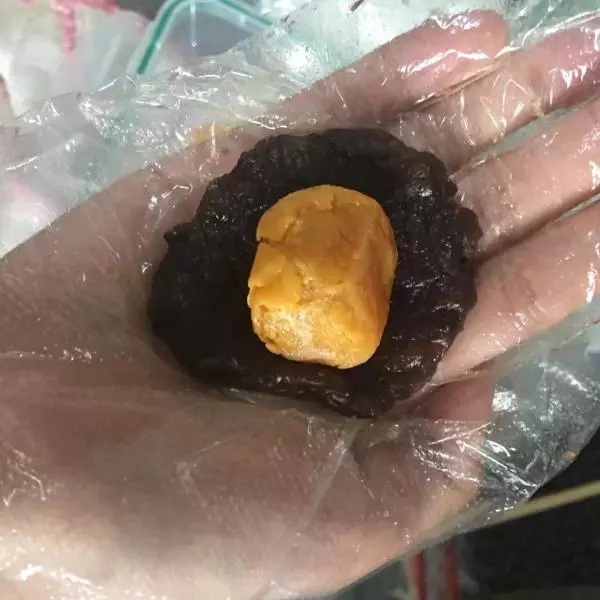
9捏圆,捏好二十个后盖上保鲜膜放进冰箱冷藏备用。
10开始做油皮。猪油和热水搅匀后,加入低筋粉中筋粉和糖粉,再把搅拌好的猪油和冷水加入。开始揉匀。揉好后静置三十分钟。
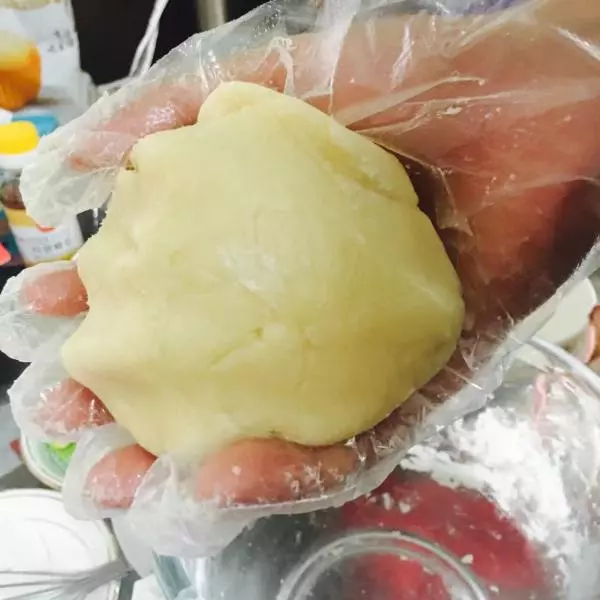
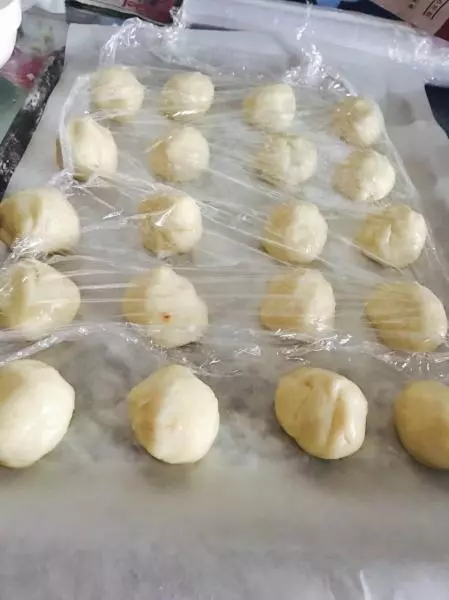
11静置完将油皮分成二十份盖上保鲜膜。
12开始做油酥。把低筋粉和猪油拌匀,捏成团。把油酥分成二十份。
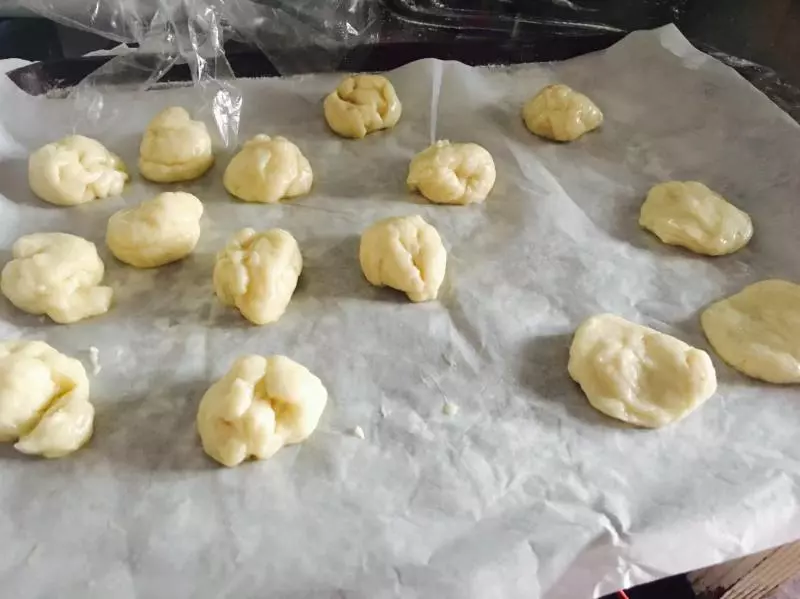
13用油皮包着油酥,像包包子那样。
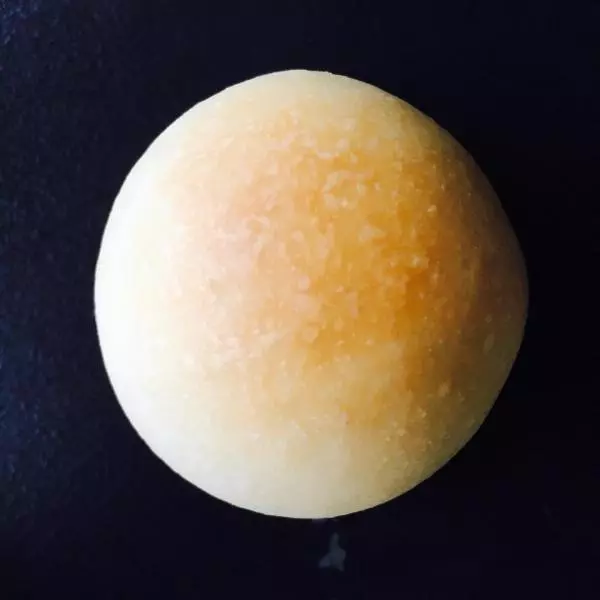
14包圆。开始盖上保鲜膜。
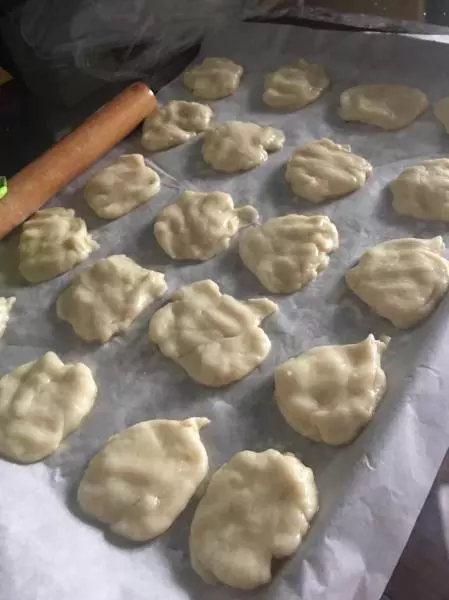
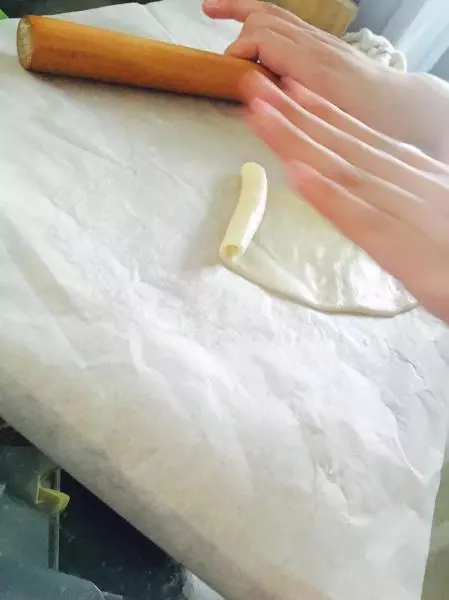
15开始擀卷。第一次擀开6厘米左右,盖上保鲜膜松弛十五分钟。

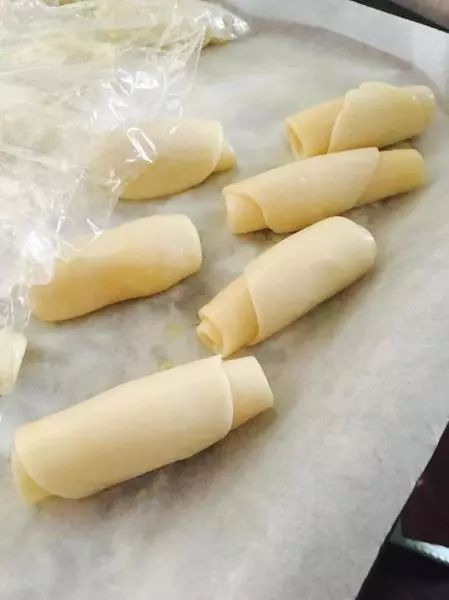
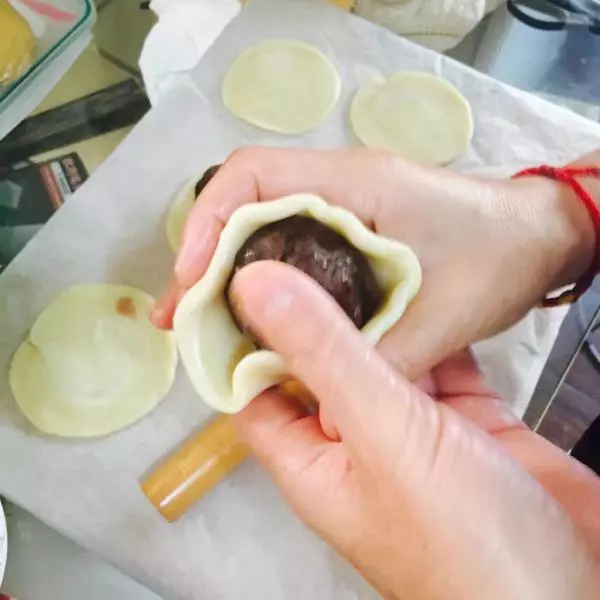
16第二次擀卷,长度十厘米左右
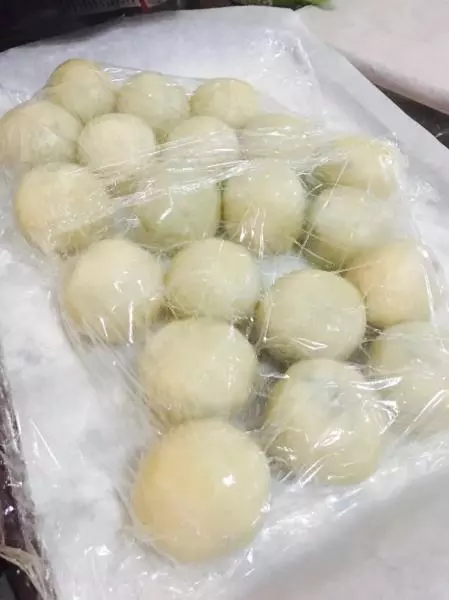
17盖上保鲜膜静置半小时
18静置完开始包红豆沙馅儿
19包好后再放保鲜膜里静置15分钟。
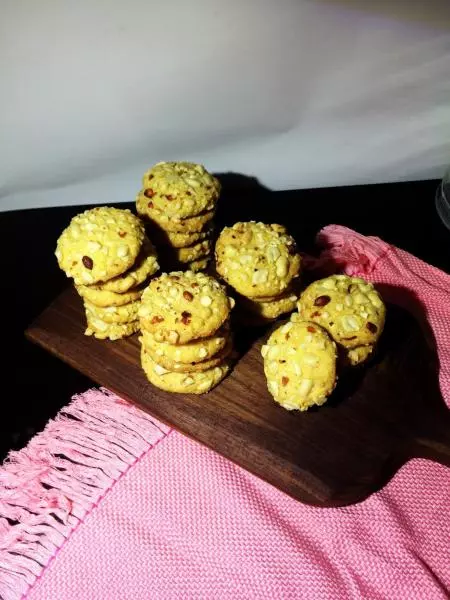
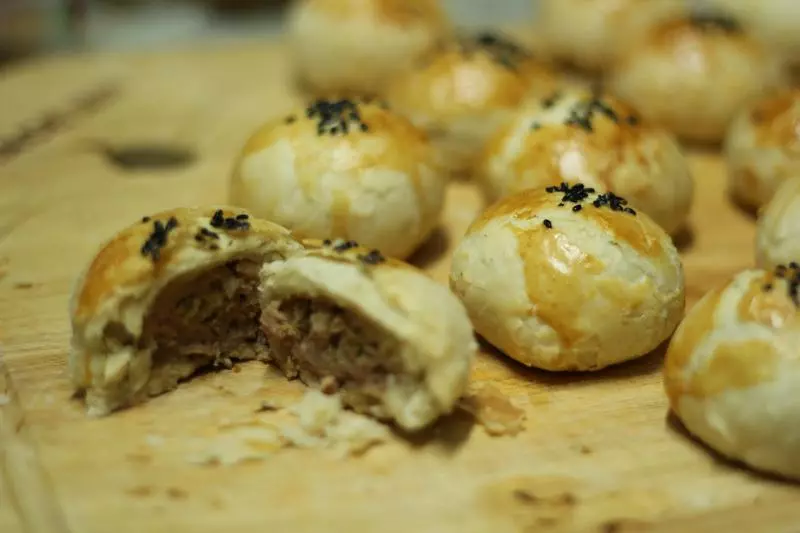
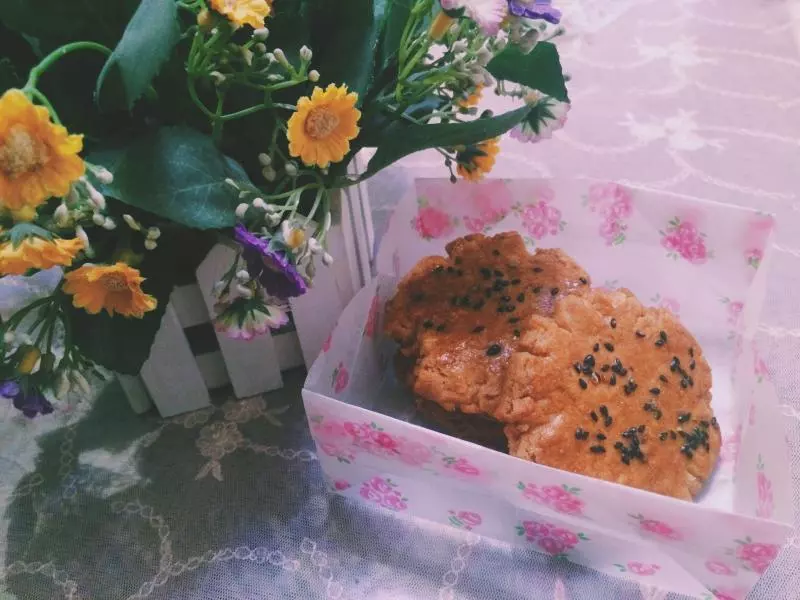
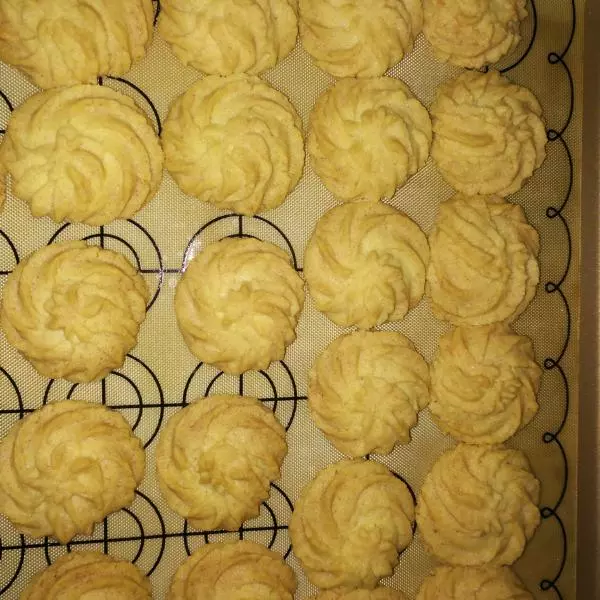
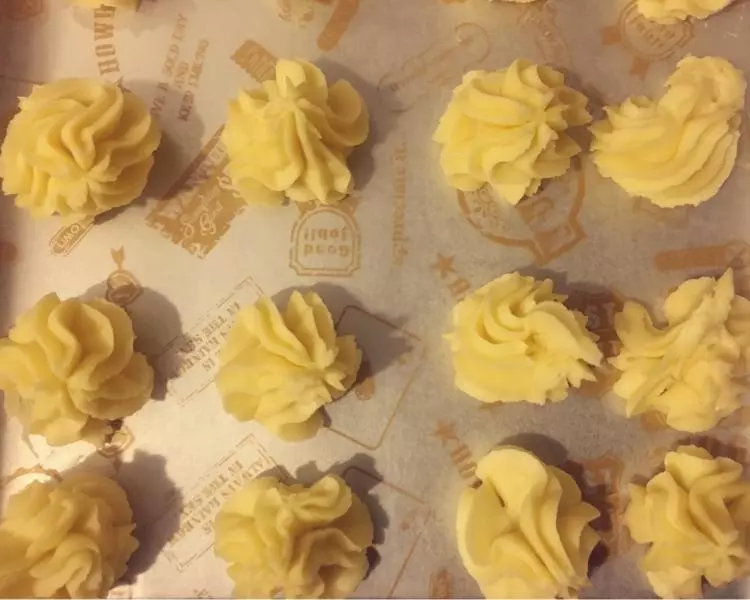
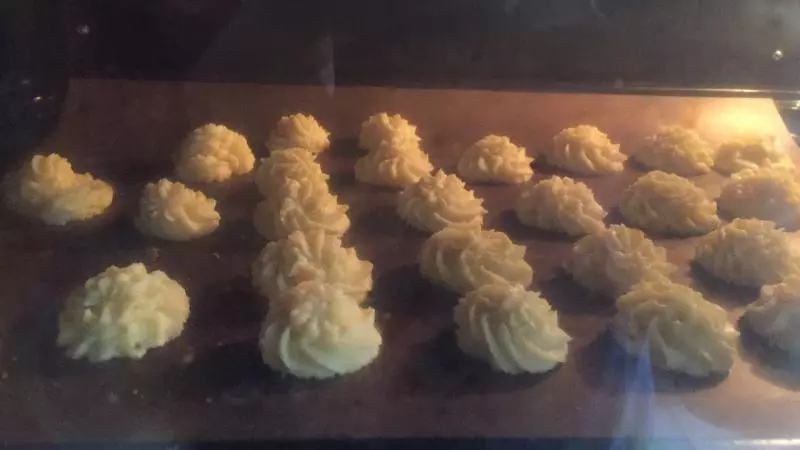
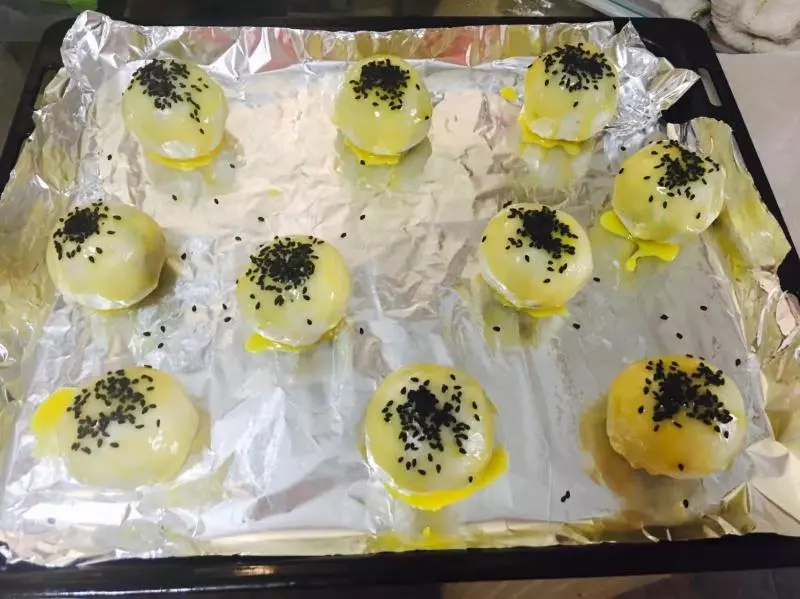
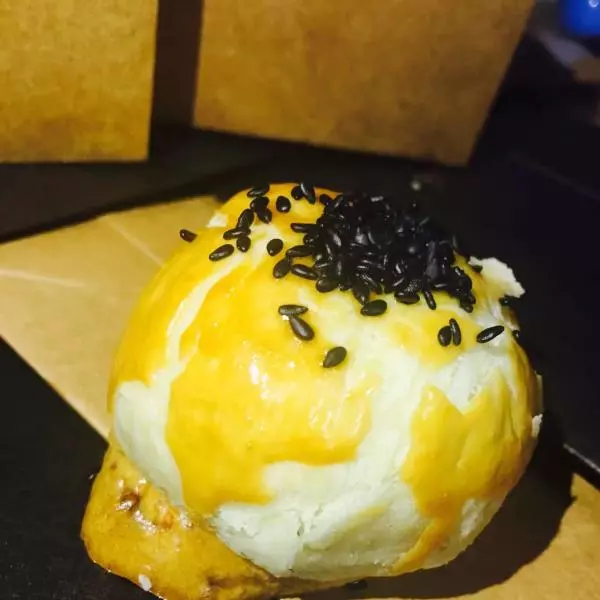
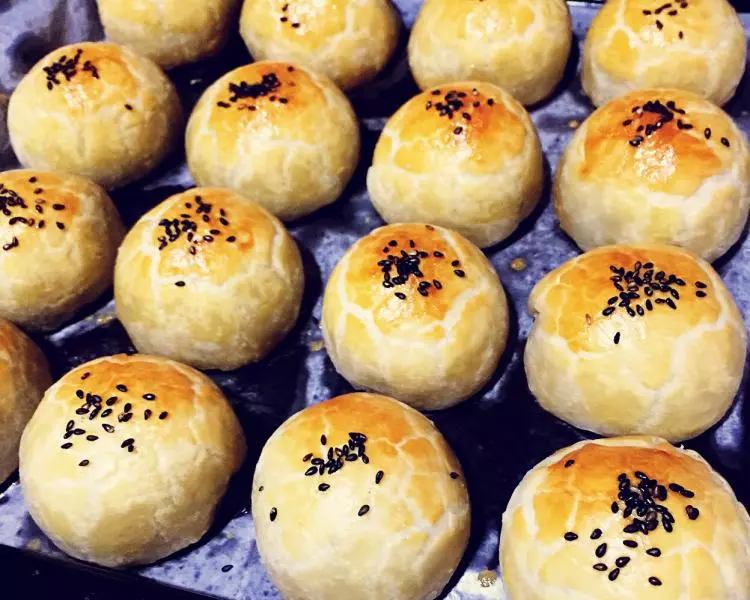
20烤箱预热180度 蛋黄酥上刷蛋黄液 撒上芝麻 放进烤箱
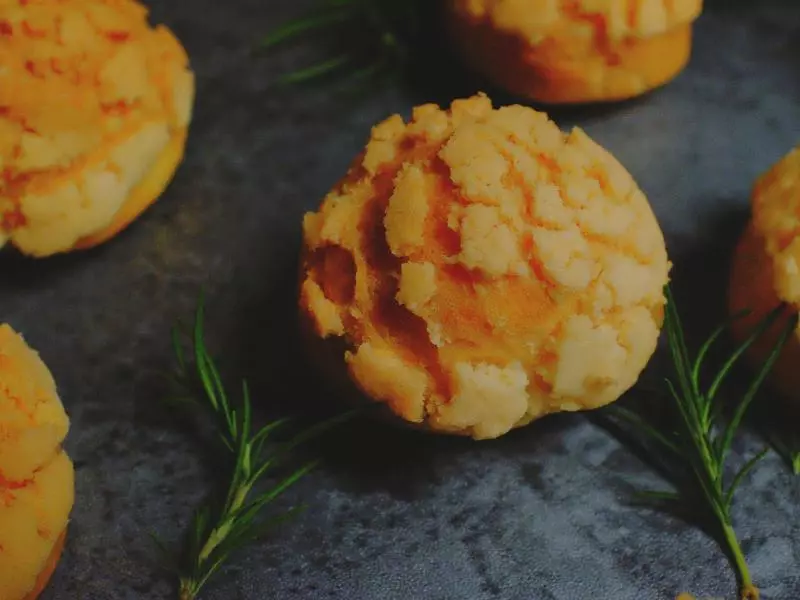
21上下火 中层 烤30分钟左右 出炉啦
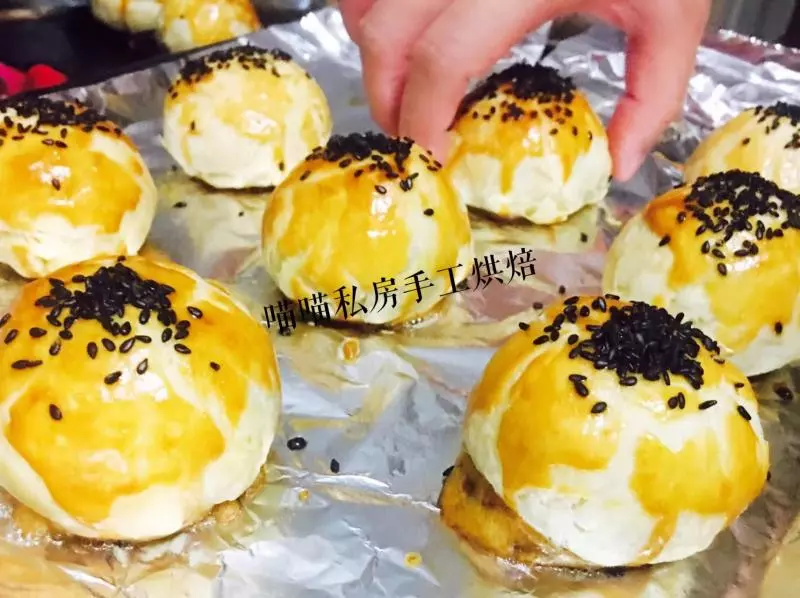
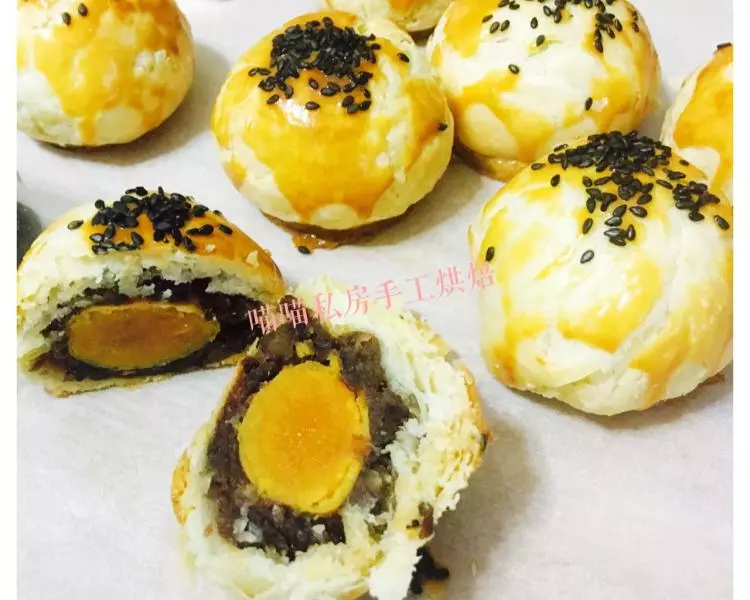
22看着就很有食欲哈!
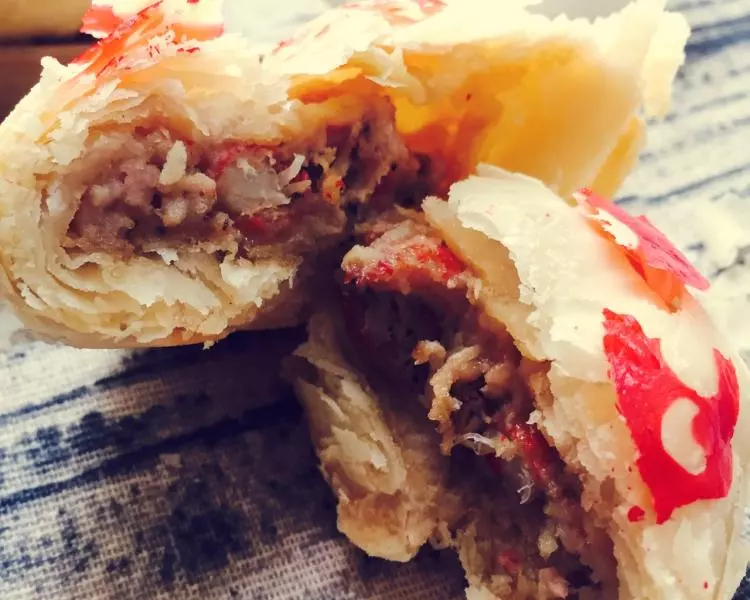
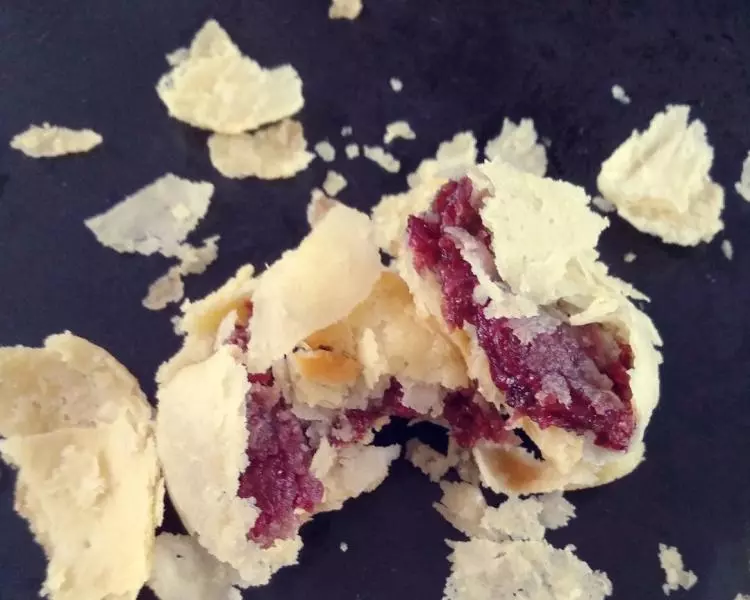
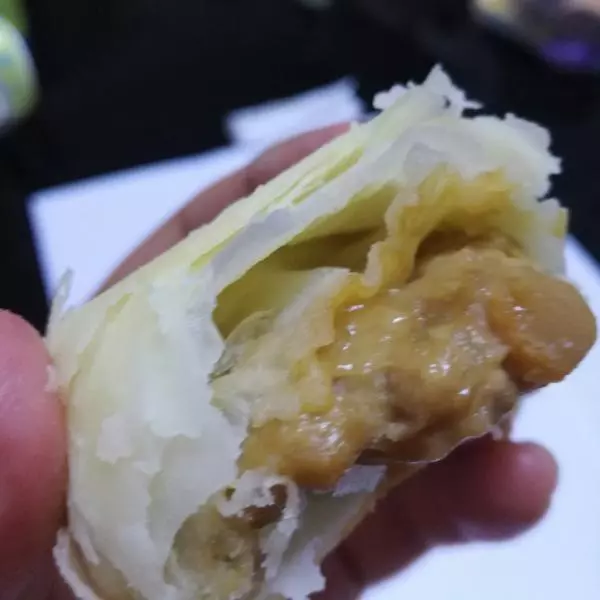
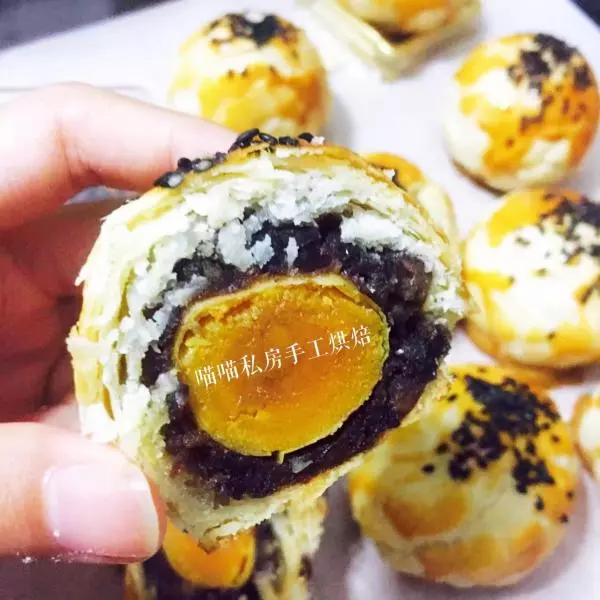
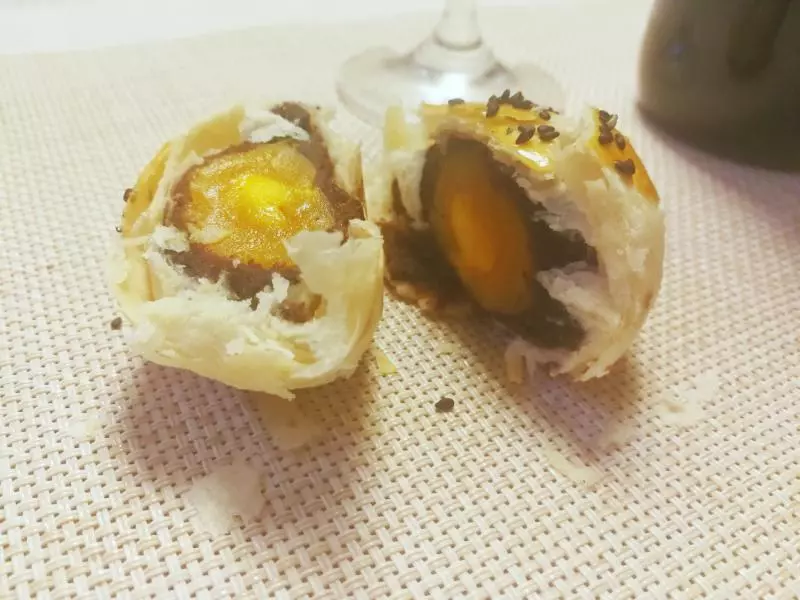
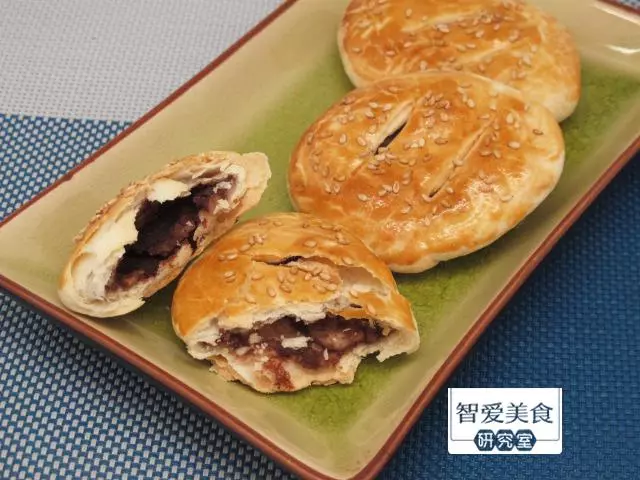
23切开 看见好多层 里面酥得直掉渣 这大颗蛋黄 超美味!
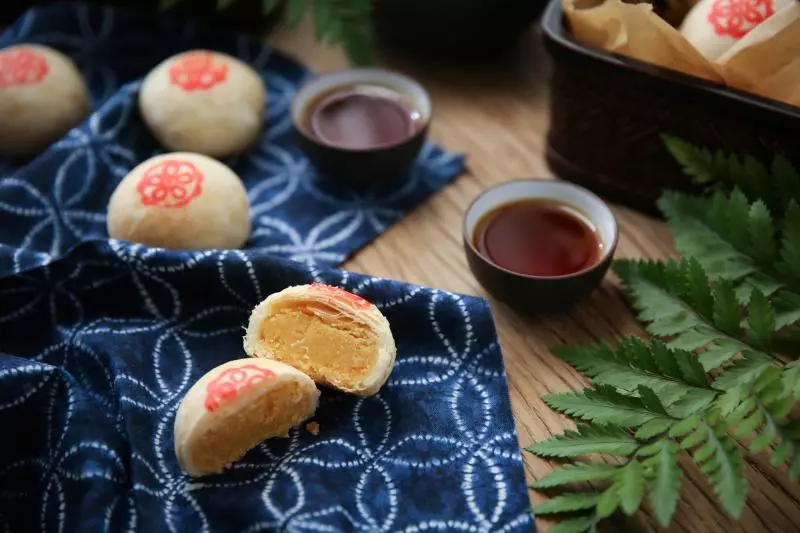
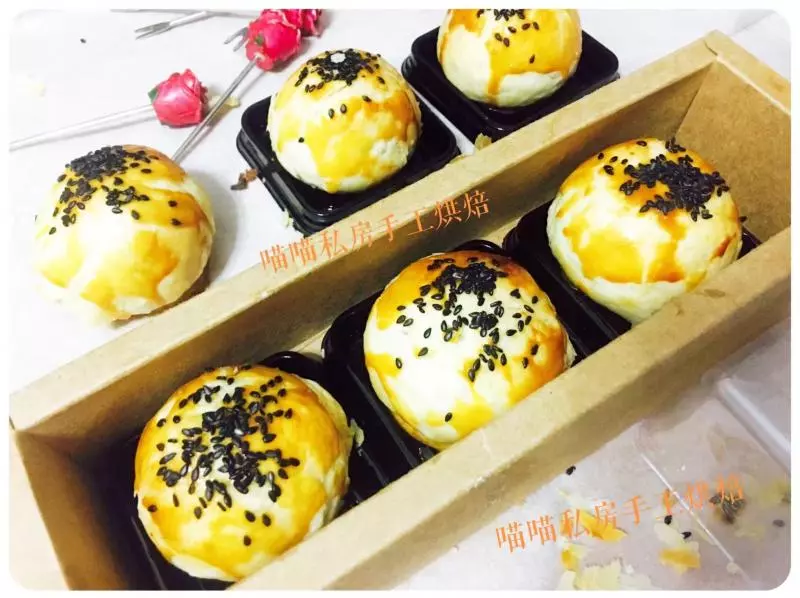
24烤完的是不是很诱人呢
小技巧
如果不喜欢猪油的小伙伴 可以换成黄油。

![金丝肉松饼 [酥到掉渣渣]](/images/node/34/344985.webp?1638110480)