原料
挞皮: 10个, 淡奶油: 110克, 牛奶: 80克, 蛋黄: 2个, 低筋粉: 7克, 芒果肉: 适量, 白砂糖: 45克
步骤
1将挞皮放于室温下约30分钟至自然解冻。

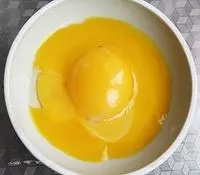
2将蛋黄从蛋清中分离出来备用。
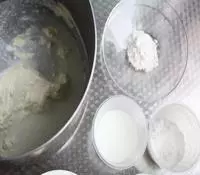
3称量好材料。
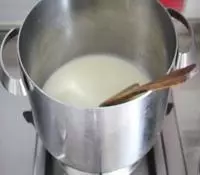
4煮锅中倒入淡奶油、牛奶、白砂糖

5中火,不断搅拌。
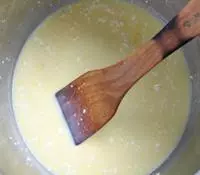
6煮至细砂糖全部溶解,静置冷却至室温。

7放入搅散的蛋黄和低筋粉。
8搅拌均匀。小盆中摆个面筛,将搅匀后的液体倒过面筛。面筛上的东西丢弃不用,过筛后的即为蛋挞水。

9芒果从中间切开,直接用刀在皮上切分成若干小块。

10将芒果肉剔下。

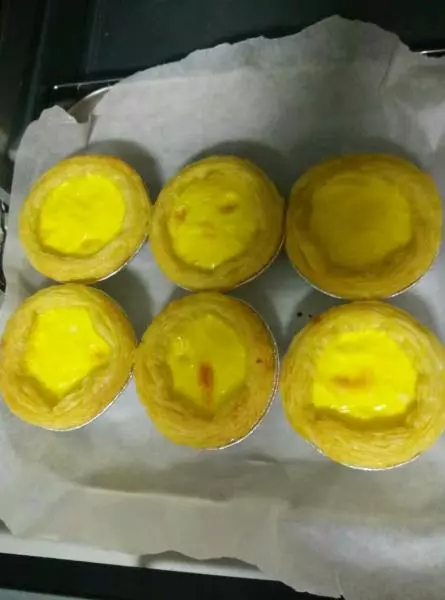
11每个挞皮中放入几块芒果肉。

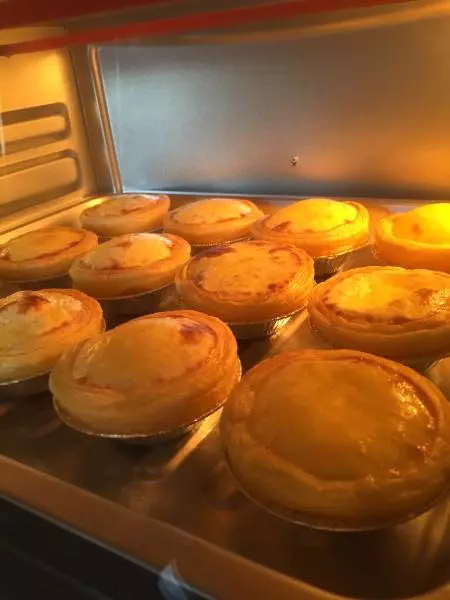
12放入蛋挞水,至七分满。送入预热至200度的烤箱中层,烤约25分钟至颜色变深表面出现焦圈即可取出。
小技巧
1、烤制时间及温度视自家烤箱脾气调整,小烤箱受热不均匀,也可以在中途时将烤盘取出调个再放入。 2、根据烤箱烘烤实际情况,适当提前结束程序。