原料
蛋黄: 1, 绵白糖: 15g, 植物油: 10ml, 牛奶: 20ml, 低筋粉: 20g, 可可粉: ½ tsp., 超黑可可粉: ½ tsp., 鸡蛋: 3, 绵白糖: 65g, 植物油: 40ml, 牛奶: 60ml, 低筋粉: 70g, 抹茶粉: 10g, 淡奶油: 250ml, 绵白糖: 25g, 香蕉: 2
步骤
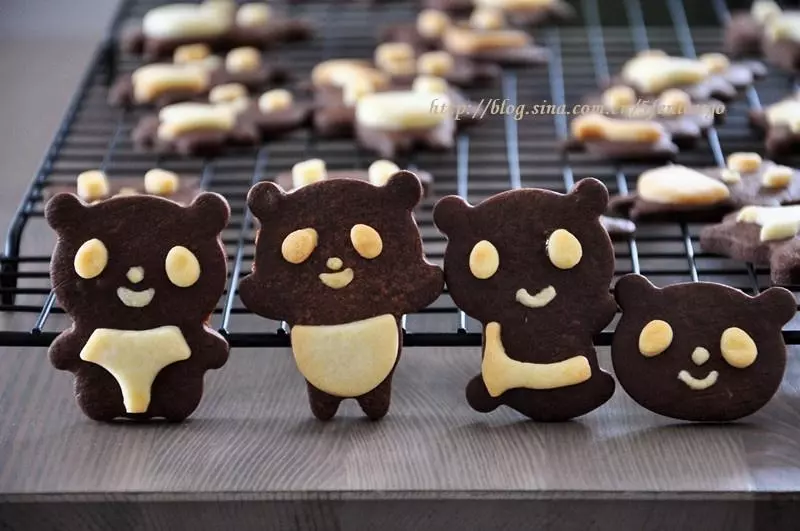
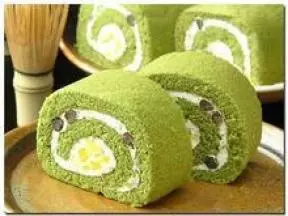
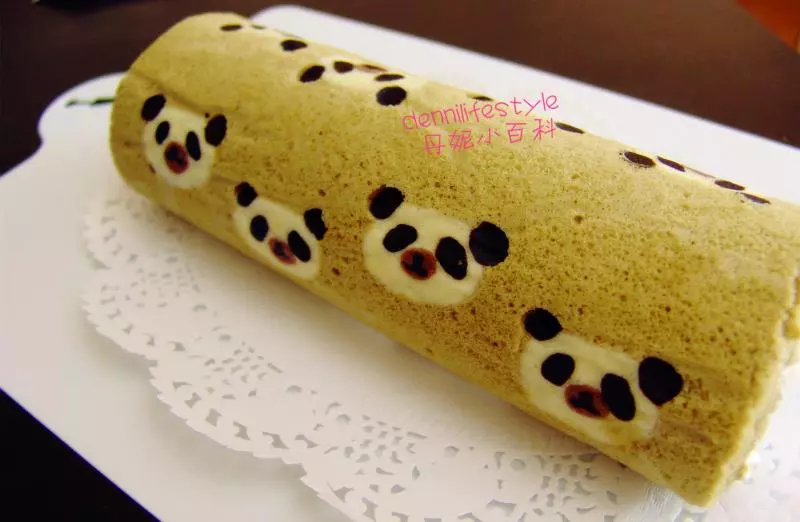
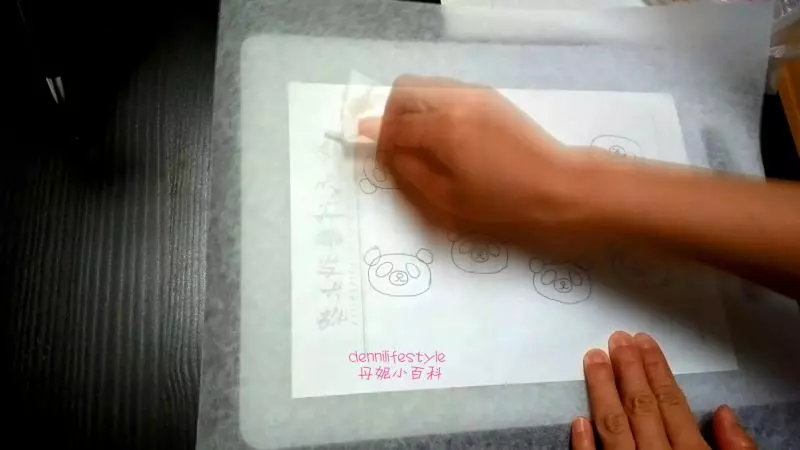
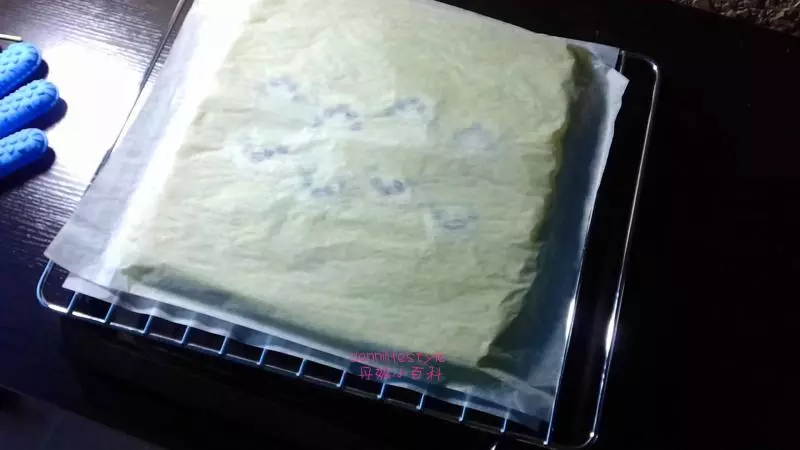
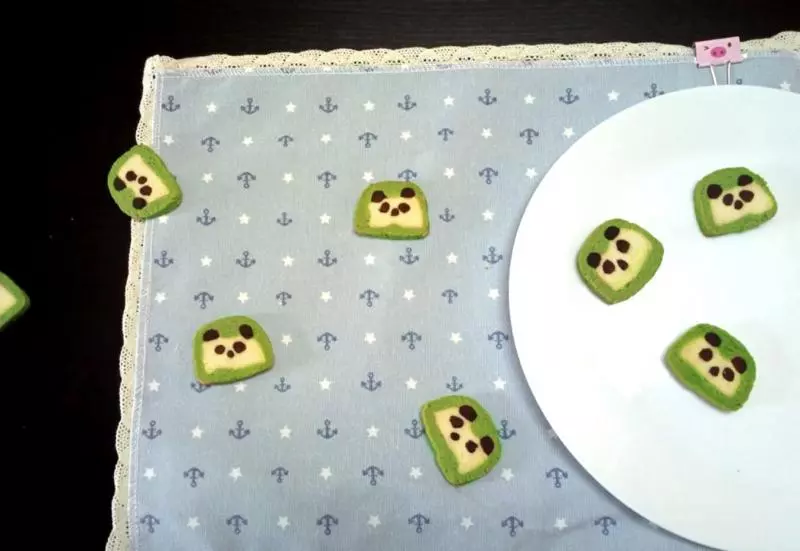
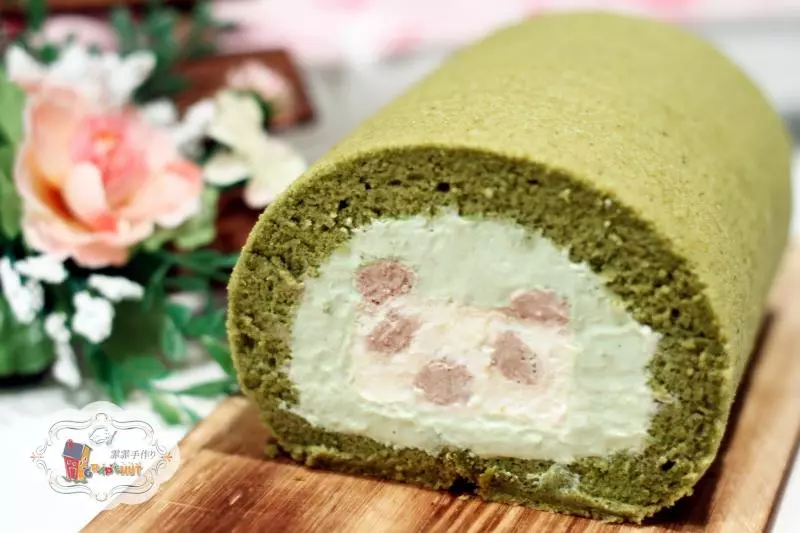
1将熊猫图案纸放入烤盘,并在上面铺上烘焙纸。(图案可以打印也可以手绘)
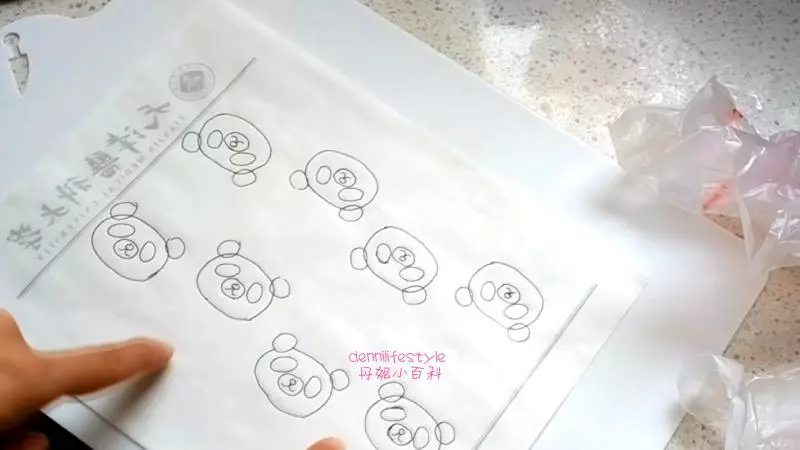
2将少量食用油倒在纸巾上,均匀涂抹在烘焙纸上,这样能防止图案粘在纸上。
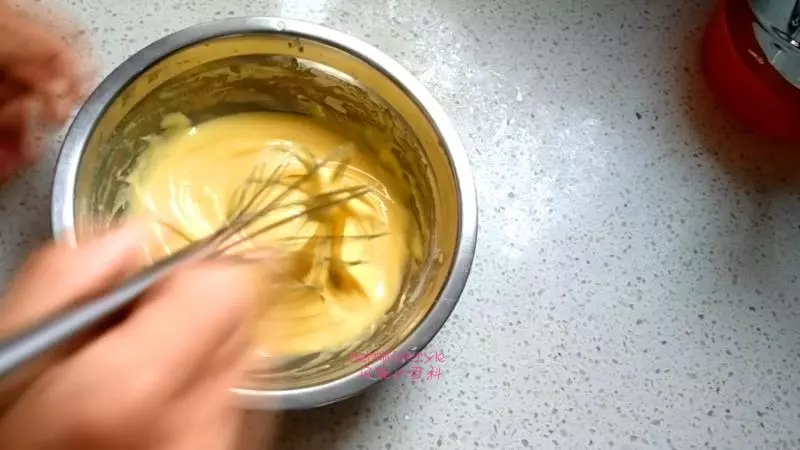
3图案面糊:蛋黄加糖打发至发白,依次加入牛奶,玉米油,打匀。 2.加入过筛后的低粉,搅拌至出现黏性。
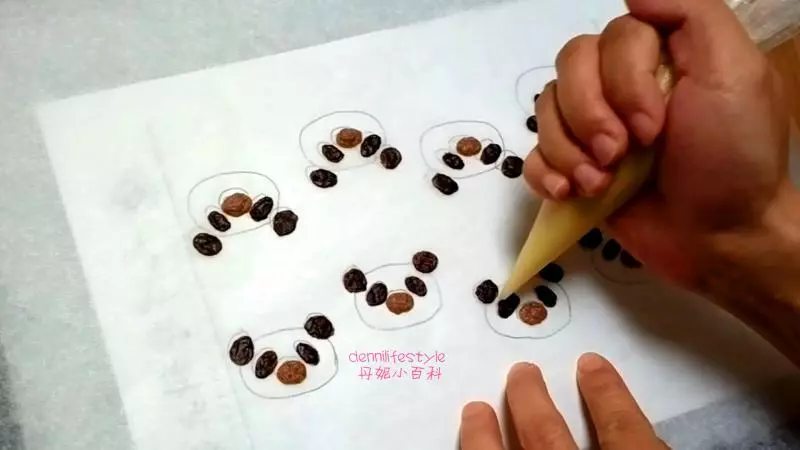
4准备 2个小碗,分别盛入1/3份蛋糕糊到每个小碗中,分别加入可可粉和超黑可可粉调色后,做成浅棕色与深棕色的图案面糊,装入裱花袋中。
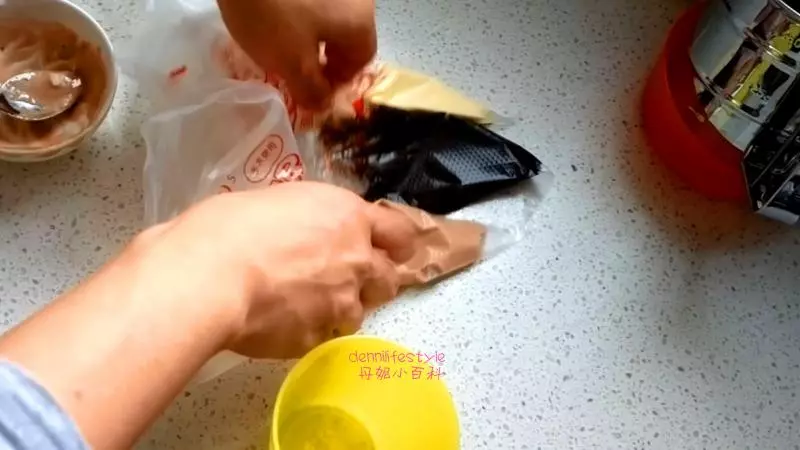
5在准备描绘图案之前预热烤箱,170℃ 。 将裱花袋的尖端处剪掉约0.1cm,用深棕色描绘熊猫的耳朵、鼻子和嘴巴,放入烤箱烘烤1分钟。
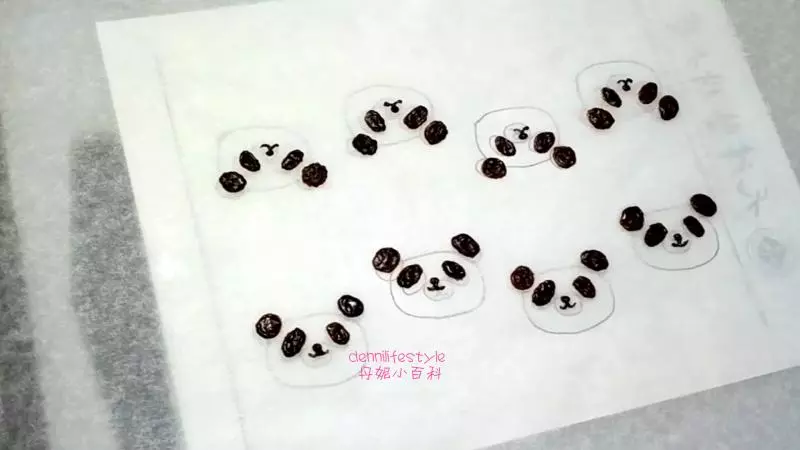
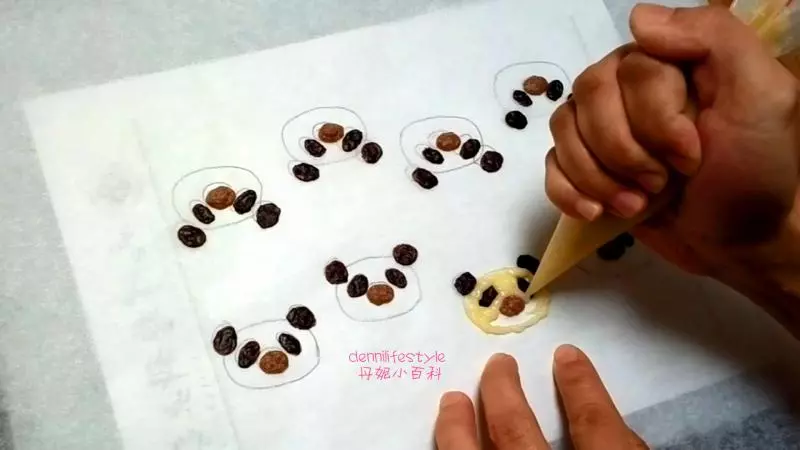
6用浅棕色描出嘴,放入烤箱烘烤30秒。
7用白色填满整张脸,烘烤1分钟。
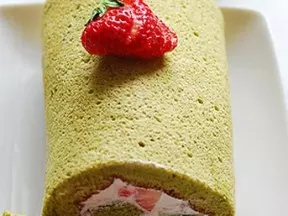
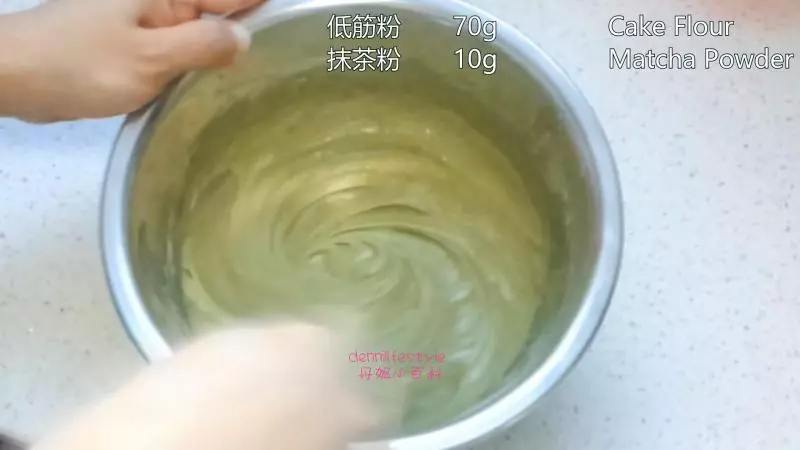
8蛋糕面糊: 将三个鸡蛋打入碗中,分离蛋白和蛋黄。蛋黄放入碗中加入35g砂糖,打至发白,依次加入牛奶和植物油打至起泡沫。筛入低筋粉,搅匀成黏性糊状。
9将蛋白放入无水无油的大碗中,加30g糖用电动打蛋器打至硬性发泡,即提起打蛋器,蛋白霜有尖角。
10往蛋黄糊中加入1/3的蛋白霜,像炒菜一样的手法上下切拌和翻拌,注意不要使用画圈式搅拌,以免消泡。将黄糊与蛋白混合均匀,不能出现蛋白霜块。
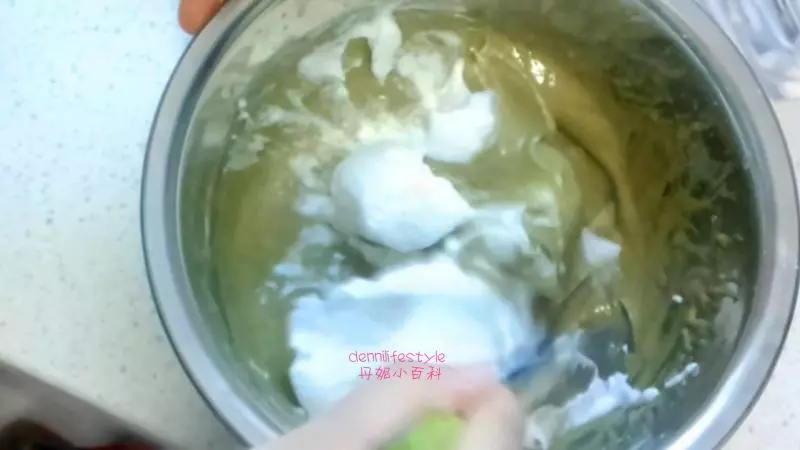
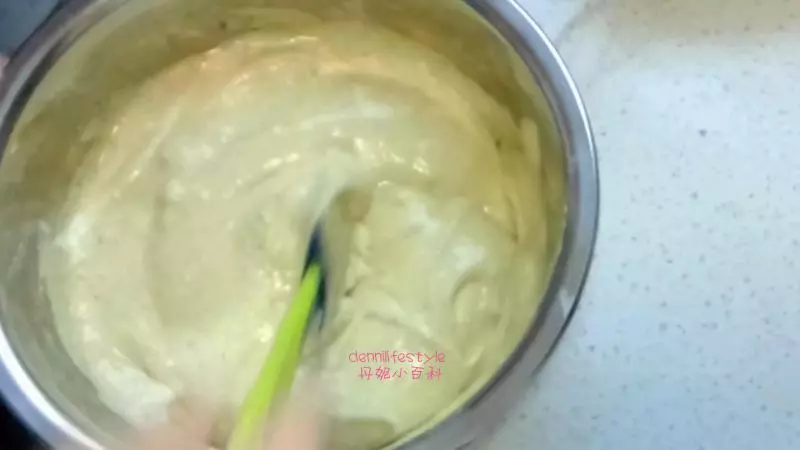
11倒入剩下的蛋白霜到混合物中,使用相同手法直至混合物中没有蛋白霜块,成为质地光滑的面糊为止。
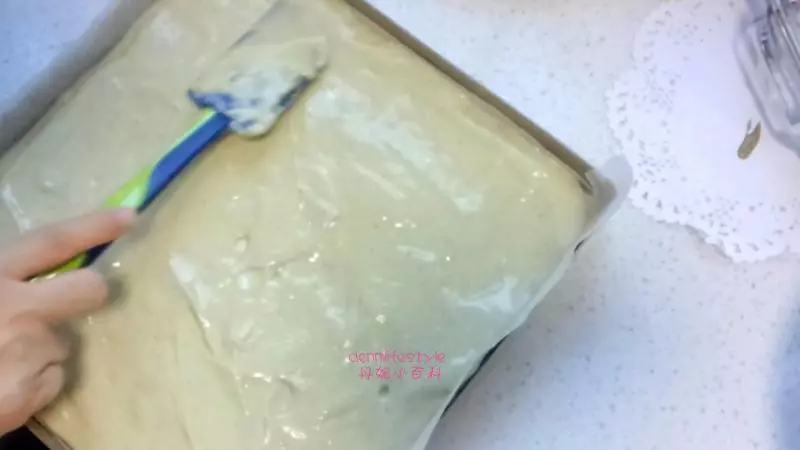
12将混合好的面糊倒入烤盘中,抹平表面,在平面上轻叩烤盘底,震出蛋糕内部的气泡。
13烤箱170℃预热5分钟,蛋糕放入烤12~14分钟。烤好的蛋糕拿出后,在表面盖上一张烤盘纸,连烤盘扣在烤网上,撤去烤盘,掀去烤纸,取一张新的烤盘纸扣在表面,等待冷却。
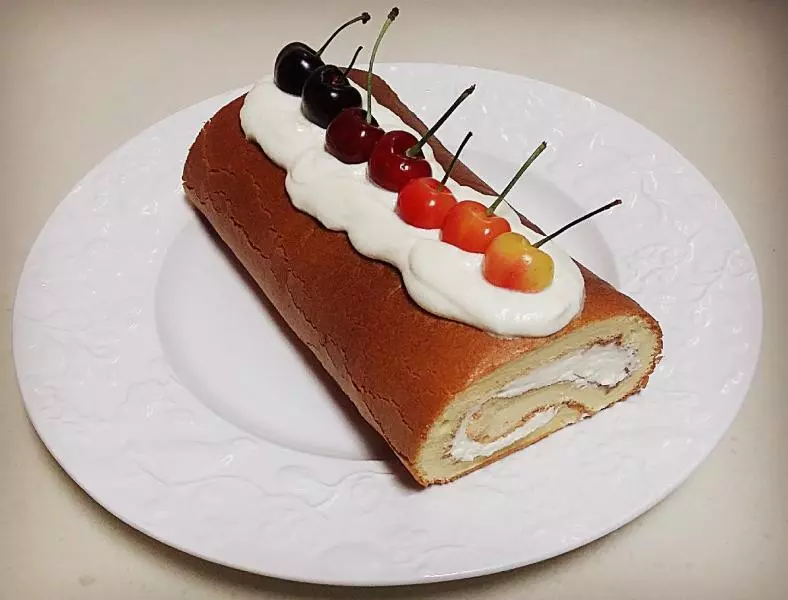
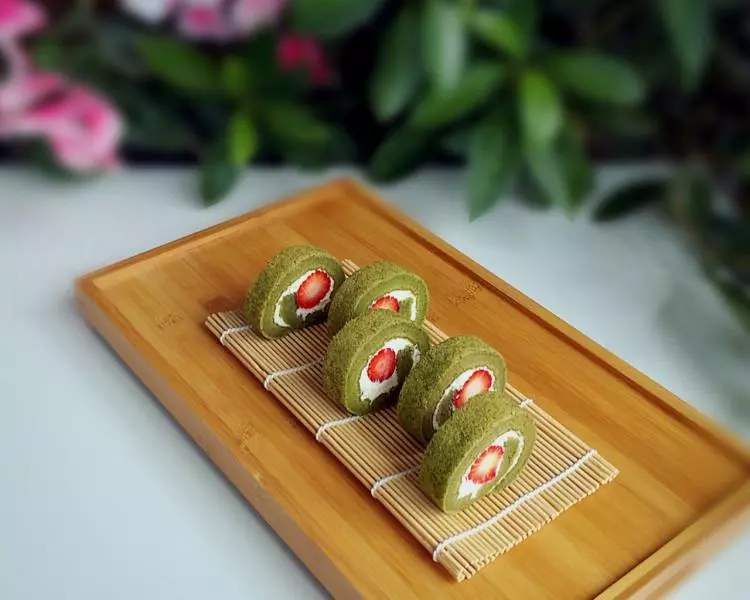
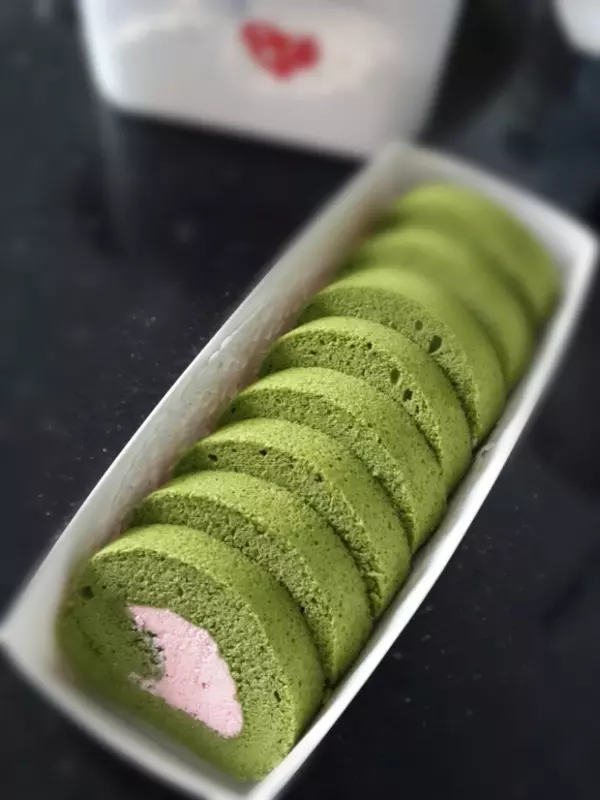
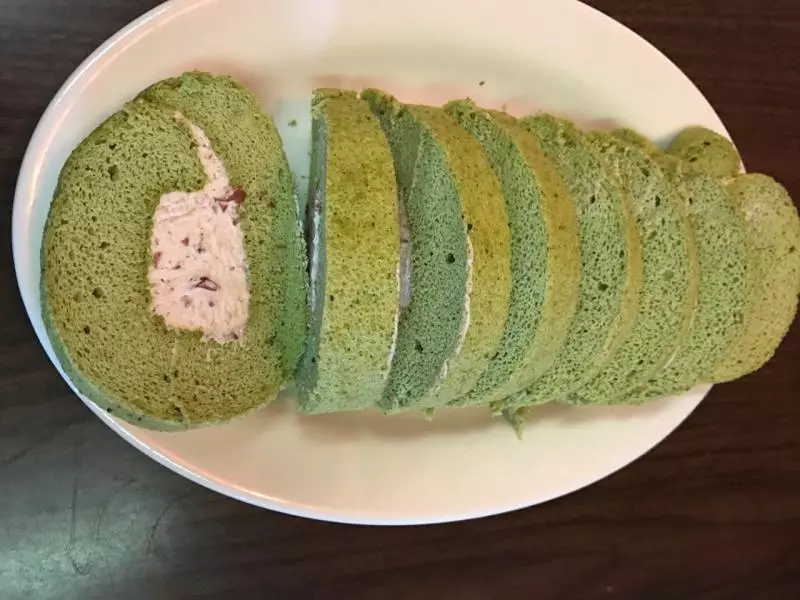
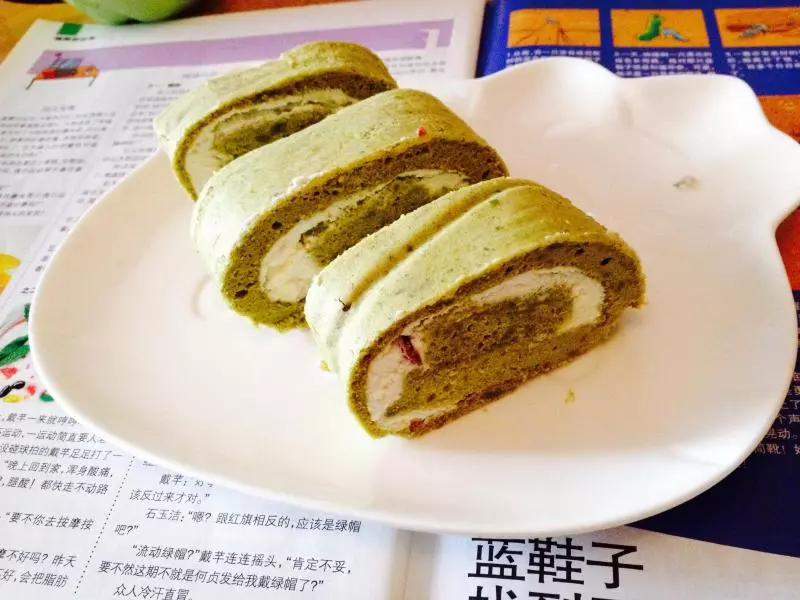
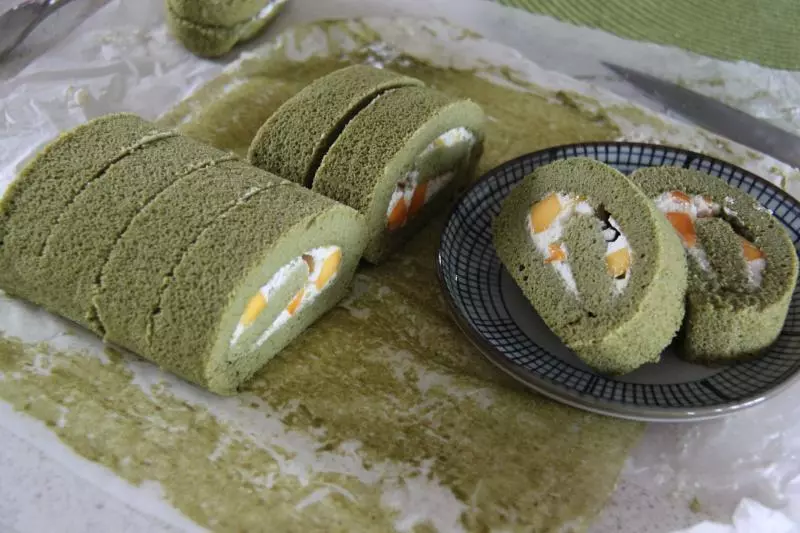
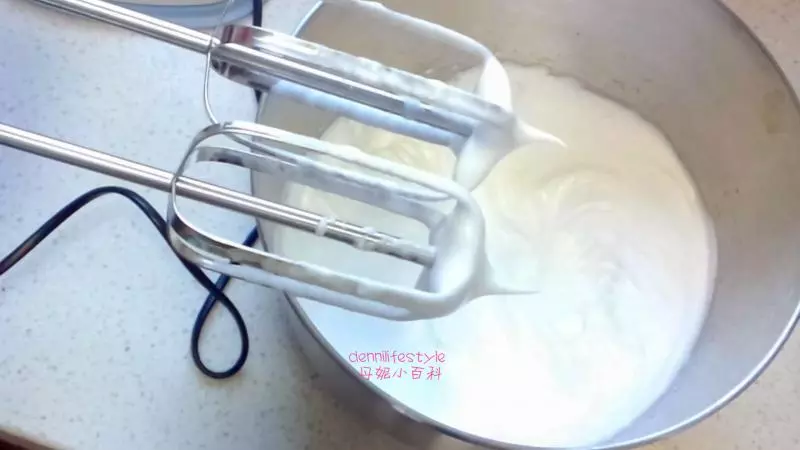
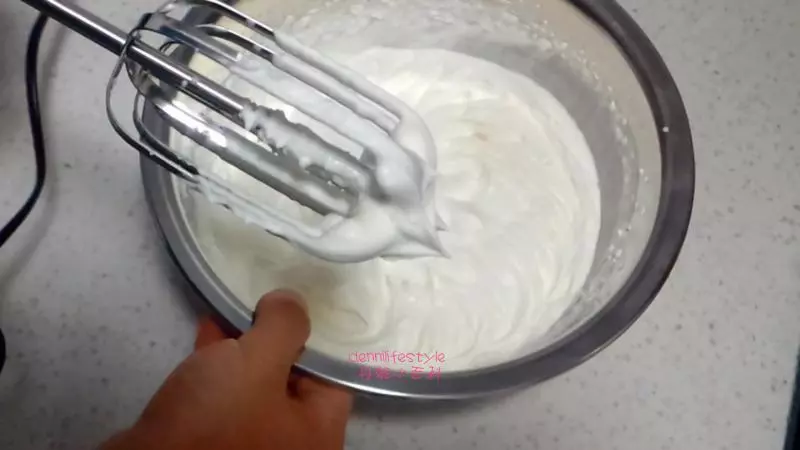
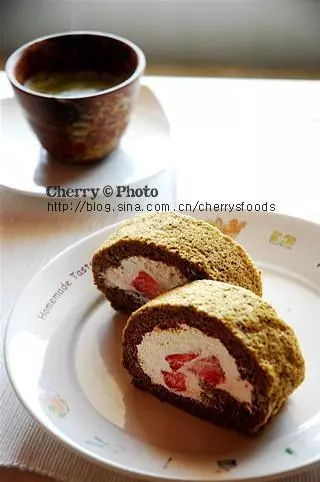
14馅心: 鲜奶油倒入碗中,加入糖,搅打至九分发,即提起打蛋器有小尖角。
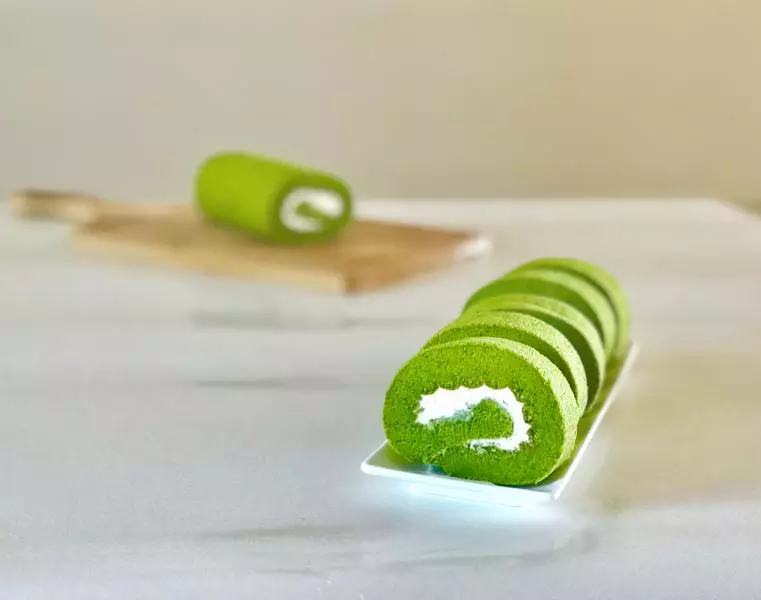
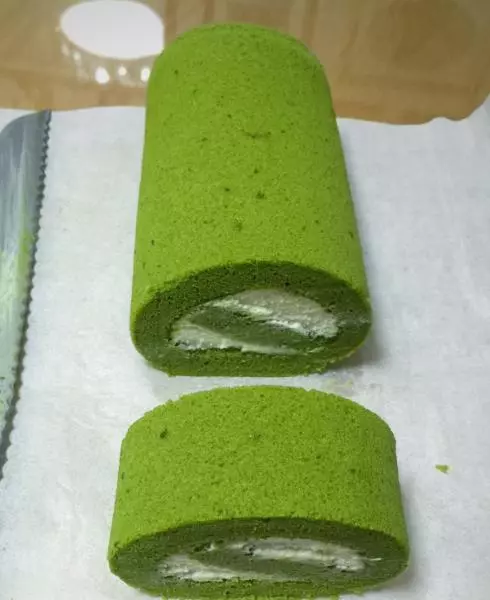
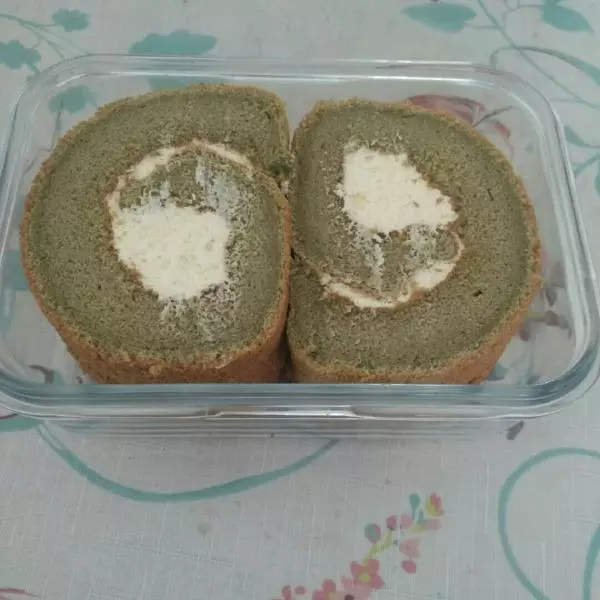
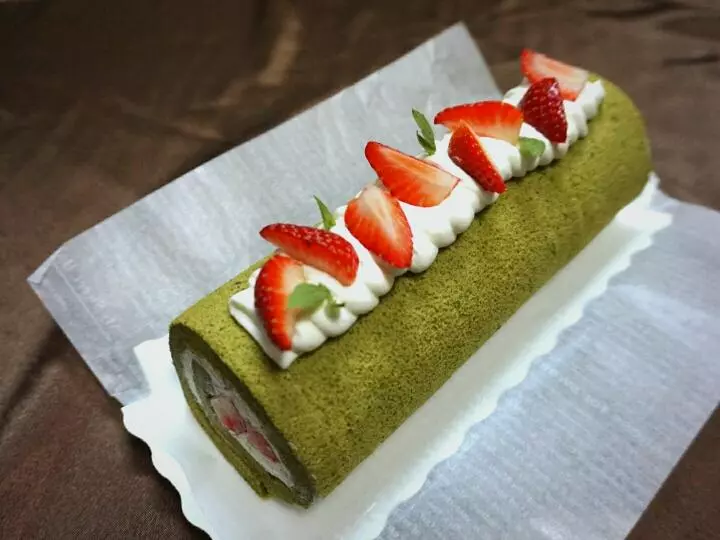
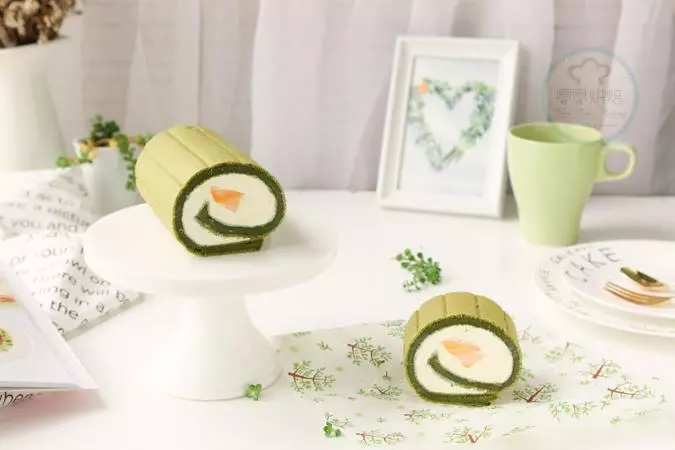
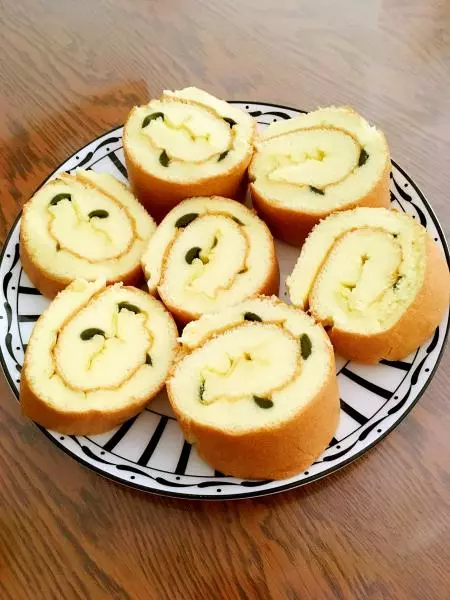
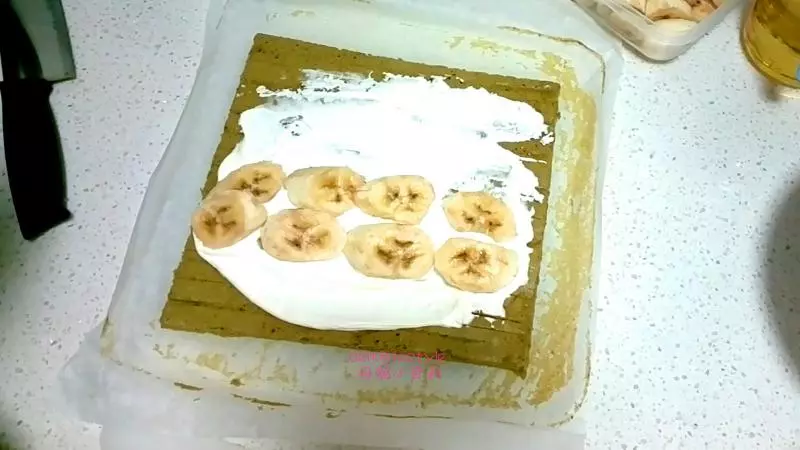
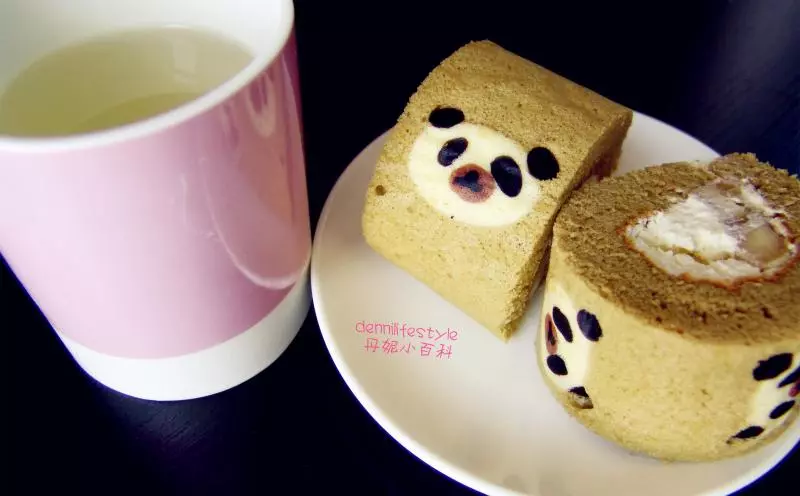
15将冷却的蛋糕平铺,切去四周,均匀涂抹上奶油霜,远身侧(上方)留出3cm空白,以免卷起后奶油溢出。摆上香蕉。
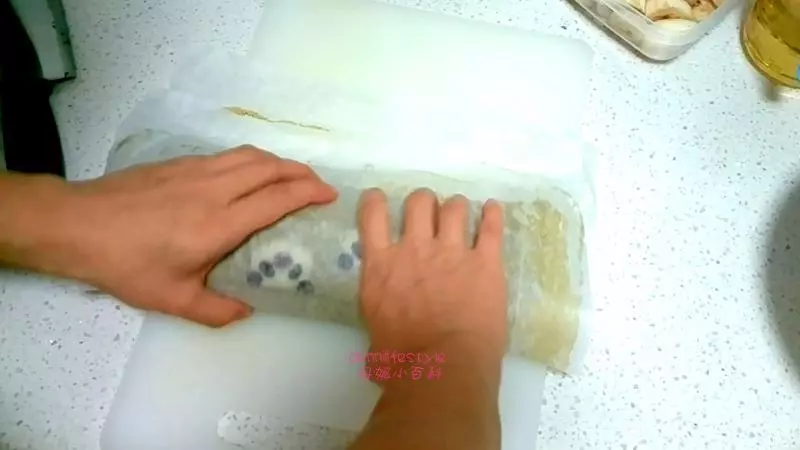
16将靠近身侧的蛋糕体连同烤盘纸一同拿起,像卷寿司一样将蛋糕卷起。 将烤盘纸两头旋起,将蛋糕卷像糖果一样包起来。
17放入冰箱冷藏,第二天食用味道会更好。
小技巧
1.烘烤图案时,烘烤至表面干燥,如果表面未凝固,则以每次加烤30秒为基准,直到表面干燥为止。 2.烘焙纸表面一定要刷油,否则图案会粘在纸上。 3.震动气泡要彻底,否则蛋糕体表面就会出现大气孔。

![抹茶杯子蛋糕[Matcha cupcakes]](/images/node/31/319016.webp?1638109060)