原料
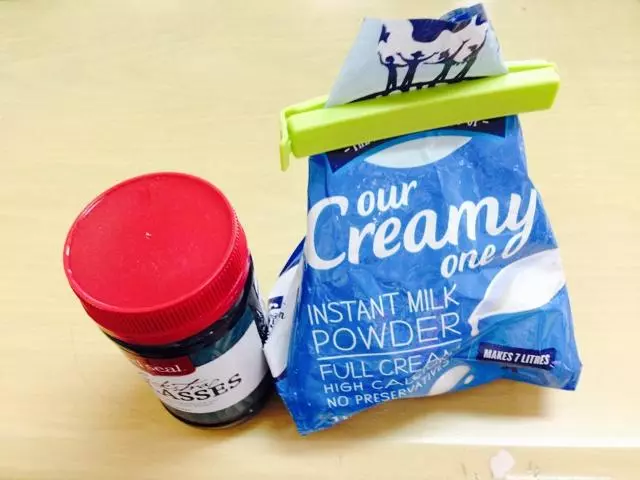
鸡蛋: 4个, 黑糖: 110g, 无盐黄油: 150g, 低筋粉: 150g, 泡打粉: 1g
步骤
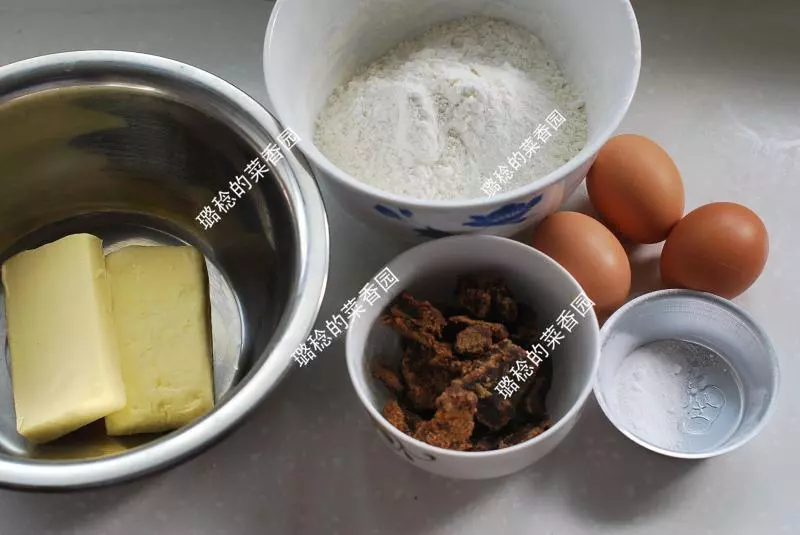
1所需食材。
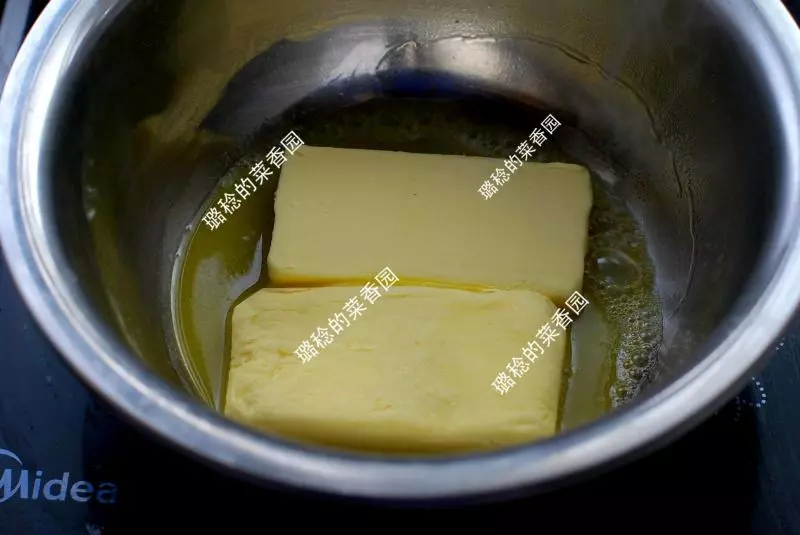
2黄油融化(或者用微波炉)。模具涂黄油(如果是不粘模具则省略)。
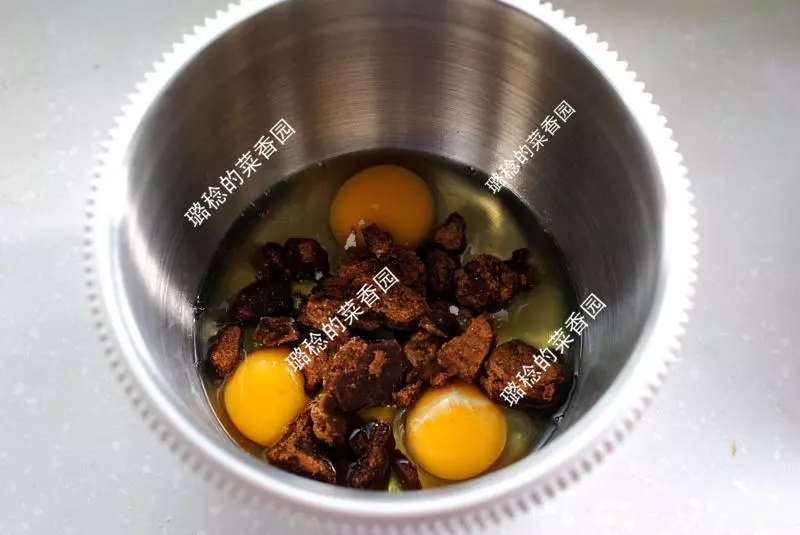
3黑糖掰碎倒入全蛋液中(4个鸡蛋)。
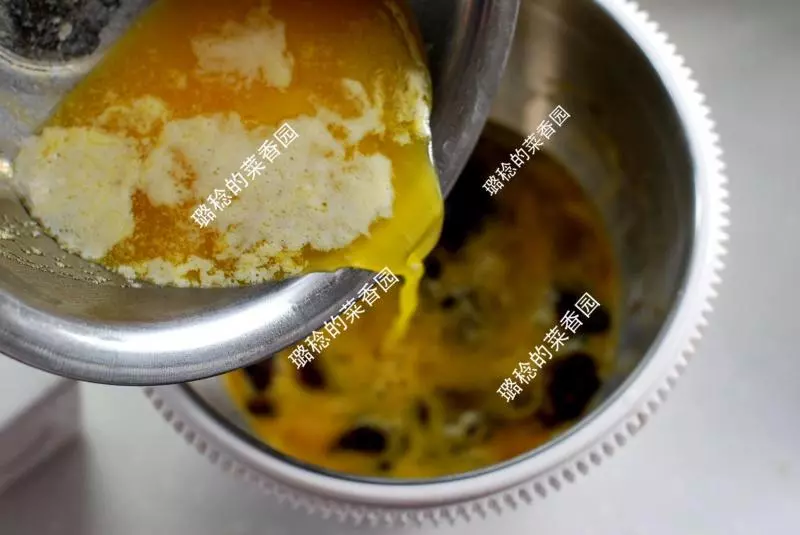
4加入融化的黄油
5用打蛋器低速搅打至均匀
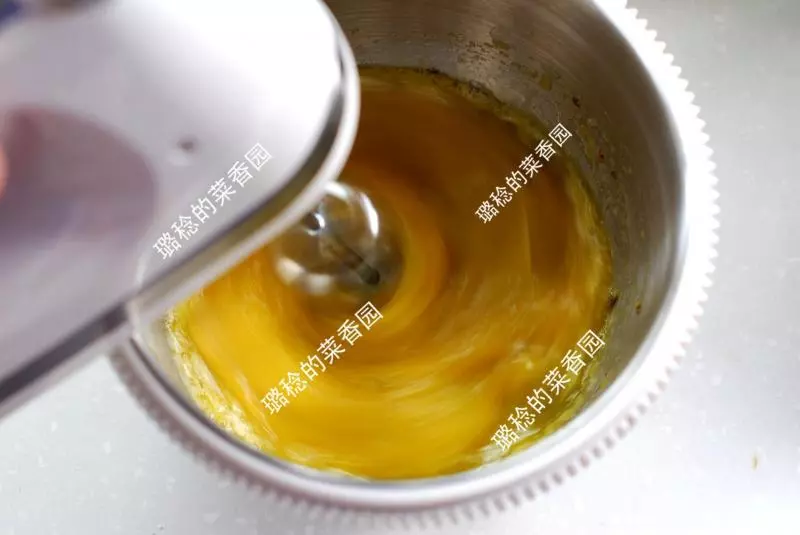
6并用刮刀从底部翻拌,防止黄油沉底。(我刮刀找不到了,所以用打蛋器了)
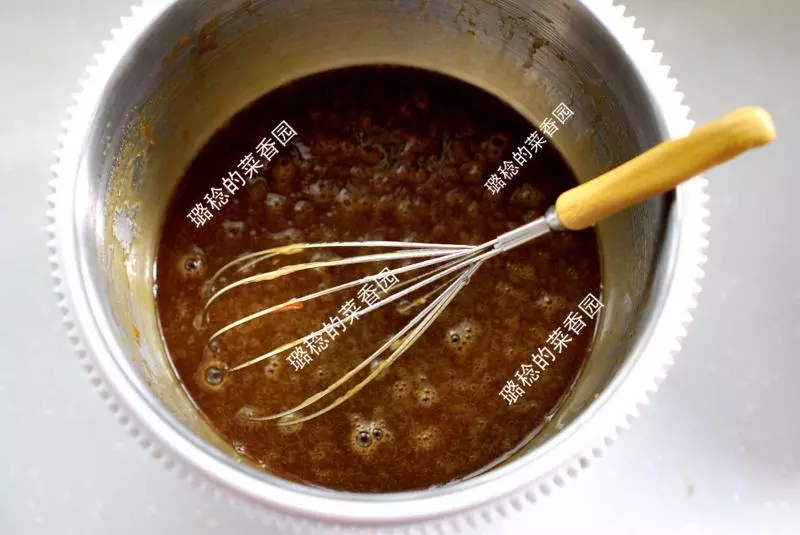
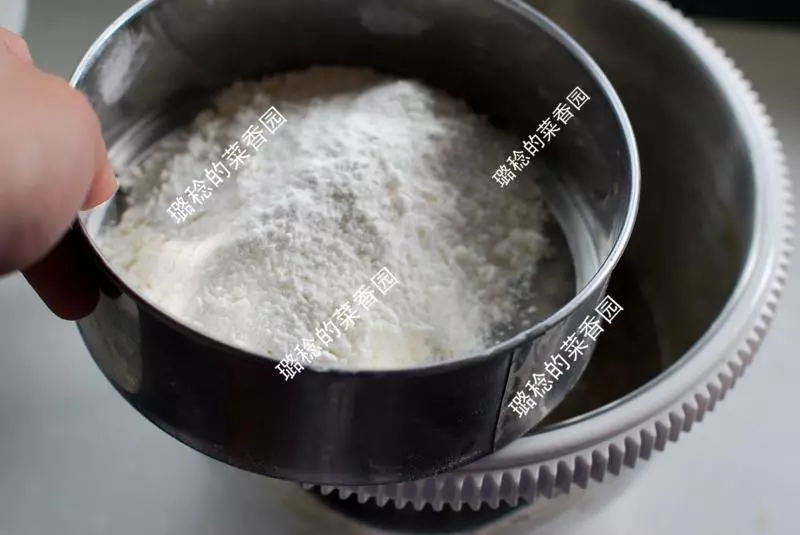
7筛入低筋粉和泡打粉。
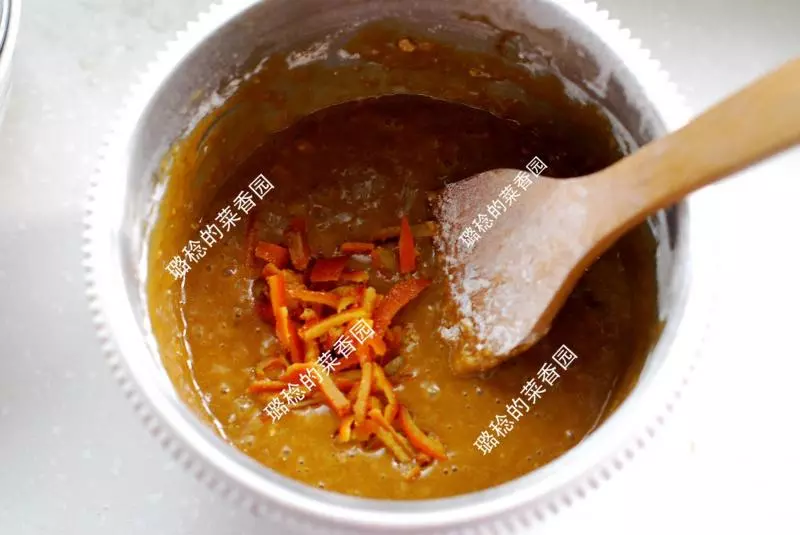
8拌匀,看不到干粉后,再继续翻拌30——40次。(可以撒入一些自制的糖渍橙皮,味道更清新、吃起来不腻)
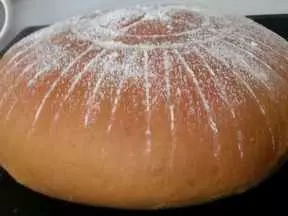
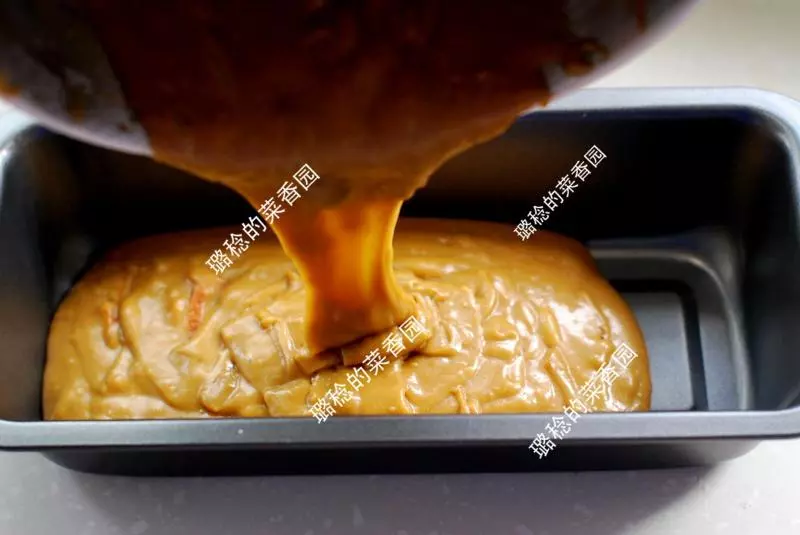
9将蛋糕糊倒入模具,轻轻震出气泡。
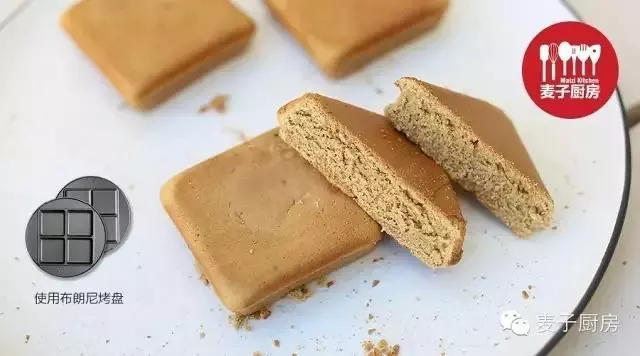
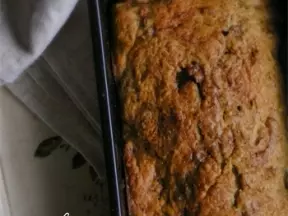
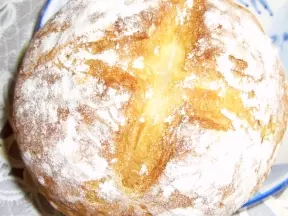
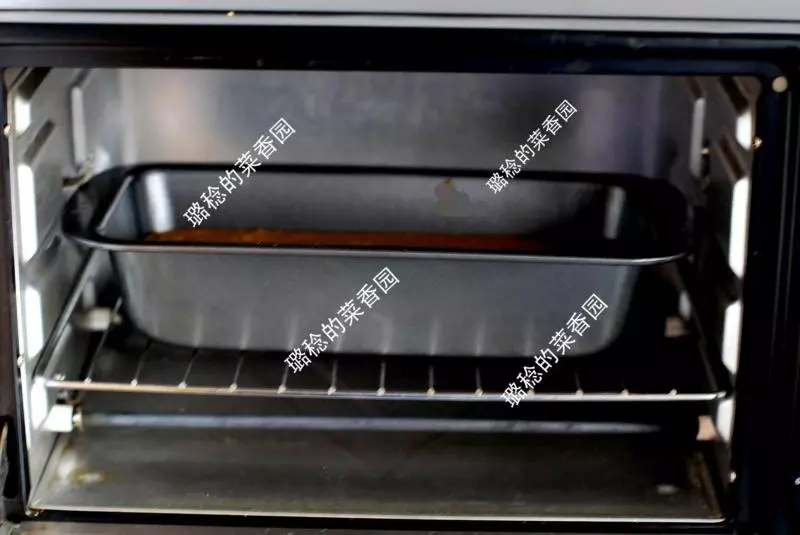
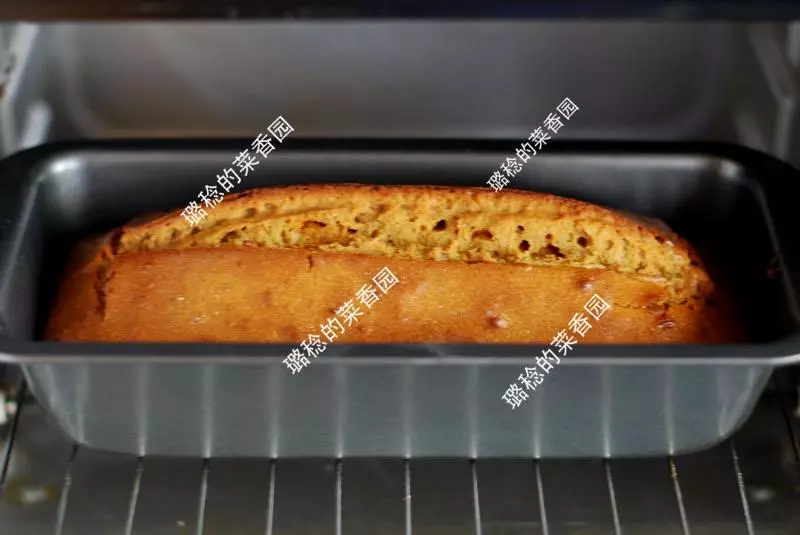
10入烤箱180度,中层,30——35分钟。烤七八分钟表面结皮时取出用刀划一道,使裂口更美观。
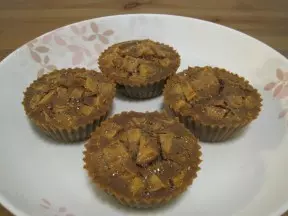
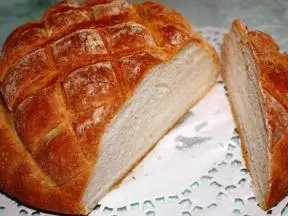
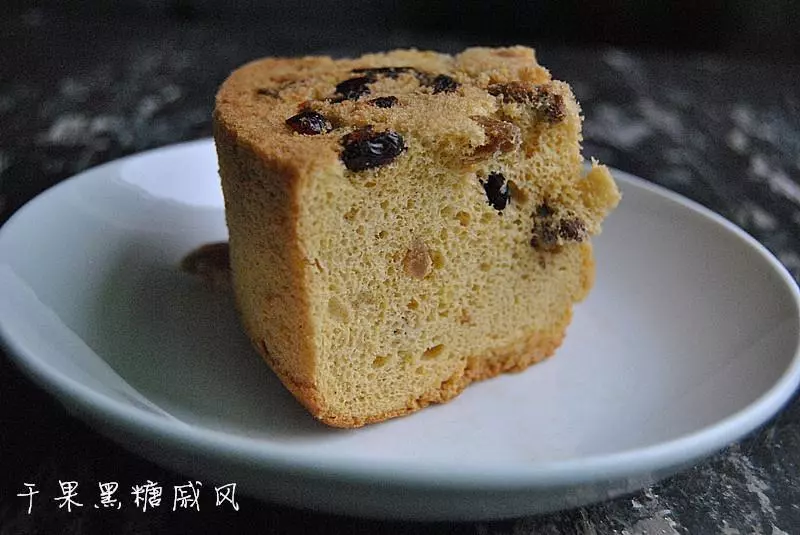
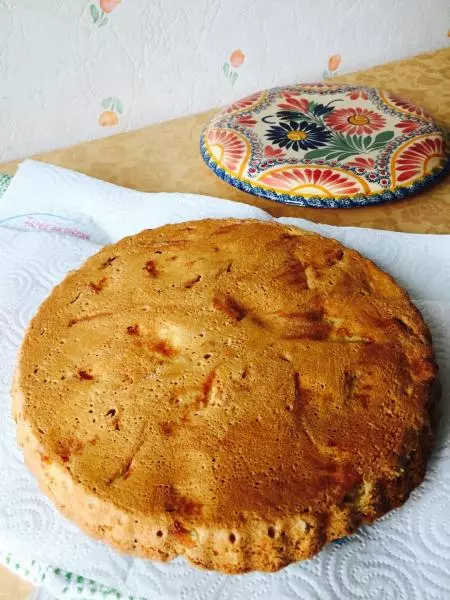
11取出立即脱模,冷却即可。
12【糖渍陈皮】做法:https://www.xiachufang.com/recipe/100052216/ 平时就放在密封盒里冷冻保存。

小技巧
黑糖最好提前压碎,再加蛋液搅拌,我直接掰的小块,费了好大劲才完全融化。