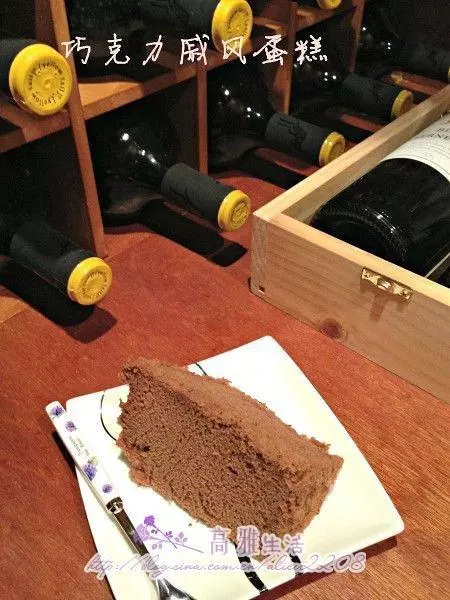
原料
戚风蛋糕: , 鸡蛋: 5个, 牛奶: 80克, 低筋面粉: 75克, 可可粉: 15克, 糖霜: 70g, 食用油: 50g, 奶油: , 淡奶油: 600g, 糖粉: 55g, 装饰/夹层: 水果适量
步骤
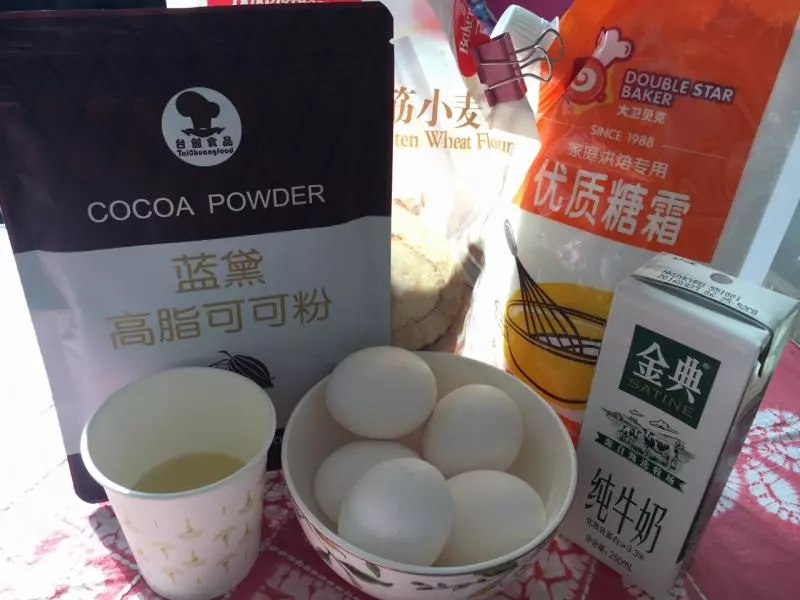
1以上为巧克力戚风蛋糕需要的所有用料
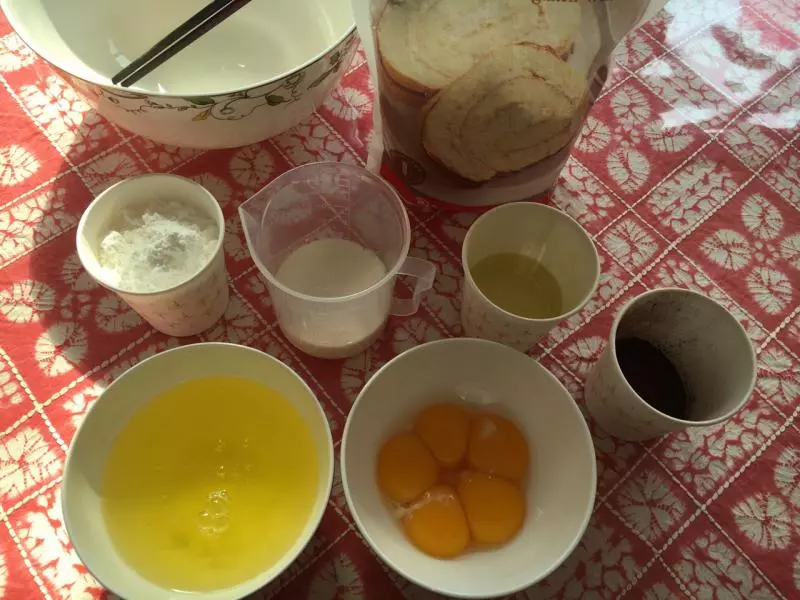
2将鸡蛋蛋清与蛋黄分开,其他材料称好用量备用
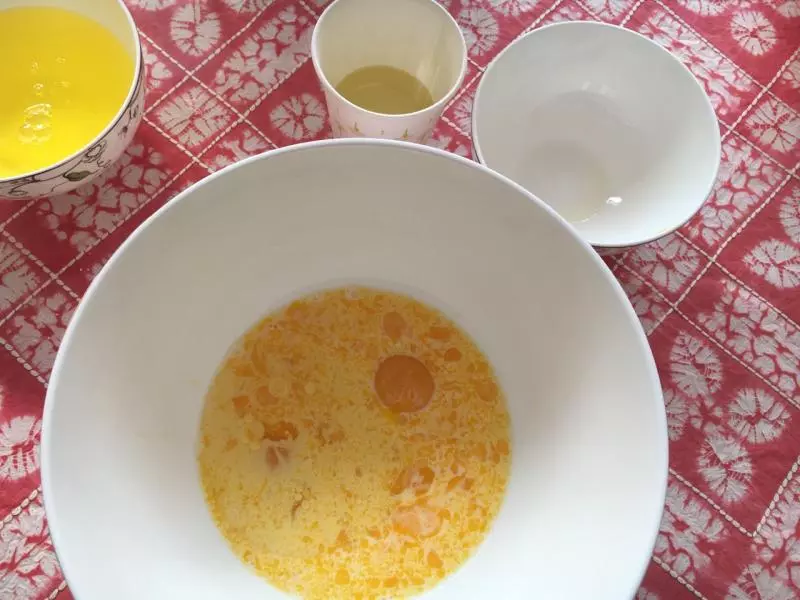
3将鸡蛋黄加入碗中,搅拌后分三次加入食用油,每次加入后搅拌均匀,搅拌完成后加入牛奶再搅拌,手动搅拌即可
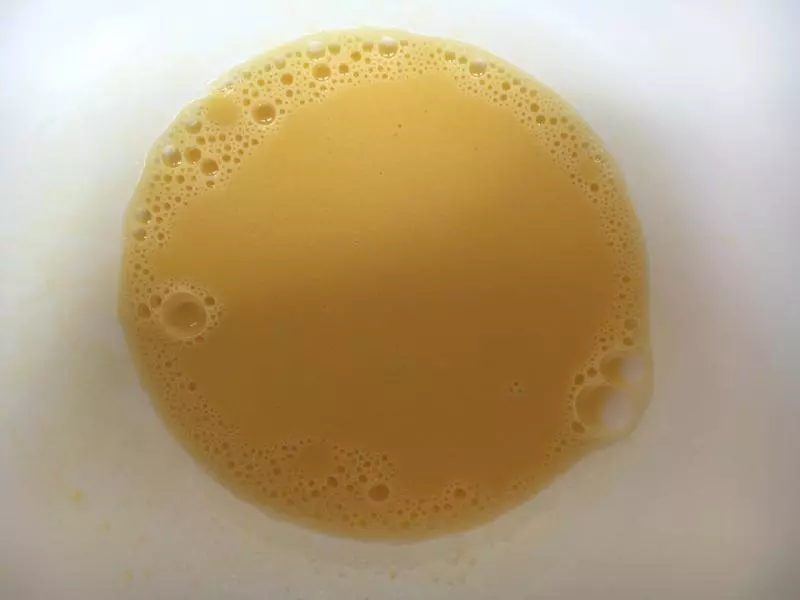
4均匀后如图,蛋黄油牛奶已经融合不分离
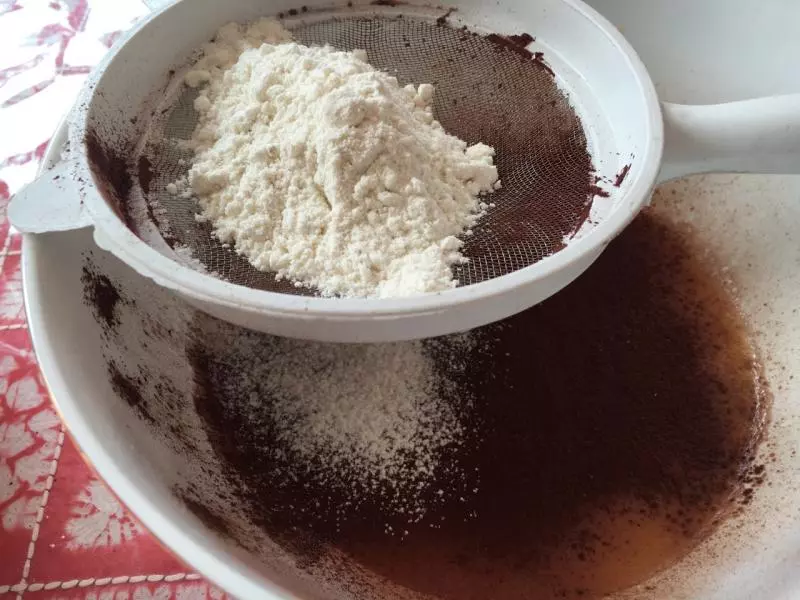
5将可可粉与低筋面粉筛入以上调好的蛋液中,尽量将粉多筛几遍
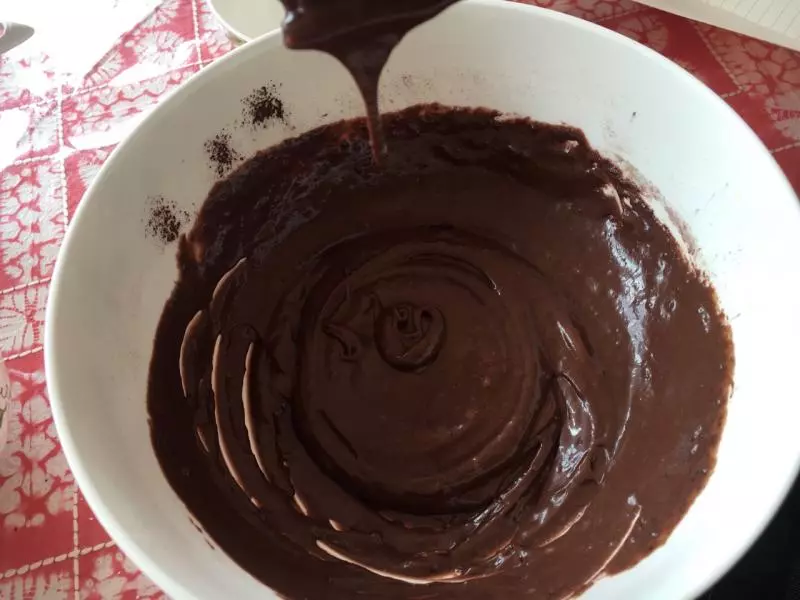
6顺着一个方向搅拌至均匀后备用,手动搅拌即可
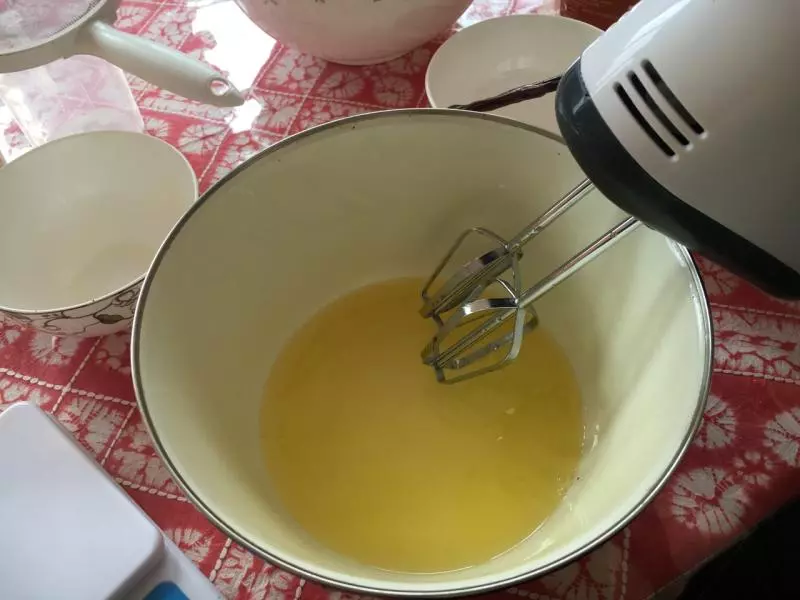
7准备空碗,加入蛋清,电动搅拌机搅拌
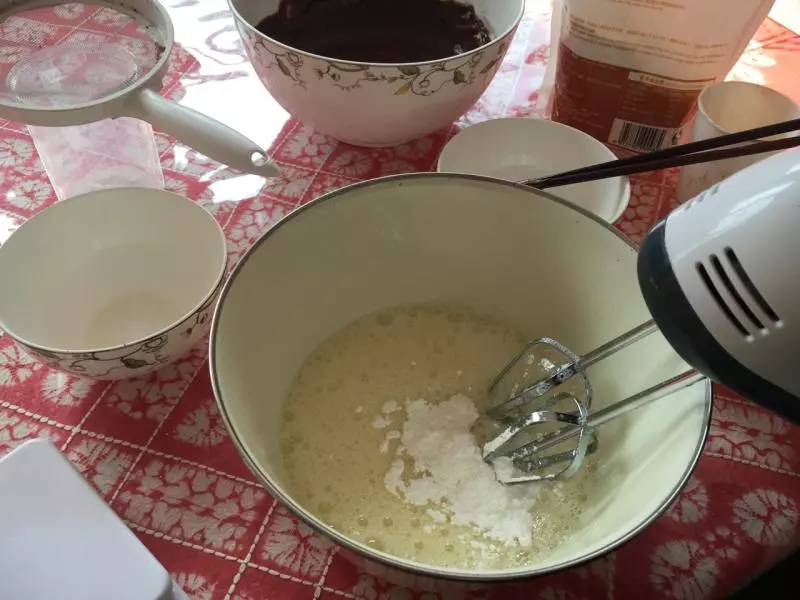
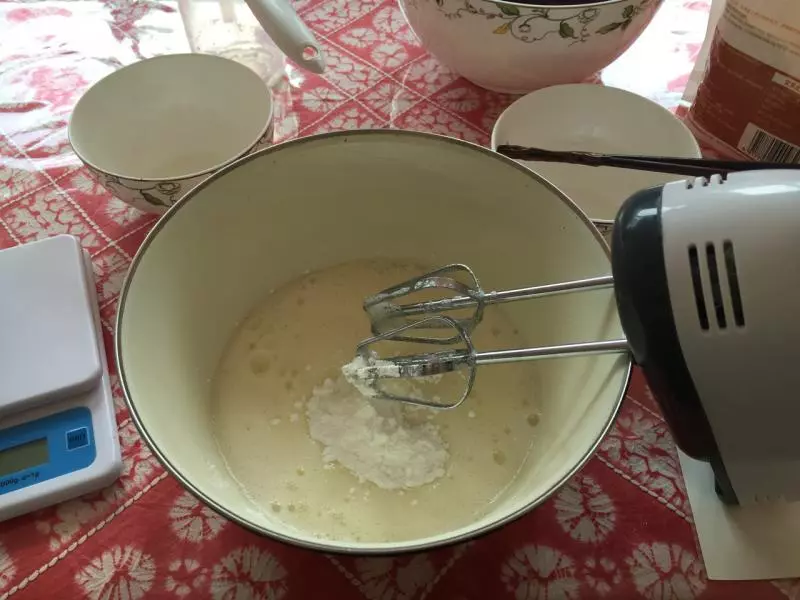
8蛋清搅拌至粗泡加入1/3糖粉,也可以用细砂糖,糖粉较细容易融化搅拌
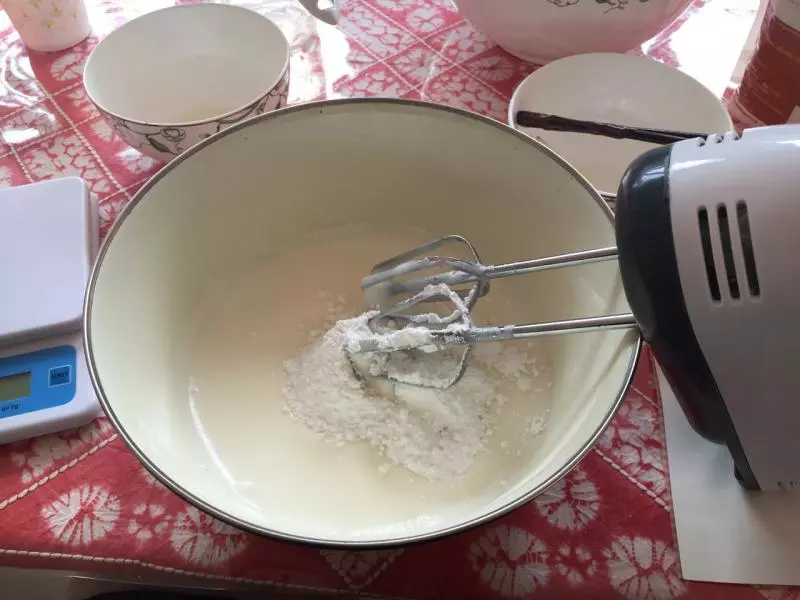
9蛋清搅拌至出现细泡加入剩1/3糖粉后继续搅拌,也就是糖粉分三次加入蛋清液中
10蛋清搅拌至出现细密不清晰纹路加入最后1/3糖粉后继续搅拌
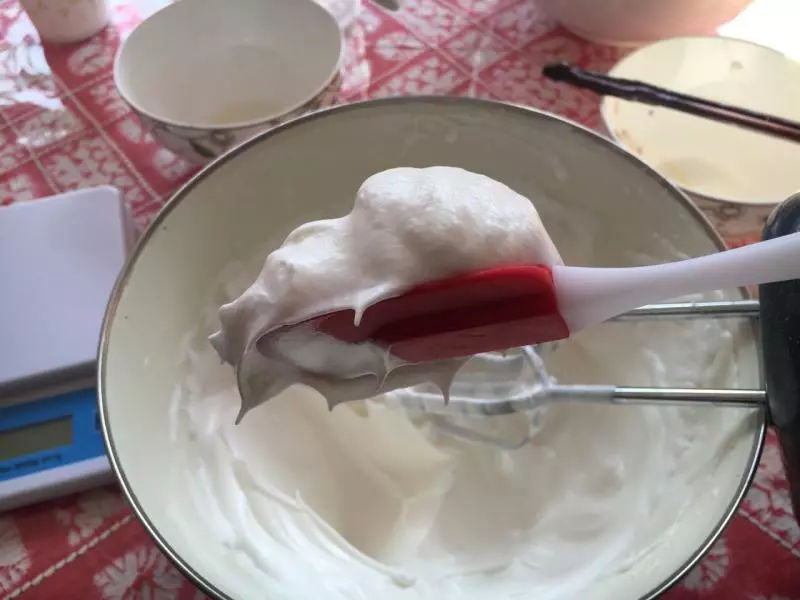
11再搅拌后出现细长弯勾,这时蛋清基本打发
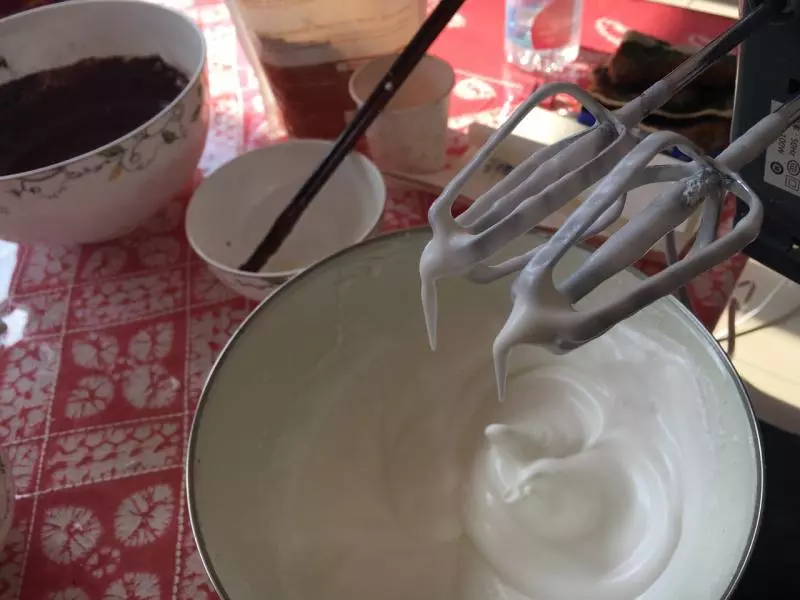
12再打发后出现细直尖,这时蛋清已经比较挺,注意别打发太硬
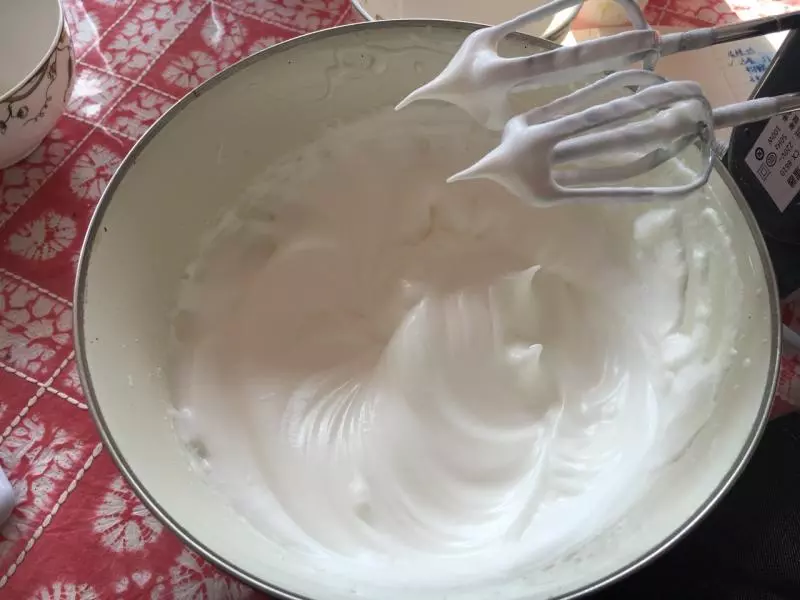
13打到如图的程度就不要再打了,打过了劲会影响口感
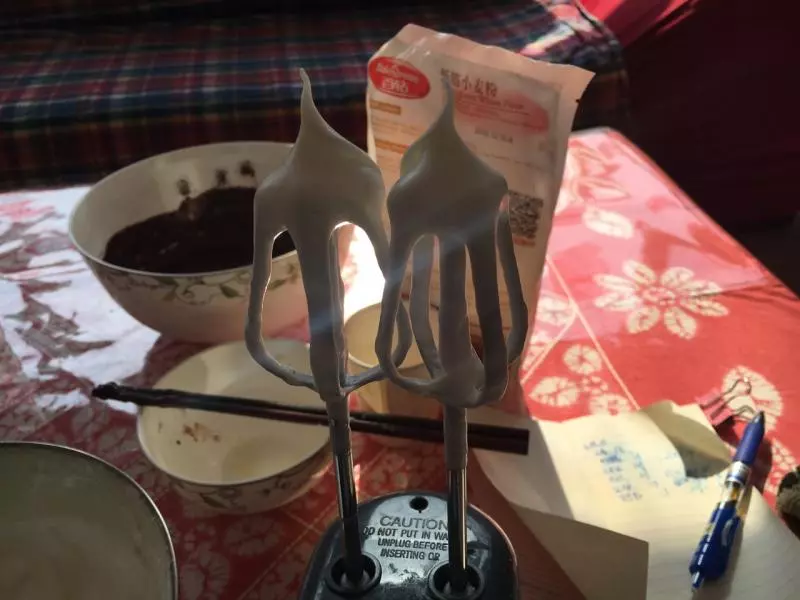
14铲起来是这样的
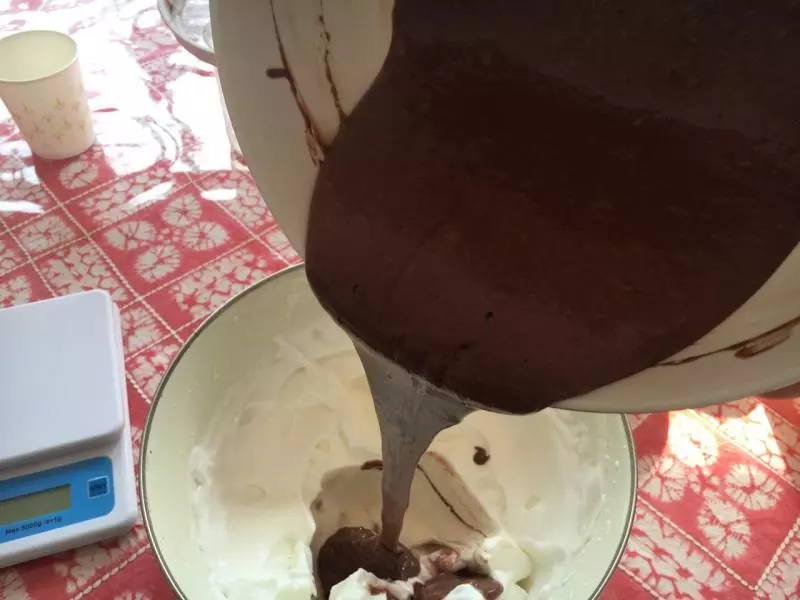
15取1/3打好的蛋清加入刚备用的可可糊中
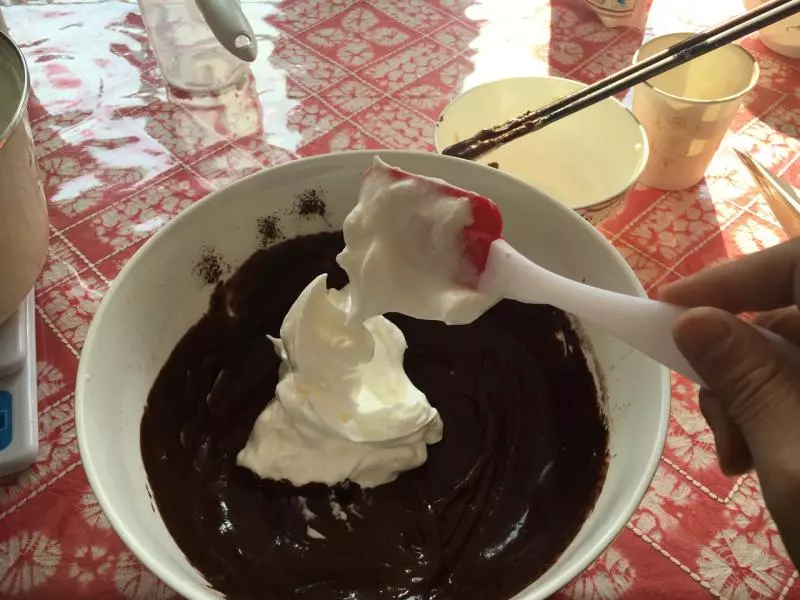
16注意顺着一个方向向内切
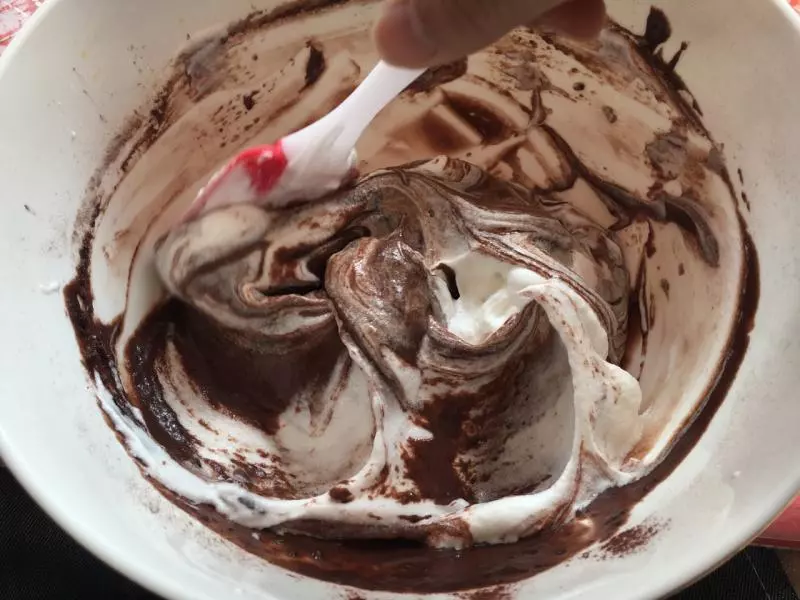
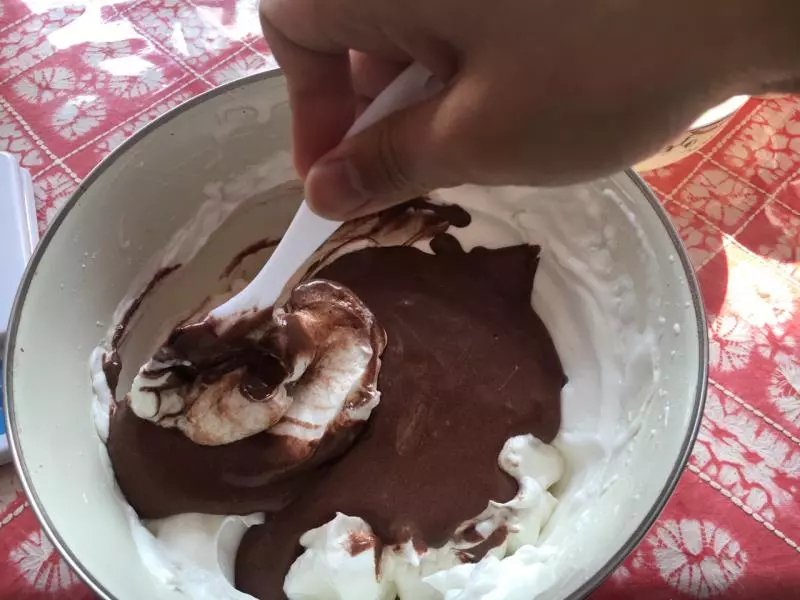
17将均匀的可可糊加入剩余打好的蛋清中,依旧顺着一个方向向内切
18注意不要画圈搅拌
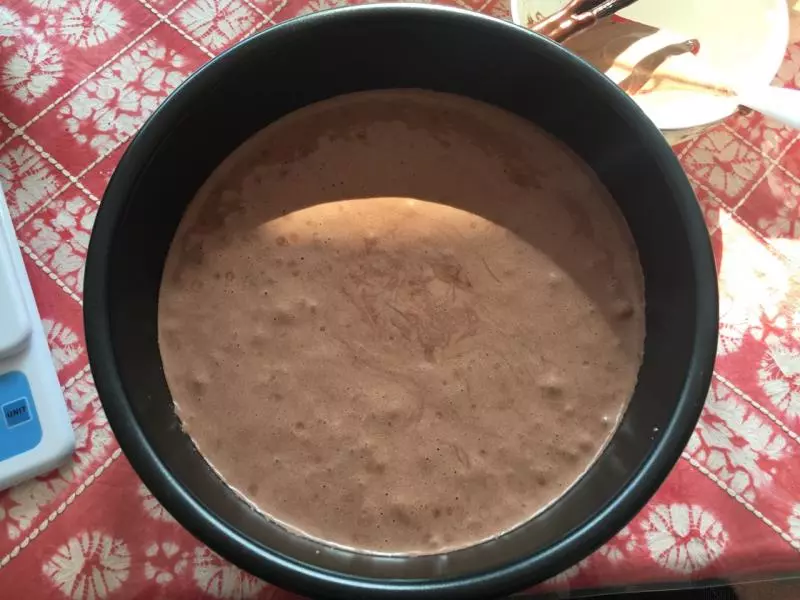
19搅拌均匀后入模,震模出气泡
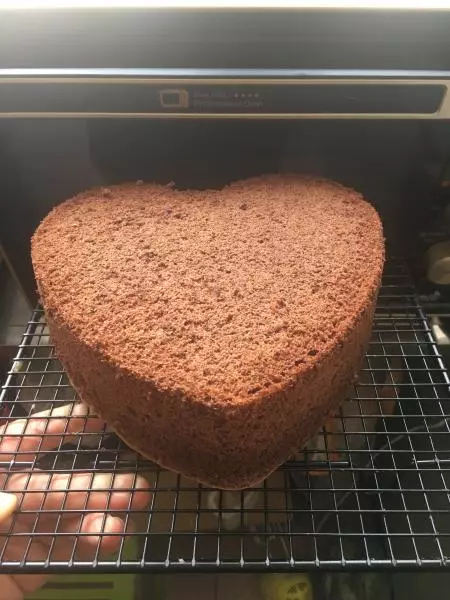
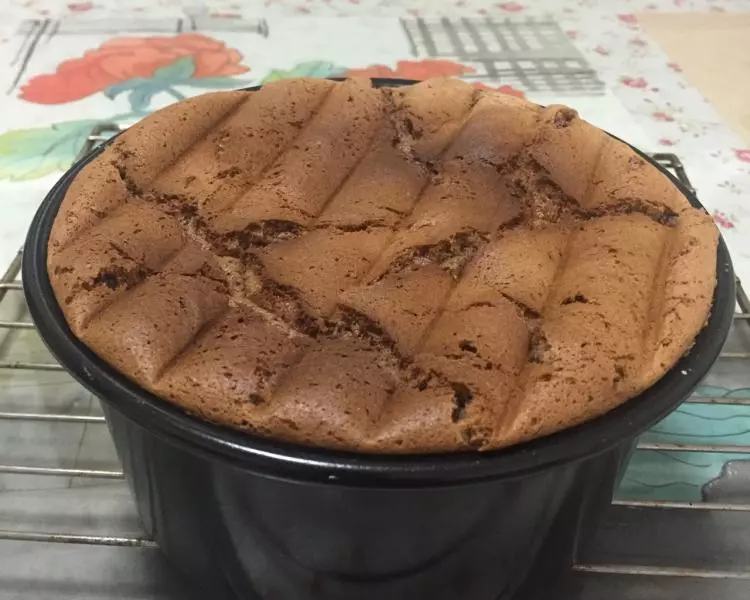
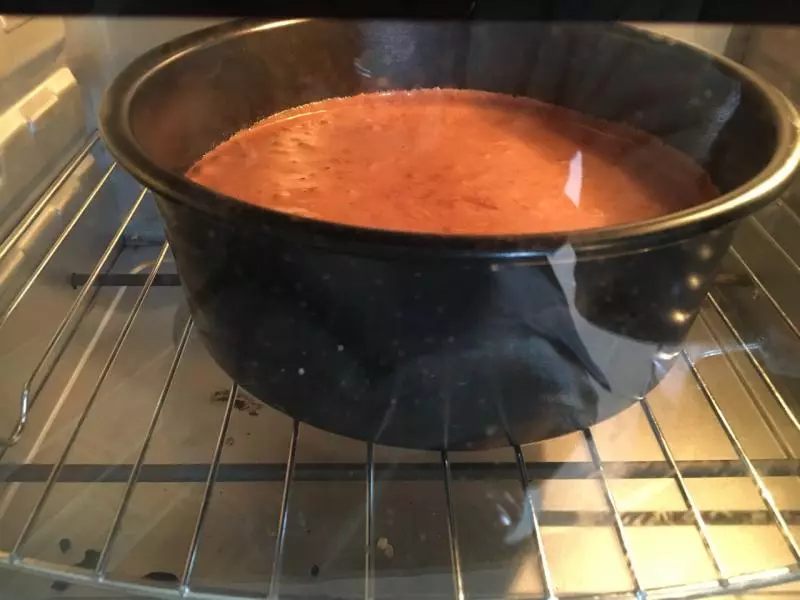
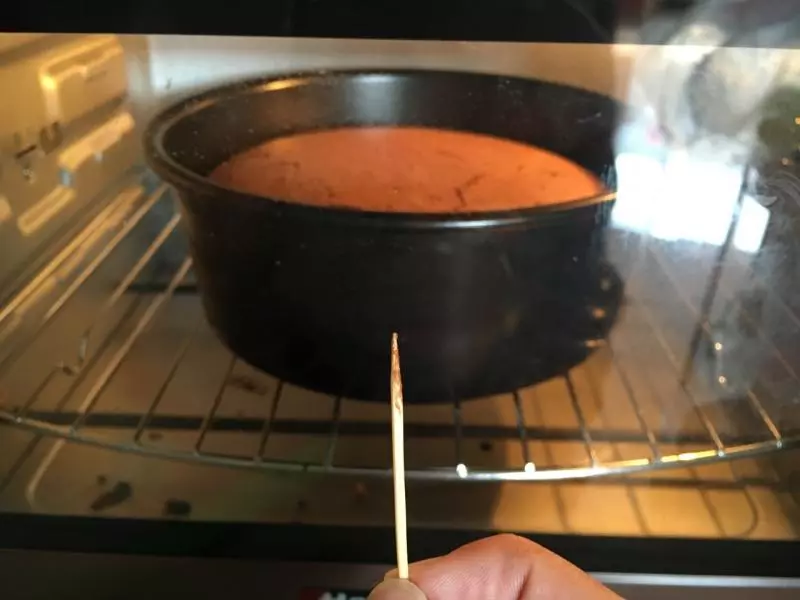
20上下110度30分钟,后,再上100下110度烤30分钟(也可以150度烤50分钟,但开裂,不介意省事可以这么烤)
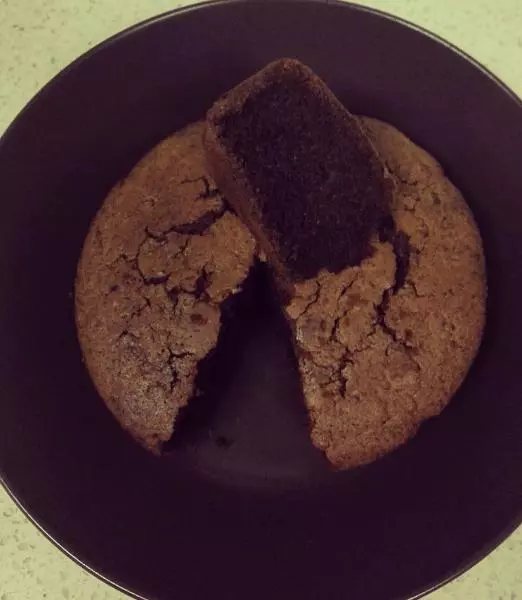
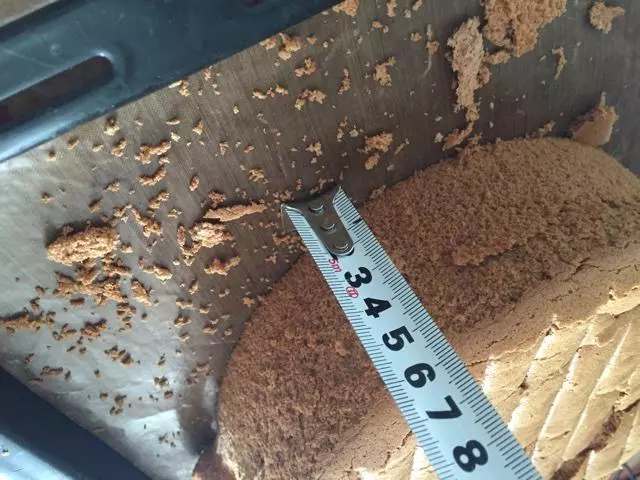
21中间停那次用牙签插到底,如图就是下边没烤透,所以如上步我调了下下边温度
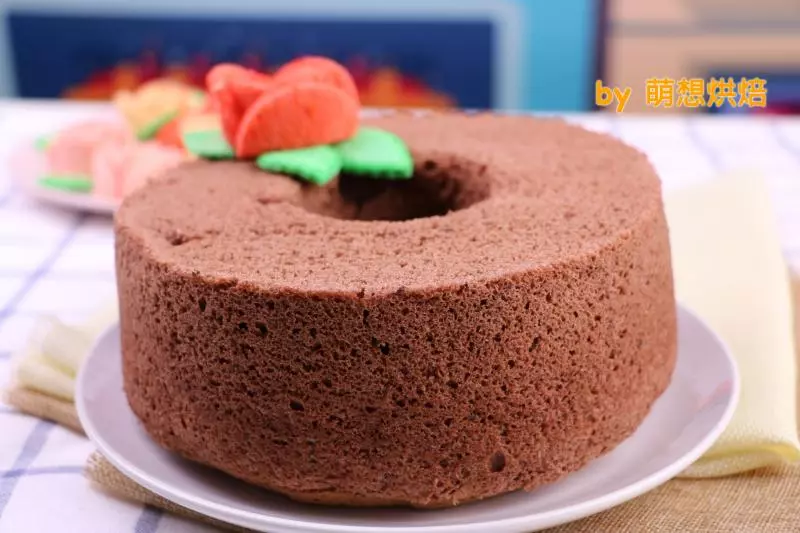
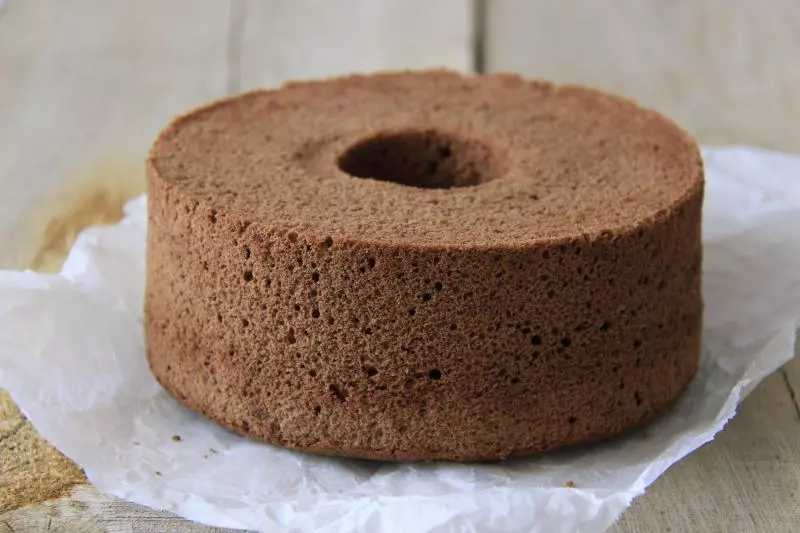
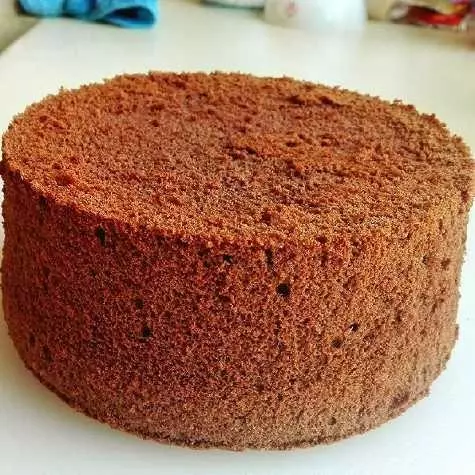
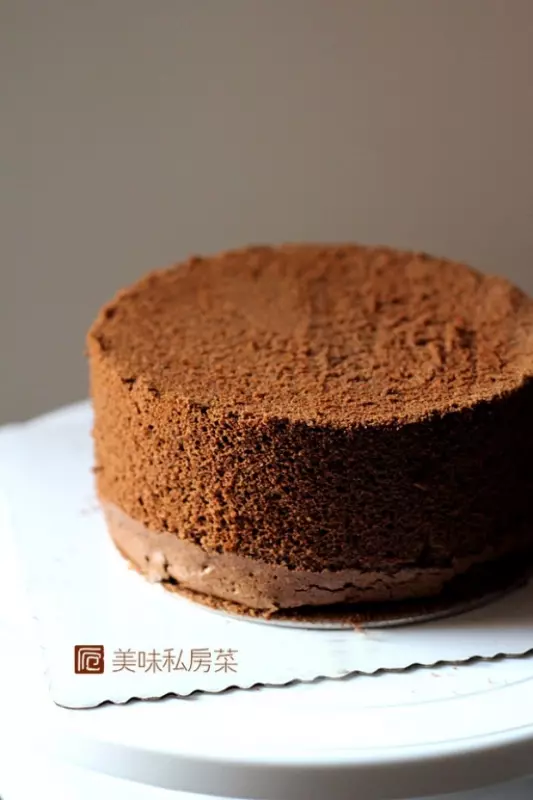
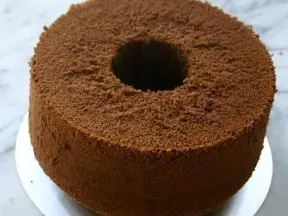
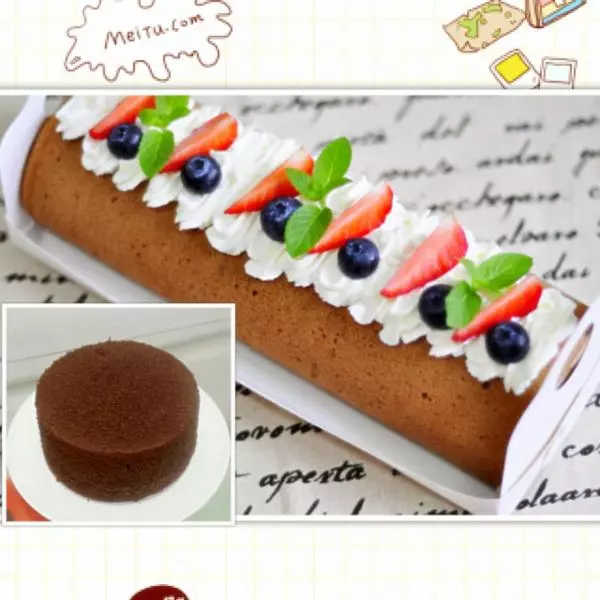
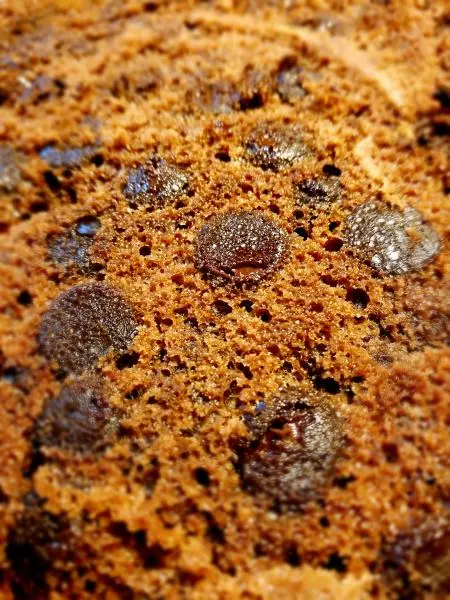
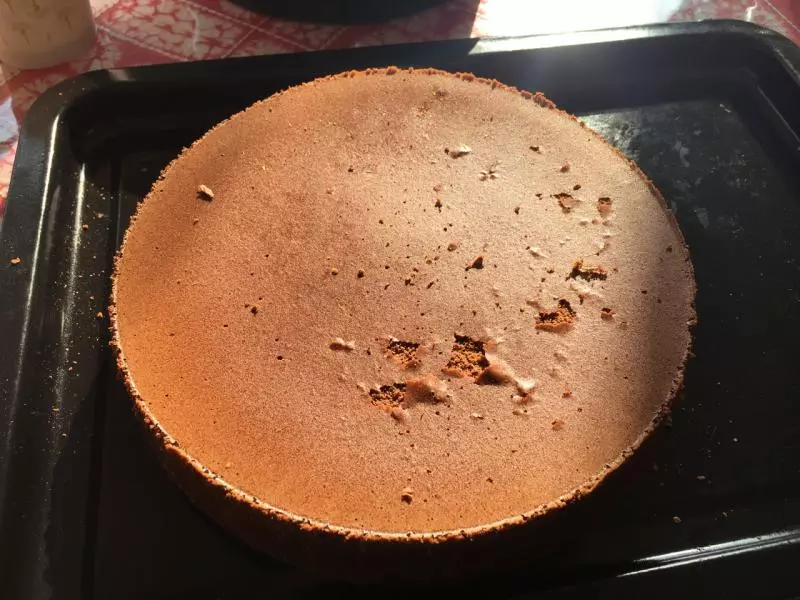
22烤好晾凉后如图,我这个还是裂开了,还好裂缝不算太大

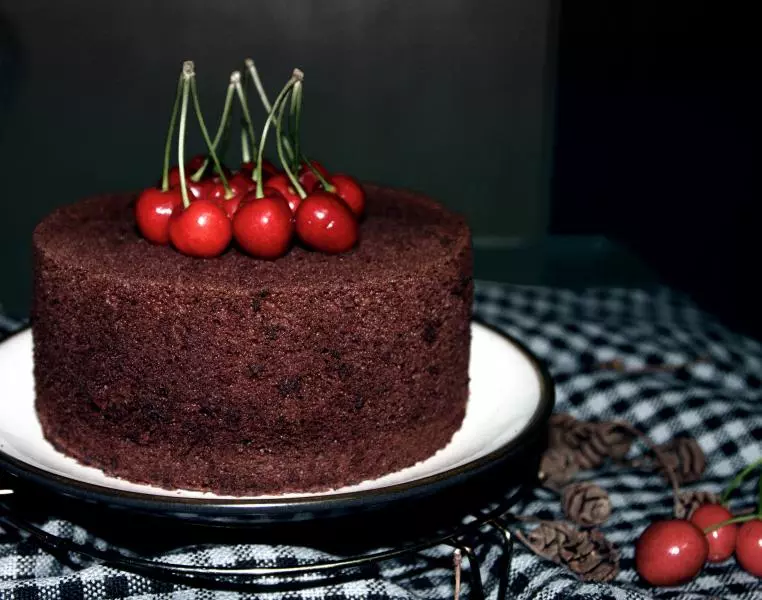
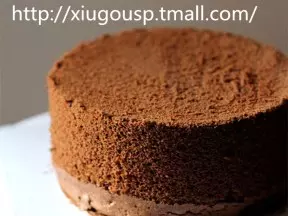
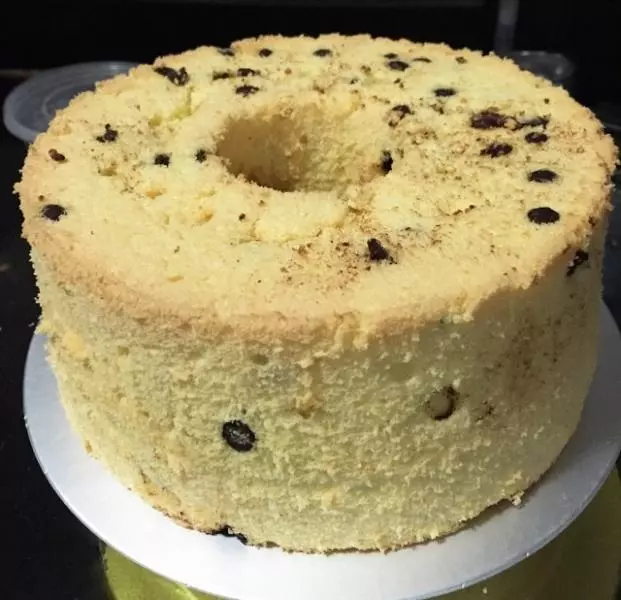
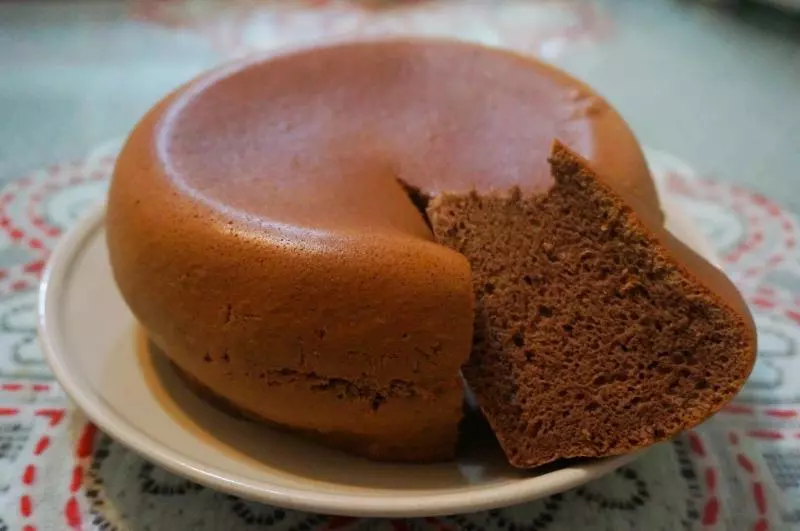
23晾凉后脱模,我用小抹刀铲了一下周围,把杯子放在下边,取出后将模底拿下就好,放冰箱冷却一小时备用(如图戚风就是蛋清打发过了点,有点硬,所以注意蛋清打发别太硬!!也可能是后期下边温度调高了)
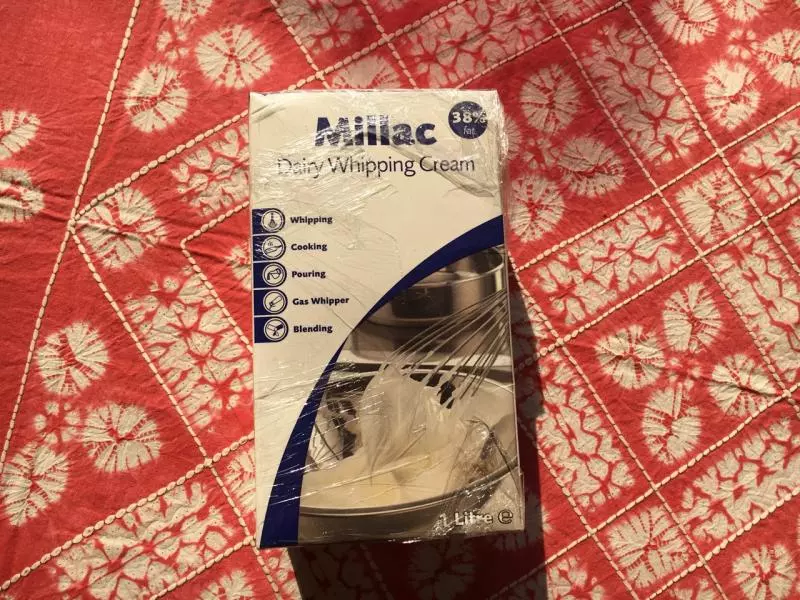
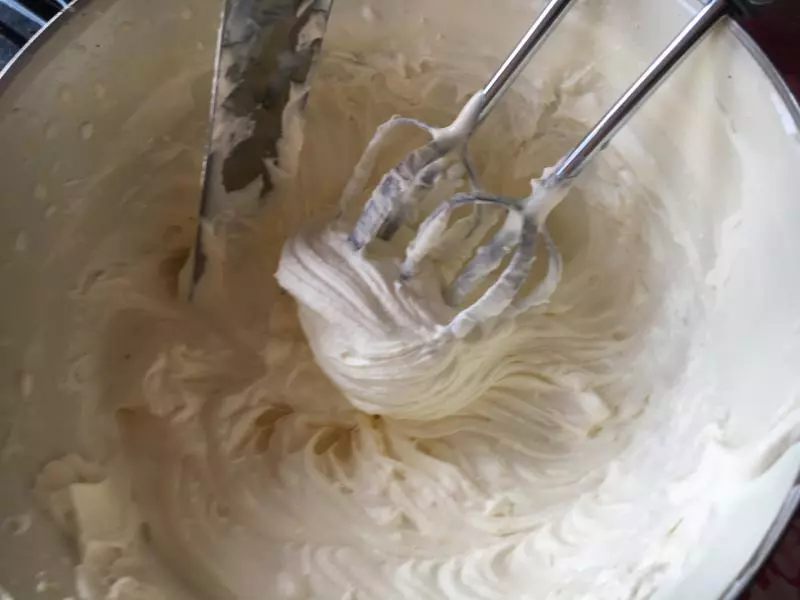
24蛋糕胚晾凉后开始准备打发奶油,淡奶油是蓝风车,网评最容易掌握打发程度稳定性好味道纯正
25淡奶油600g
26将糖粉筛入淡奶油中,开始打发,糖粉55g,奶油打发到抬起有小弯勾,不要打过头有渣

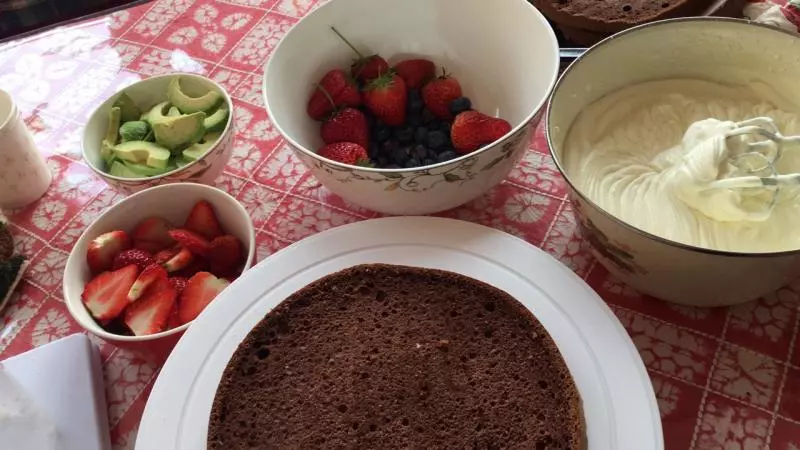
27准备水果夹层
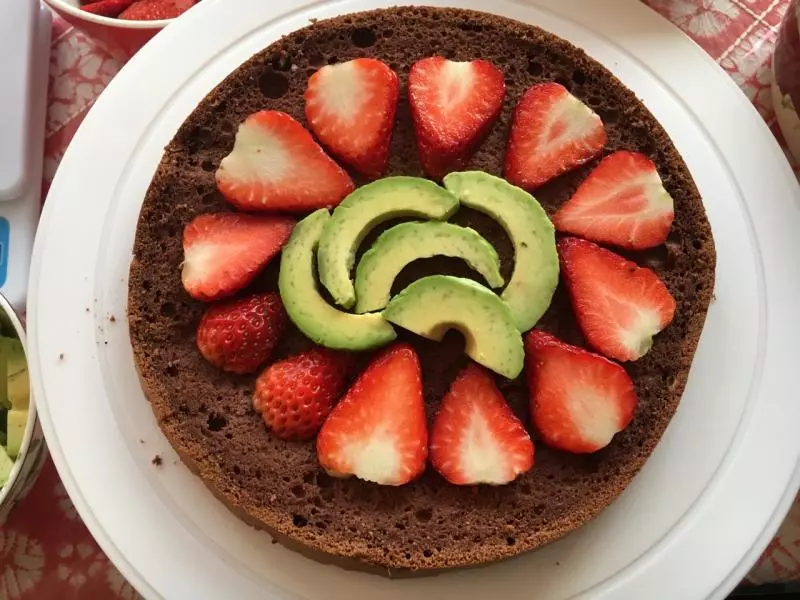
28铺水果
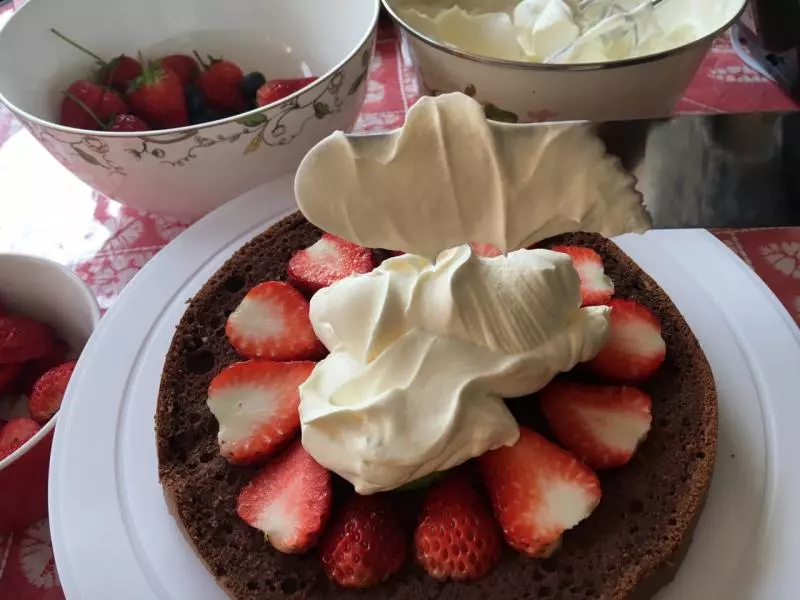
29加奶油
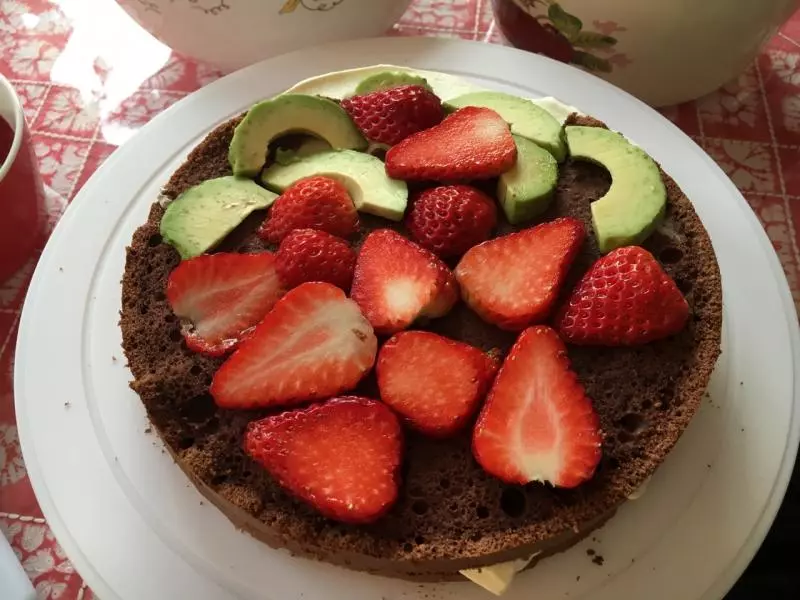
30第二层
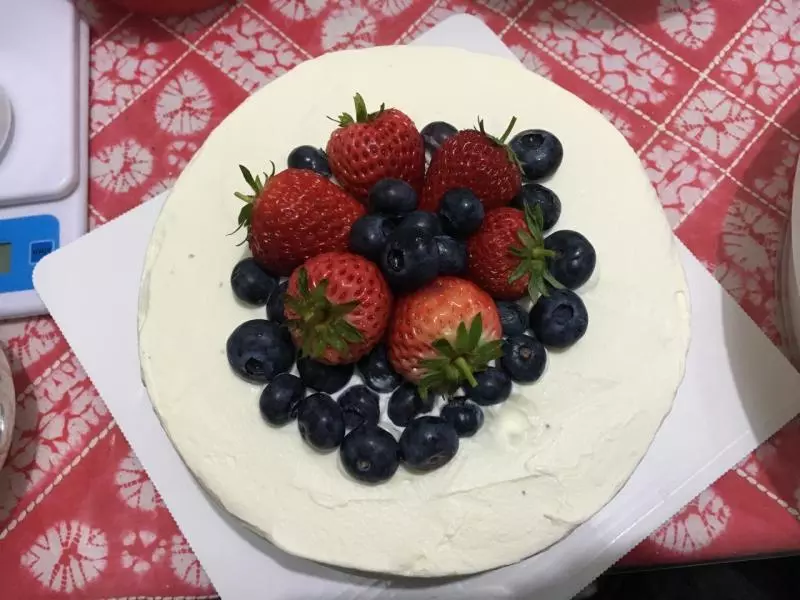
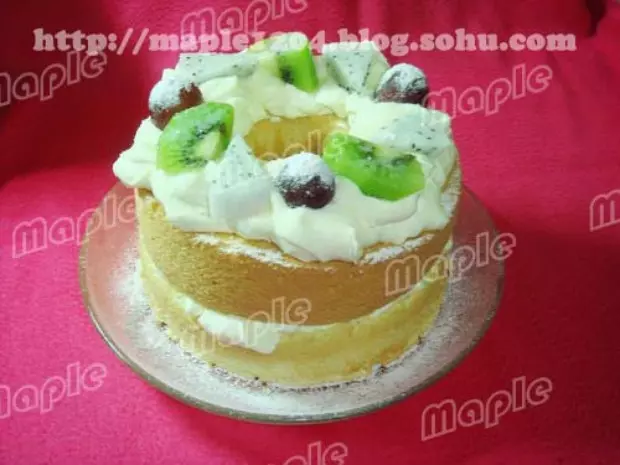
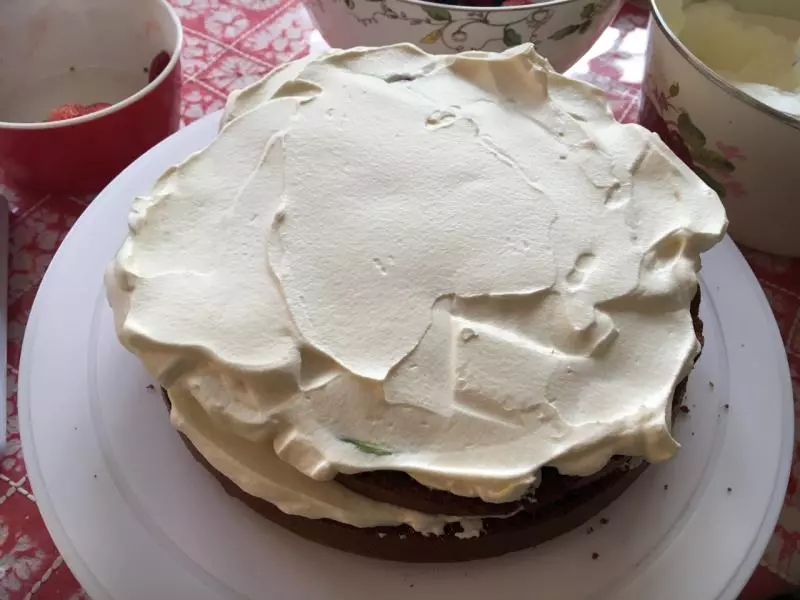
31顶层抹面需要硬一点的奶油不会化,所以夹层奶油涂完,再打一下顶层需要的奶油
32顶层
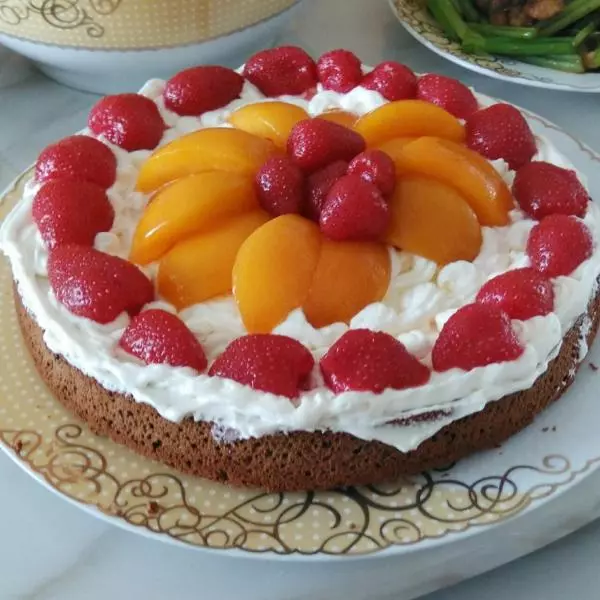
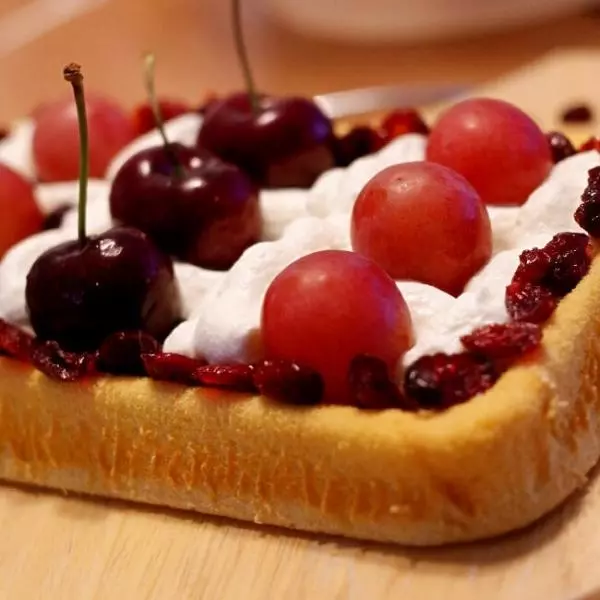
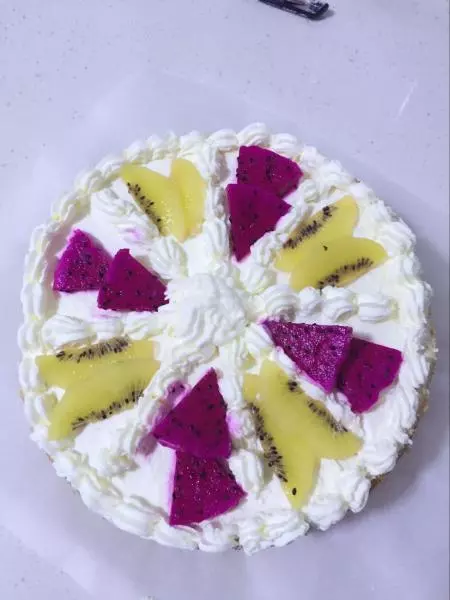
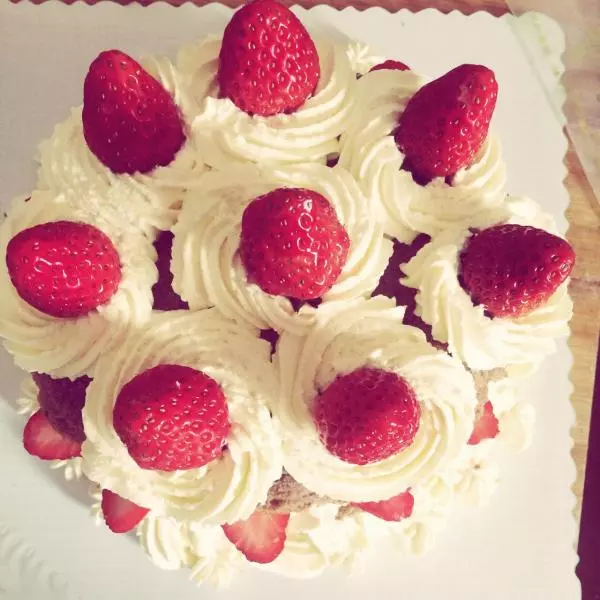
33抹面完成铺水果装饰完工