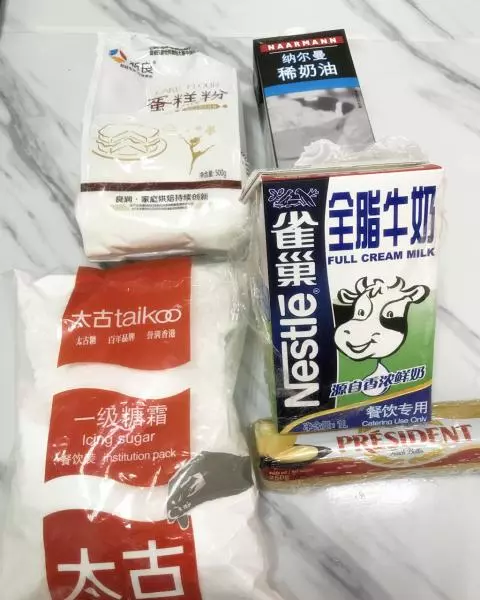
原料
鸡蛋(大号): 4个, 太古糖粉: 53克, 牛奶(常温): 413克, 淡奶油(常温): 27克, 无盐黄油: 27克, 低筋面粉: 160克, 夹馅: , 淡奶油: 600克, 太古糖粉: 48克, 芒果: 适量
步骤
1材料称量好
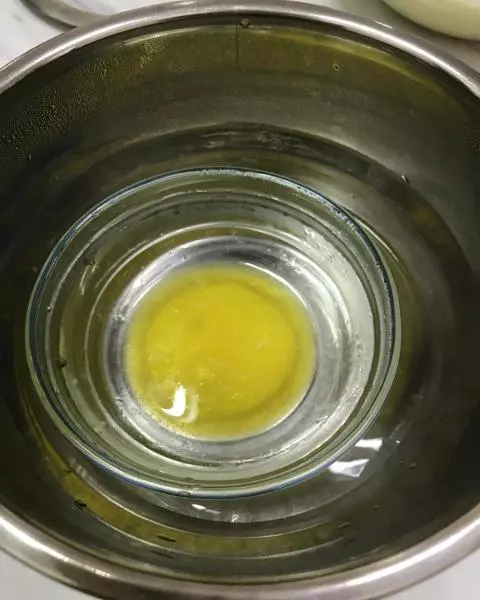
2无盐黄油放入热水中,隔水加热至融化
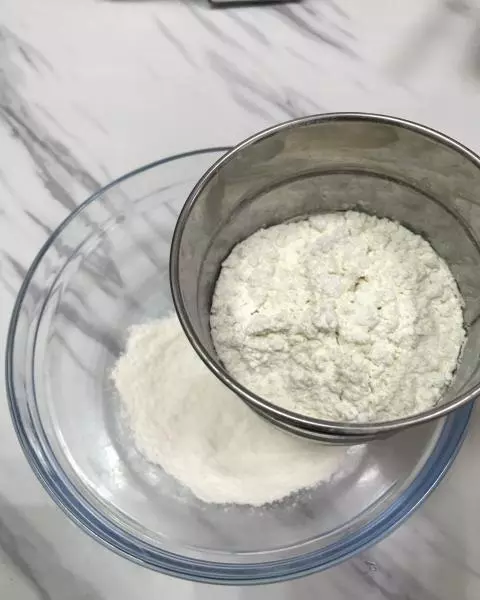
3低筋面粉过筛到玻璃碗中
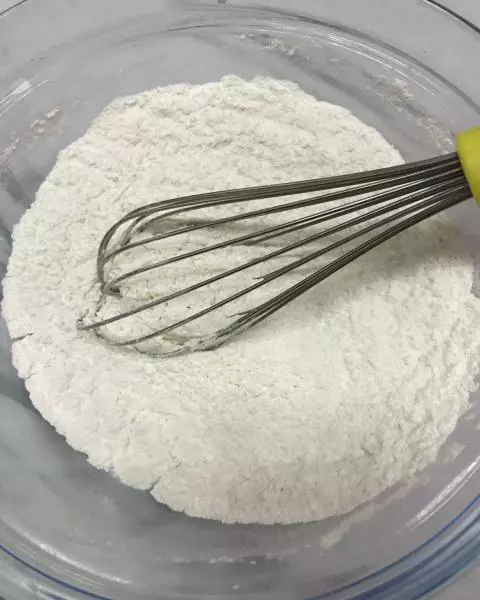
4加入糖粉,用手动打蛋器搅拌均匀
5加入常温鸡蛋,搅拌均匀

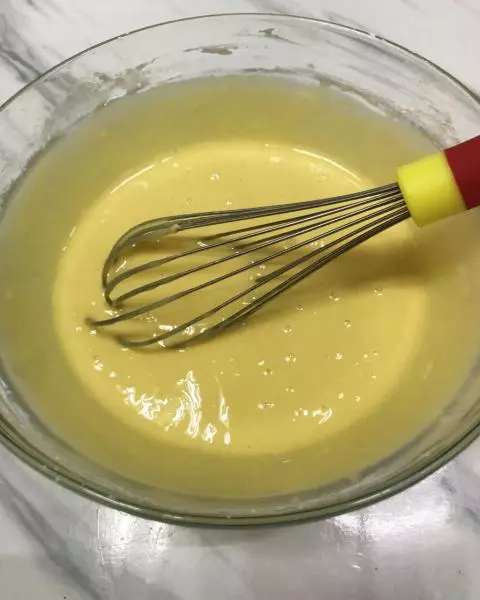
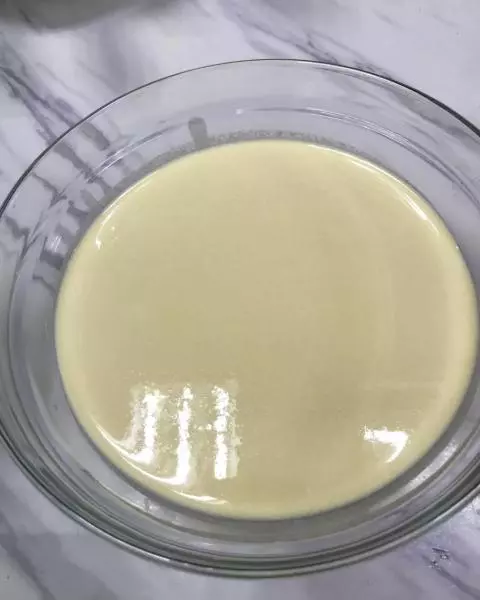
6搅拌好的样子,很浓稠、有光泽、细腻
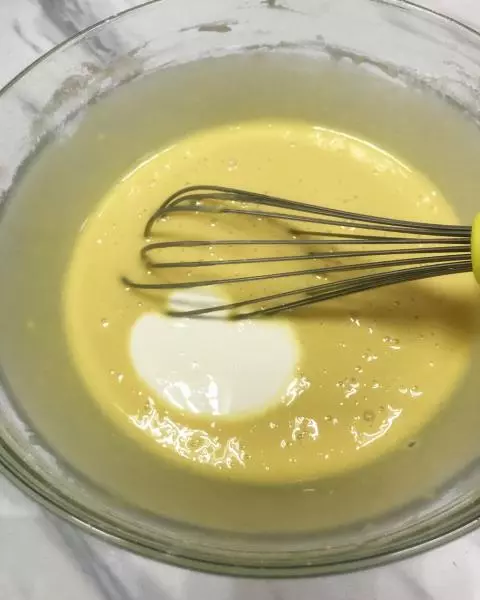
7加入常温淡奶油搅拌均匀
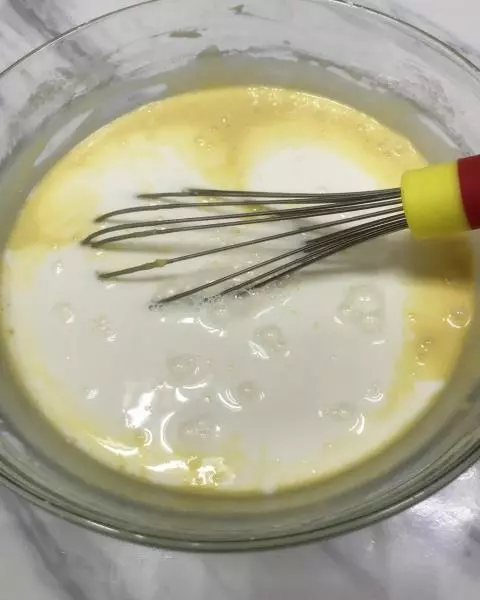
8加入常温牛奶,搅拌均匀
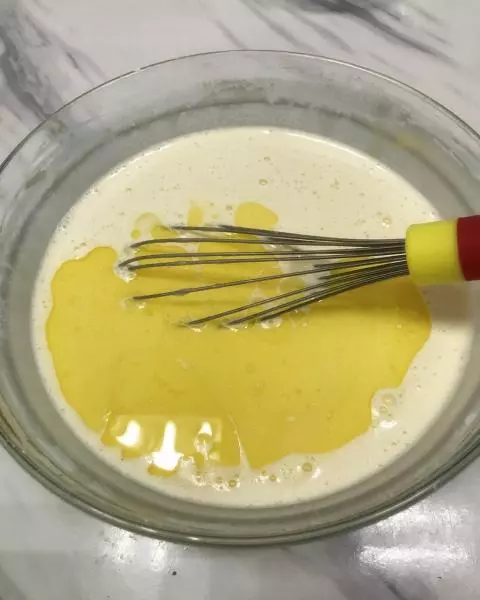
9加入融化的黄油搅拌均匀
10用滤网过滤4-5次,滤网里面的杂质不要,面糊备用
11千层锅放到电陶炉上预热至有温度好,倒2/3汤勺左右面糊在千层锅中,快速抖动均匀
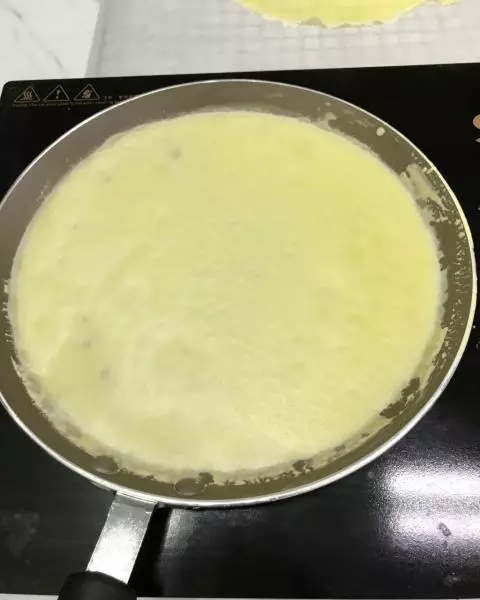
12看到皮起密集的泡泡就可以出锅,放到铺有油纸的冷却架上 煎出来的皮很薄、很嫩
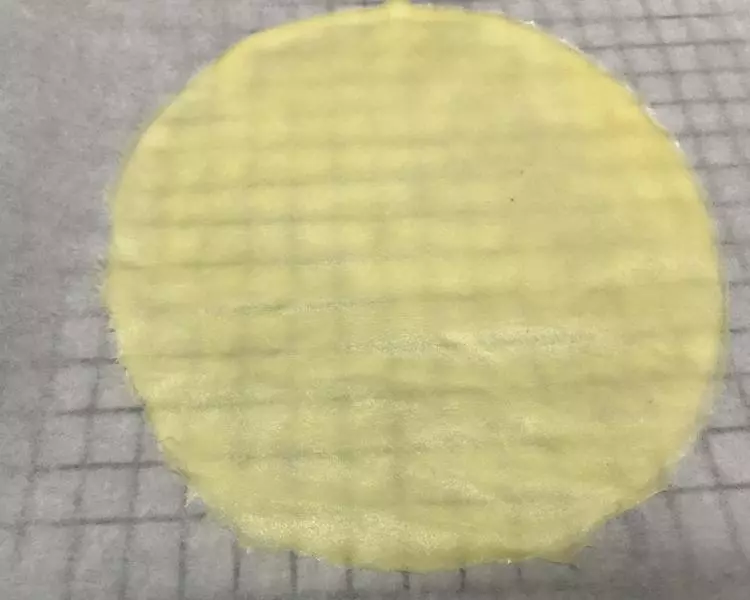
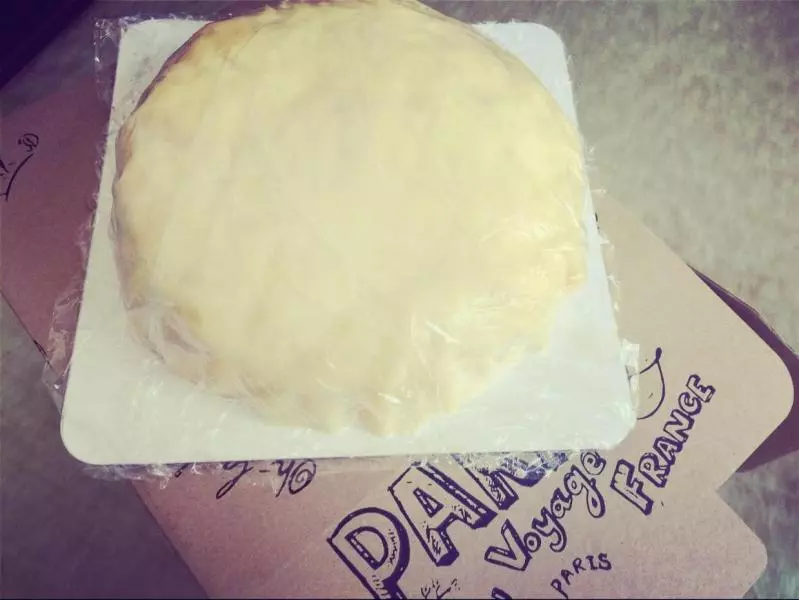
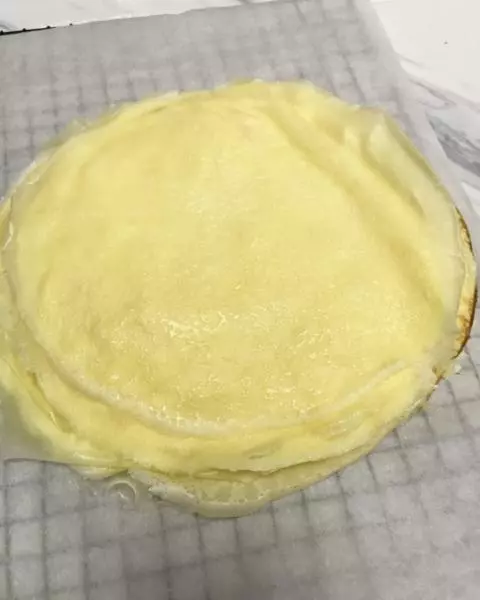
13如此类推,把全部面糊煎成薄皮,一共20张左右,表面盖保鲜膜保湿放风干冷却备用
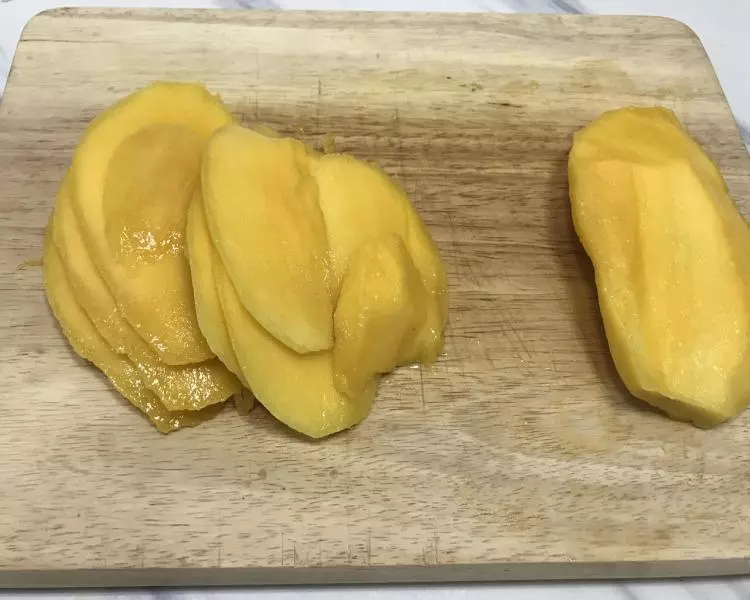
14芒果去皮后切成薄片备用
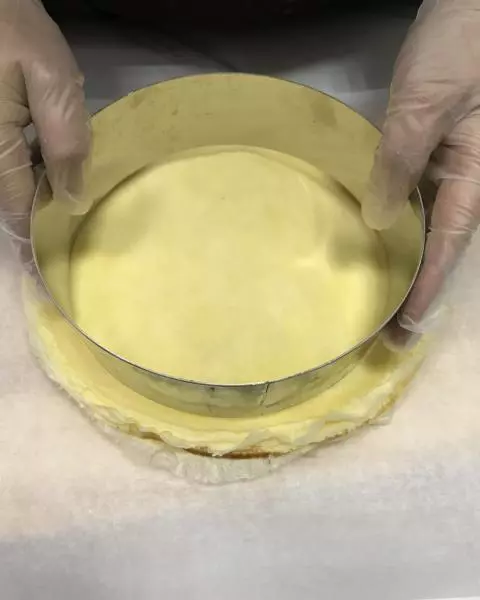
15把冷却好的千层皮取出,叠整齐,用慕斯圈压出需要的尺寸
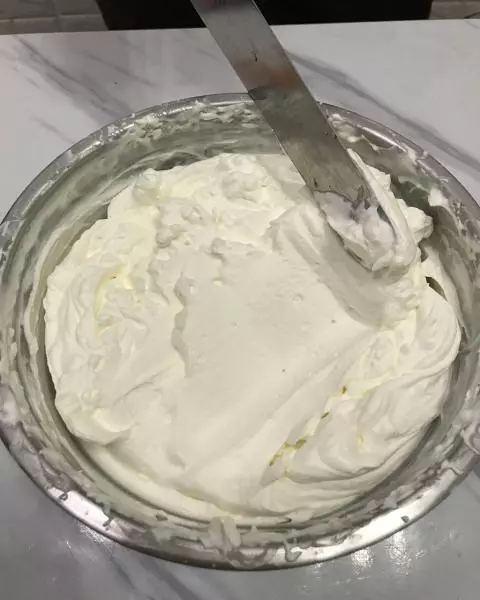
16夹馅部分的糖粉加入淡奶油中,用电动打蛋器打发至9分发
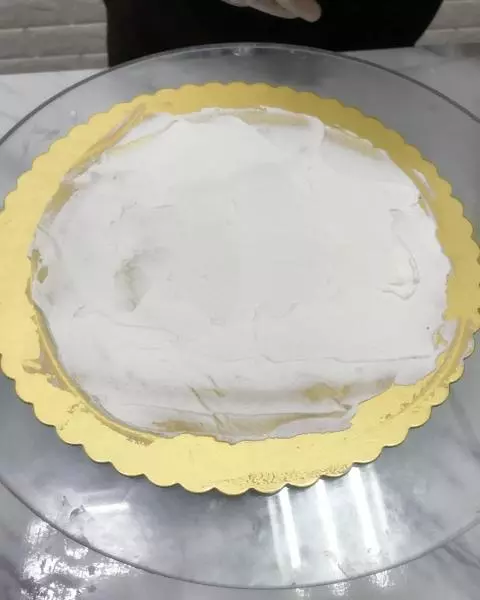
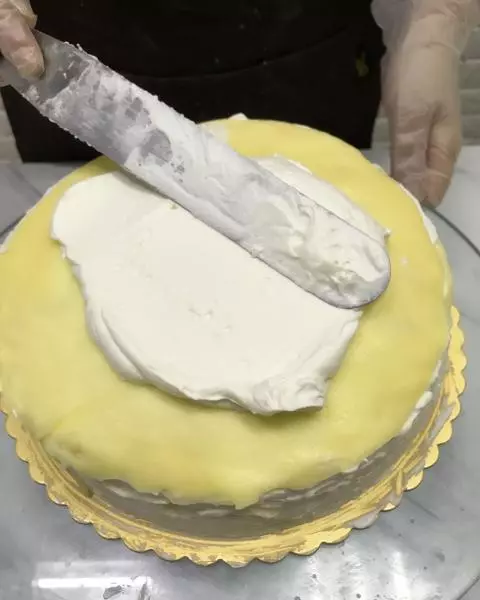
17蛋糕垫放在裱花台上,放一张千层皮,均匀地抹上奶油,再盖一层皮(奶油要全部抹满在千层皮上)
18大约盖4层皮后,放入芒果片盖一层奶油,再盖一层皮 如此类推把所有皮都叠好
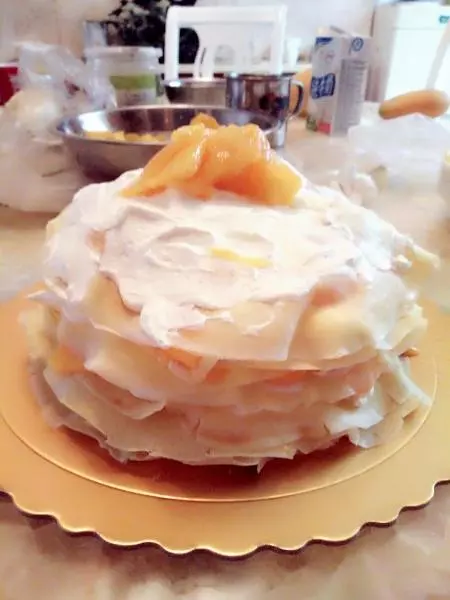
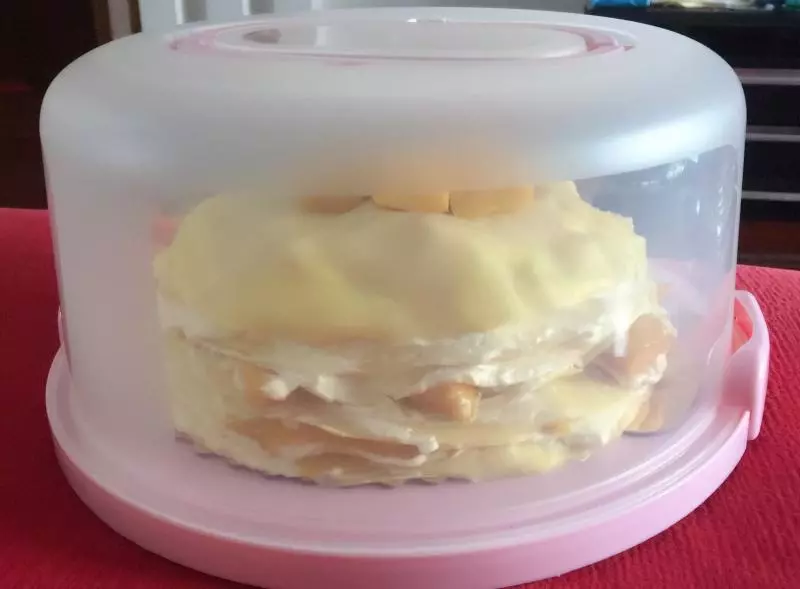
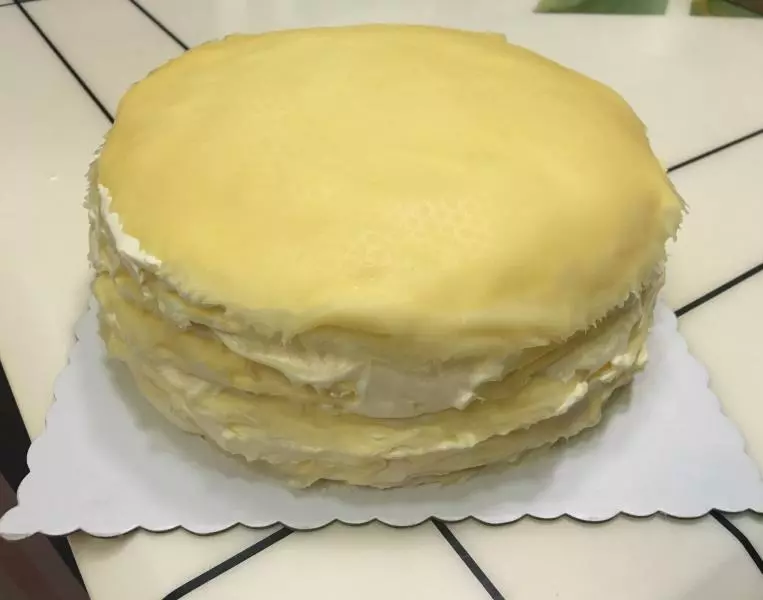
19当叠到最后第二张皮的时候,用奶油把表面和四周抹整齐

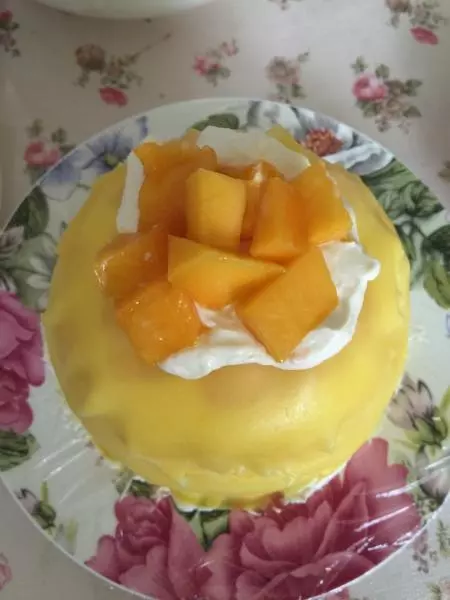
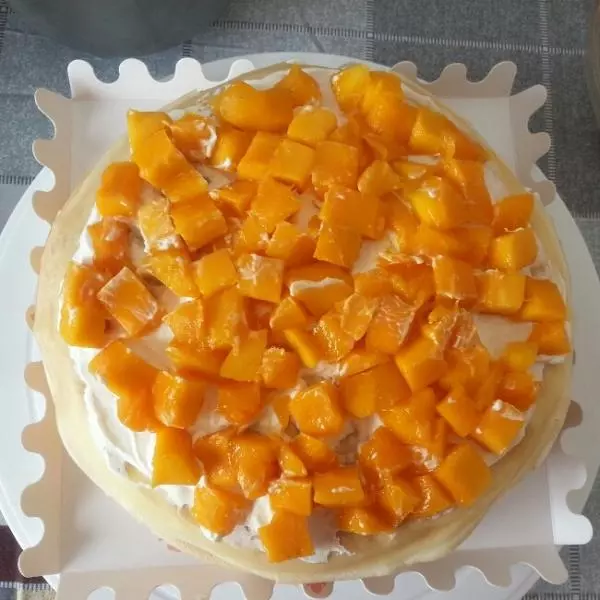
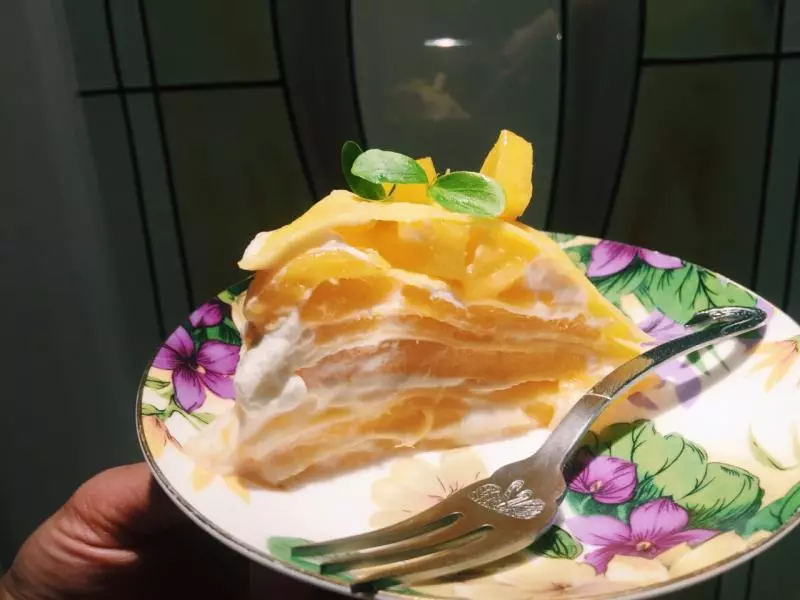
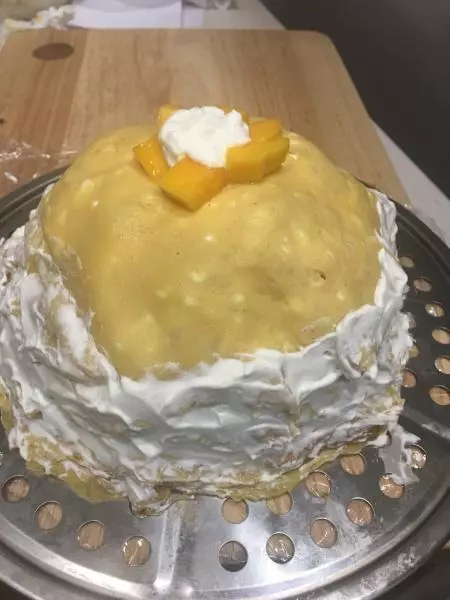
20盖上最后一张皮,表面放水果装饰

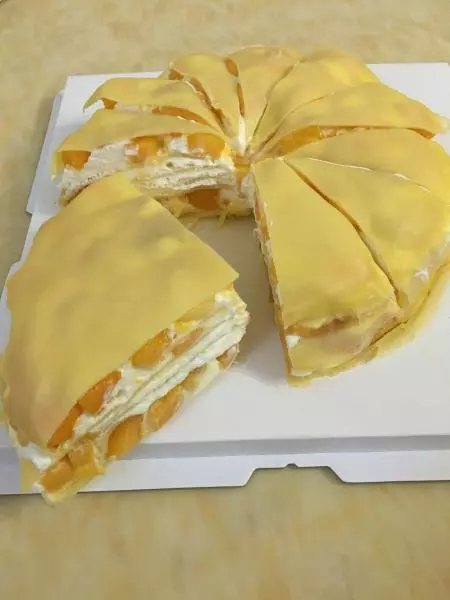
21放入冰箱冷藏1小时左右可以切件食用

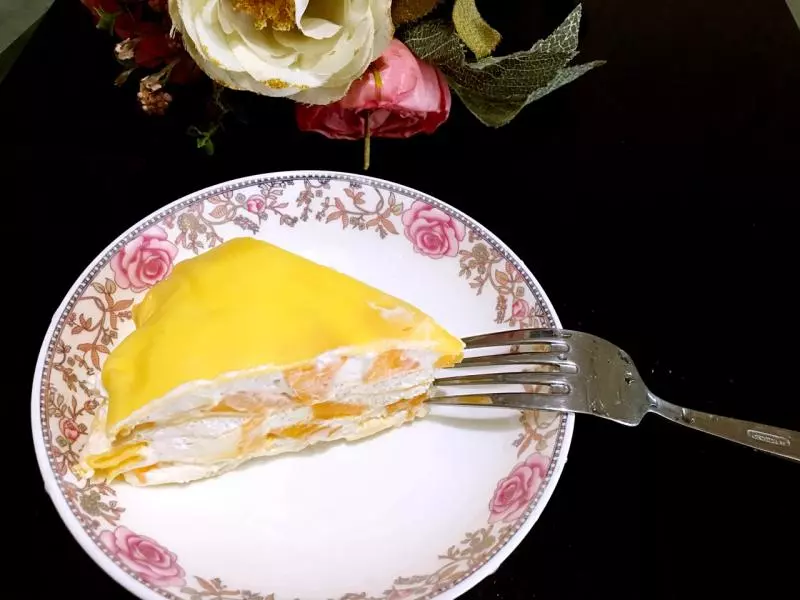
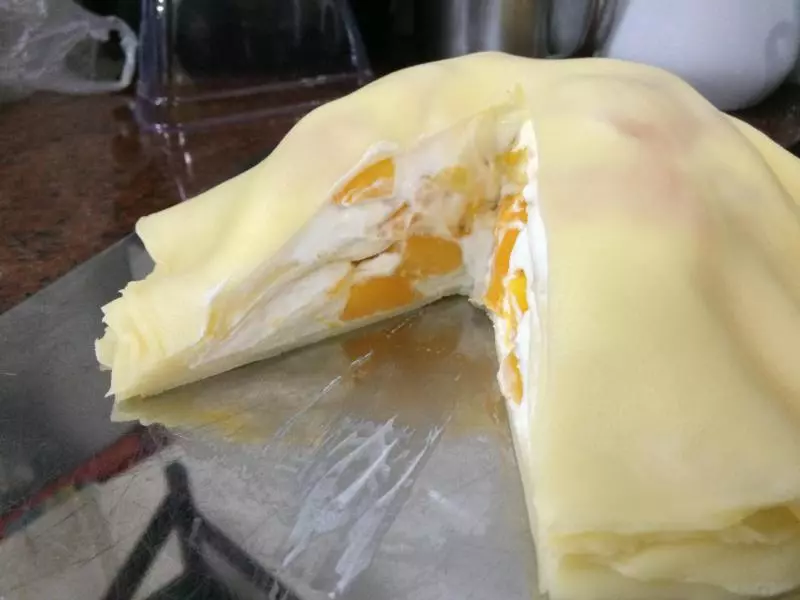
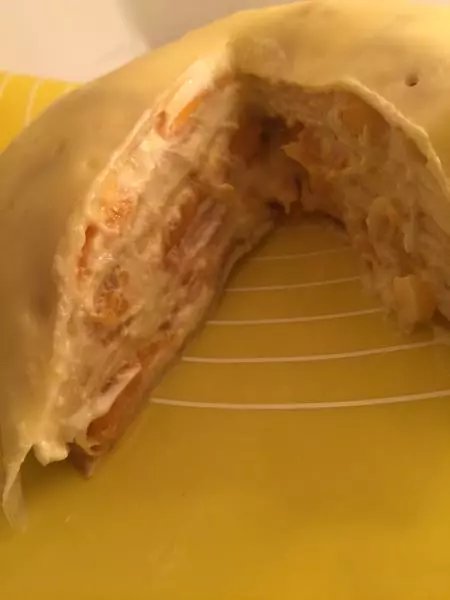
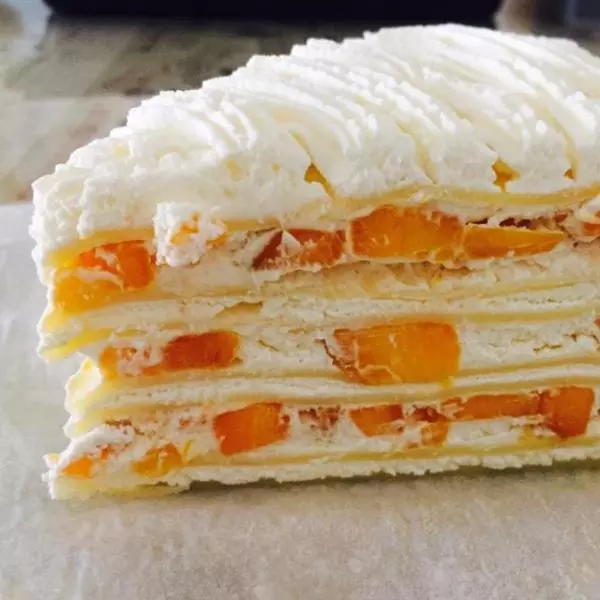
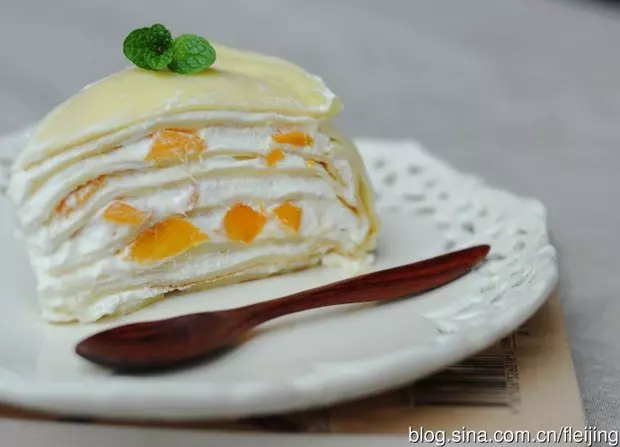
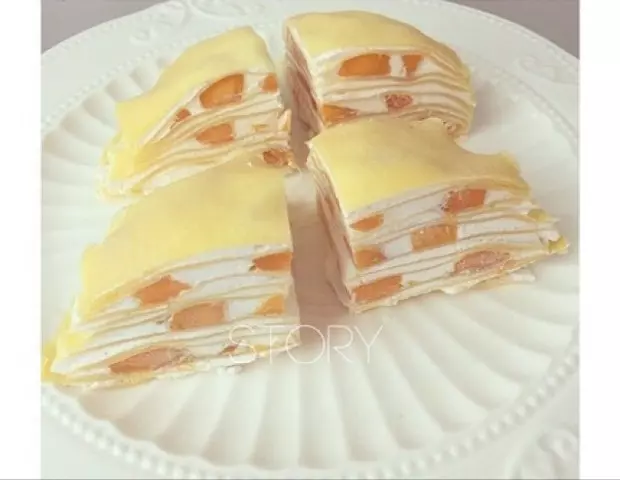
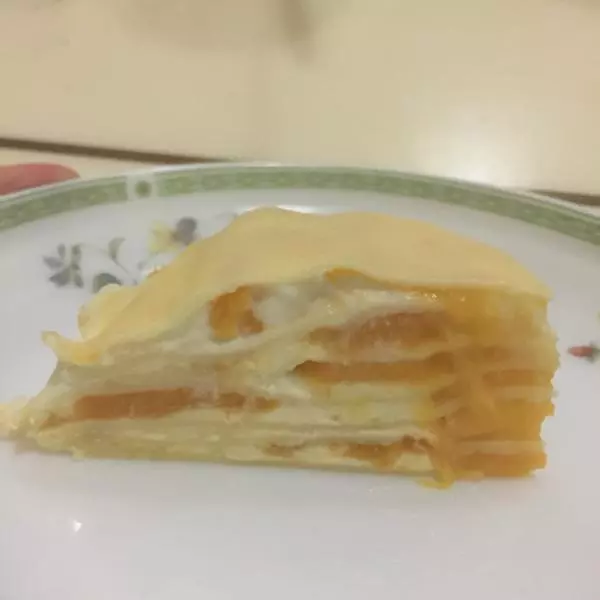
22切面~ 放的芒果可以按自己喜欢的量放

小技巧
1、面糊一定要过筛,这样煎出来的皮没有疙瘩,表皮光滑Q弹 2、可以用电陶炉、煤气灶煎制千层皮。不能用电磁炉因为只在中心加热,煎皮容易糊 3、煎制千层皮的锅子一定要平整的,不能中间凸起,不然煎出来的皮会中间薄四周厚容易糊而且影响口感 4、水果可以选择自己喜欢的软质水果例如火龙果、榴梿、草莓等等,用量可以按你喜欢的放 5、打发淡奶油的时候要注意不要打过头,快到需要状态的时候可以低档打发,打打停停 6、放冰箱的时候可以盖一层保鲜膜防止蛋糕在冰箱中风干失去水分。如果表面有装饰的话可以冷藏定型后再装饰 7、切蛋糕的时候,刀泡过热水切出来的切件就会非常工整