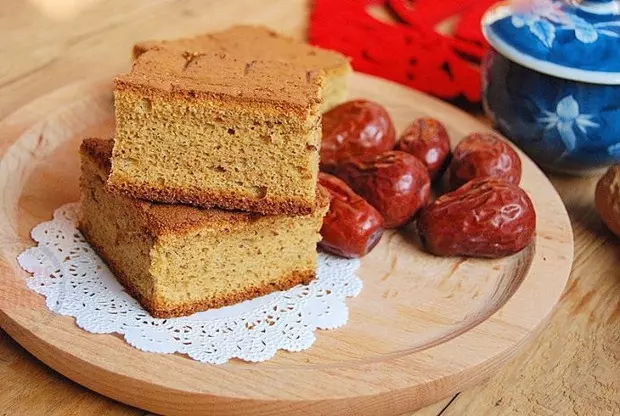
簡介
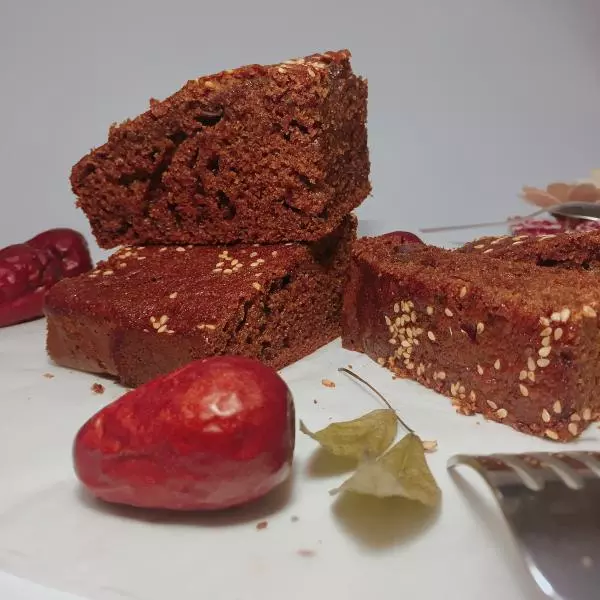
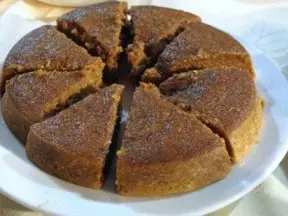
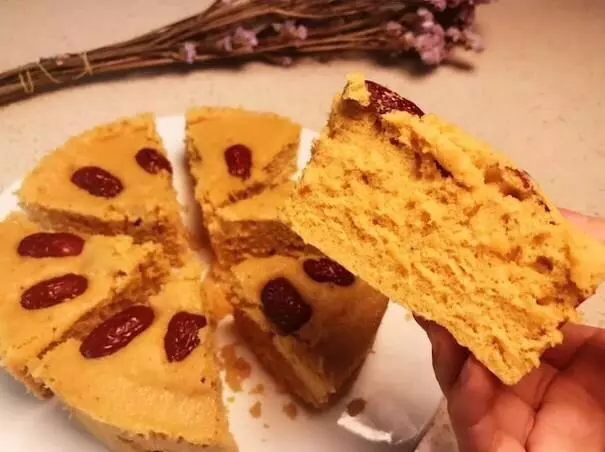
節日裡我用來待客的必備點心,我喜歡用紅糖來做,那樣更健康也更能吊出紅棗特有的香甜。
原料
干紅棗 70克,去核, 低粉 110克, 雞蛋 5個, 紅糖 70克, 蜂蜜 3茶匙, 植物油 85克, 泡打粉 1/2茶匙
步驟
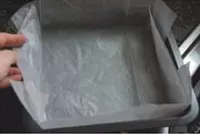
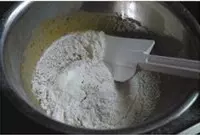
1烤盤鋪油紙備用。低粉和泡打粉混合後過篩1~2次
2干紅棗去核後用和棗齊平的水浸泡2小時左右,讓紅棗吸飽水份,至表面無明顯皺紋
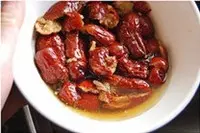
3然後取出瀝干(瀝出的紅棗水留著)
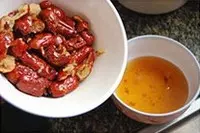
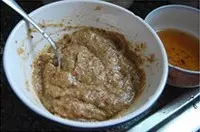
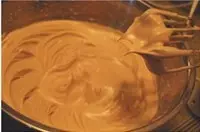
4放入攪拌機內,加入約一半(或以上)植物油攪拌成泥
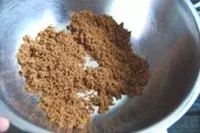
5紅糖容易結塊,先用手把紅糖捏散,不然打發蛋白時會結塊沉底
6攪拌好後的棗泥,加入3茶匙蜂蜜攪拌均勻
7再加入剩下的植物油攪拌至均勻,至無油浮在表面備用
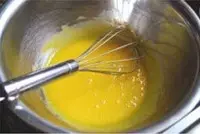
8蛋黃用蛋抽攪勻
9加入打好的棗泥
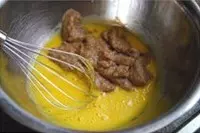
10攪勻
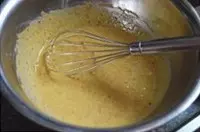
11加入篩好的粉粉(低粉+泡打粉)
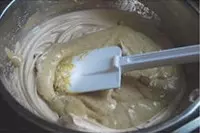
12用橡皮鏟攪勻,【拌好的蛋黃糊應該是略微還能流動的樣子,若感覺太稠的話可適當添加前面泡棗時瀝出的紅棗水來進行調整】

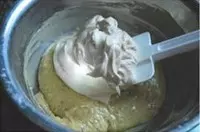
13蛋白加入全部的紅糖打發至硬性
14取1/3打好的蛋白霜加入到加了棗泥的蛋黃糊里拌勻
15然後把拌好的糊糊全部回倒入剩餘的蛋白霜中切拌均勻
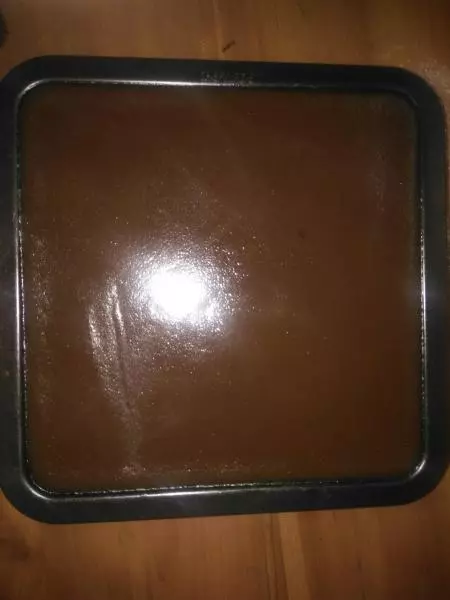
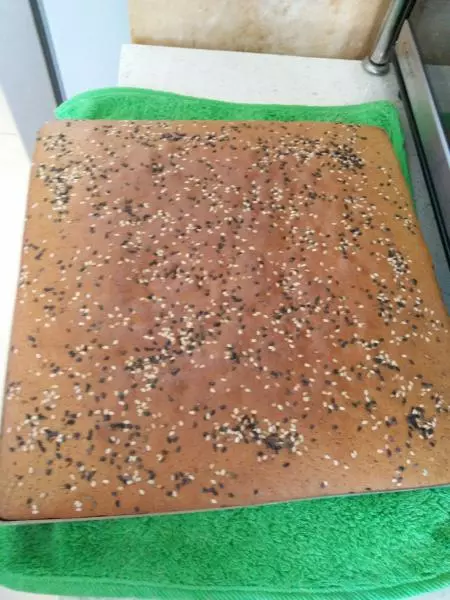
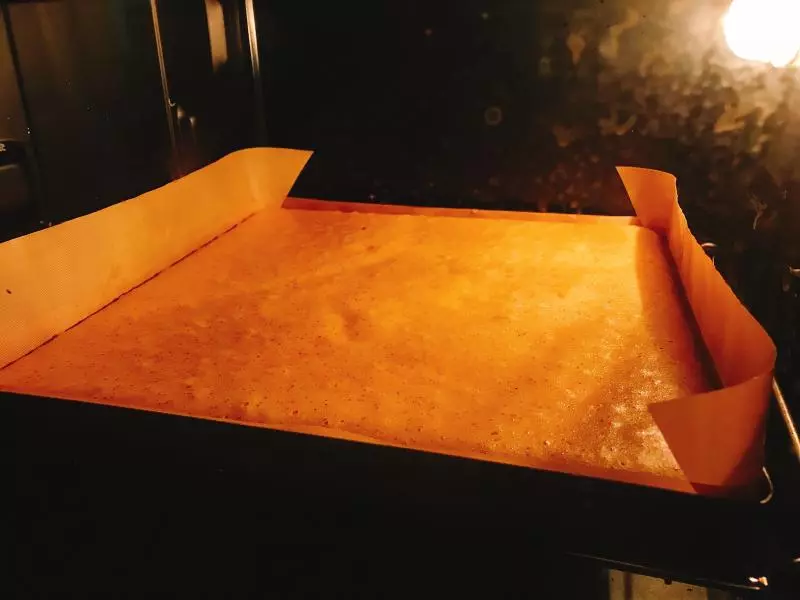
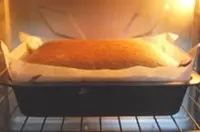
16拌好的蛋糕糊倒入鋪了油紙的烤盤中,輕震幾下去掉些大氣泡

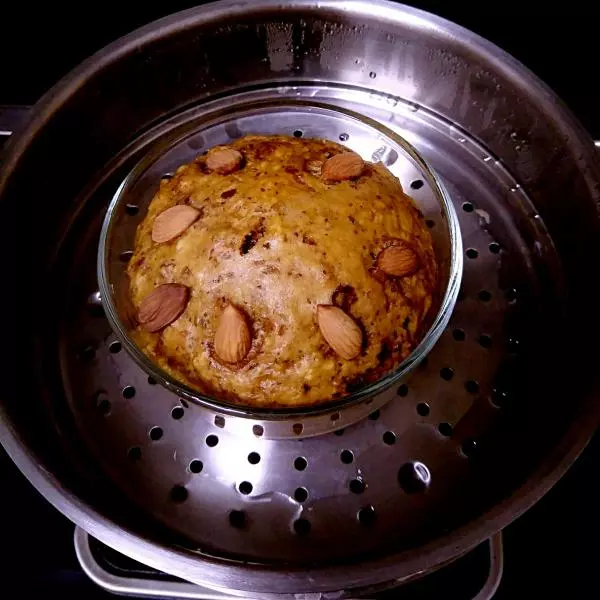
17烤箱預熱150~160度,中層,烤時為60分鐘左右
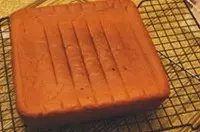
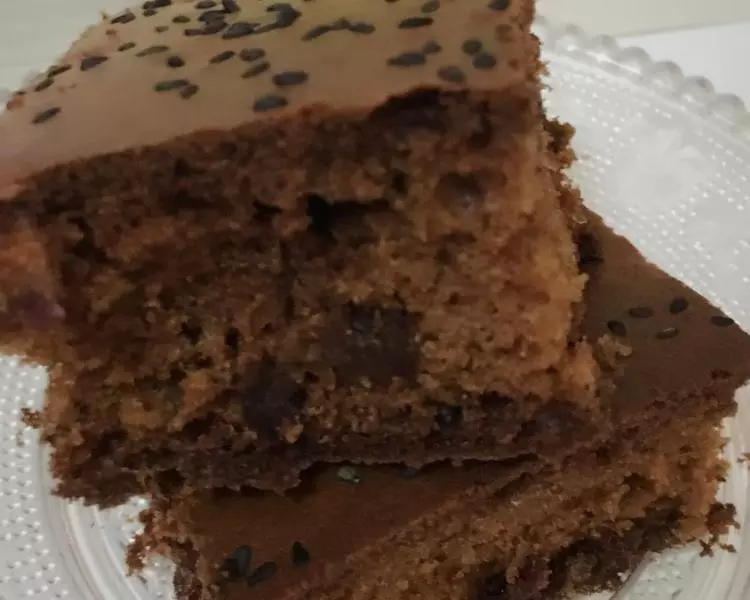
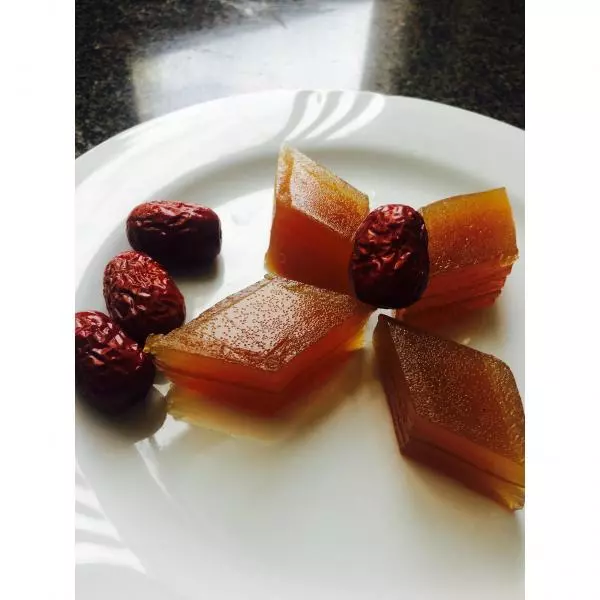
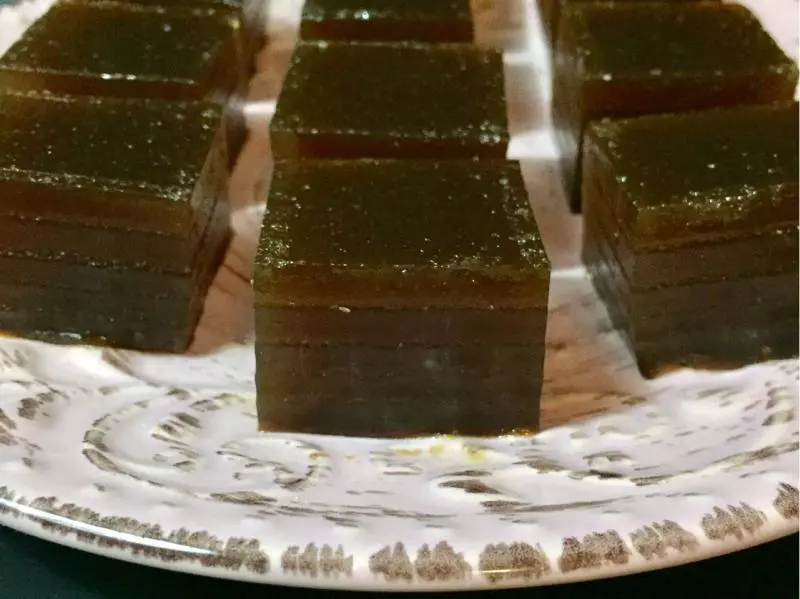
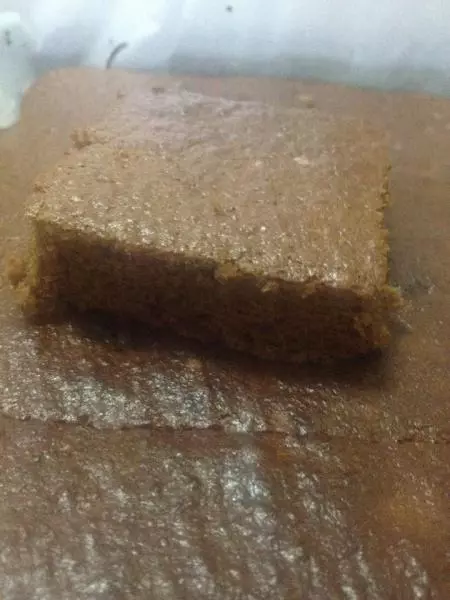
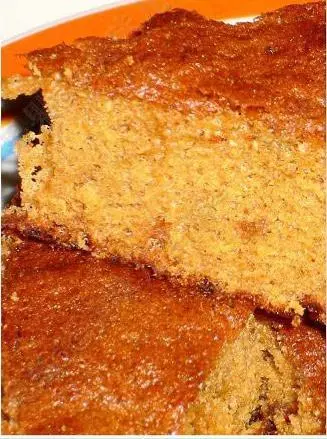
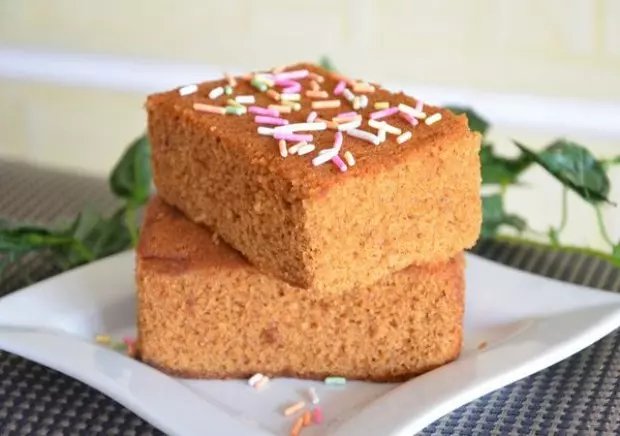
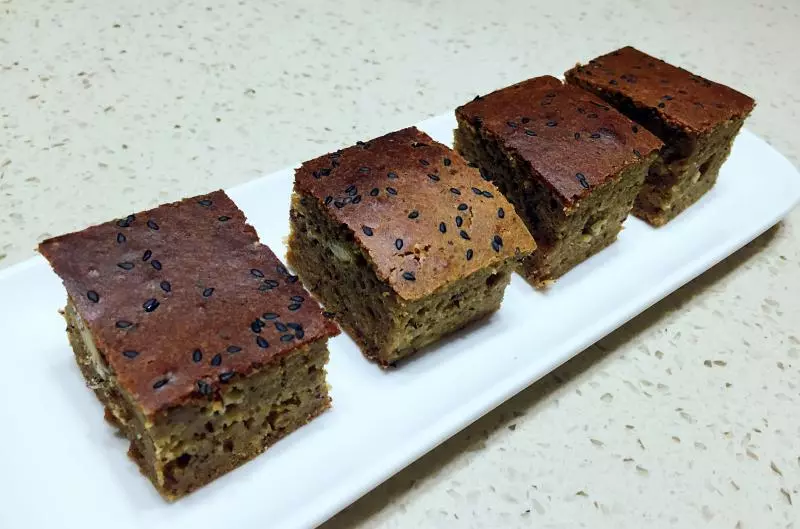
18取出後倒扣放涼,切塊食用