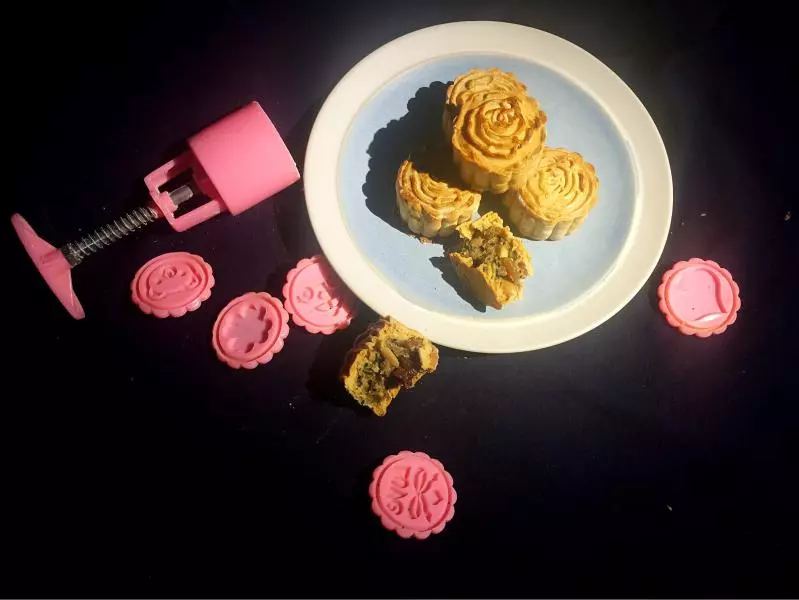
原料
中筋麵粉(普通麵粉): 120克, 奶粉: 10克, 轉化糖漿: 90克, 梘水: 2克, 玉米油: 30克, 蛋黃(刷面): 1個
步驟
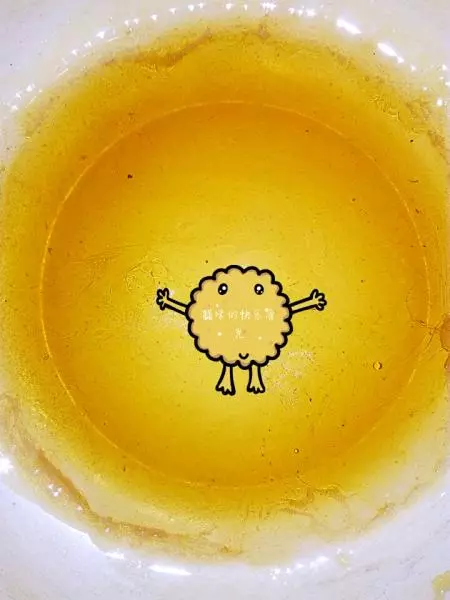
1先將轉化糖漿放入容器中。
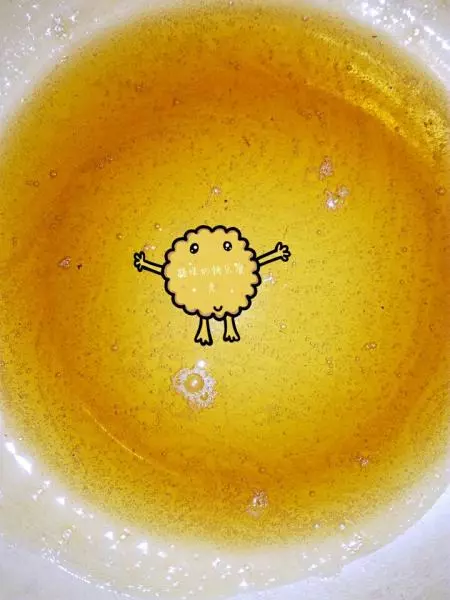
2加入梘水、植物油,攪拌均勻。 (梘水的製作,詳見:https://www.xiachufang.com/recipe/101856556/
3加入中筋麵粉、奶粉。
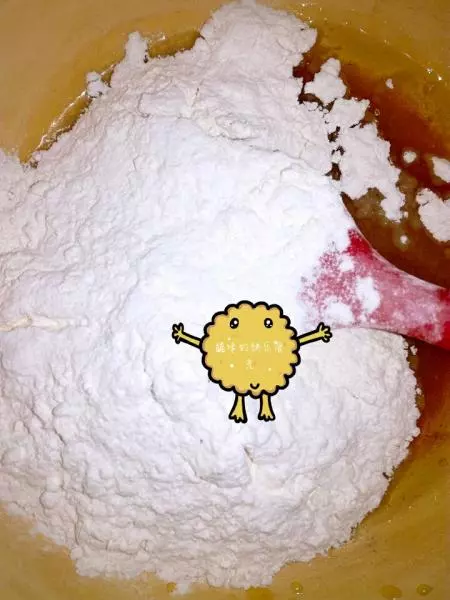
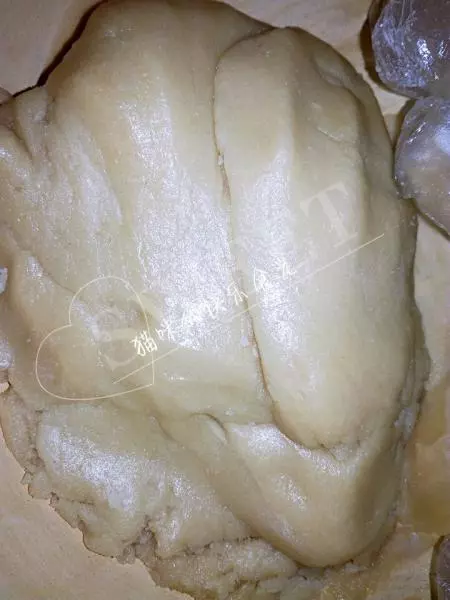
4混合均勻,蓋上保鮮膜鬆弛2小時以上(不要冷藏,否則餅皮即使回溫再操作,也會感覺粘手的哦)。
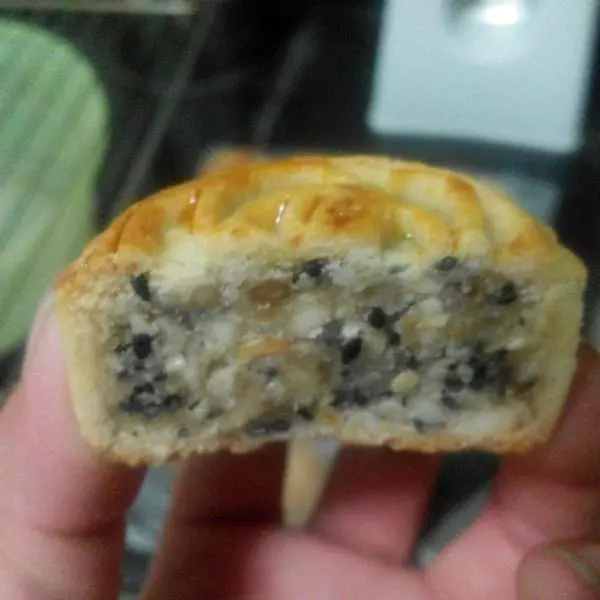
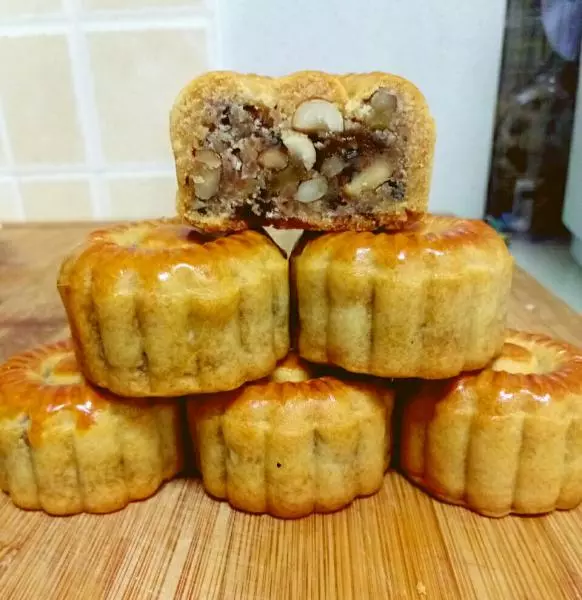
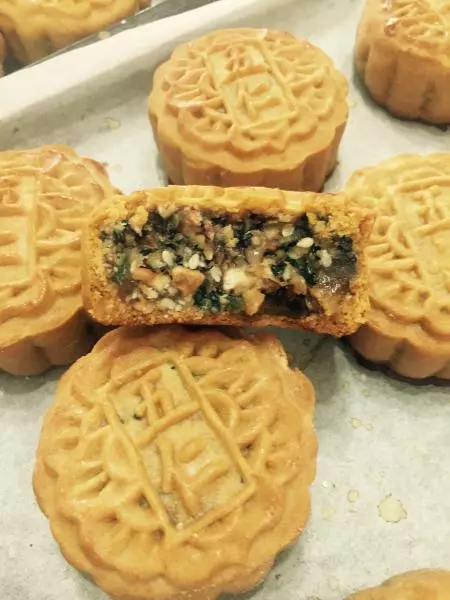
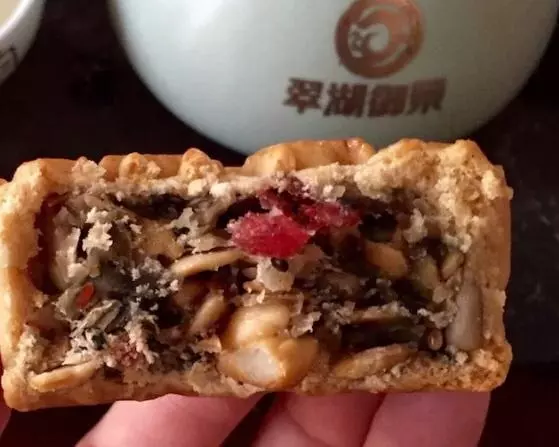
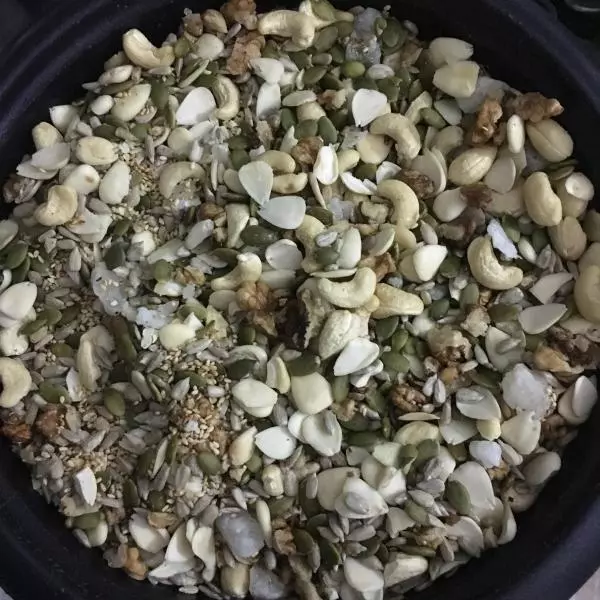
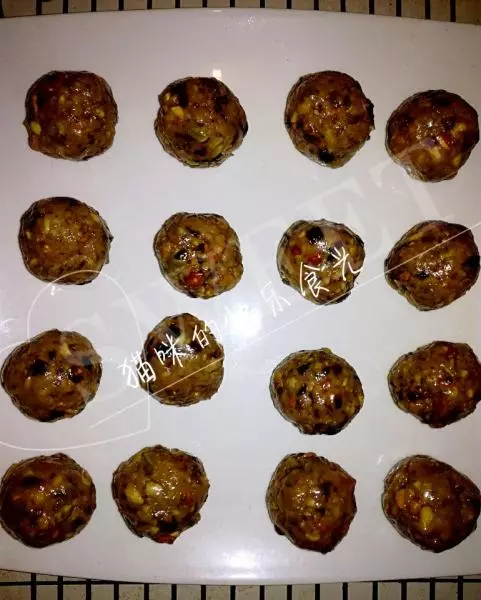
5鬆弛麵糰的時間準備餡料,將五仁餡分成35克一個(根據皮和餡3:7的比例),共16個餡。 五仁餡料的製作,詳見:https://www.xiachufang.com/recipe/102200986/
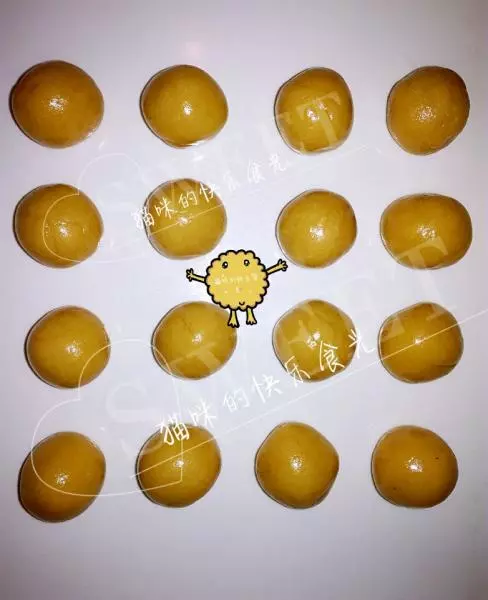
6取鬆弛好的麵糰,分成15克一個的小劑子,共計16個,蓋上保鮮膜放一旁待用。
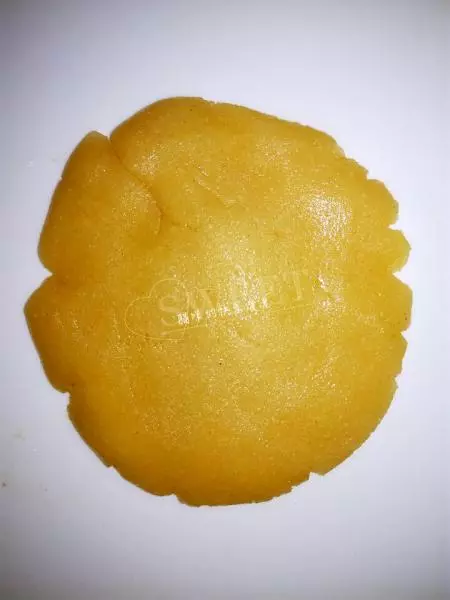
7戴上一次性手套(防止粘手),取一個小劑子,用大拇指、食指、中指三個手指的指肚,慢慢壓扁攤平放大餅皮。
8在上面放上一個五仁餡,用虎口一點點把小劑子慢慢的推上去。
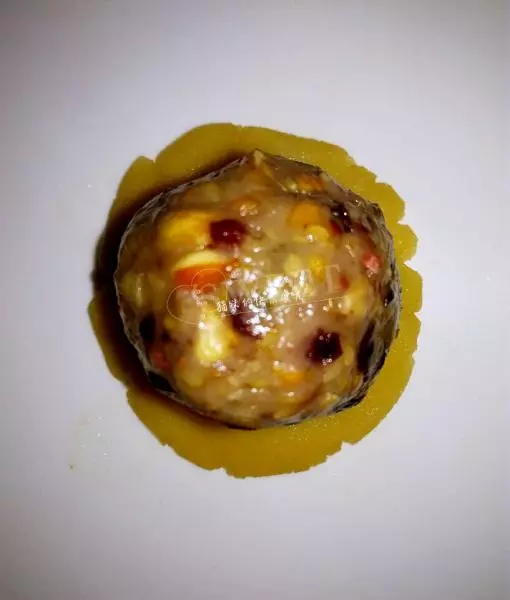
9像包湯糰的一樣包好,收口。
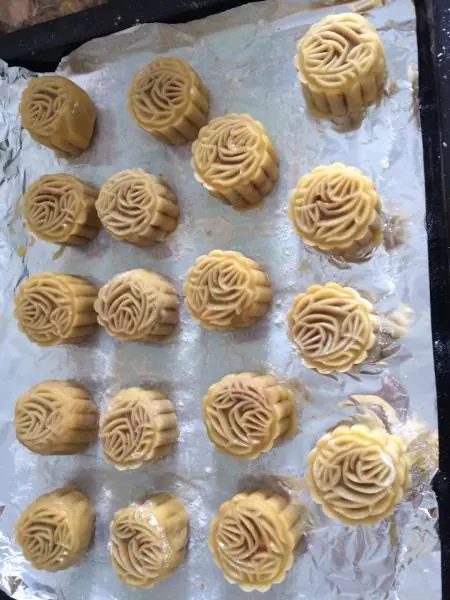
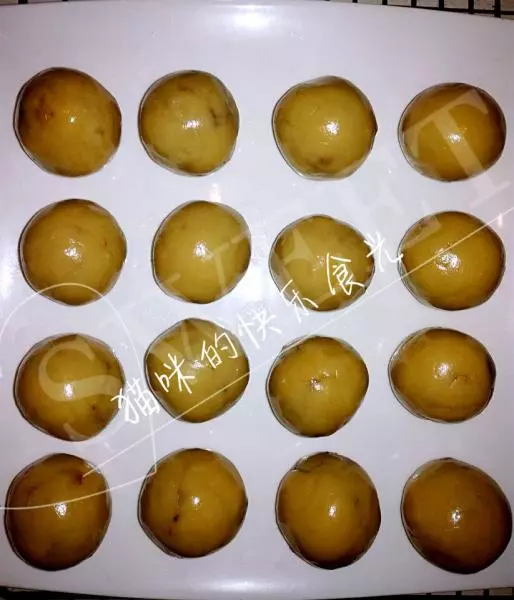
10依次做好其餘的15個。
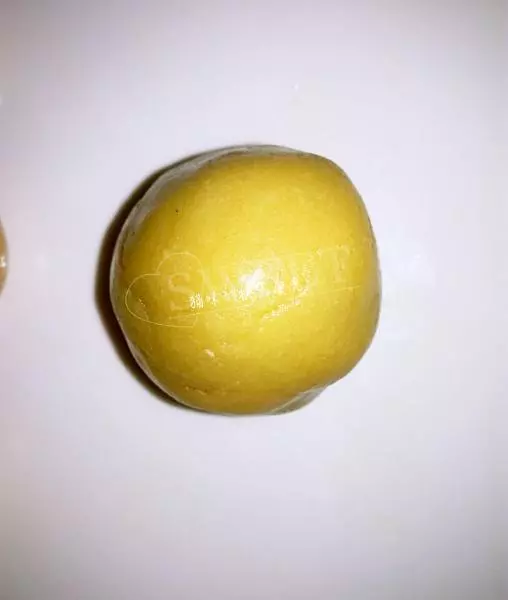
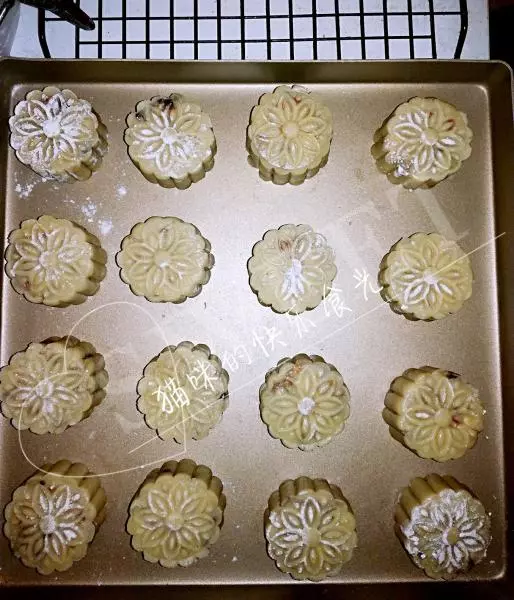
11取其中的一個,輕輕搓成圓柱形。
12在月餅模里撒上少許乾麵粉,晃一晃,使模具內部沾滿麵粉,再將多餘麵粉倒出(這樣做可以使月餅模防粘),然後放入包好餡料的月餅胚,壓好。

13全部做好。
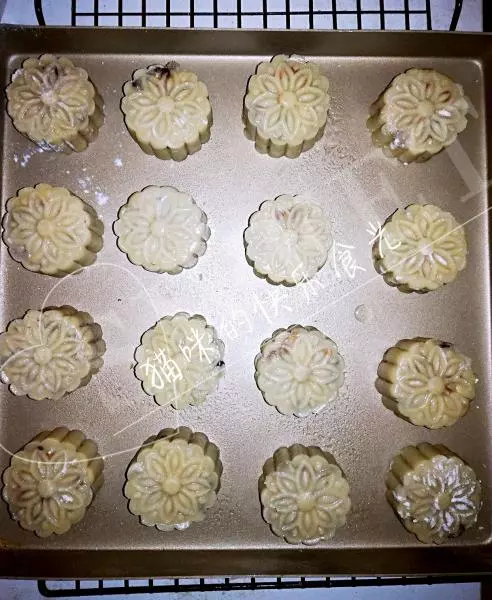
14用噴壺薄薄的噴上一層水,放入預熱好200度的烤箱,烤五分鐘定型。
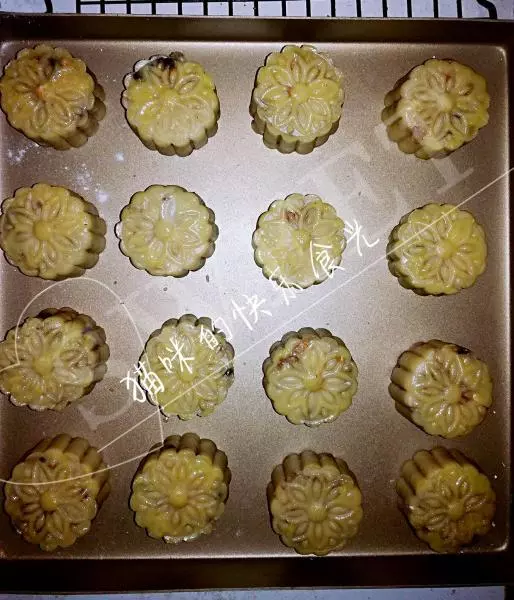
15取出,在面上輕輕的地刷上薄薄的一層蛋黃液(刷子每次少蘸一點蛋液,否則花紋的凹槽處有積存的蛋液,花就不好看了哦)。
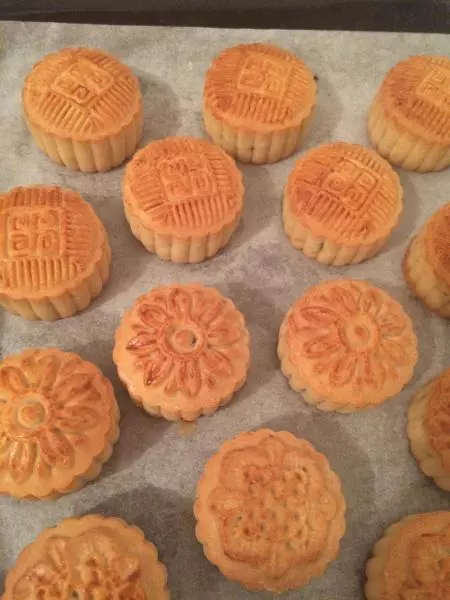
16繼續用200度烤15分鐘,至月餅的周圍有鼓出來的感覺,同時表面上色即可。
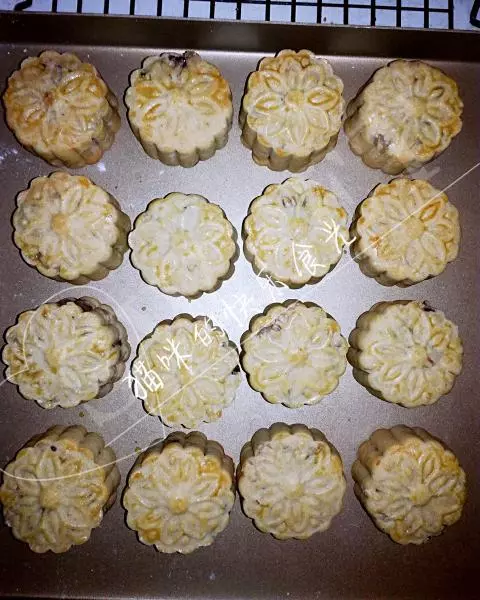
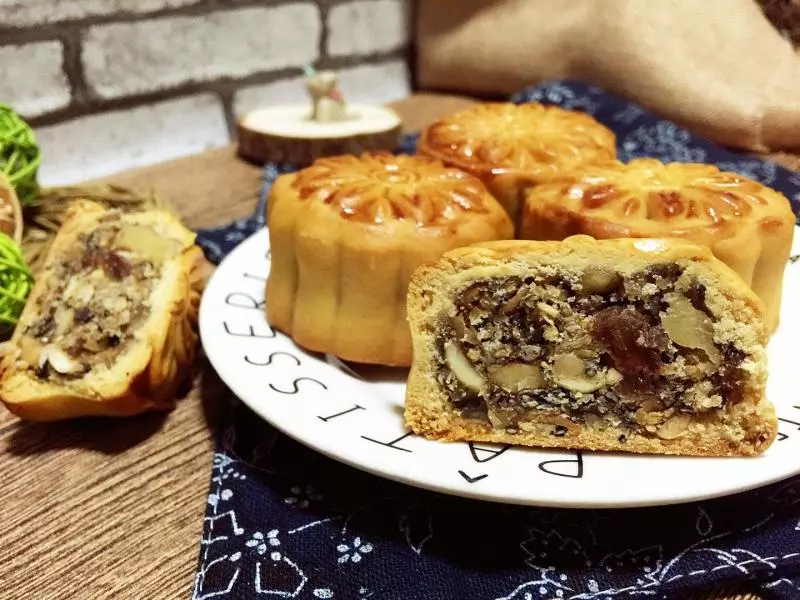
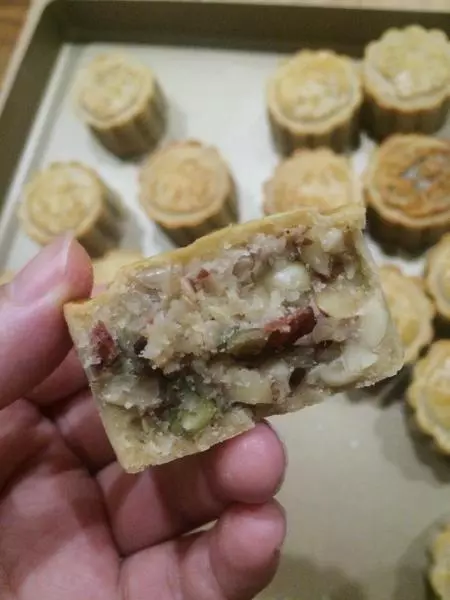
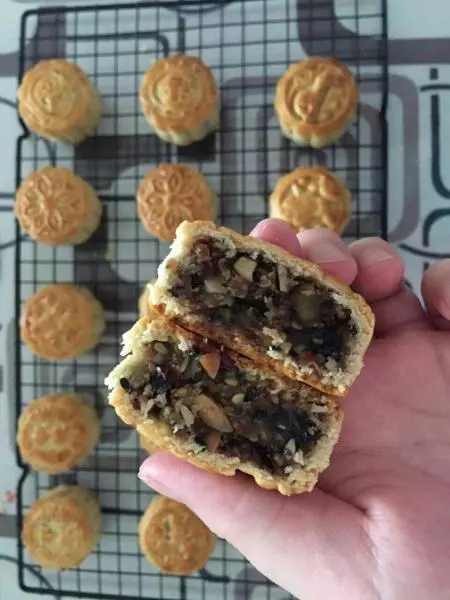
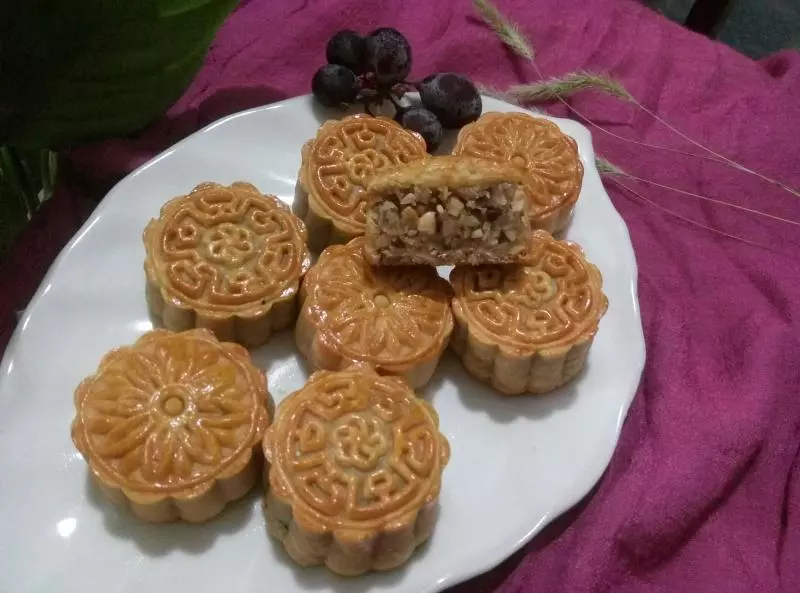
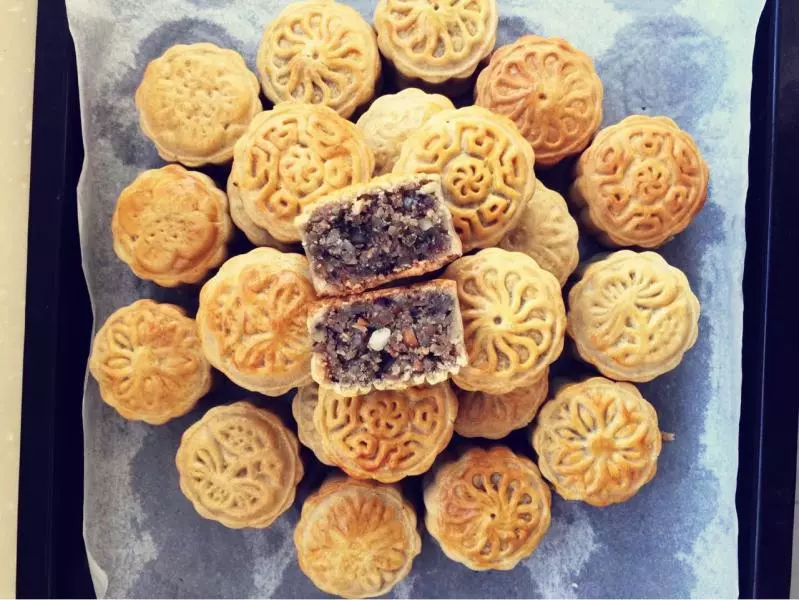
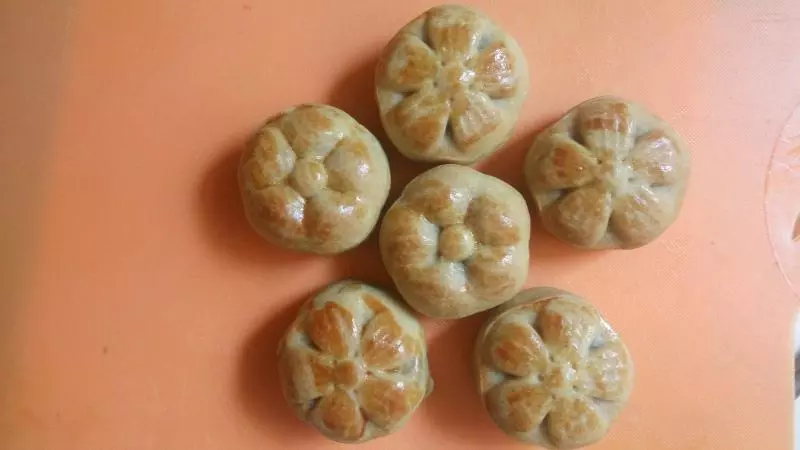
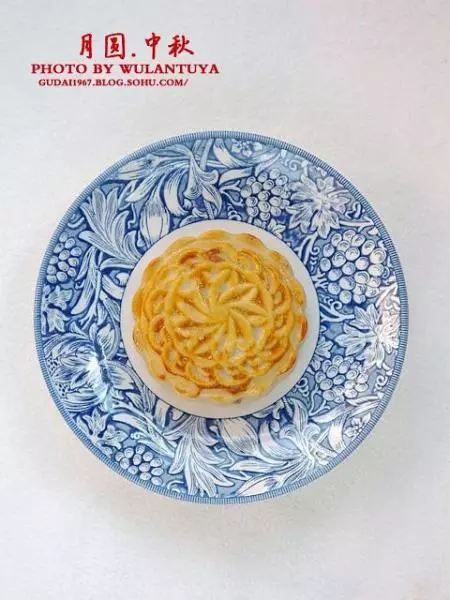
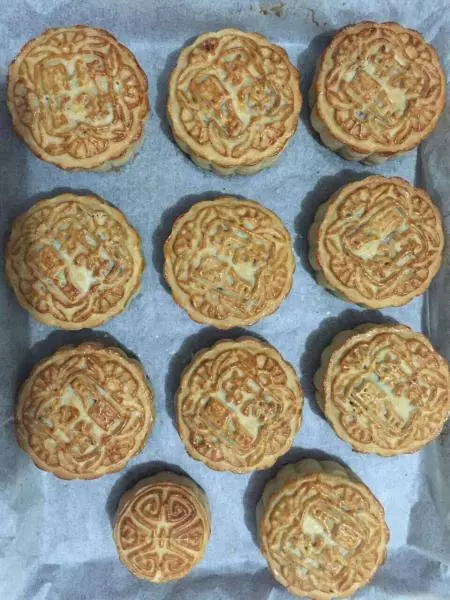
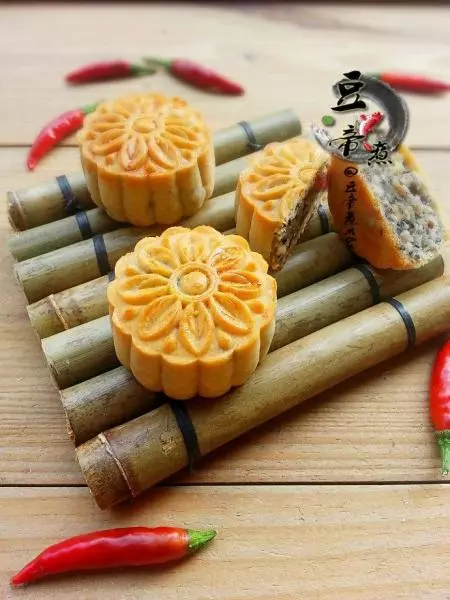
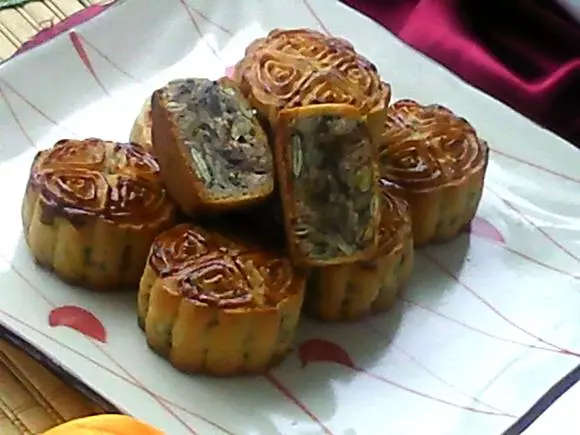
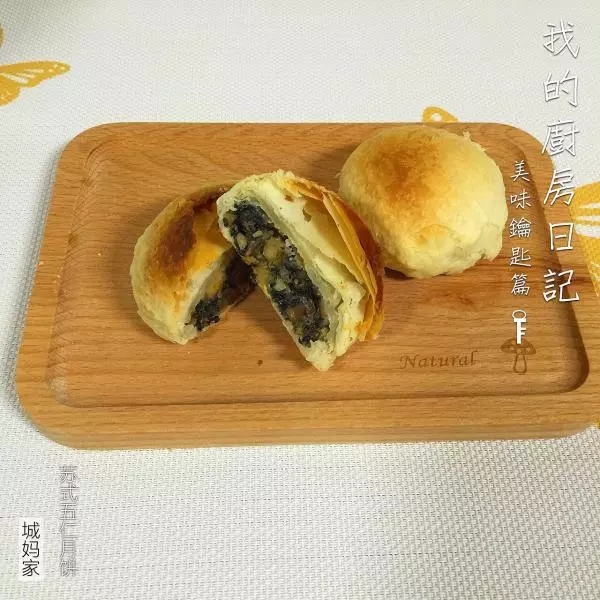
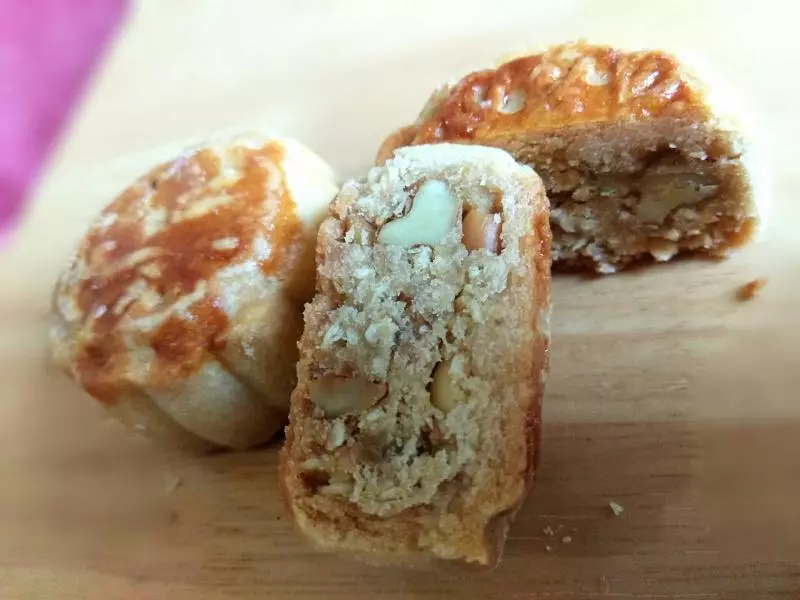
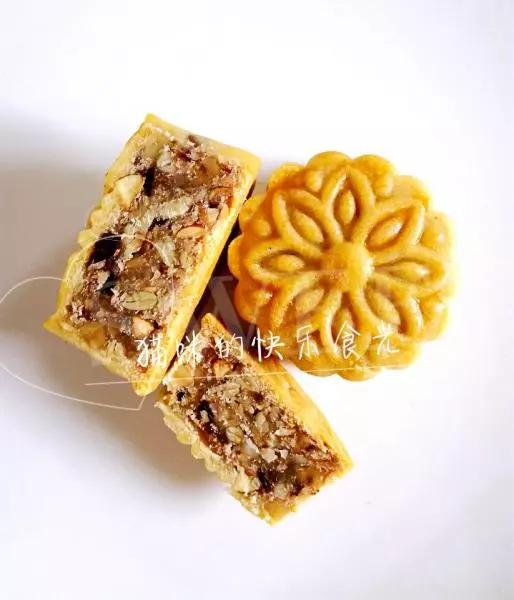
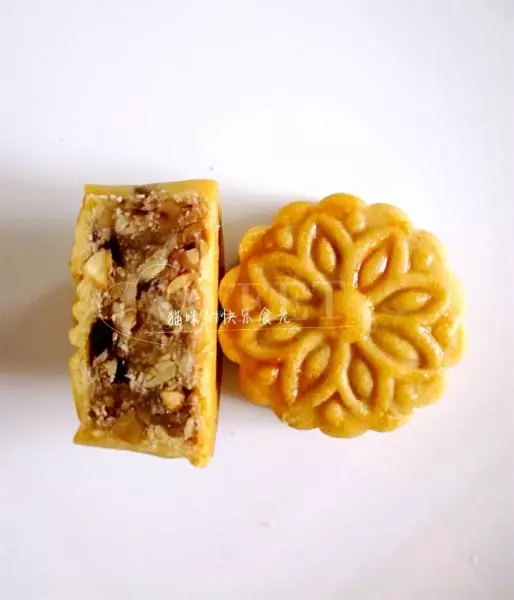
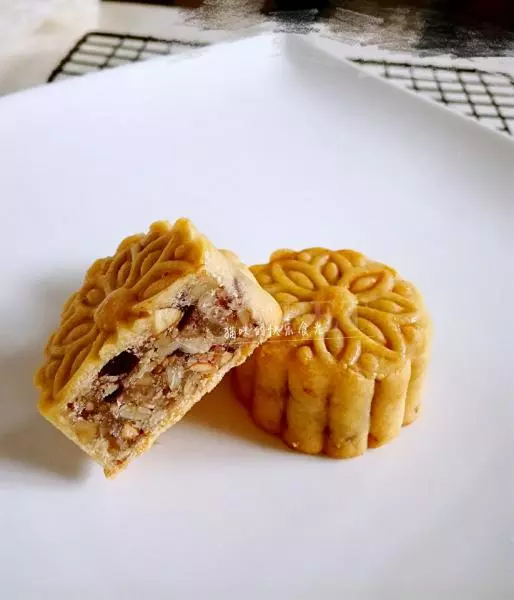
17取出放涼。
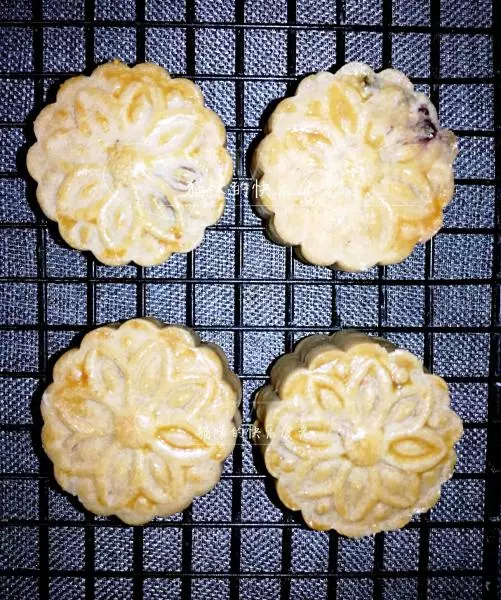
18放涼後,密封保存2-3天回油。
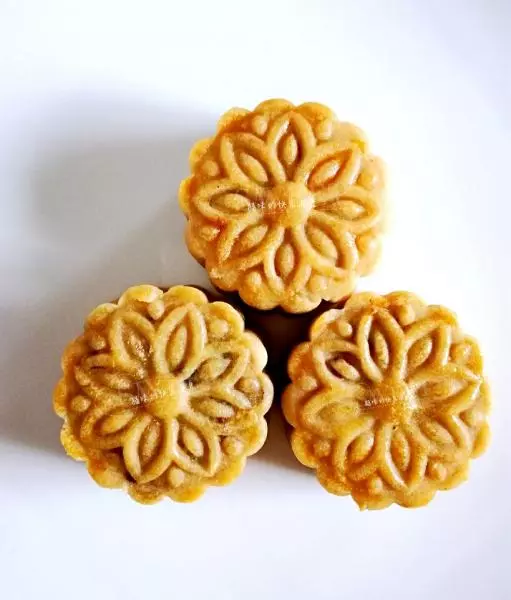
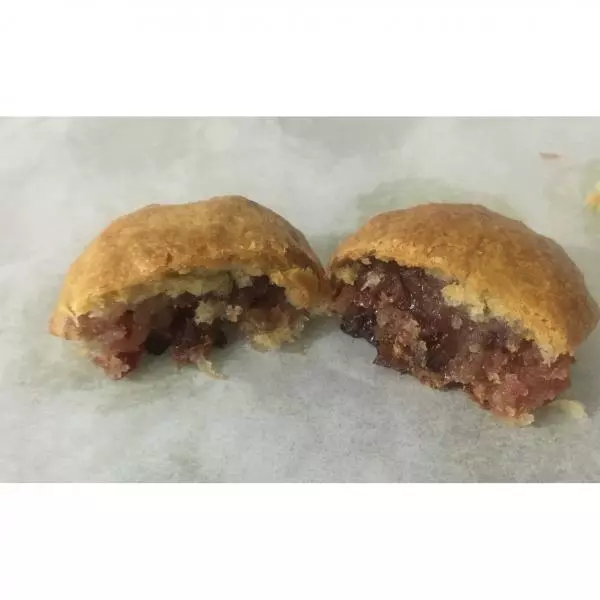
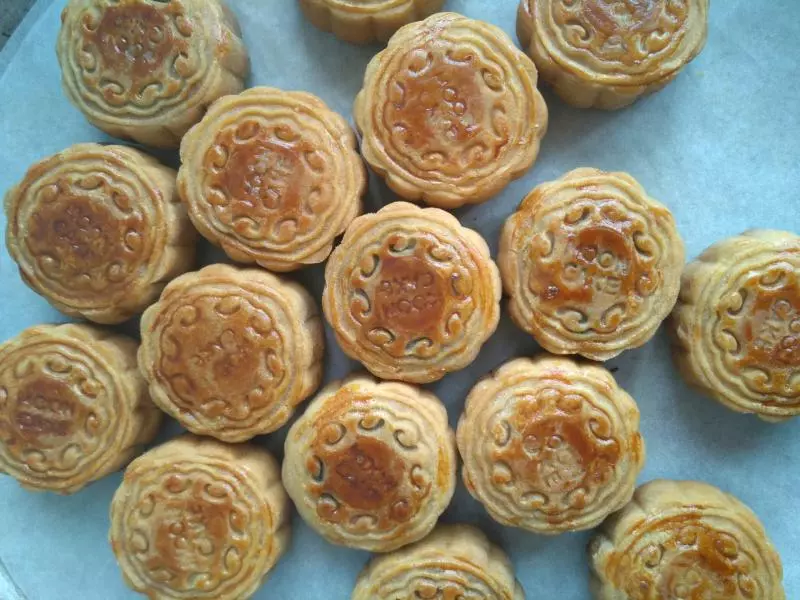
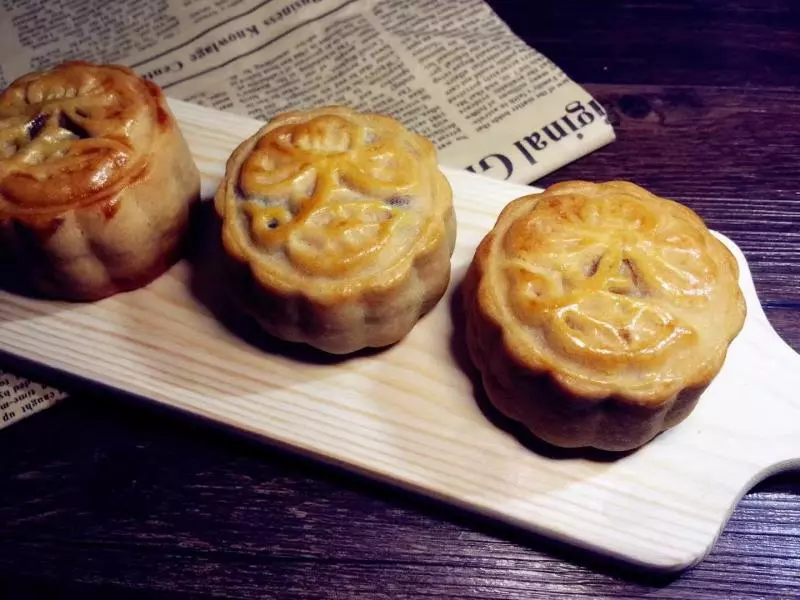
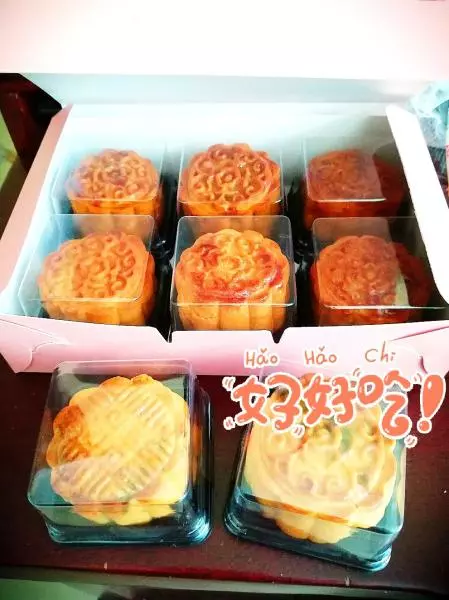
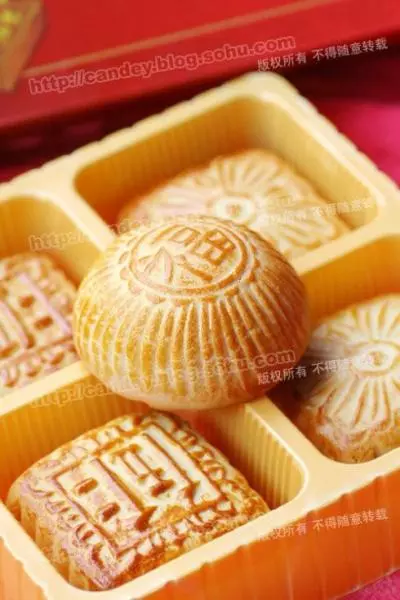
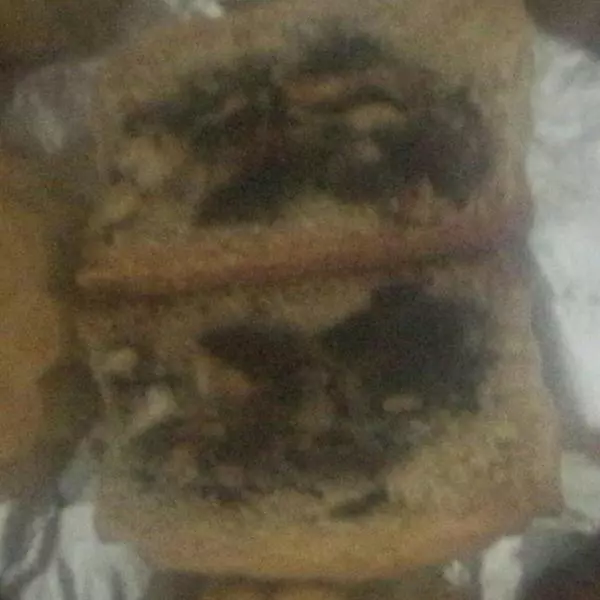
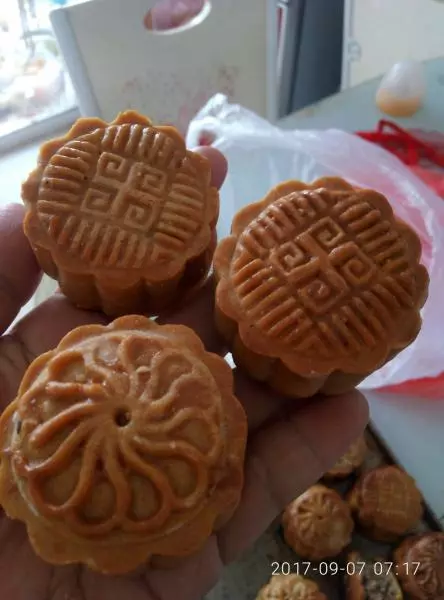
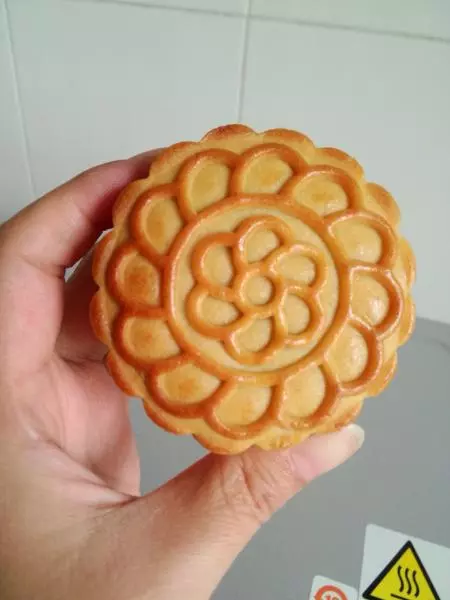
19成品圖。
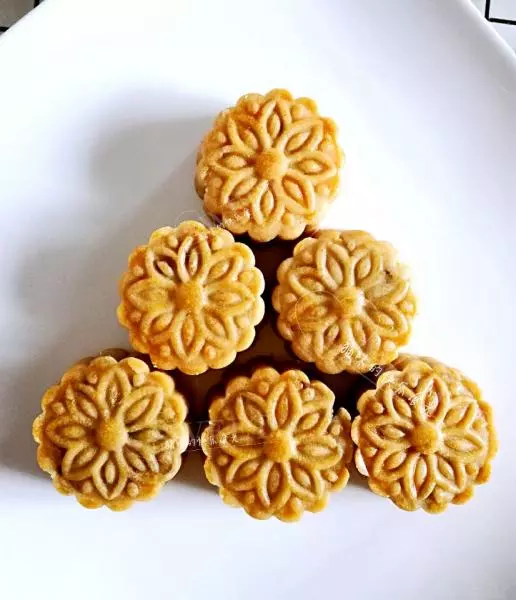
20成品圖。
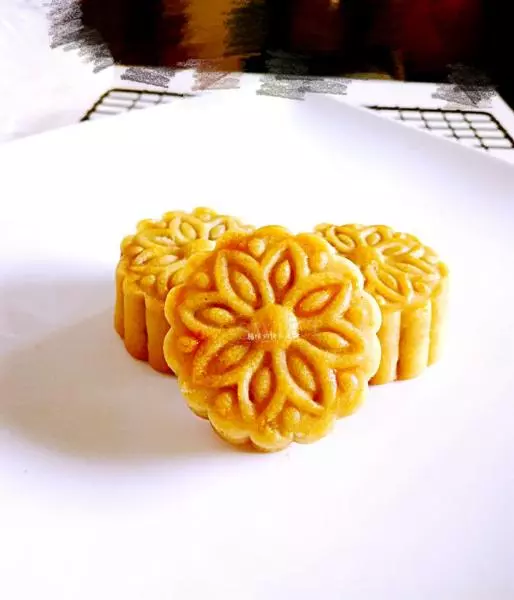
21成品圖。
22成品圖。
23成品圖。

小技巧
1、回油,是廣式月餅最大的特色,剛烤好的餅皮是硬的,放置2、3天後會變得油潤柔軟,與餡料融合,產生皮餡一體的口感。 2、烤好的月餅完全冷卻之後就要密封包裝起來,廣式月餅不要冷藏,等2-3天回油之後再吃,還可以保存1-2周,所以整個過程要注意衛生。 3、烤箱不同溫度也不同,時間和溫度僅供參考。 4. 請戴一次性手套操作,否則會粘手的哦。