原料
雞蛋: 1隻, 蓮藕: 半根, 普通麵粉: 適量, 無鹽蝦皮粉: 少量, 鹽: 一歲上可少量
步驟
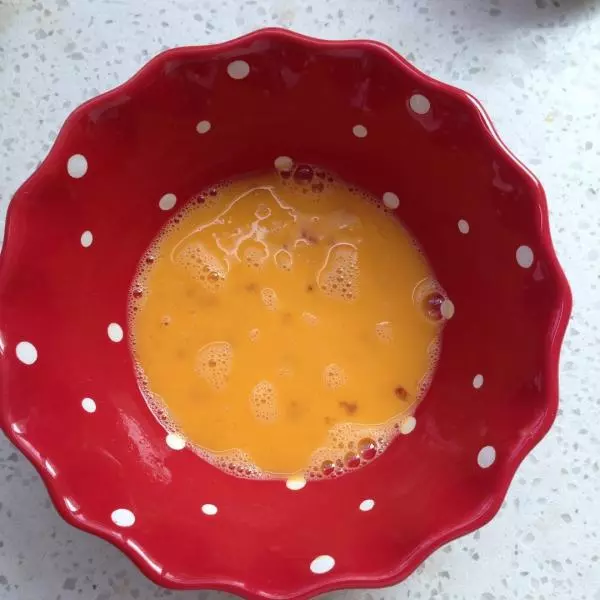
1雞蛋液打散,我用的柴雞蛋,所以顏色會更黃一些。
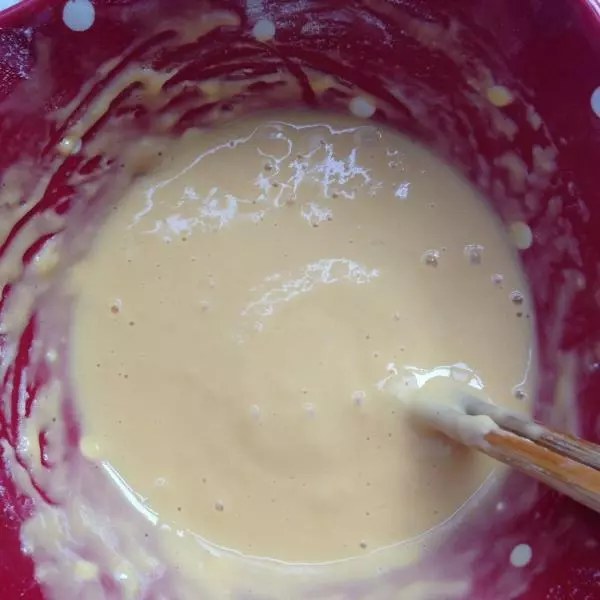
2加入適量麵粉。

3用筷子或者打蛋器攪拌成均勻可流動的糊糊。
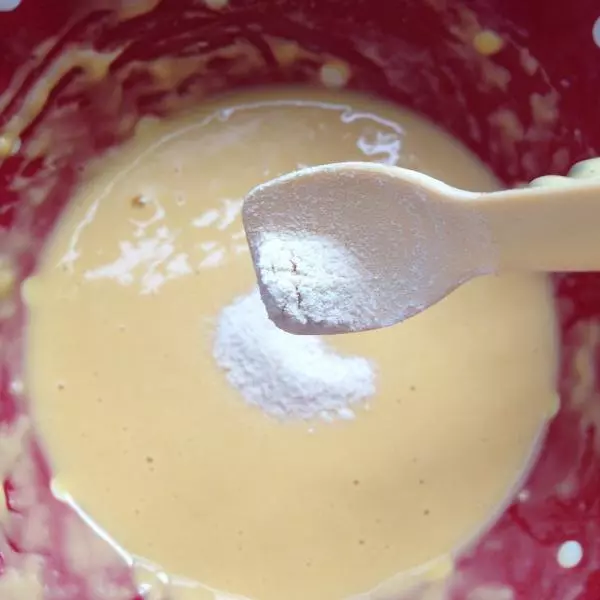
4加入一勺蝦皮粉,也可以加入少量鹽。
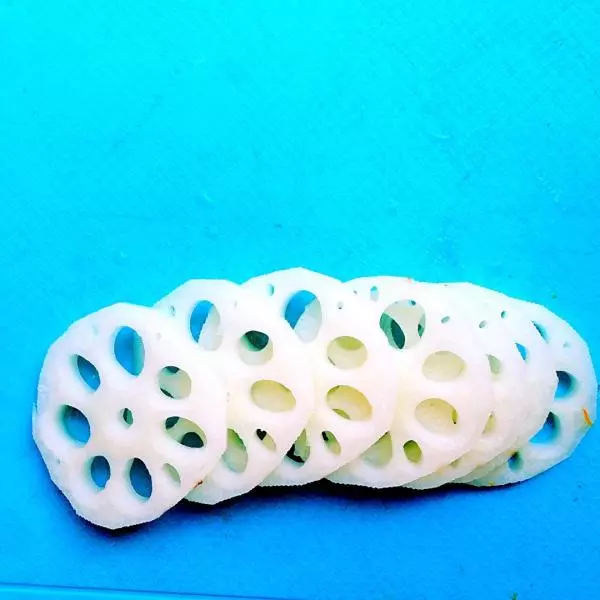
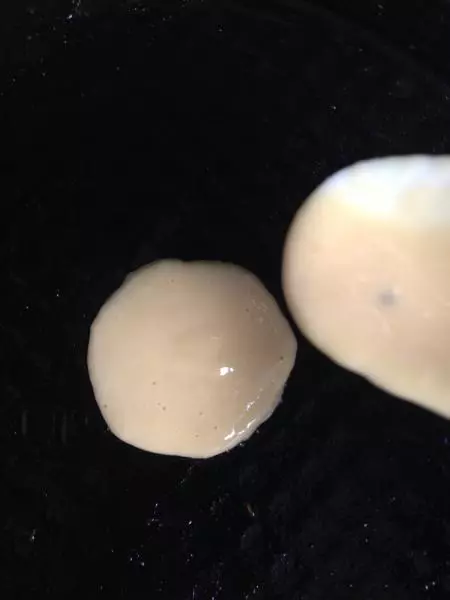
5蓮藕洗凈,削皮,切片
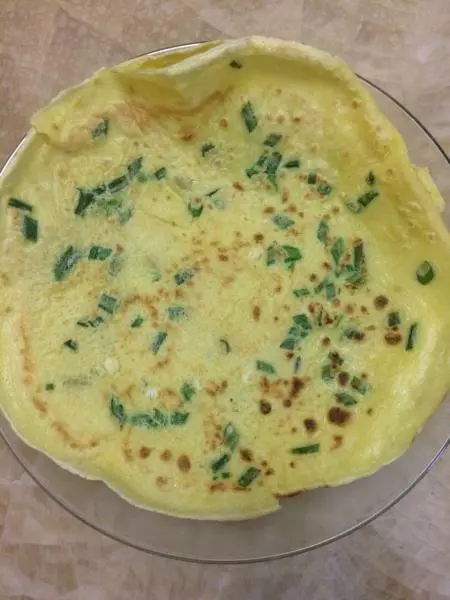
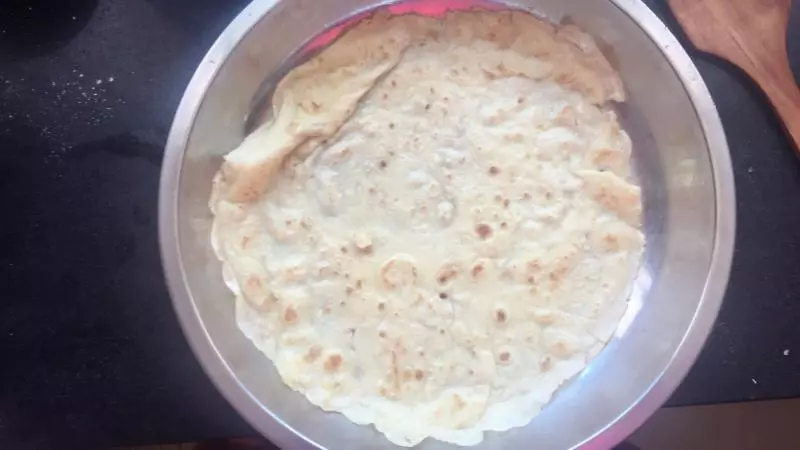
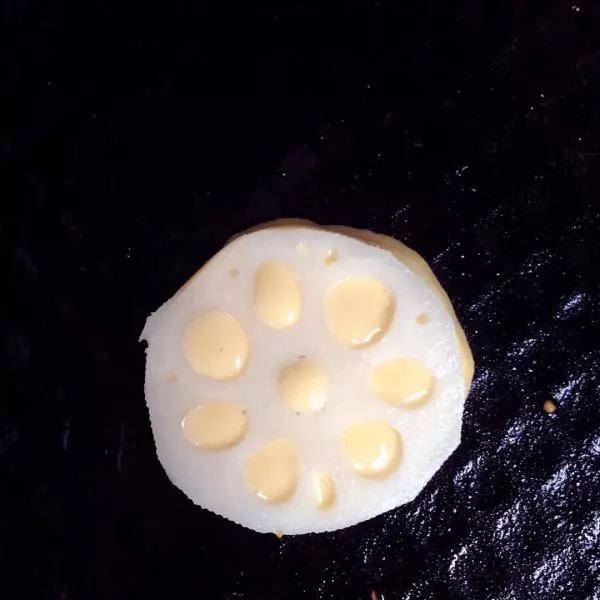
6平底鍋或電餅鐺預熱,倒入少許油。我用的電餅鐺。用勺子舀一勺麵糊。一勺下去就是一個圓餅。
7趁表麵糊糊凝固前,把蓮藕片放在麵糊上面。
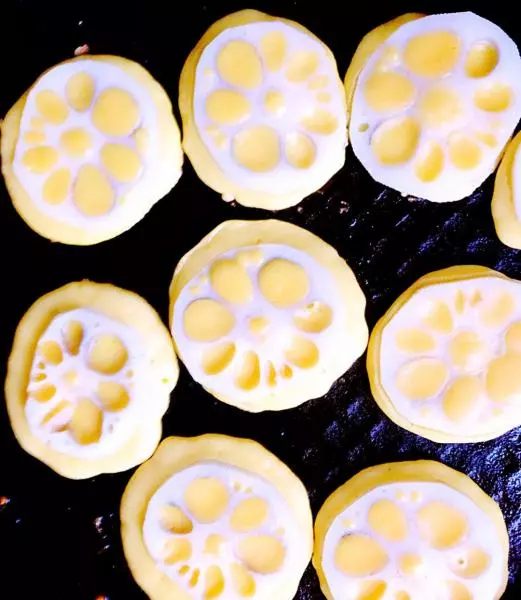
8蓋上電餅鐺,注意期間觀察表面凝固情況,不要糊了。如果是平底鍋,一定要開小火。可以蓋蓋子燜兩分鐘。
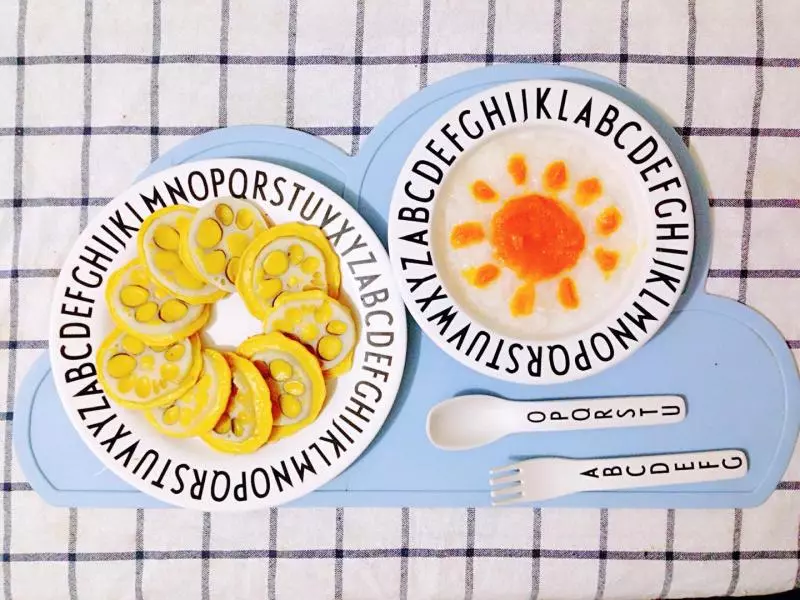
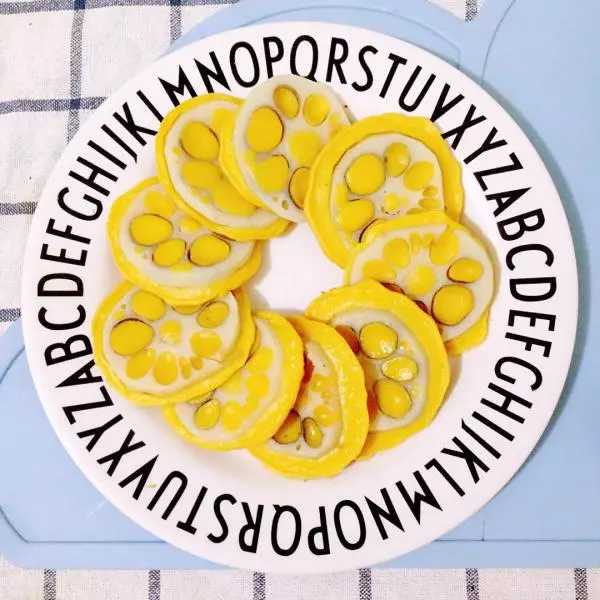
9一個疊一個的擺放成圓形。
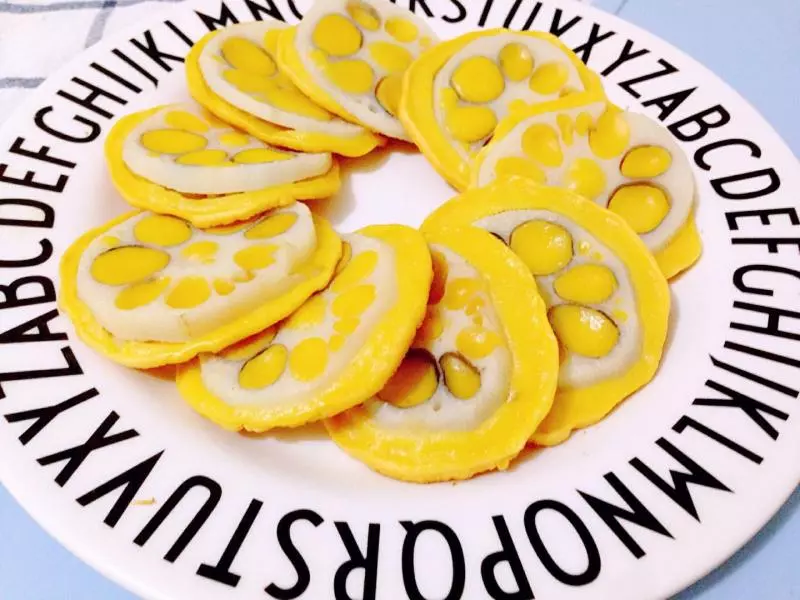
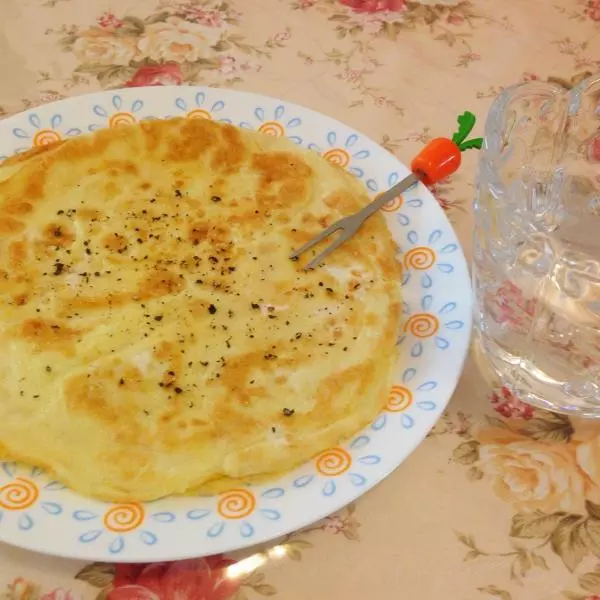
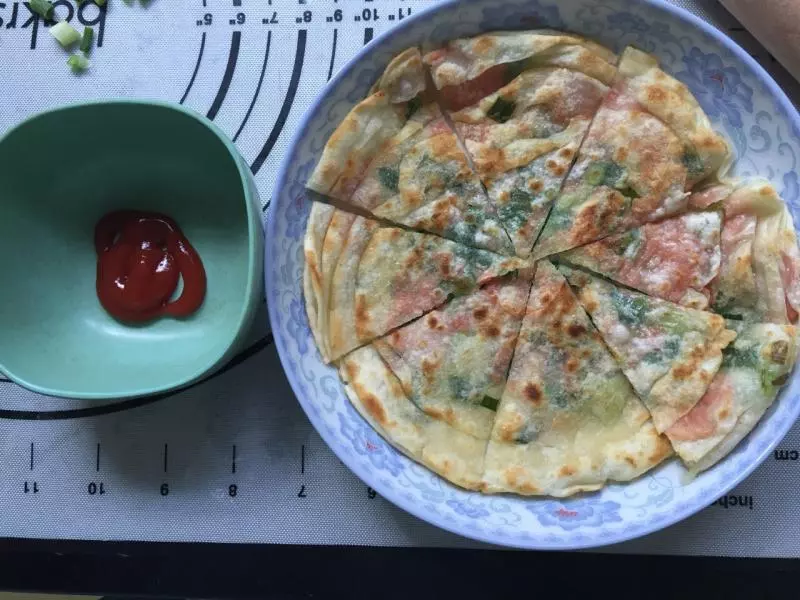
10脆脆嫩嫩的藕餅就好啦。
11果兒在餅中間咬了一口洞,然後貼頭上了?