原料
豬肉: 30g, 洋蔥: 1/8(30g), 番茄醬: 15ml, 胡椒鹽: 少許, 雞蛋: 2~3個, 牛奶: 15ml, 色拉油: 適量, 黃油: 少許(12g), 番茄醬: 少許
步驟
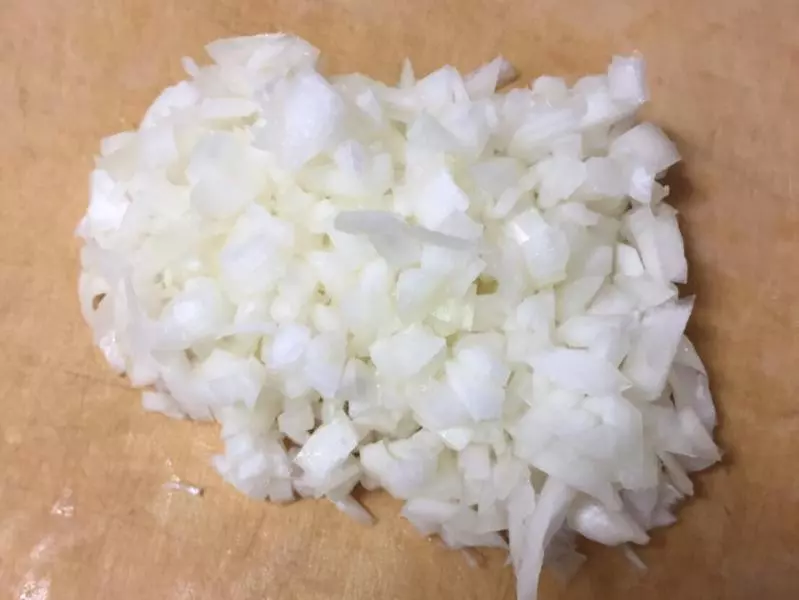
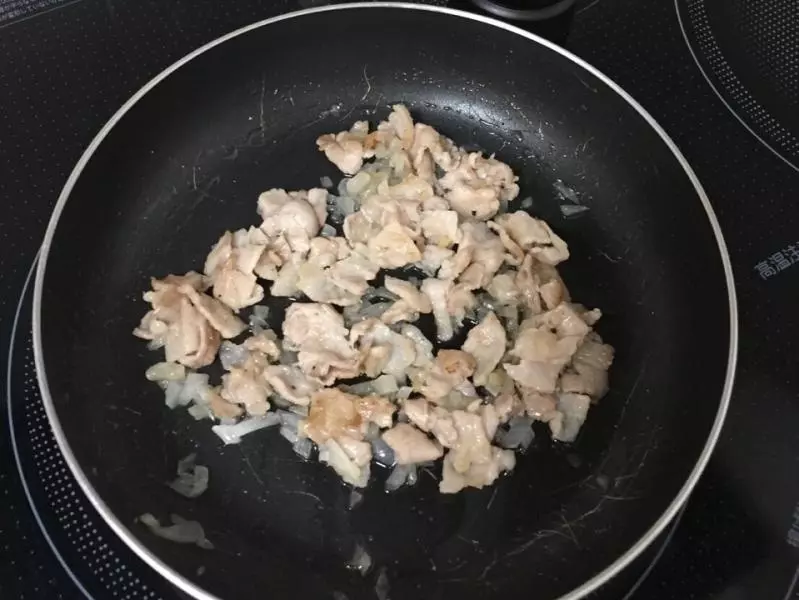
1將洋蔥切成碎末。
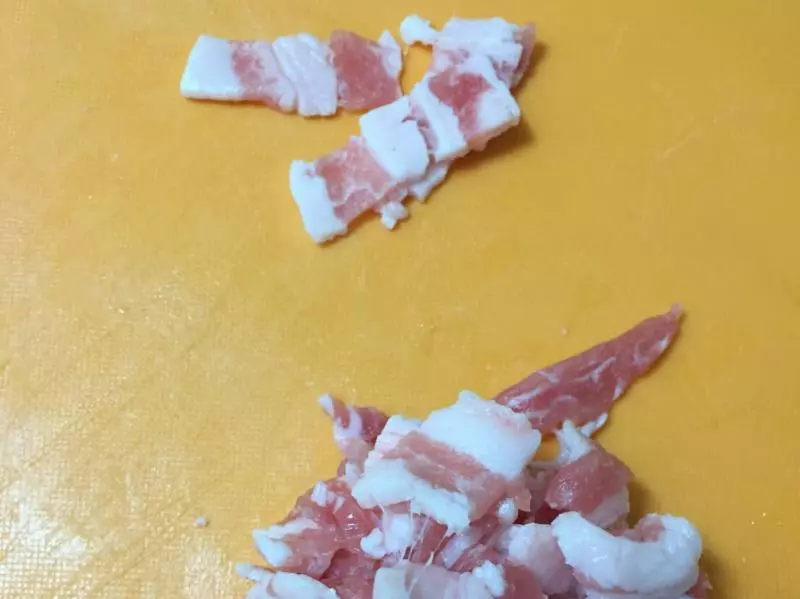
2豬肉切成小片兒。
3在平底鍋里倒入色拉油,將洋蔥和豬肉放入鍋內炒至洋蔥變透明,豬肉變色即可。然後撒上少許胡椒鹽。
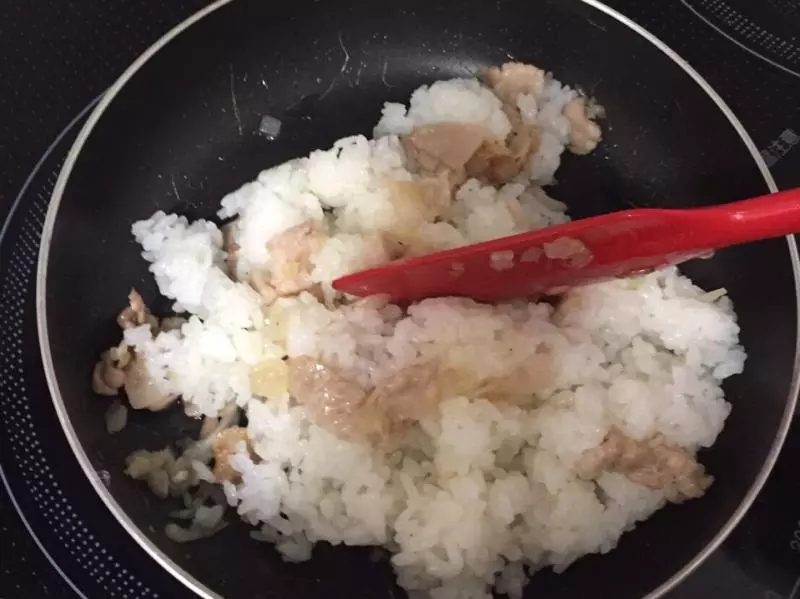
4將火力調製中弱火,米飯倒入洋蔥豬肉里拌勻。
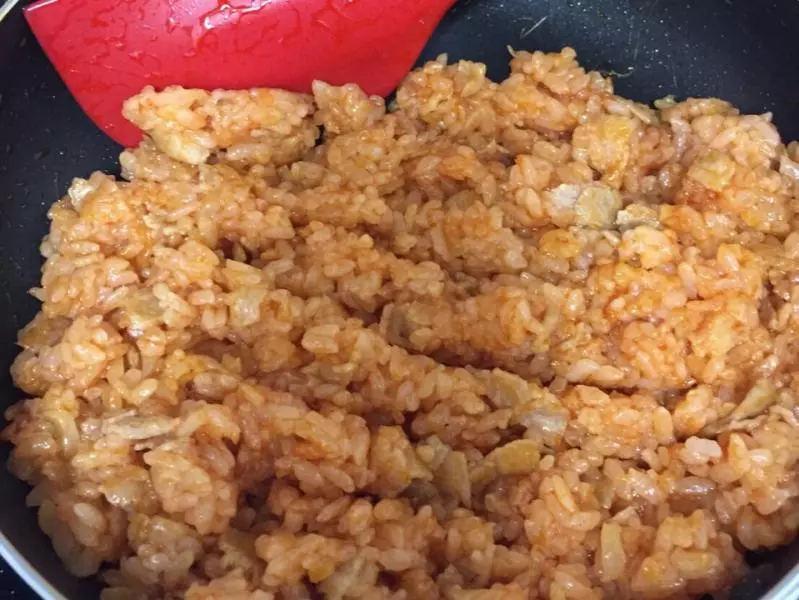
5加入番茄醬
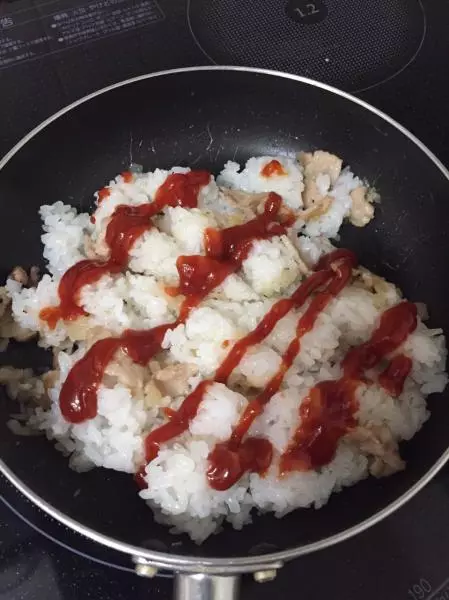
6火力保持中弱火,加入番茄醬,翻炒均勻。
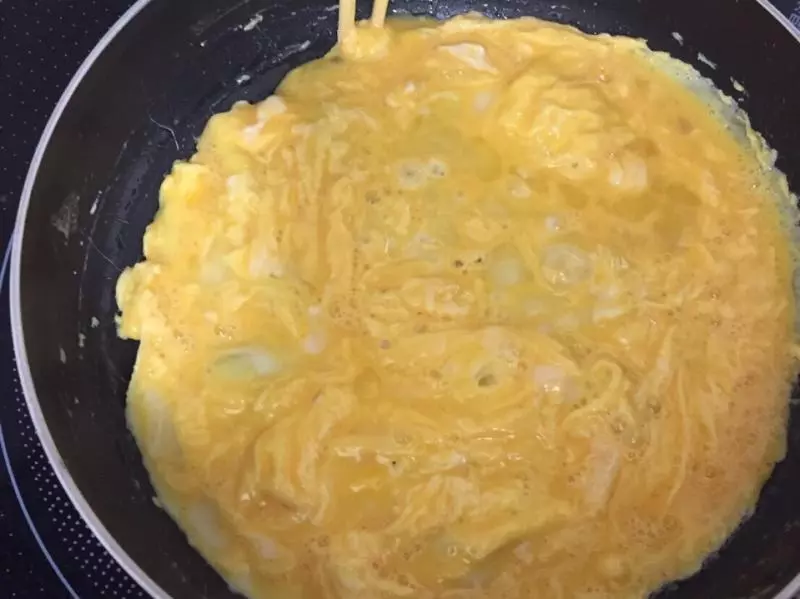
7將2-3個雞蛋攪拌,然後倒入牛奶攪合。

8在加熱過的平底鍋里倒入色拉油,轉動一下鍋,讓整個鍋面都能沾上油,之後加入黃油。
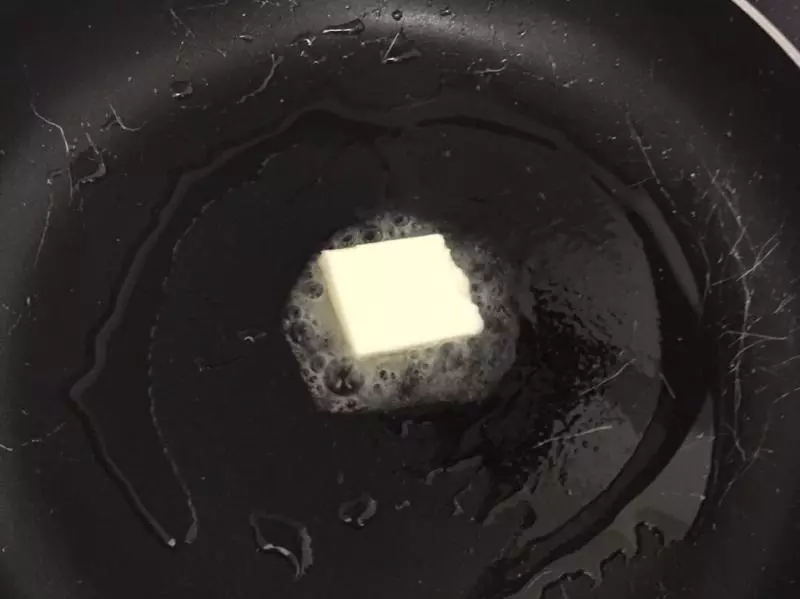
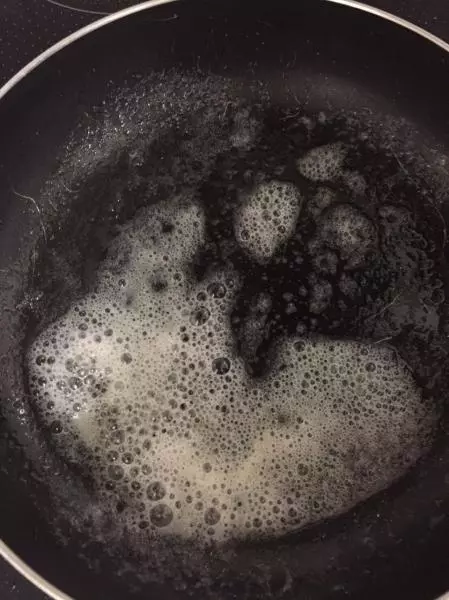
9注意融化黃油的時候不要燒焦了。
10將蛋液一次性倒入平底鍋里,把火力調製大火。
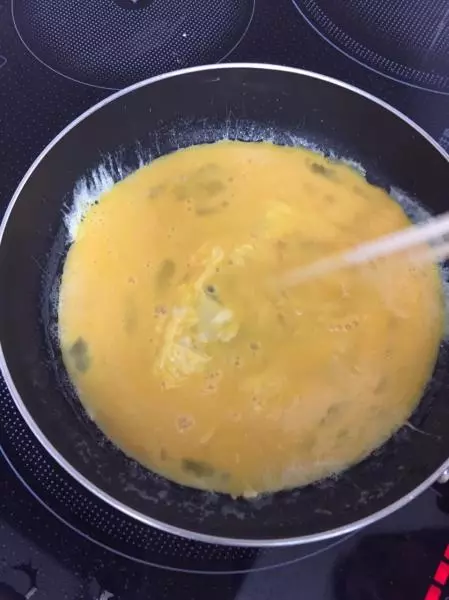
11倒入蛋液後,平底鍋一邊前後搖晃一邊用筷子快速攪動(不是攪拌哦!)
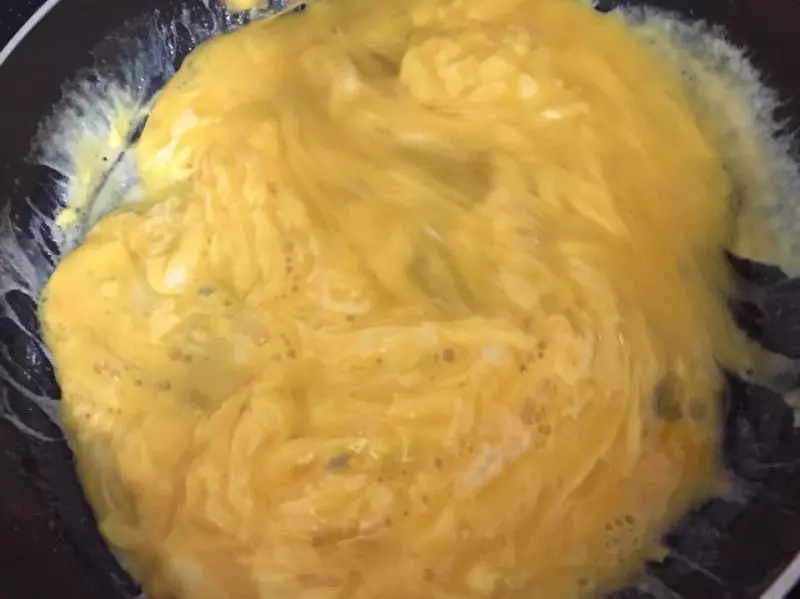
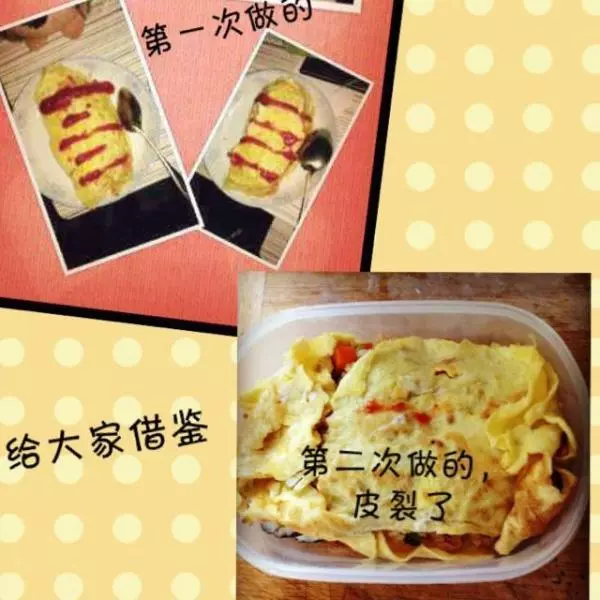
12當蛋液呈半熟狀態後,確認蛋液形成薄膜狀,就可以把火關掉。(如果覺得用大火弄蛋皮有難度的話,用中弱火也可以將蛋液弄熟的)
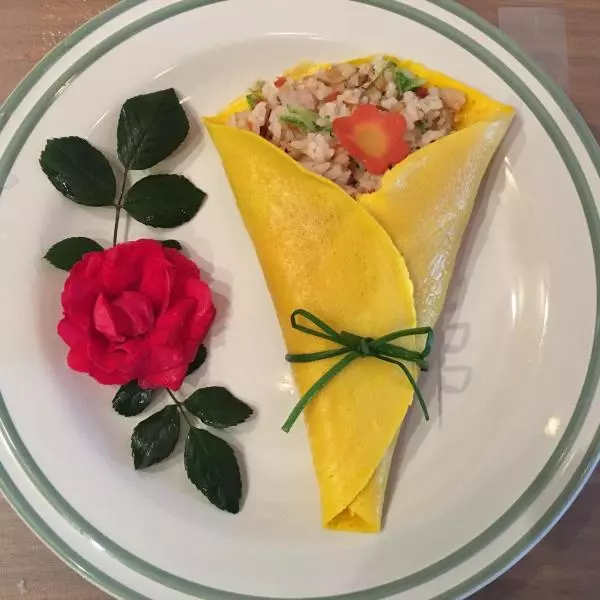
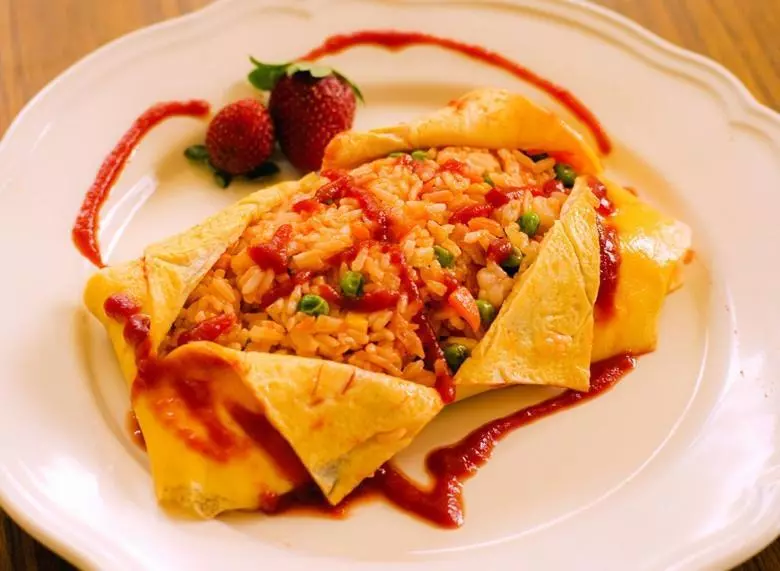
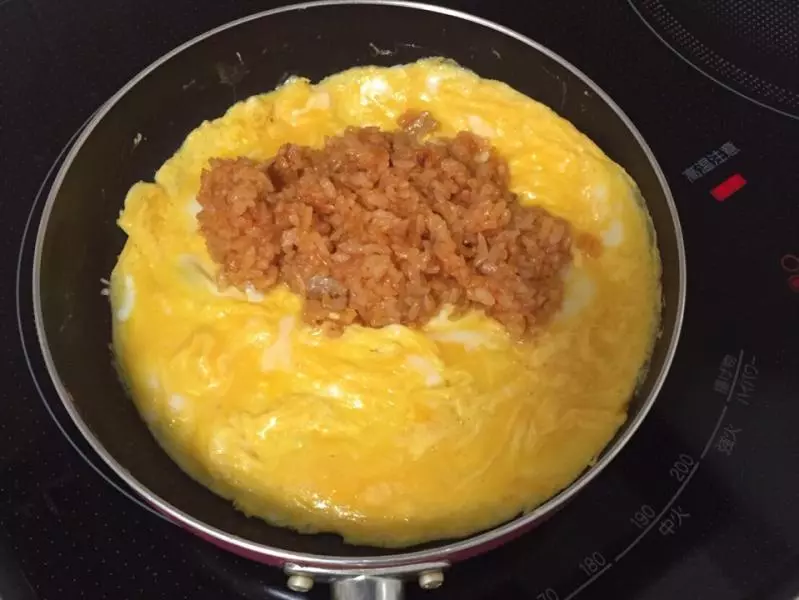
13將炒好的米飯放在一半的蛋皮上,稍微沿鍋邊放。
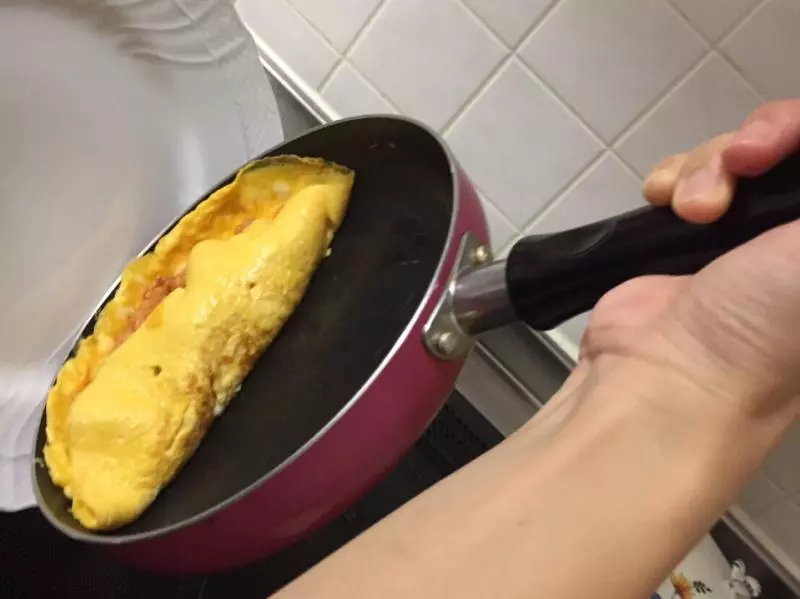
14用筷子或扁狀的小板,把自己跟前兒的蛋皮將炒好的米飯包起來。
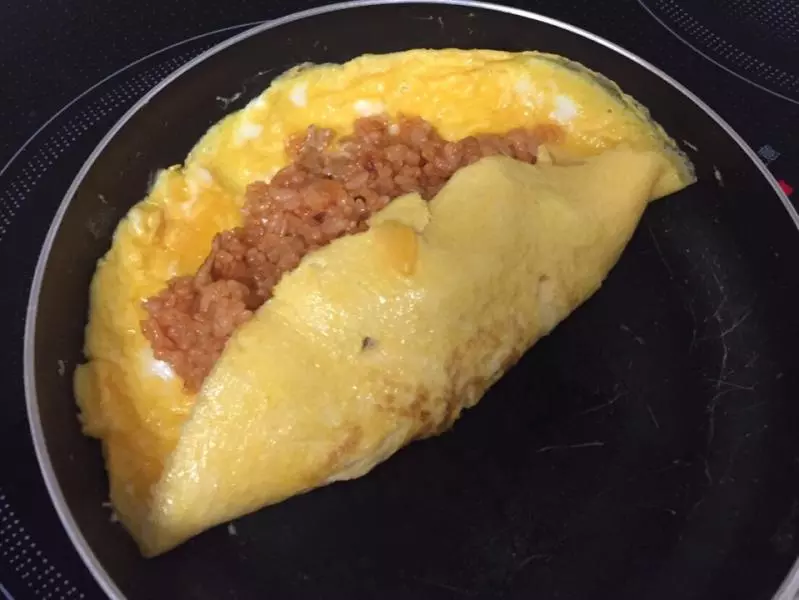
15把平底鍋稍微往前傾斜,將蛋皮慢慢的往平底鍋邊緣移動。
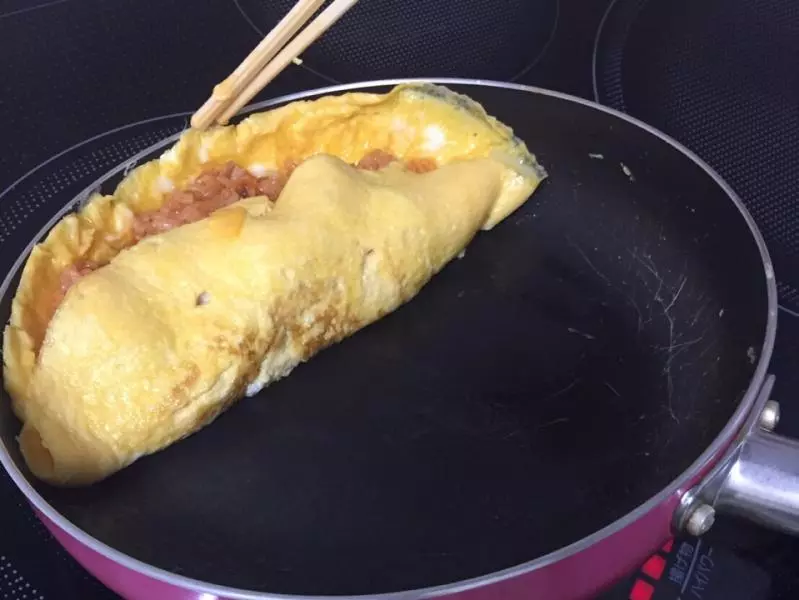
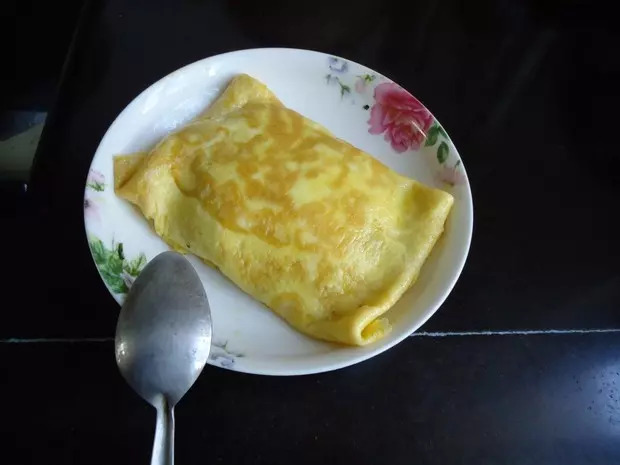
16反握平底鍋把手,另外一隻手拿一個較淺的盤子,盤子貼近平底鍋的邊緣。
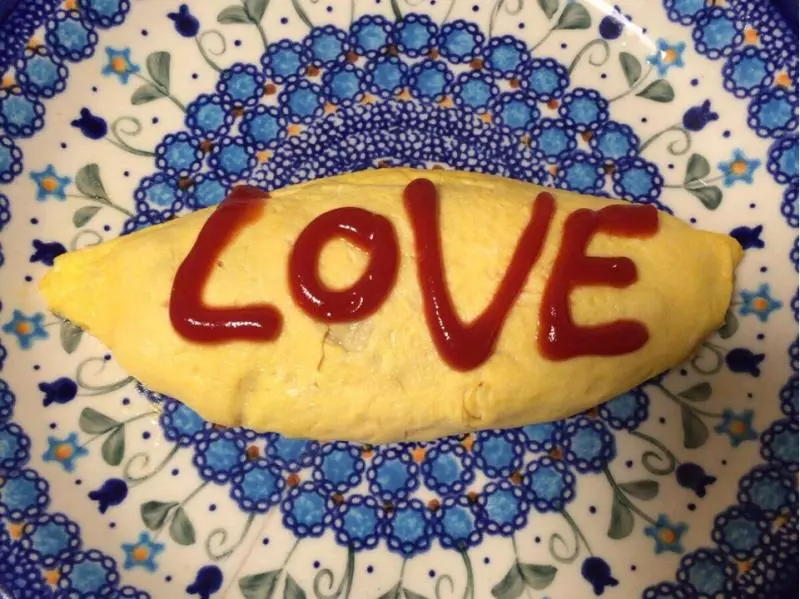
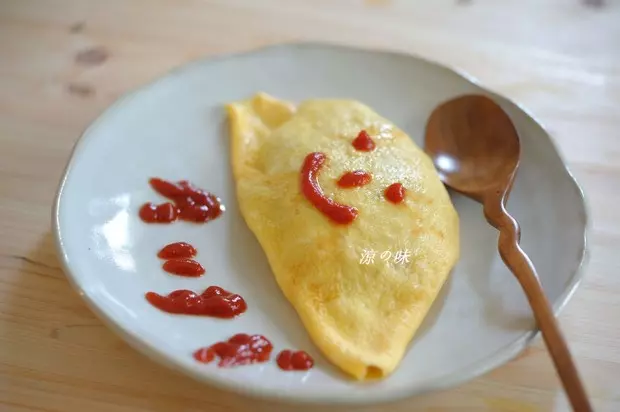
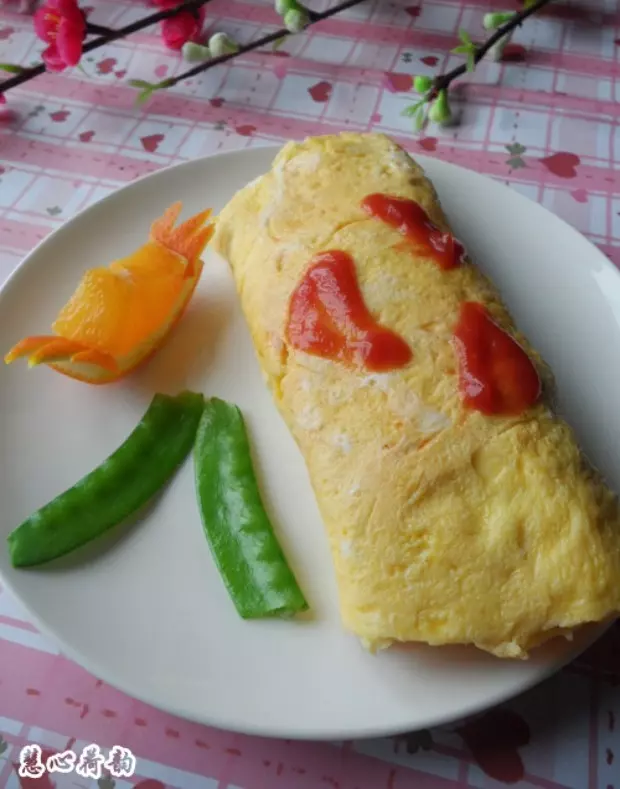
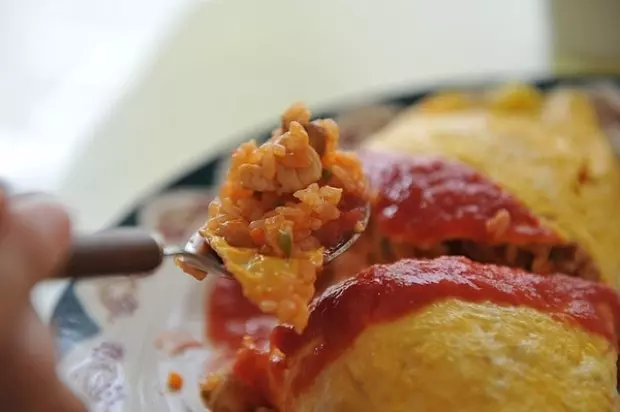
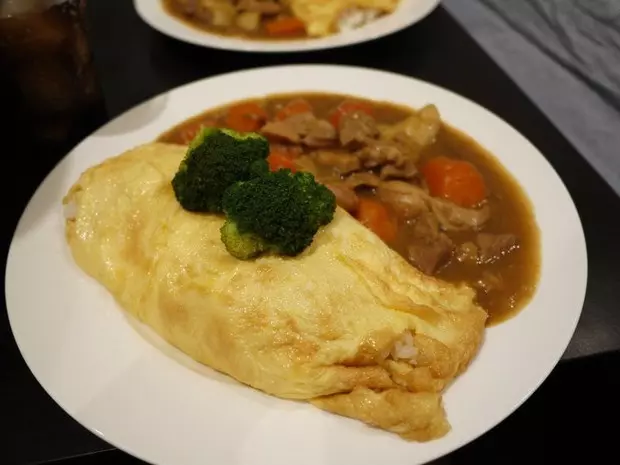
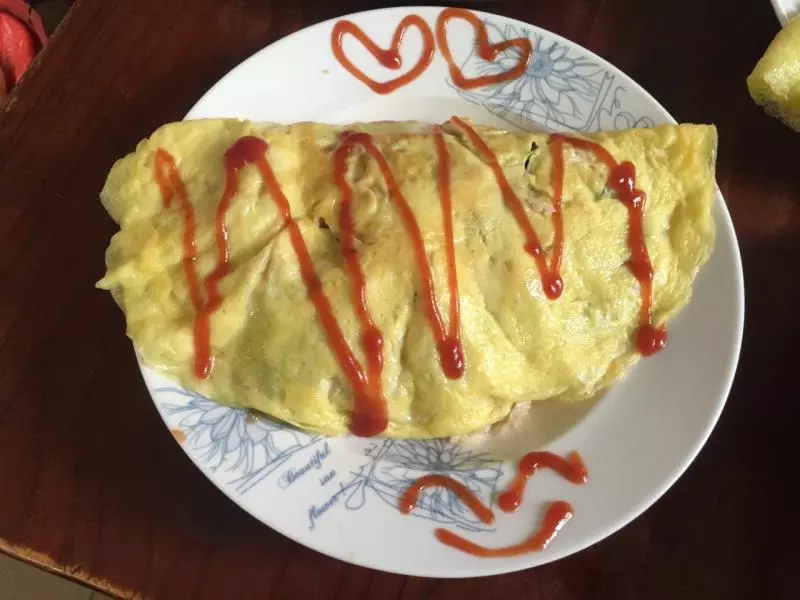
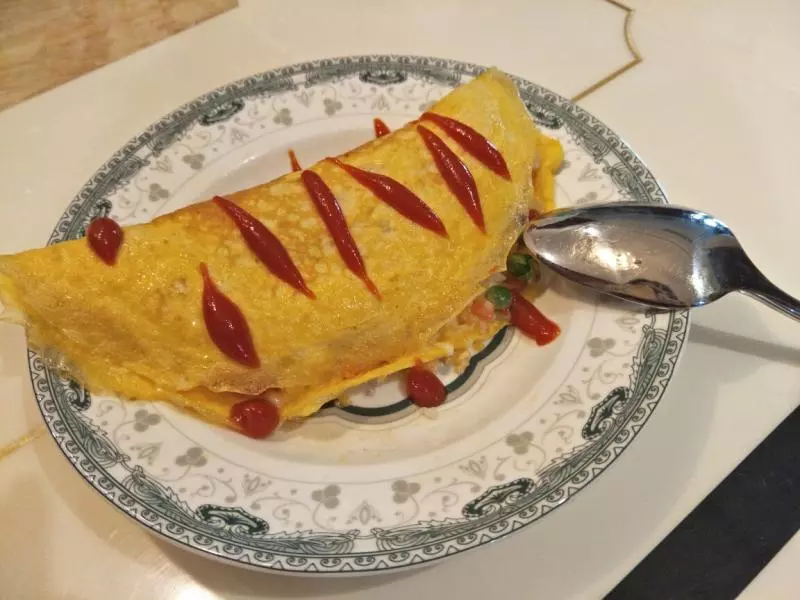
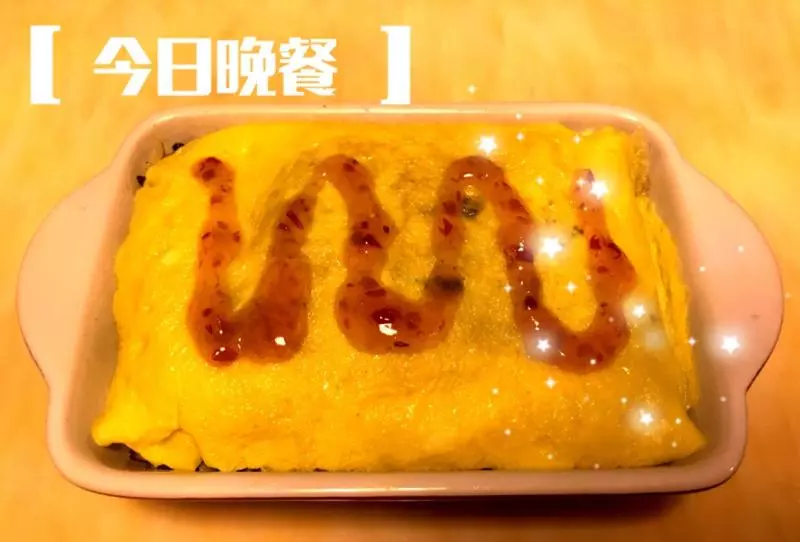
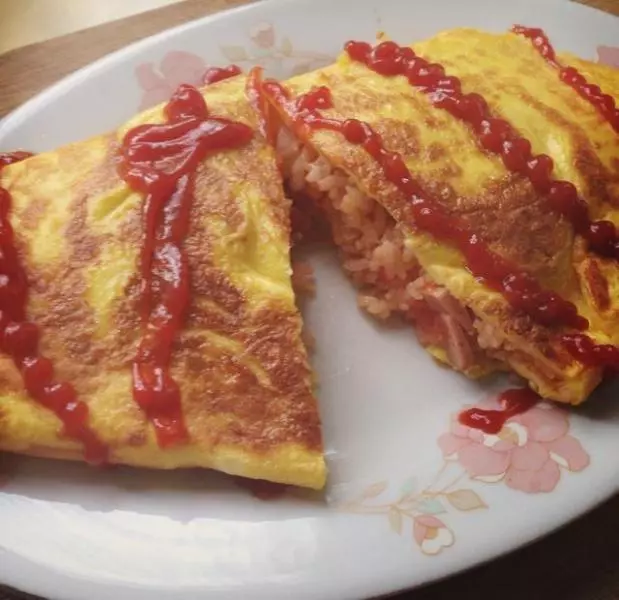
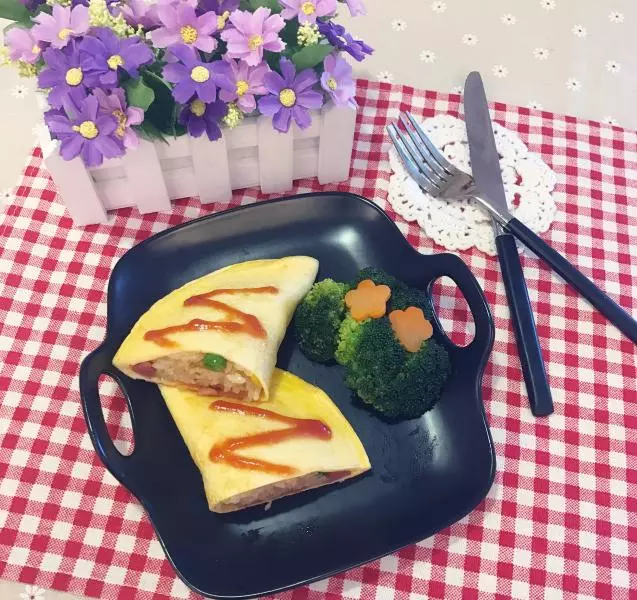
17將平底鍋蓋在盤子上。
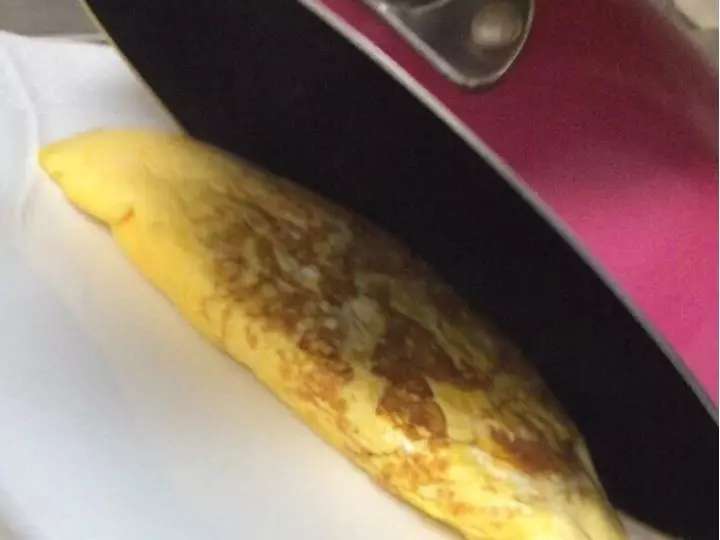
18用廚房紙將蛋包飯包好,用手將形狀整理一下。
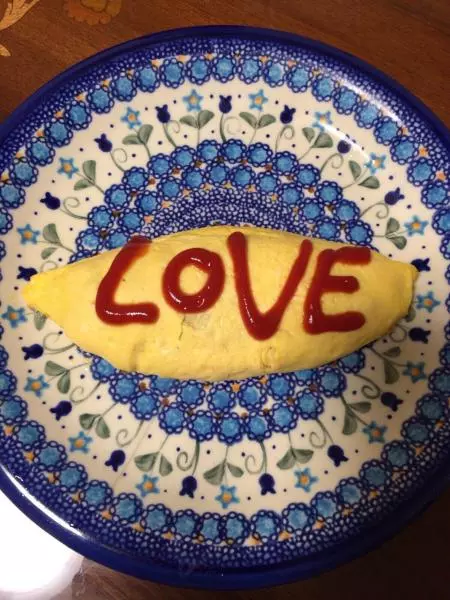
19然後就可以用番茄醬在蛋包飯上寫上自己喜歡的文字。 就這樣,好吃的又好看的日式蛋包飯就完成啦~