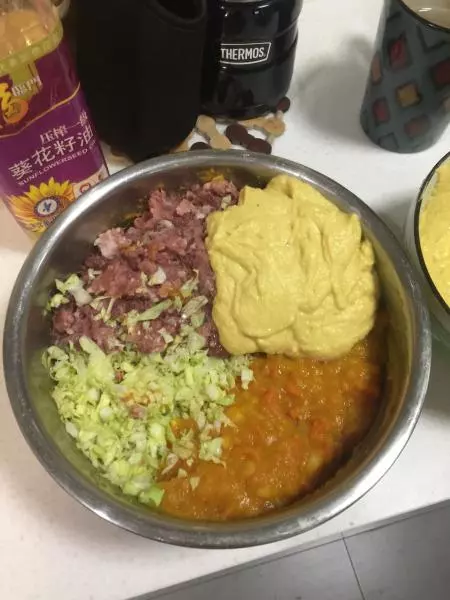
原料
牛奶: 100克, 白糖: 30克, 鹽: 1克, 玉米油: 12克, 雞蛋: 1個, 高筋麵粉: 200克, 耐高糖酵母: 3克, 白芝麻: 少許
步驟
1將除芝麻之外的材料依次放入麵包桶。

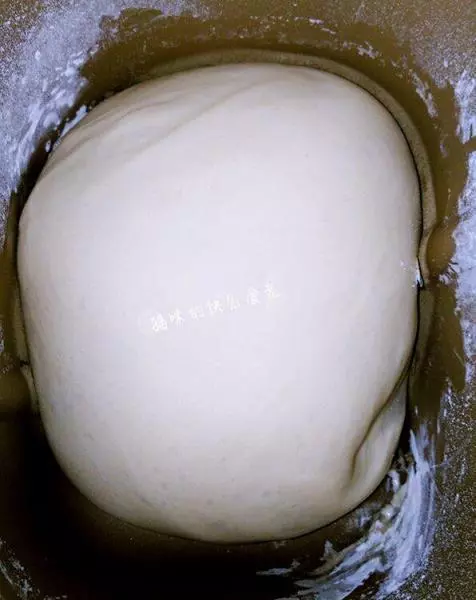
2麵包機發麵程序。

3程序結束取出來整形。
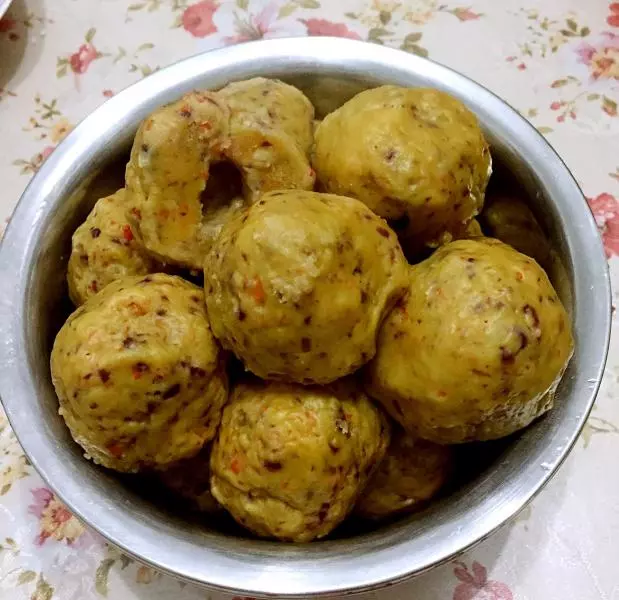
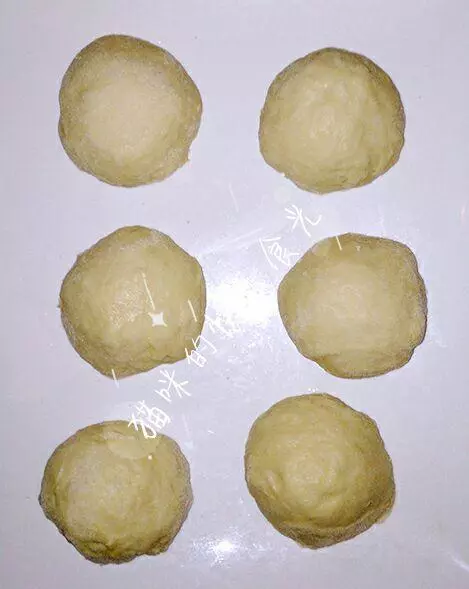
4充分地排氣後均分成6個小麵糰。
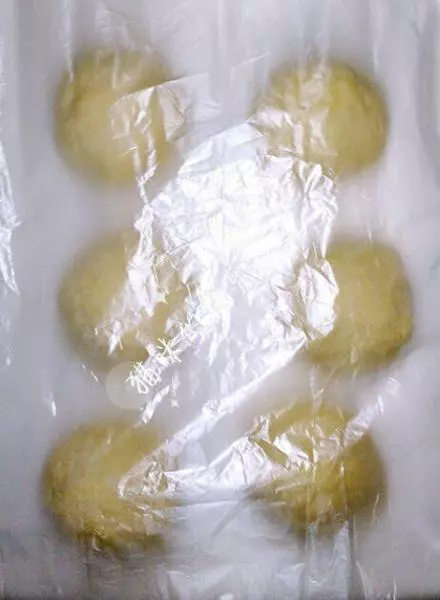
5蓋上保鮮膜鬆弛15-20分鐘。
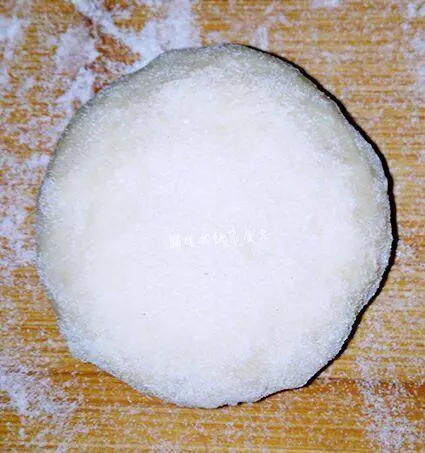
6取一個麵糰。
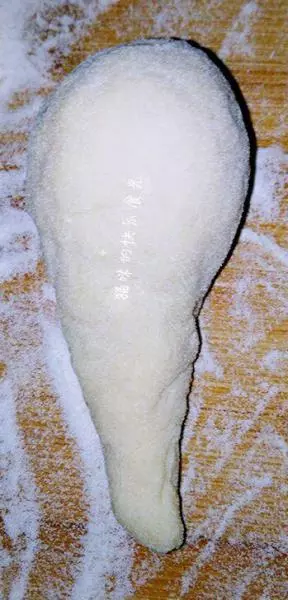
7搓成水滴狀。
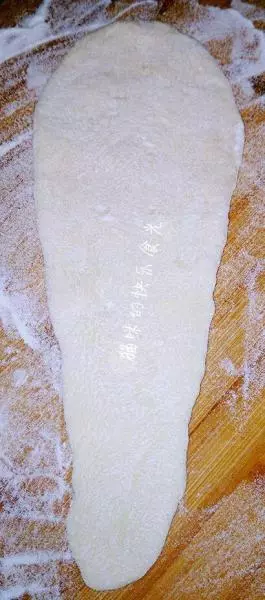
8用擀麵棒擀開。
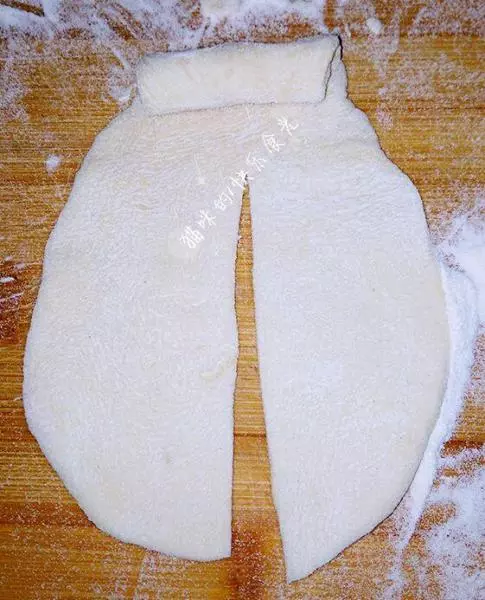
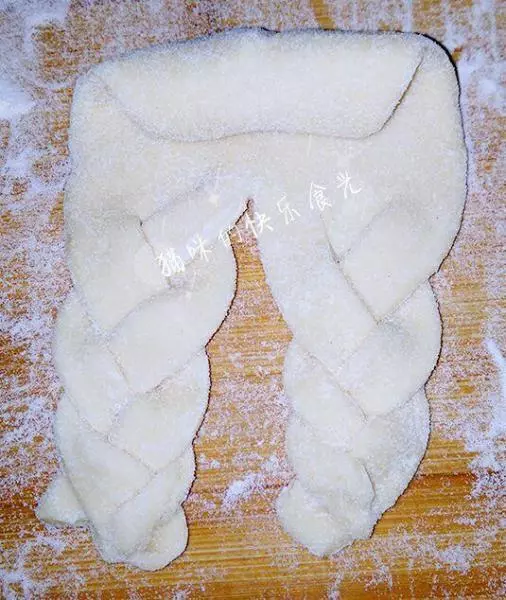
9從小的一頭捲起,卷至三分之一處即可。 將剩下的三分之二面片縱向一分為二。
10在每等份切兩刀。

113個一組編成兩條辮子。
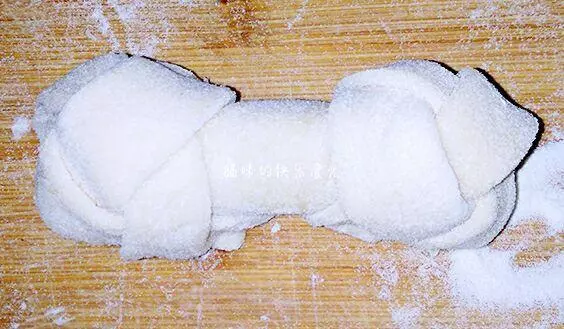
12繼續捲起麵包卷。
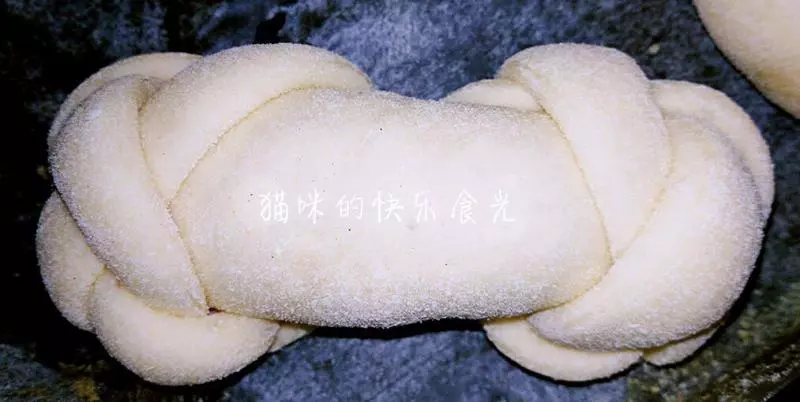
13放入墊好油紙的烤盤中,放溫暖的地方進行二次發酵。

14發酵至兩倍大。
15表面刷蛋黃液,撒少許白芝麻。
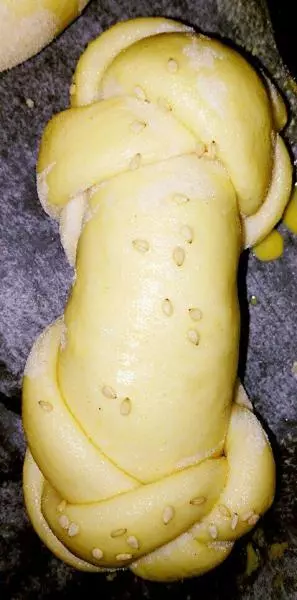
16烤箱預熱200度,烘烤15分鐘左右即可。
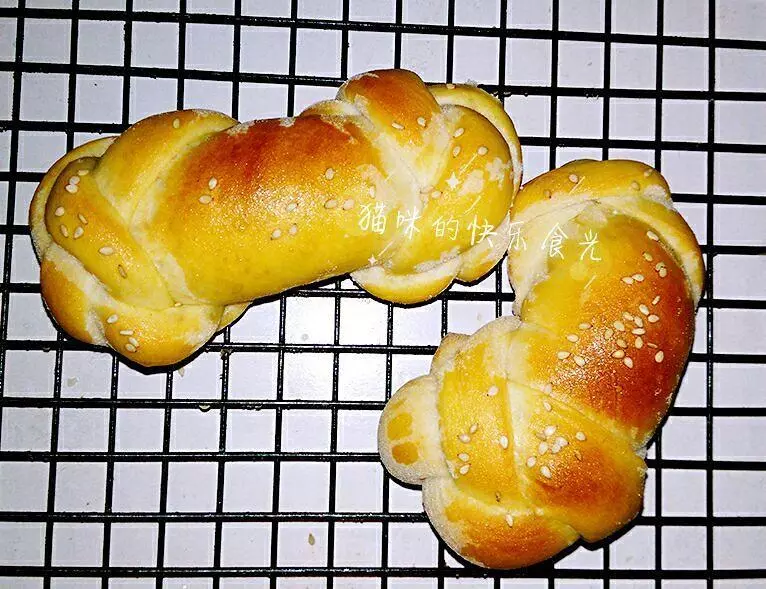
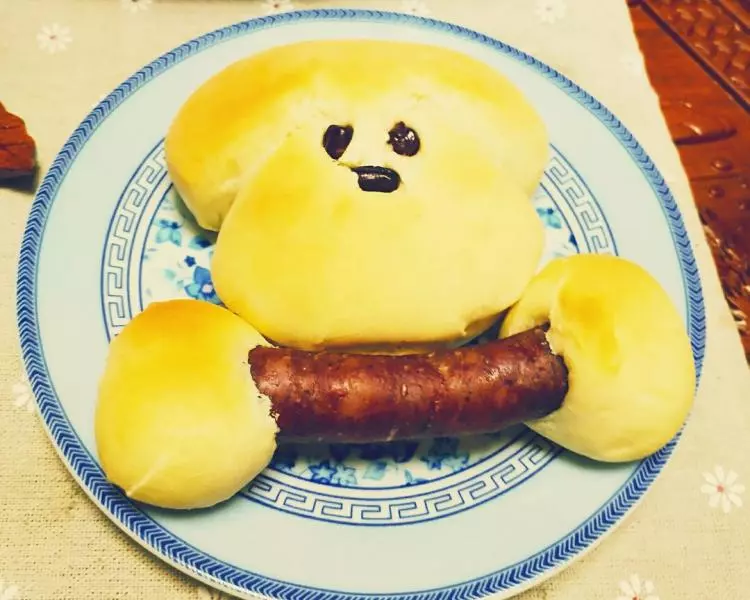
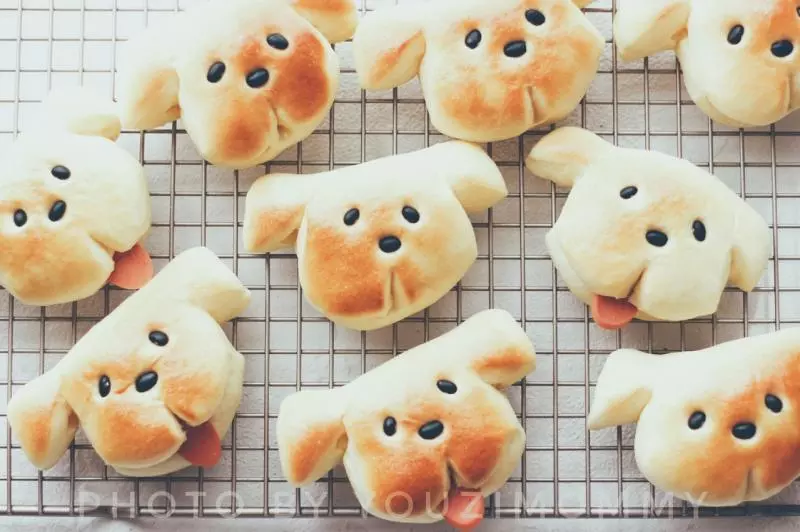
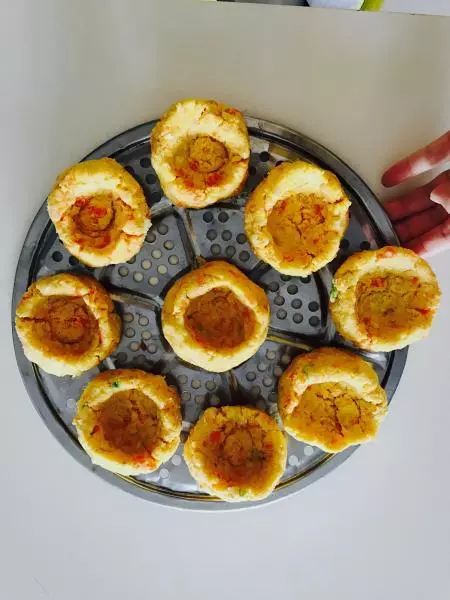
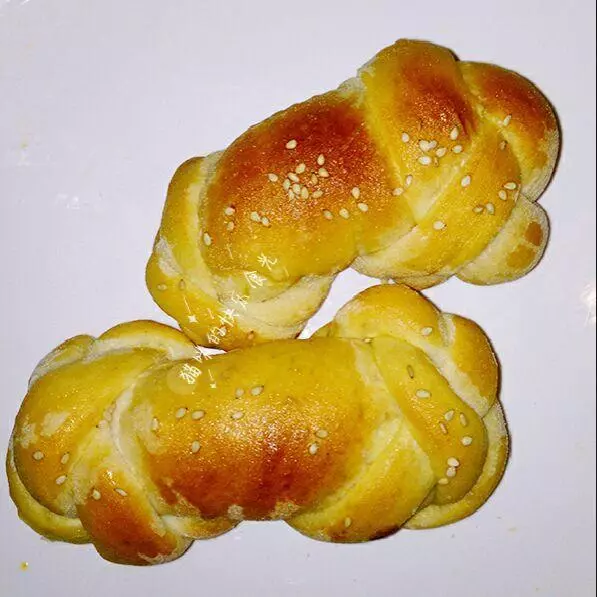
17成品圖。
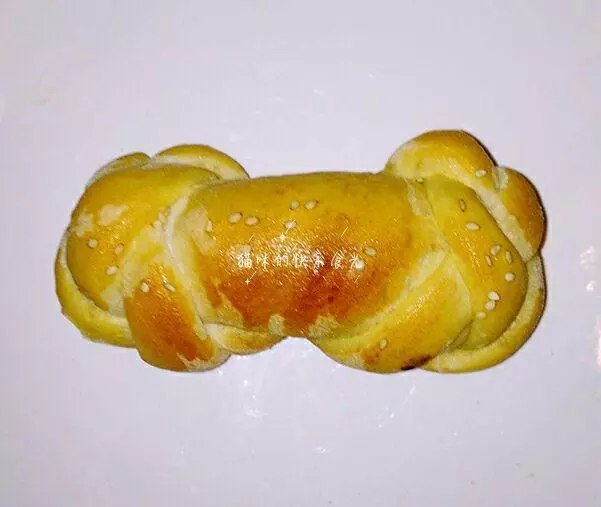
18成品圖。
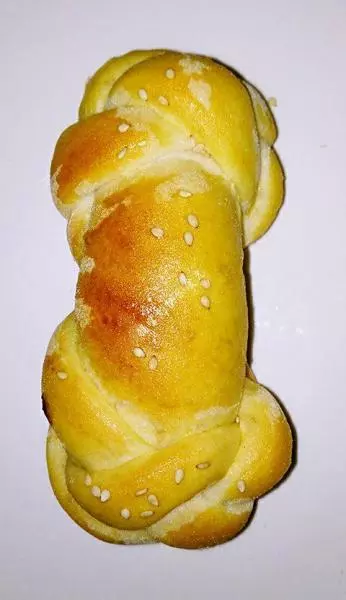
19成品圖。

小技巧
1、和面時最好留三分之二的蛋黃用來烤前刷面,這樣做出來的麵包顏色比較靚麗哈。 2、酵母要根據氣候做適當的增減。 3、烘烤的溫度請根據自己的烤箱實際情況自行調整,烘烤時需觀察上色狀態,麵包表面已經上色中途可蓋一層錫紙,避免上色過深或烤焦噢。