原料
雞蛋: 7個, 橙: 2個, 低筋麵粉: 120克, 檸檬汁: 幾滴, 玉米油: 50克, 細砂糖: 90克, 玉米澱粉: 12克, 鹽: 3克, 橙汁: 80克, 4寸模具: 9個
步驟
1稱量好所有的材料備用

2模具抹油

3橙子用鹽擦洗!洗凈擦乾!擦絲備用!

4橙絲里加入10克的糖!攪拌均勻!

5橙子切小快放攪拌機攪拌成汁!

6攪拌好的橙汁過濾80克備用!加入幾滴檸檬汁!

7分離蛋清和蛋白!加入幾滴檸檬汁!分離蛋白和蛋黃的盆必須無水無油!

8盆里加入玉米油!橙汁!鹽!20克的糖!橙皮!攪拌均勻無沉澱!

9攪拌好的液體是沒有油水分離的狀態!

10倒入過篩好的低筋粉

11用蛋抽用Z字形翻拌均勻!無乾粉!

12加入蛋黃!

13還是用Z字形用蛋抽翻拌均勻!

14蛋白用低速打到起發泡加第一次的糖!

15蛋白用高速打到起彎鉤!加第二次的糖!

16蛋白加入第三次的糖和玉米澱粉用高速打均勻!然後轉低速打到硬性發泡!打好的蛋白是很光滑的!提前預熱烤箱150度!

17蛋黃糊中加入3分之1的蛋白!

18翻拌好的蛋糊!

19翻拌好的蛋糊倒入剩餘的蛋白糊里!

20把蛋白糊和蛋黃糊翻拌均勻!

21裝入模具!震出空氣!

22把模具放入預熱好的烤箱!放烤箱第二層!上下管150度烤30分鐘!

23這是烤了6分鐘的狀態!

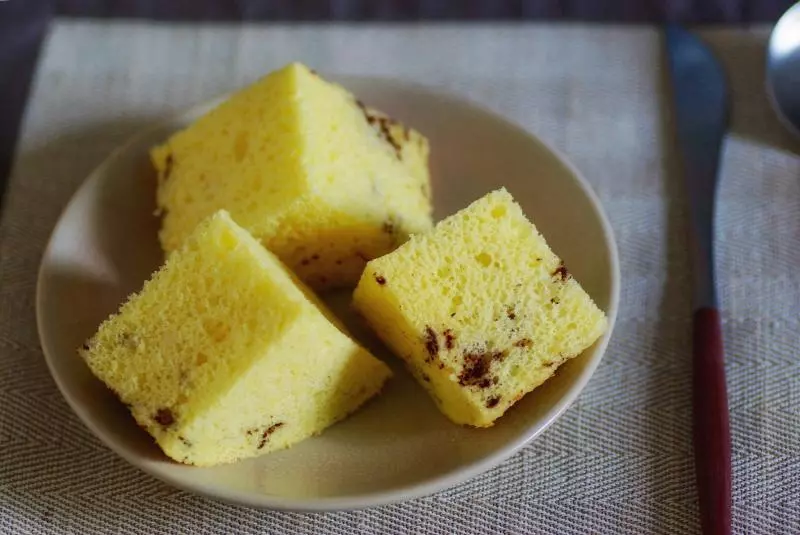
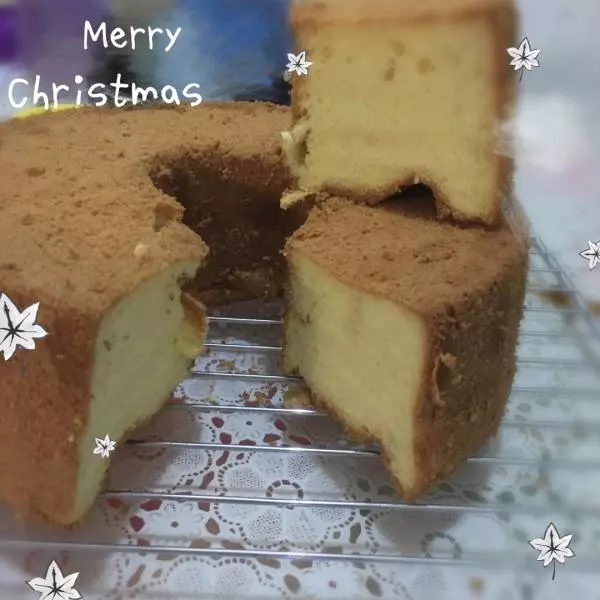
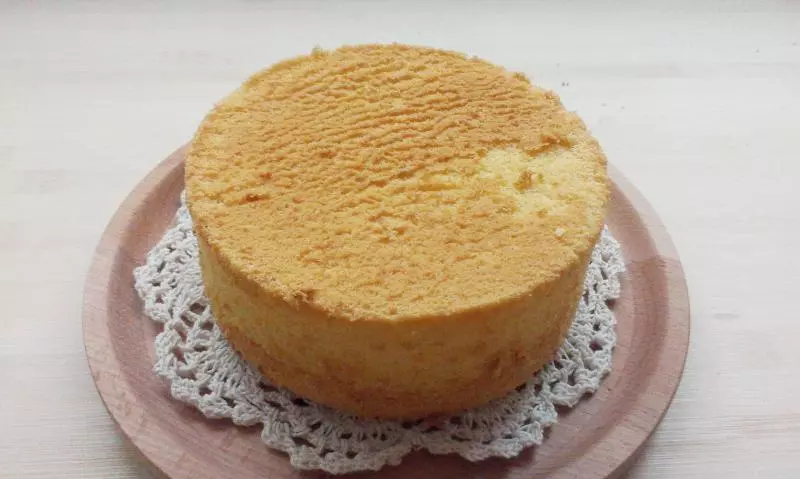
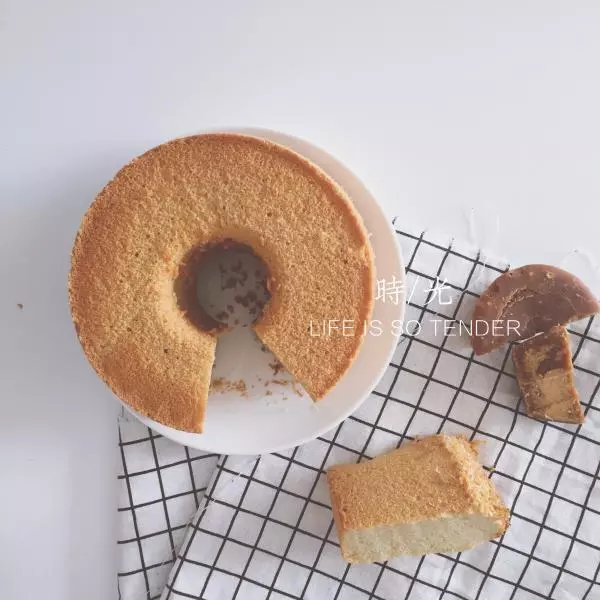
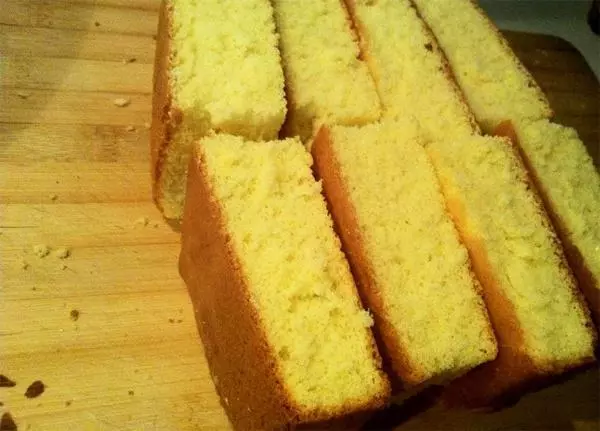
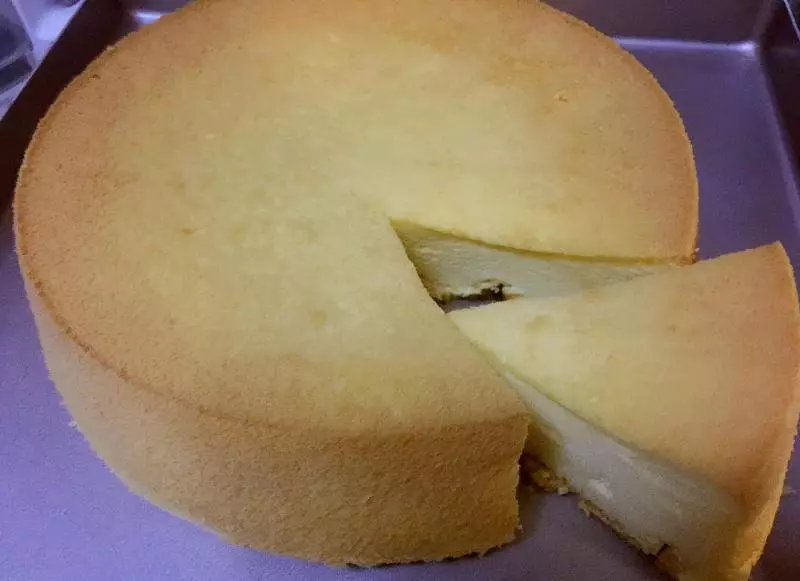
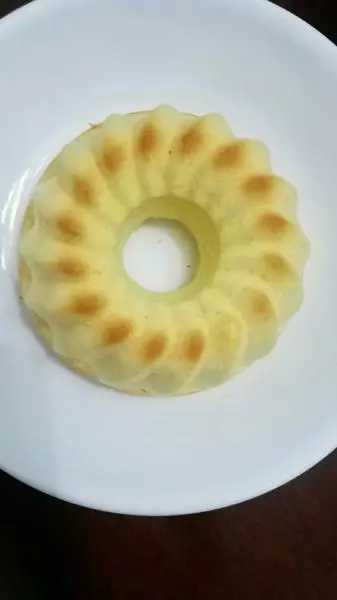
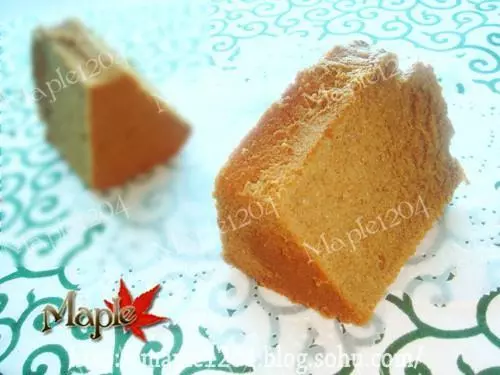
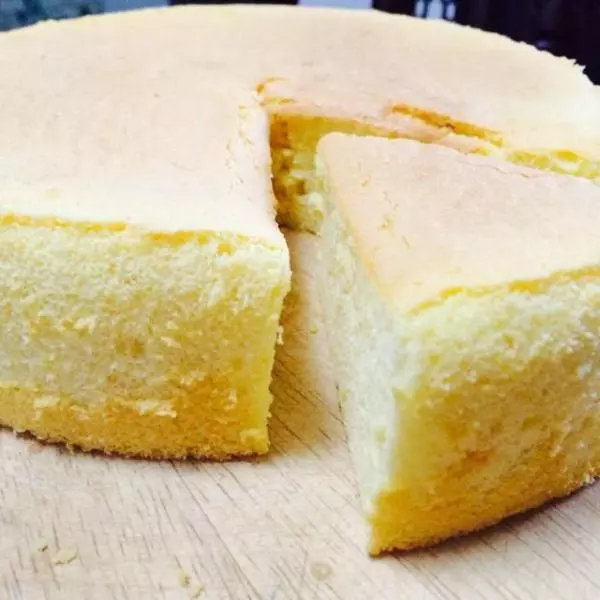
24烤了30分鐘的狀態!馬上可以出爐了!

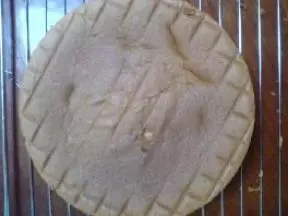
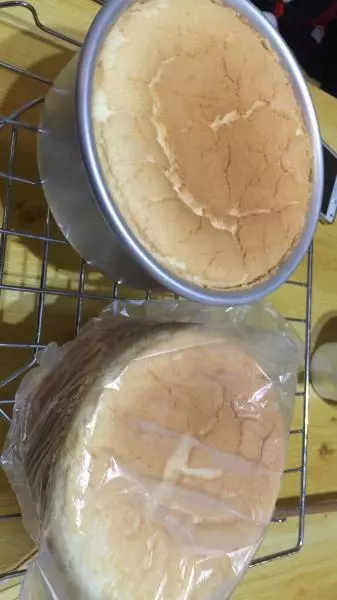
25把烤好的模具從烤箱取出!震出熱氣!倒扣在網上涼涼再脫模!

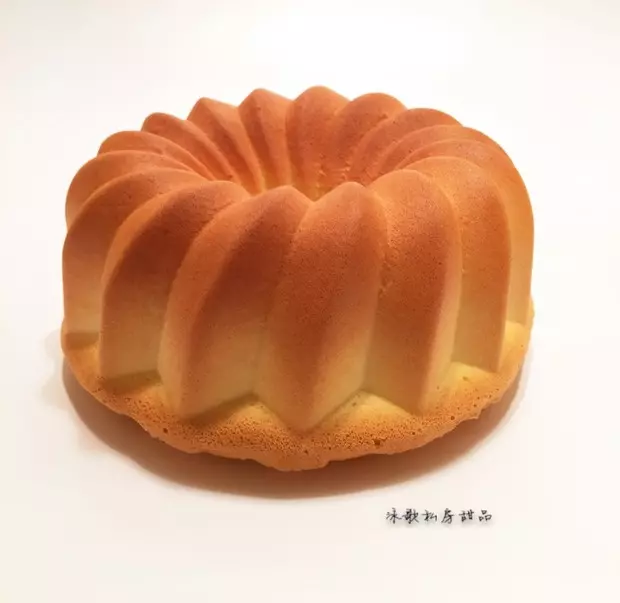
26成品出爐了!

27成品圖!

小技巧
本來想做8個的!但是翻拌好蛋糊感覺多了就又添了一個模具!模具可以用黃油塗抹再撒點乾粉!然後把多餘的乾粉倒掉!也可以自己製作脫模膏塗抹!不粘模具可以做戚風也可以抹油!大膽的嘗試吧!