原料
奶油: 若干克, 戚風蛋糕: 1個
步驟
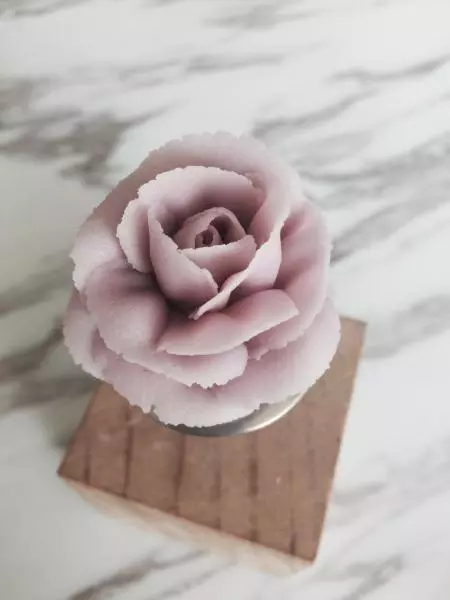
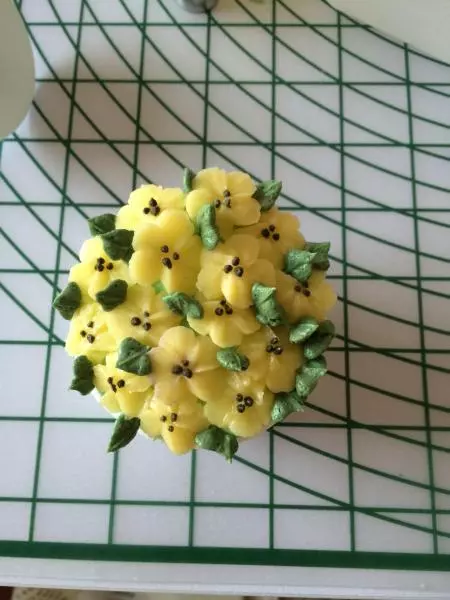
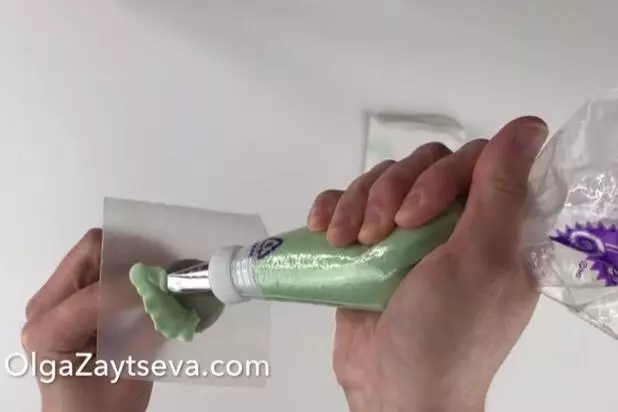
1原方瑞士奶油霜。

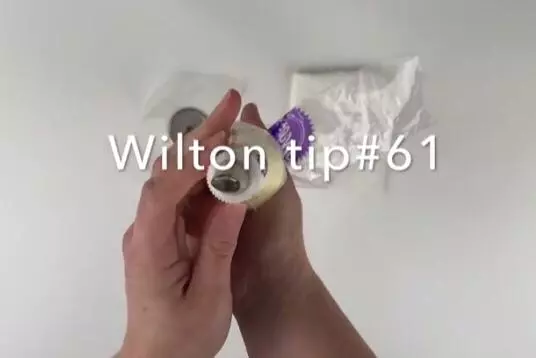
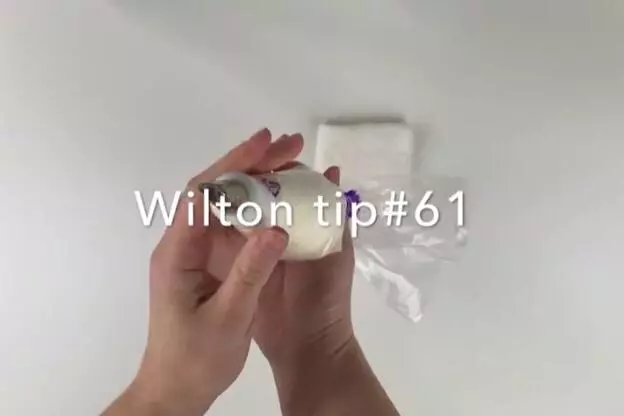
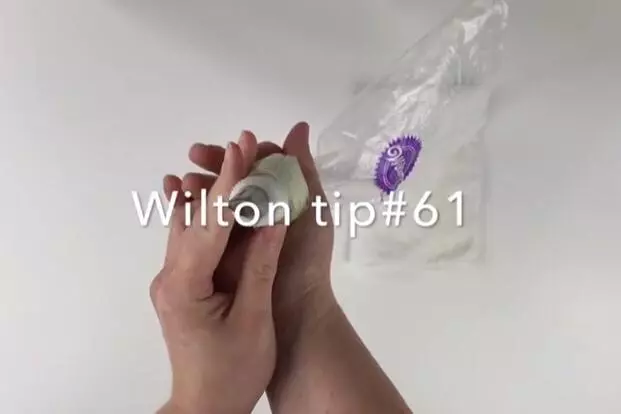
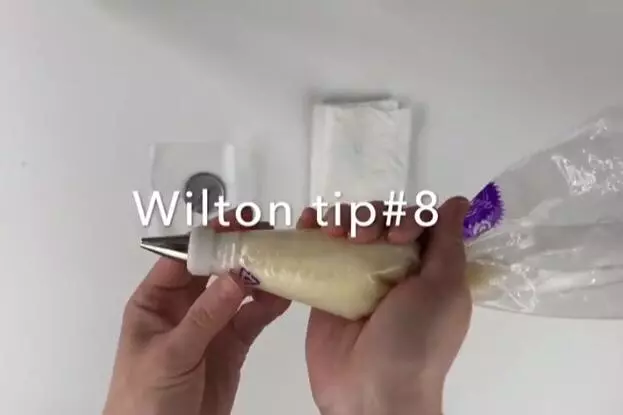
261號花嘴,大頭朝下,黃色奶油霜裱花心。
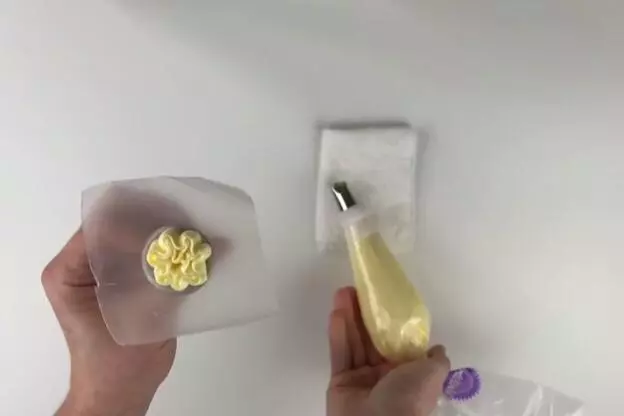
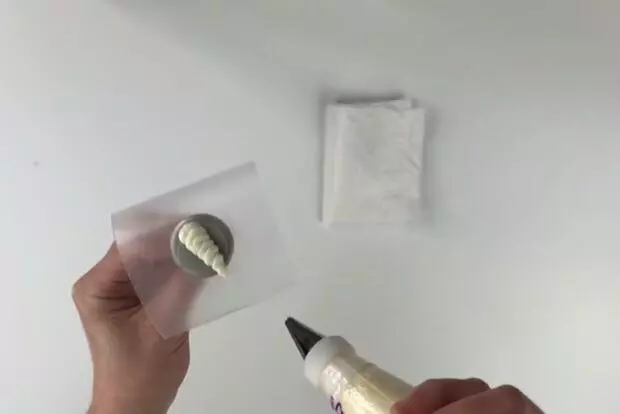
3裱兩圈,內圈六七瓣,外圈包裹內圈。

4花心完成。
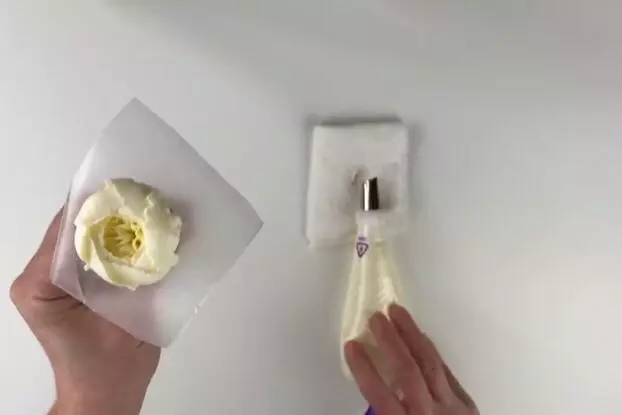
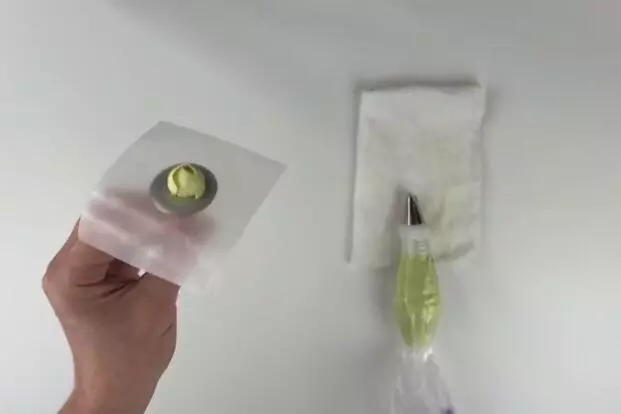
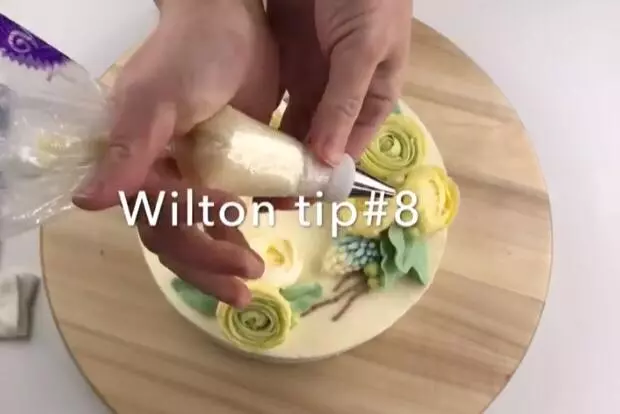
5繼續61號花嘴,換白色奶油霜。
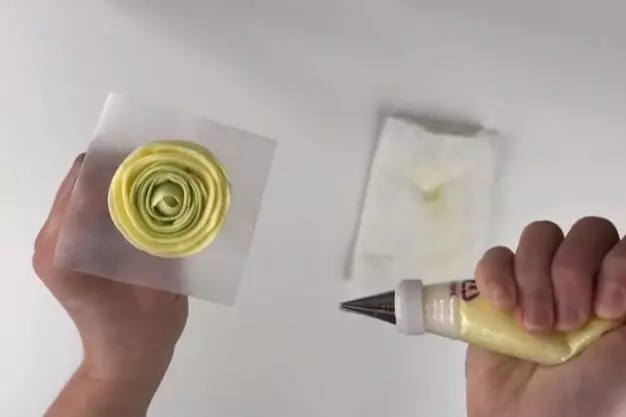
6第一圈,不需要弧度,貼合花心裱五瓣花瓣。第二圈開始,注意弧度。每一圈比前一圈要多一兩瓣花瓣。
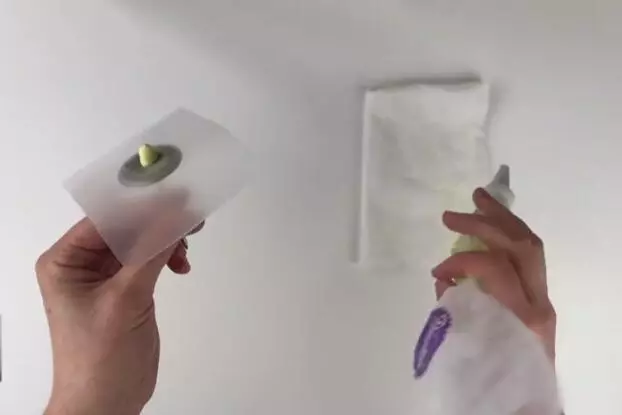
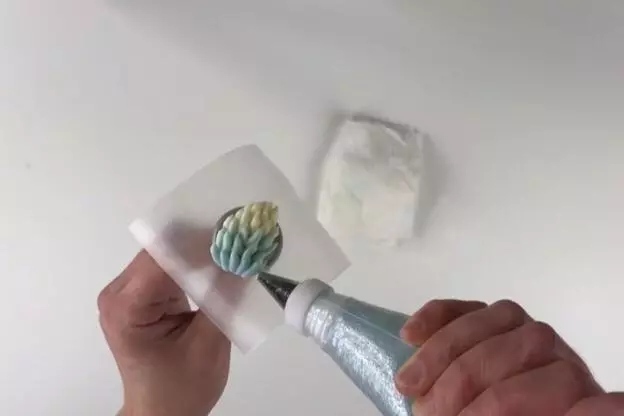
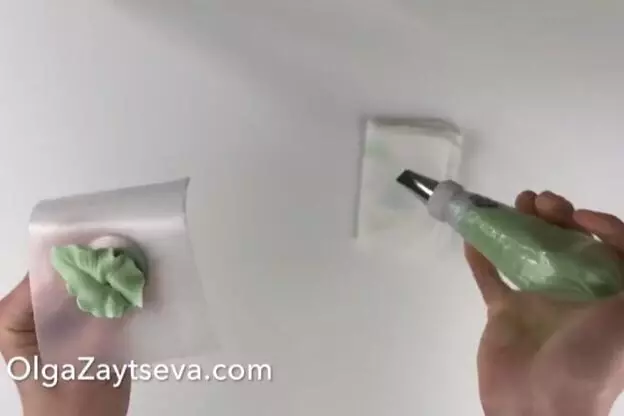
710號花嘴,綠色奶油霜裱基座。
8小基座。
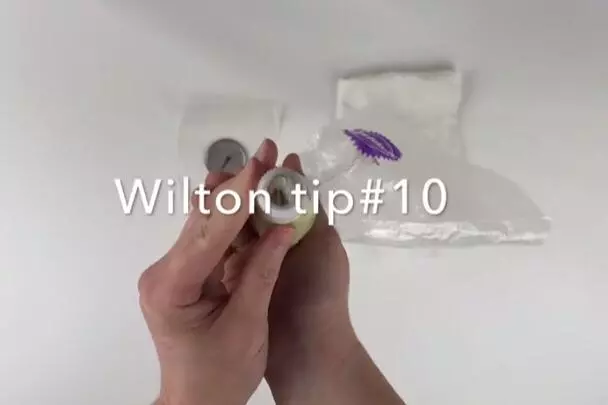
9繼續61號花嘴,裱花心。
10注意弧度,三瓣花瓣裱出錐形花心。
11換150號花嘴,依然綠色奶油霜。
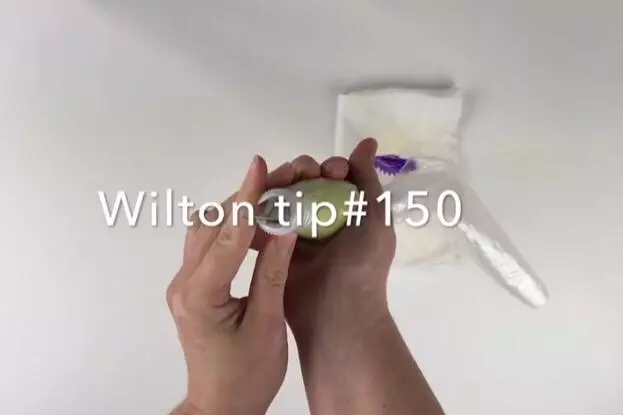
12貼合花心,一圈一圈裱花瓣,不需要一瓣一瓣裱,但是要注意上下的角度。三四圈之後,換黃色奶油霜繼續裱花瓣。
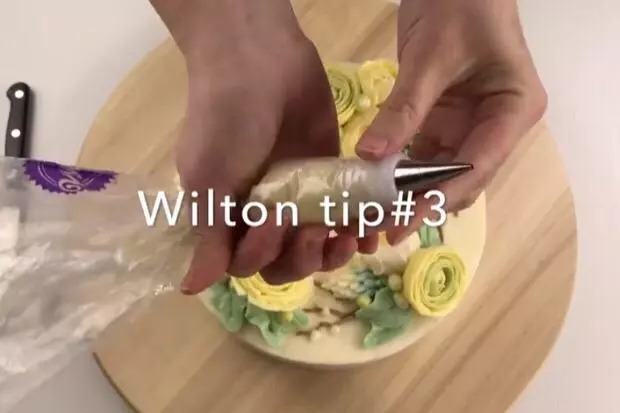
138號花嘴,白色奶油霜。
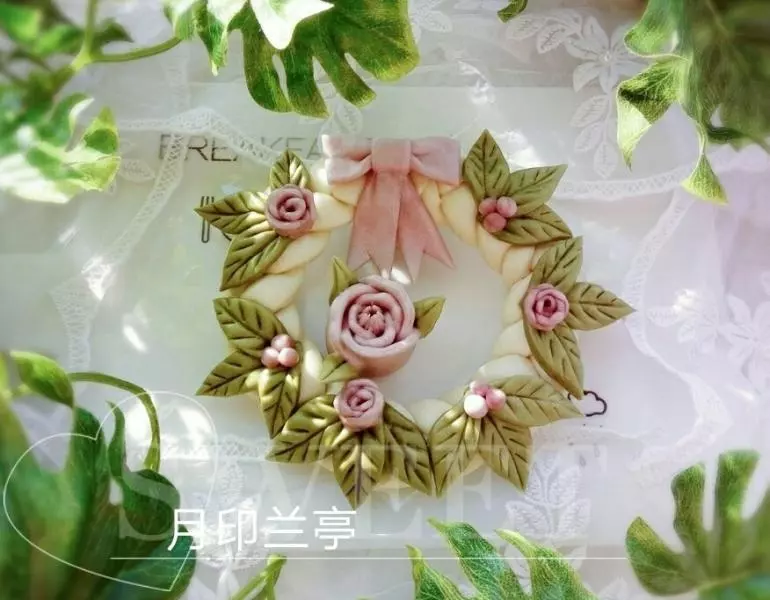
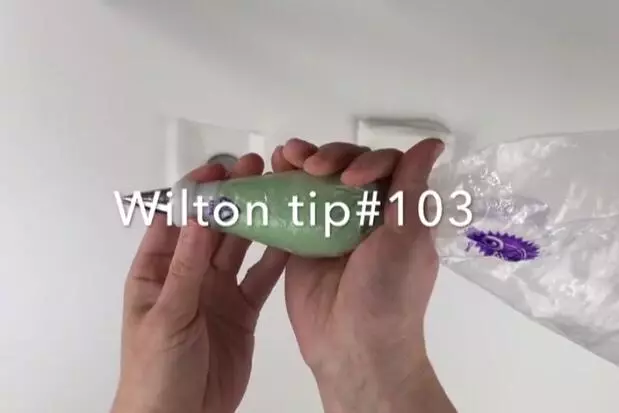
14裱基座,形成椎體。
15繼續8號花嘴,一根一根裱上刺,如果能用漸變色奶油霜是最好。
16103號花嘴,裱大片葉子。
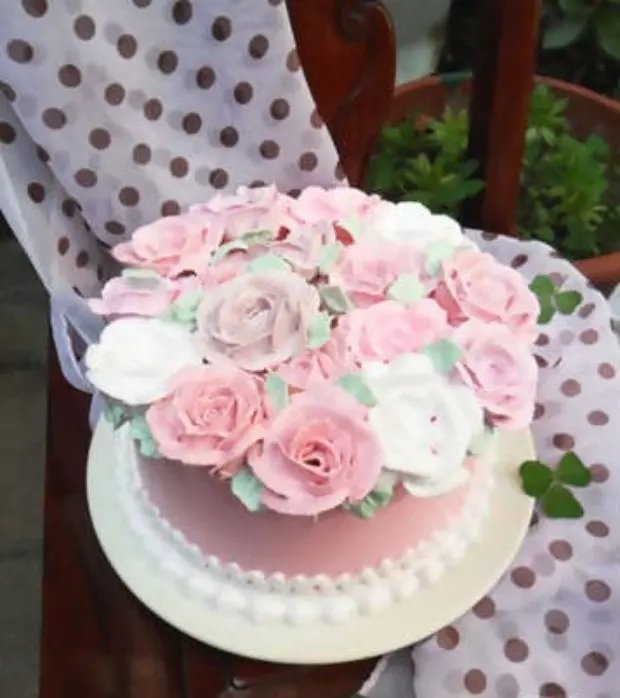
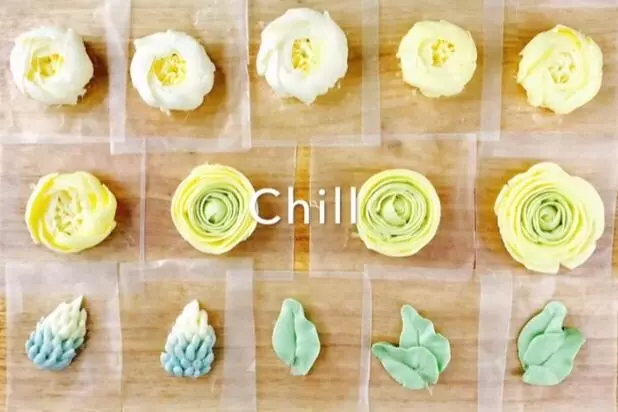
17大頭朝內,注意角度。
18葉子完成。
19裱花完成,需冷藏。
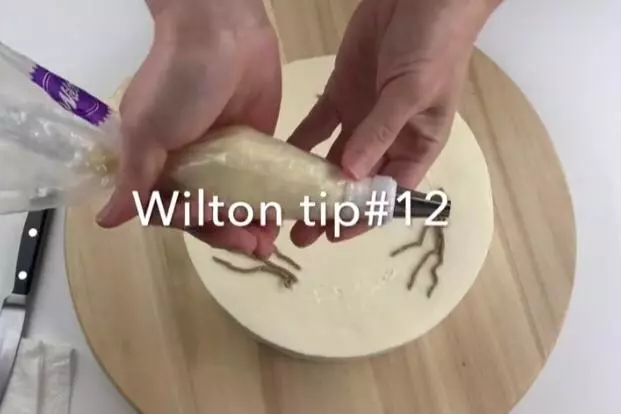
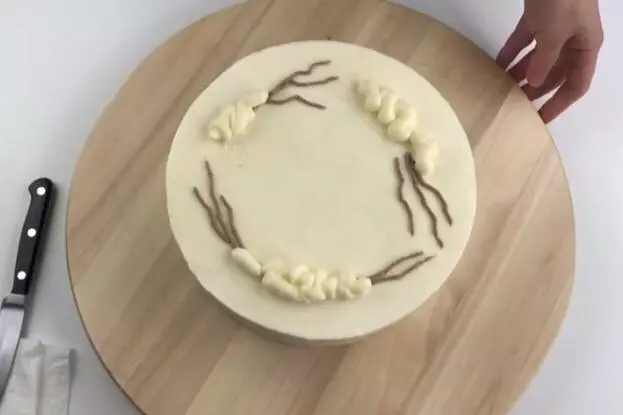
203號花嘴,棕色奶油霜,裱樹枝。
2112號花嘴,白色奶油霜,在樹枝上打基座。
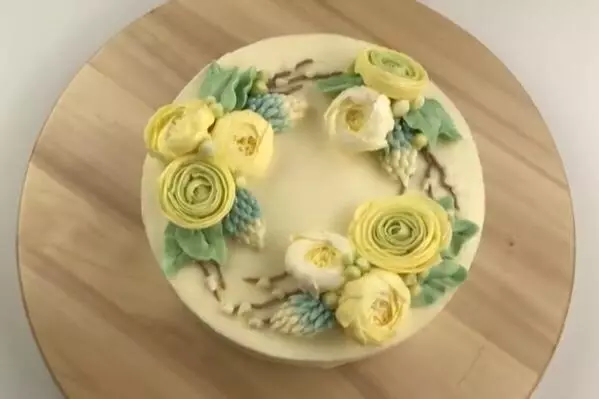
22樹枝及基座完成。
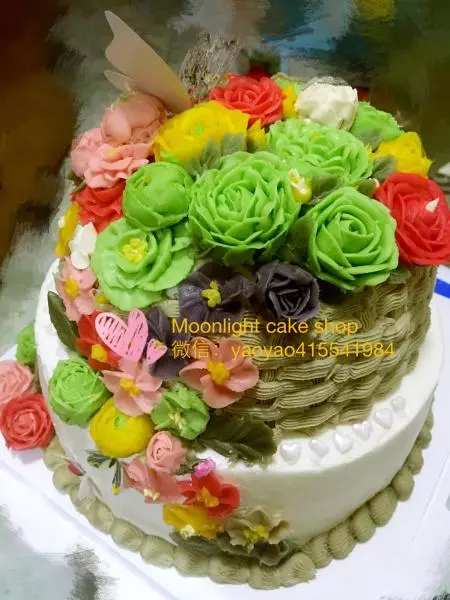
23裝飾完成。
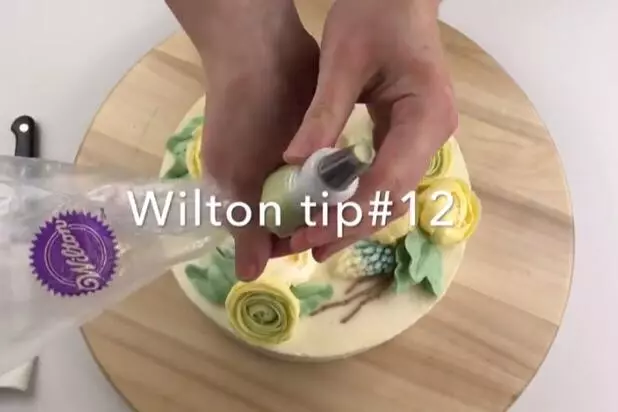
2412號花嘴,綠色奶油霜,在間隙裱上花苞裹體。
258號花嘴,白色奶油霜,在樹枝頭裱上白色花苞。
263號花嘴,白色奶油霜,在綠色花苞裹體頂端裱上花苞。
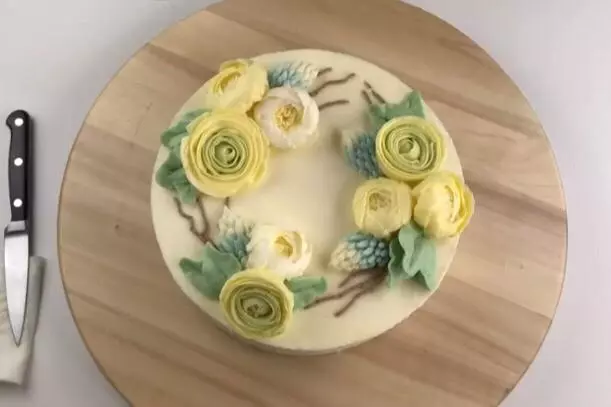
27全部裱花完成。
28分享原作者的YouTube帳號及官網。