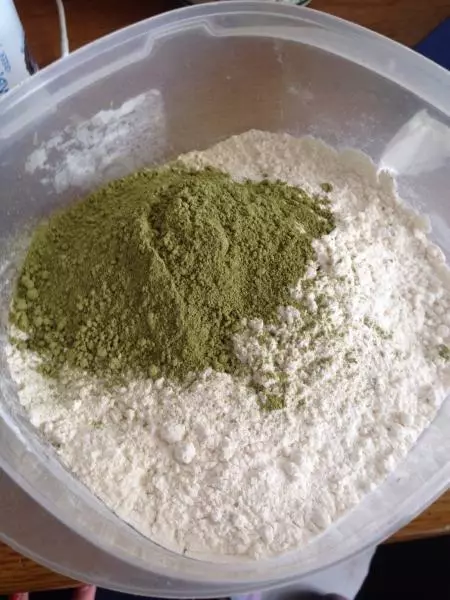
原料
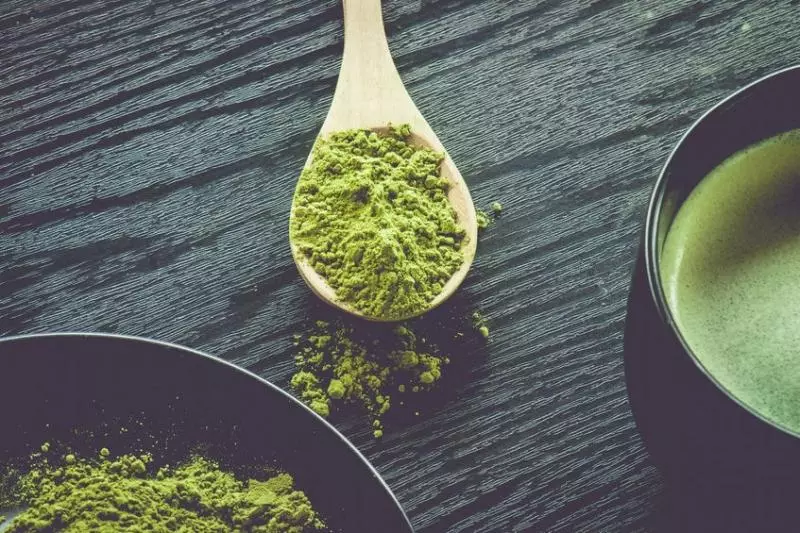
雞蛋: 3個, 蛋糕粉: 400g, 黃油: 40g, 奶油: 400ml, 抹茶粉: 15g, 牛奶: 500ml, 白糖: 150g
步驟
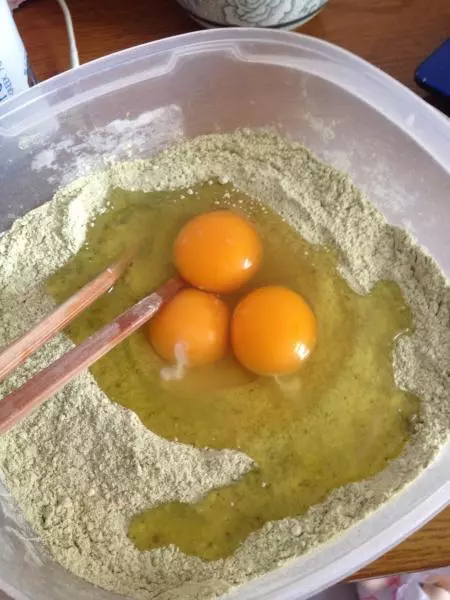
1將蛋糕粉和抹茶粉混合
2加入三個雞蛋 邊加牛奶攪拌 適量白糖
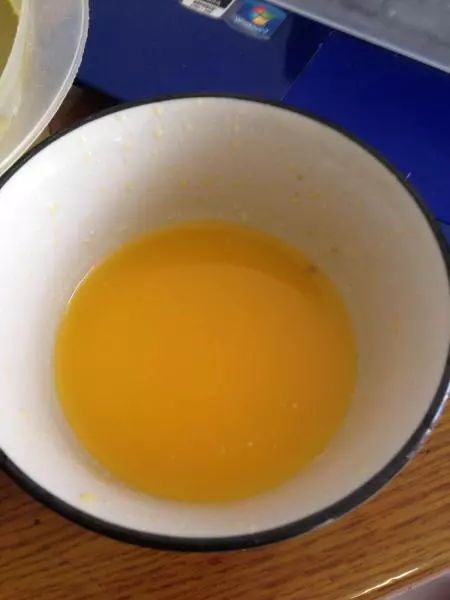
3黃油加熱至融化
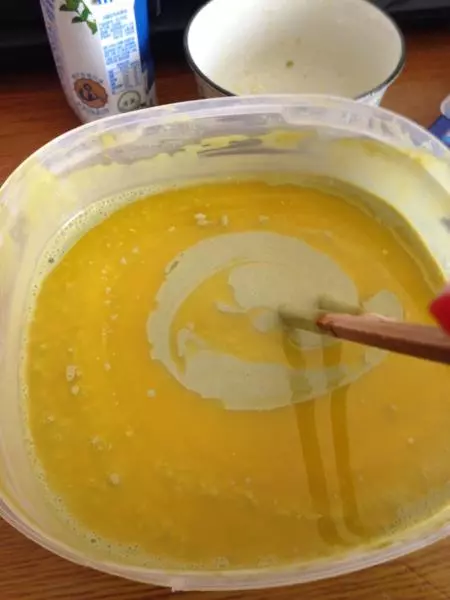
4將黃油加入粉糊中 攪拌均勻
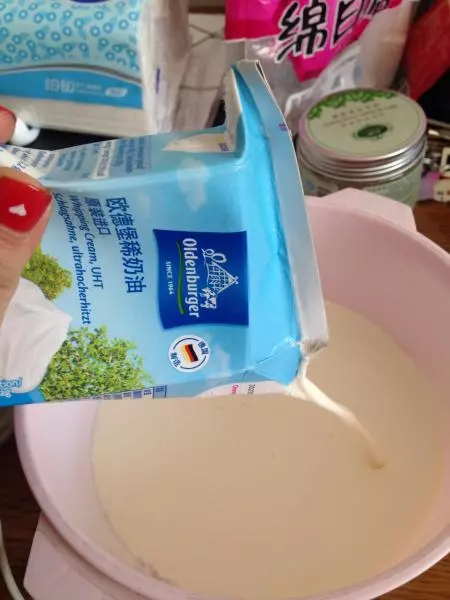
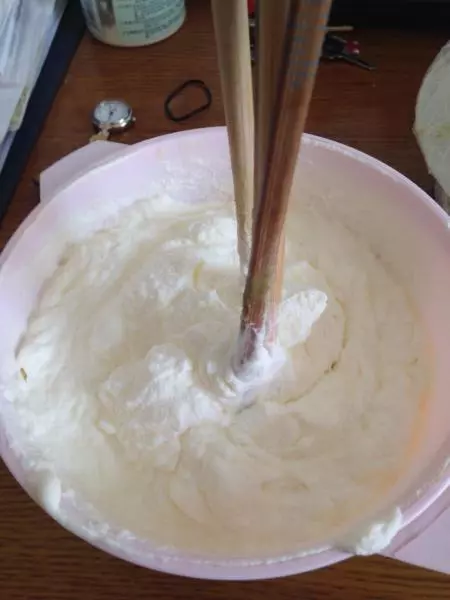
5淡奶油倒入容器加入白砂糖打發奶油
6奶油打發成功
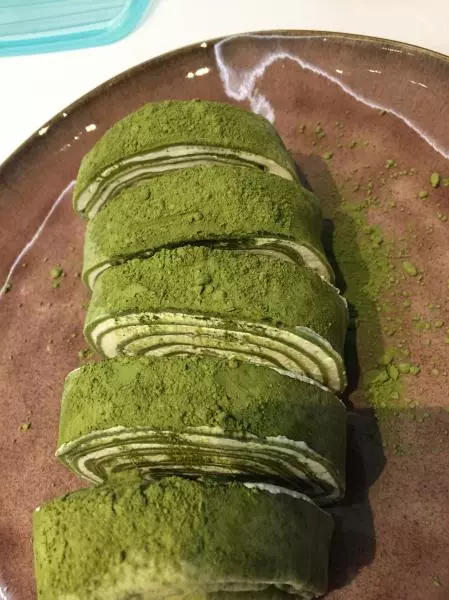
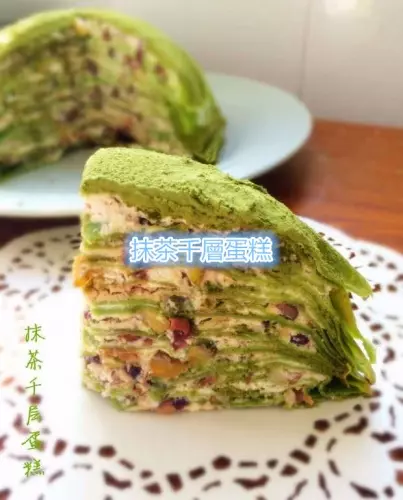
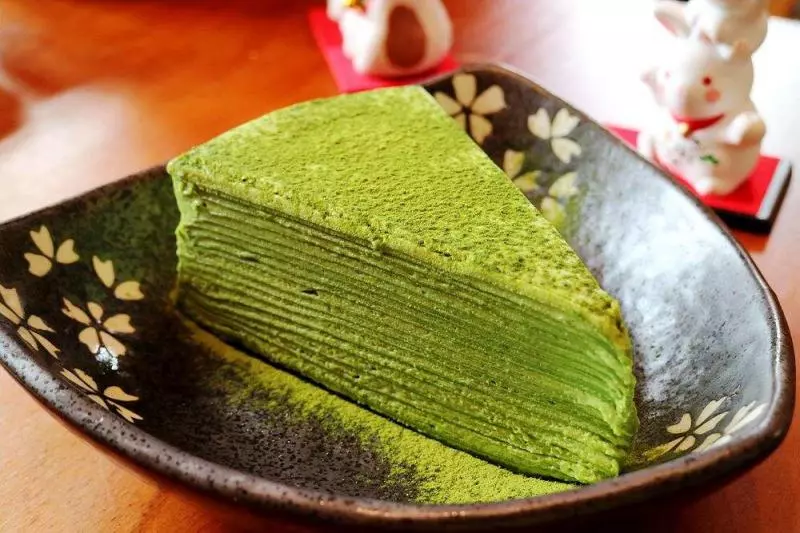
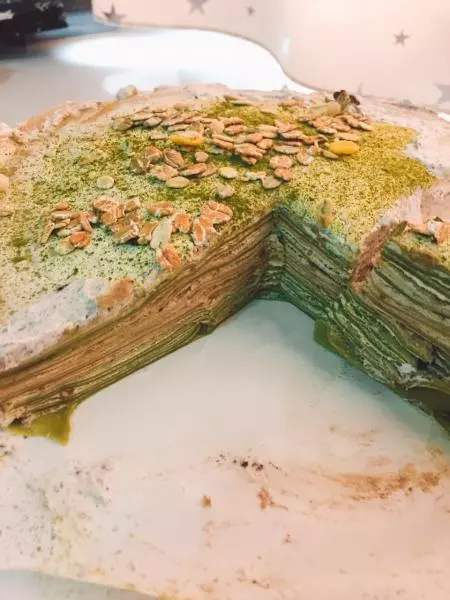
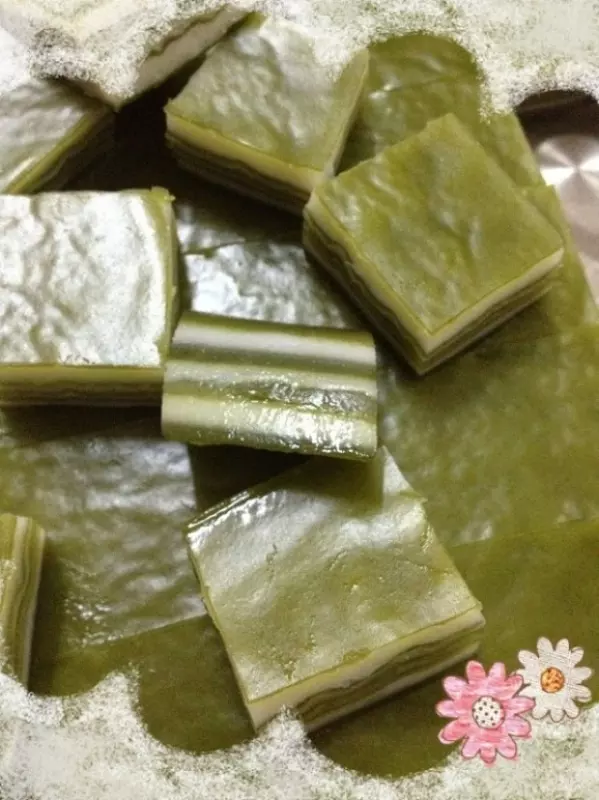
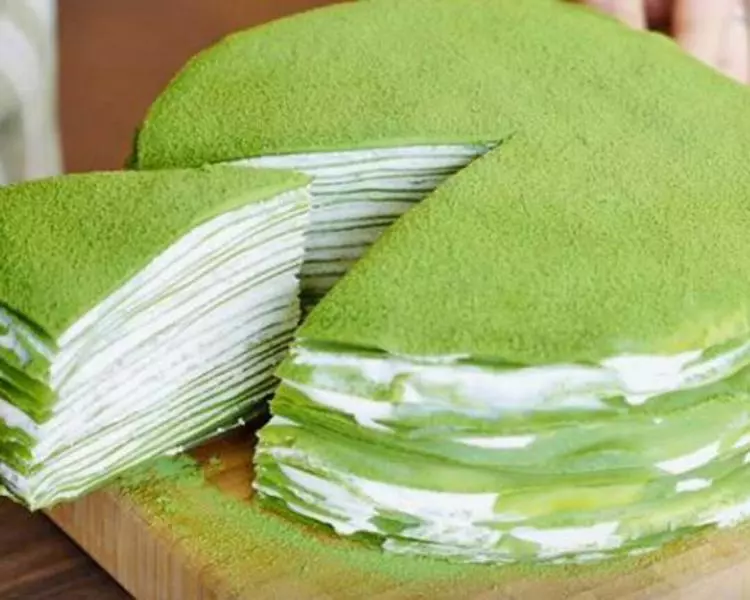
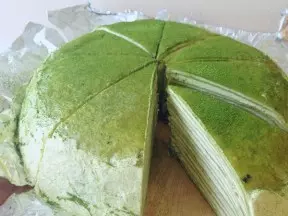
7製作餅皮 平底鍋 小火
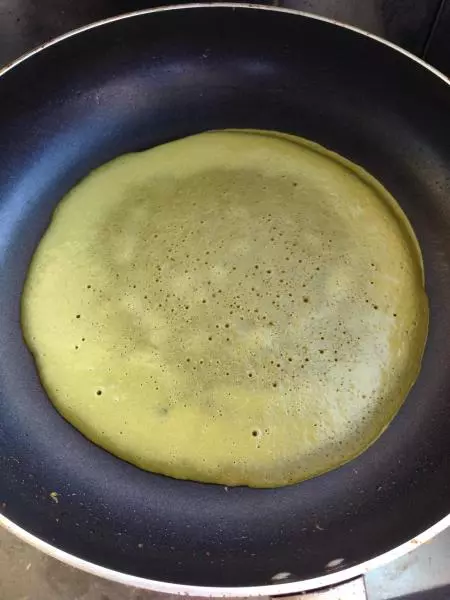
8餅皮全部製作完晾涼
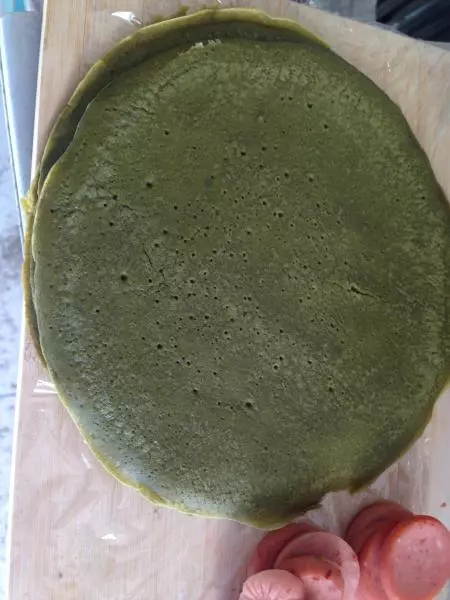
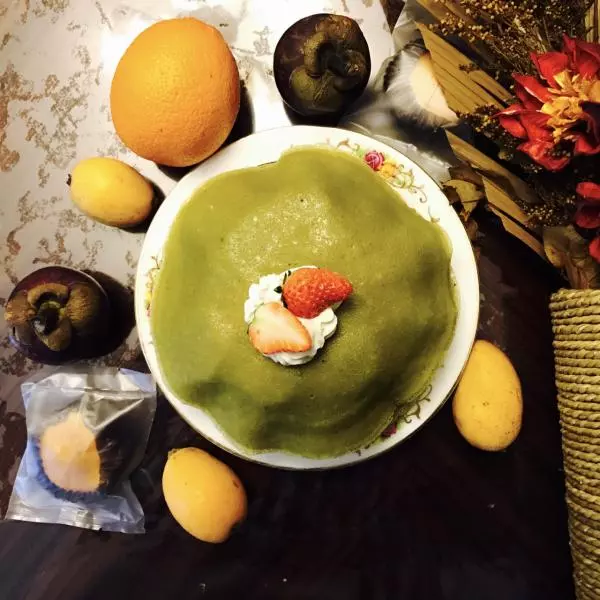
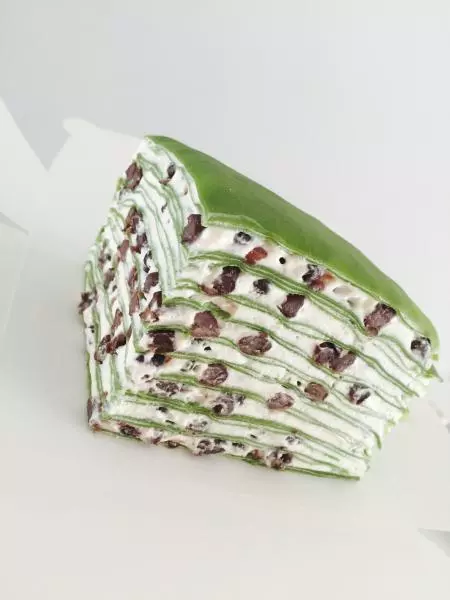
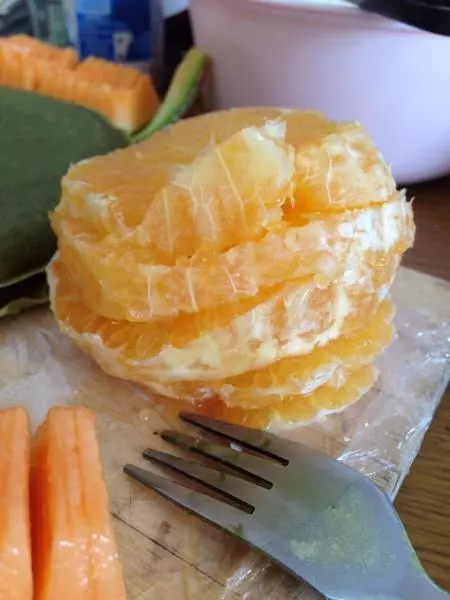
9準備一些水果
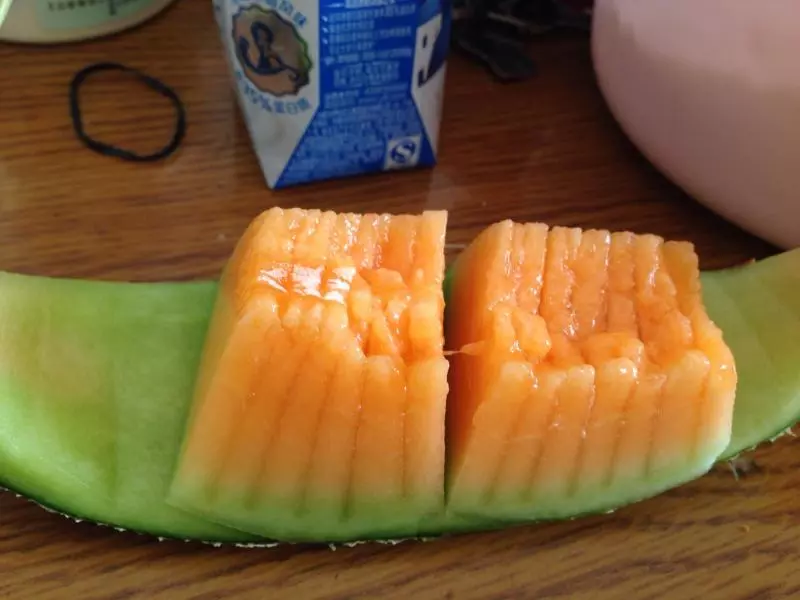
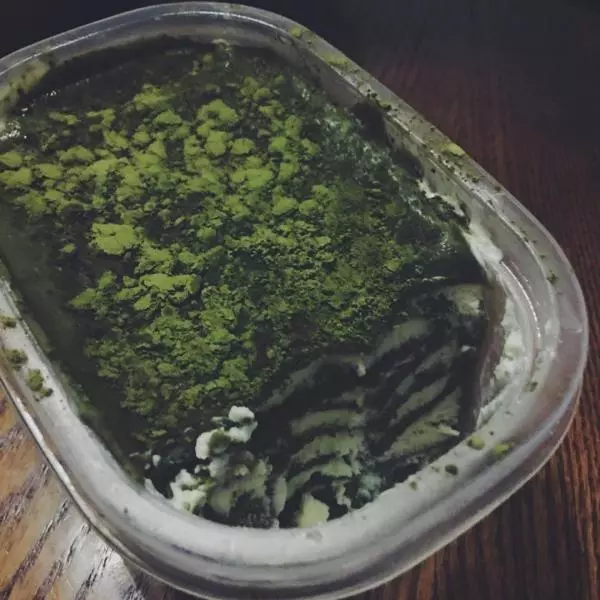
10準備水果
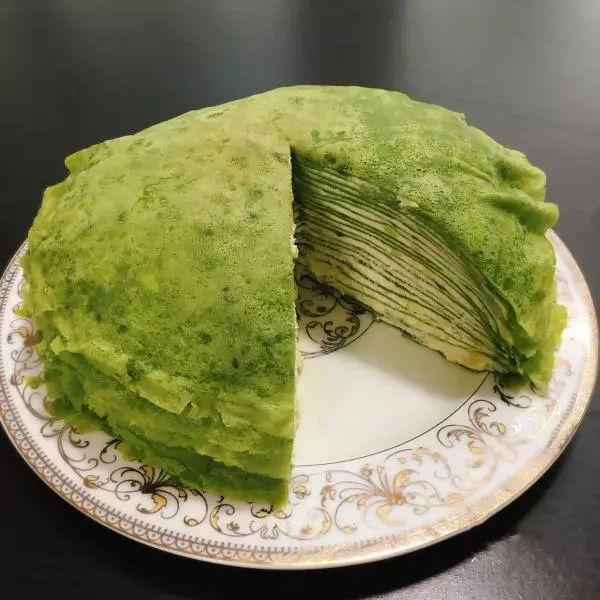
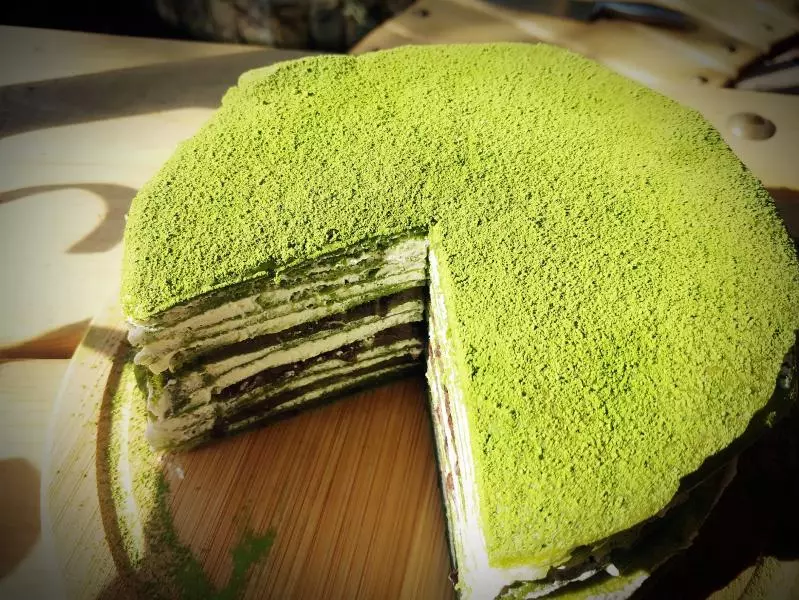
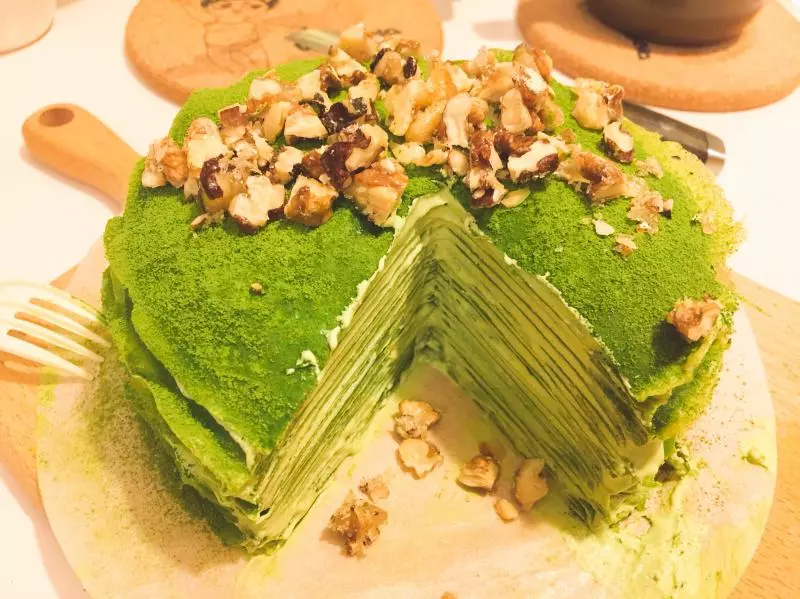
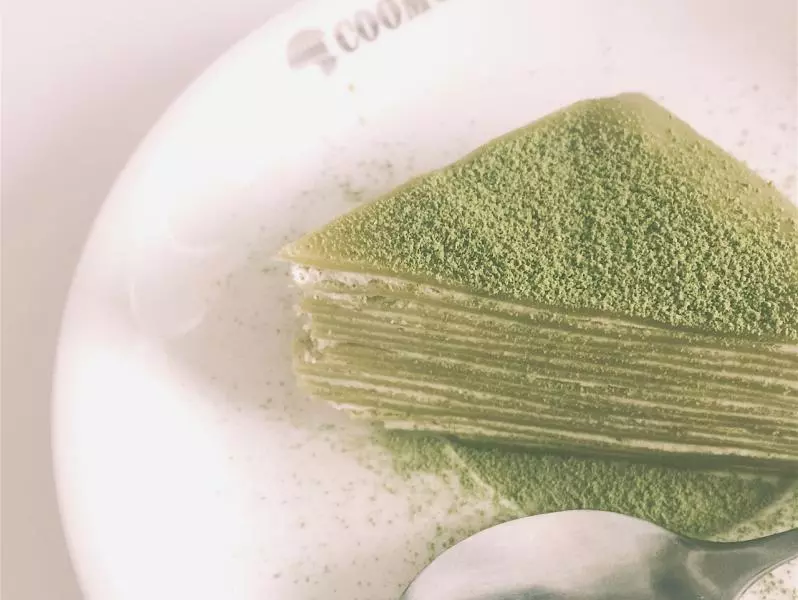
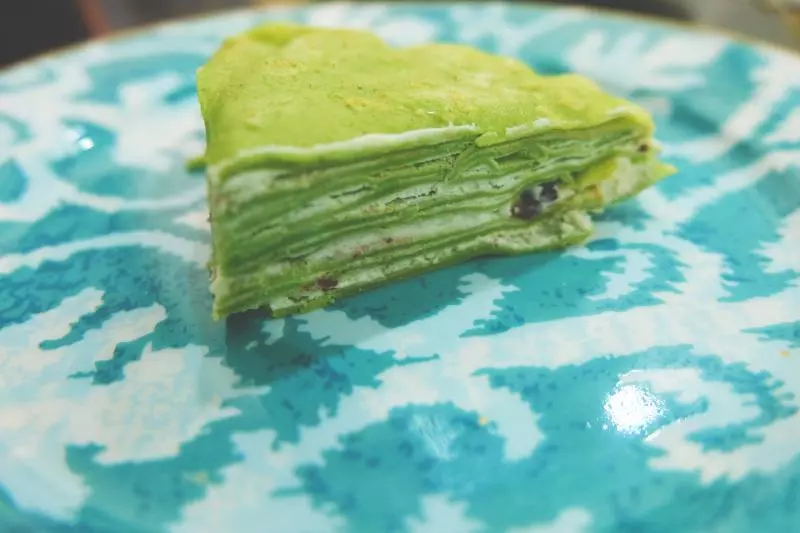
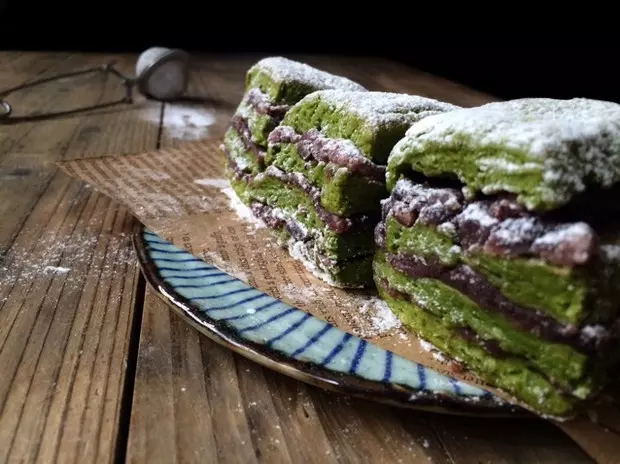
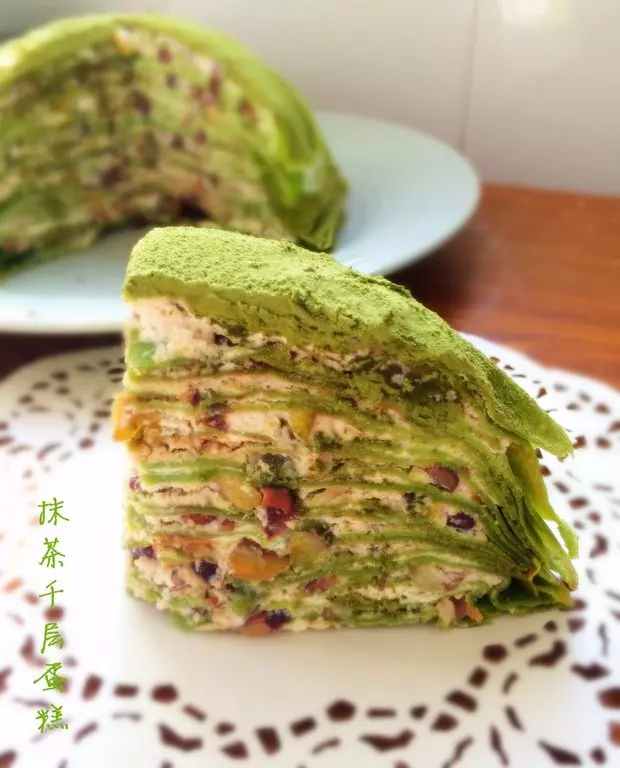
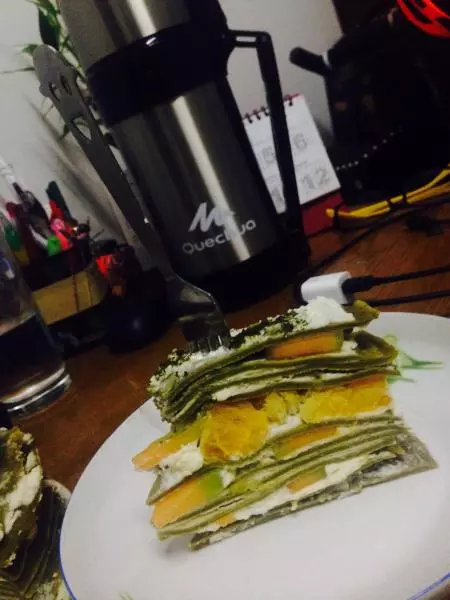
11一層餅皮一層水果一層奶油
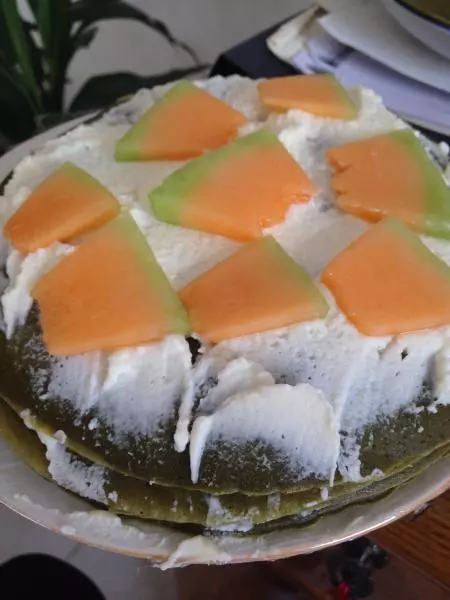
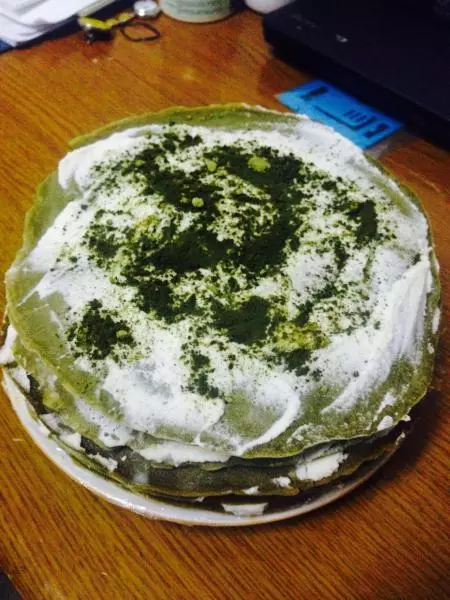
12做完啦 放入冰箱冷藏三個小時
13製作時根據自己的量放奶油 我後來不夠用了?
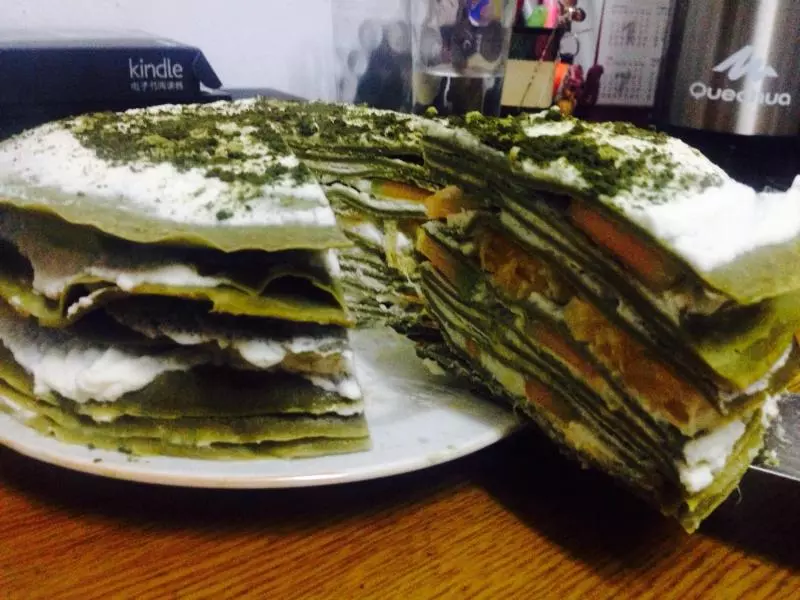
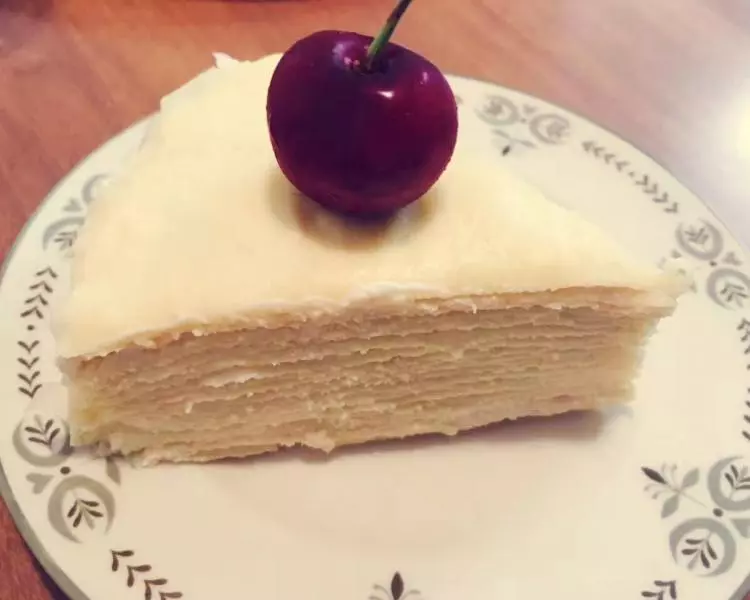
14吃!
小技巧
糖、奶油根據自己口味添加調整~