原料
高筋麵粉210克: , 耐高糖酵母3克: , 牛奶145克: , 糖5克: , 高筋麵粉90克: , 鹽4克: , 糖25克: , 奶粉10克: , 全蛋液58克: , 牛奶15克: , 黃油25克: , 自製蜜紅豆適量: , 煉乳適量: , 奶酥粒適量: , 卡仕達醬適量:
步驟
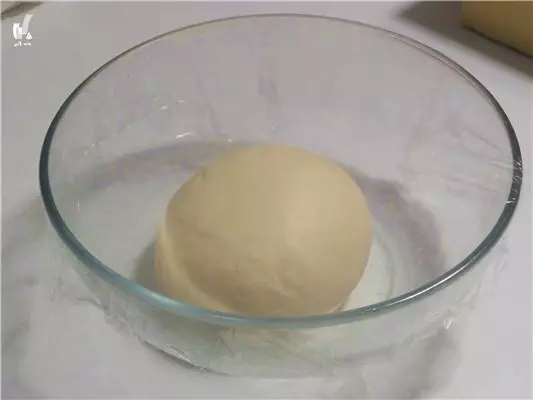
1種麵糰材料全部混合,揉成光滑的麵糰,面盆蓋上保鮮膜,放在溫暖處發酵
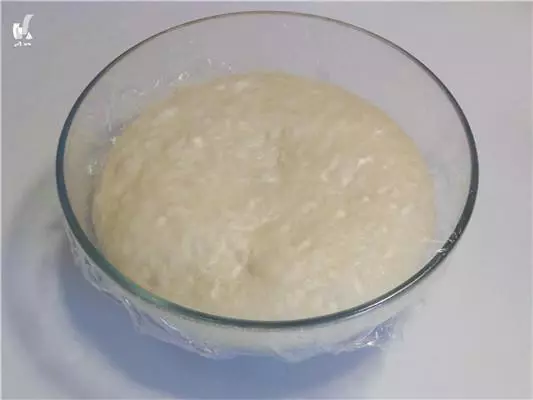
2種麵糰發酵至3倍
3發酵好的種面撕成小塊(為了儘快攪拌均勻或者揉均勻),加入主麵糰黃油以外的材料一起揉成光滑的麵糰。 略有筋度時加入黃油,繼續揉到能扯出較為結實的透明薄膜

4揉好的麵糰整理光滑,蓋保鮮膜室溫靜置30分鐘
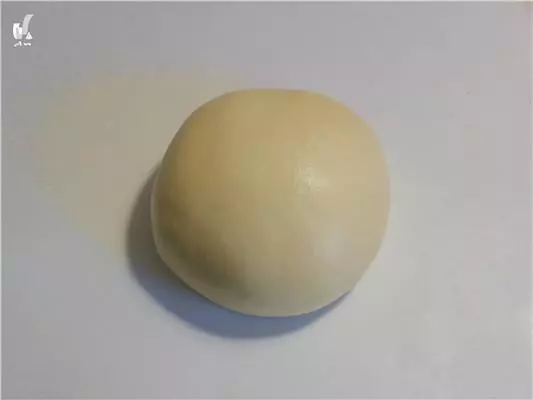
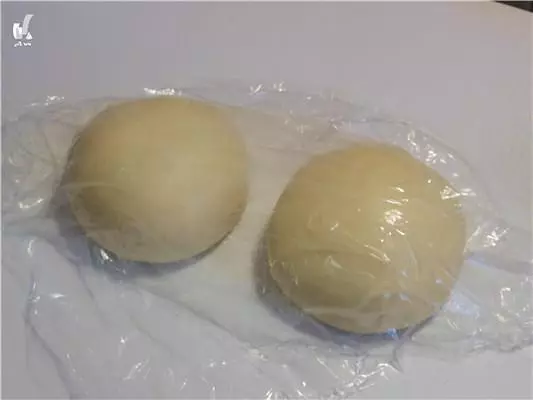
5然後分成兩等份 分別滾圓,蓋保鮮膜鬆弛15-20分鐘
6鬆弛好的麵糰擀成橢圓形
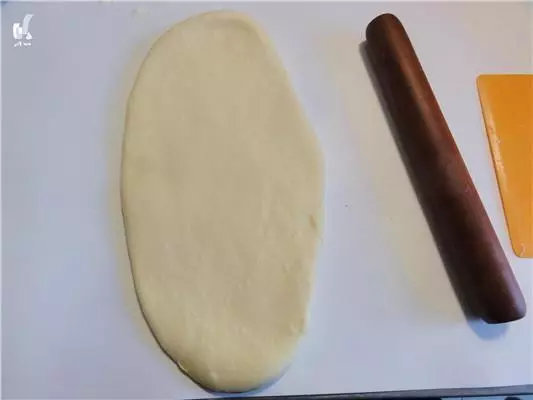
7分別慢慢拉伸四角,使之呈長方形 用擀麵杖將其擀成與模具底部大小一致的長方形

8放入烤盤,刷一層煉乳
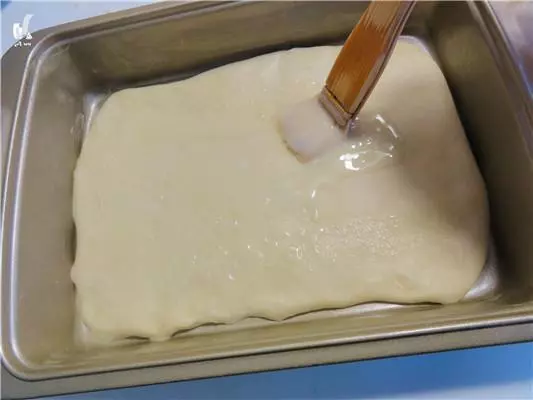
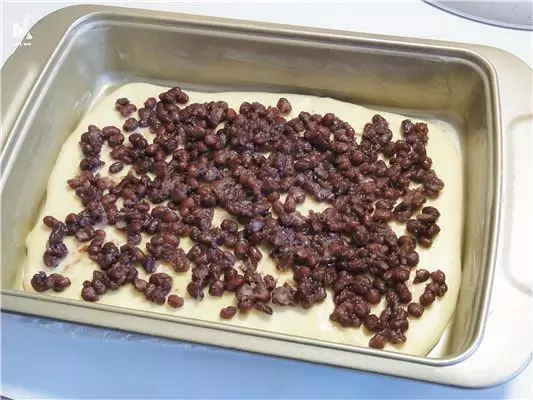
9均勻的鋪一層蜜豆
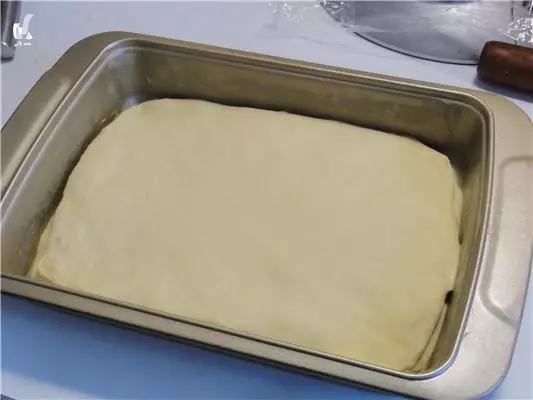
10蓋上另一個面片
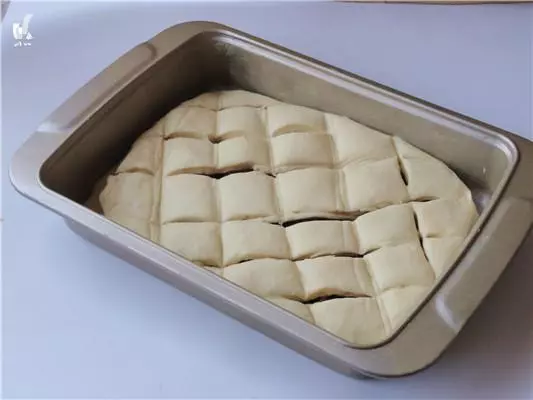
11用刀子在表面畫出紋路(深淺都沒關係的)
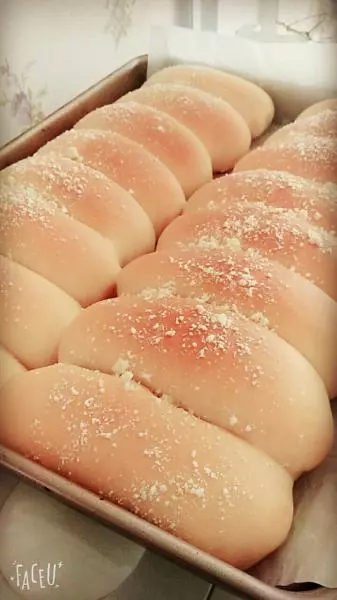
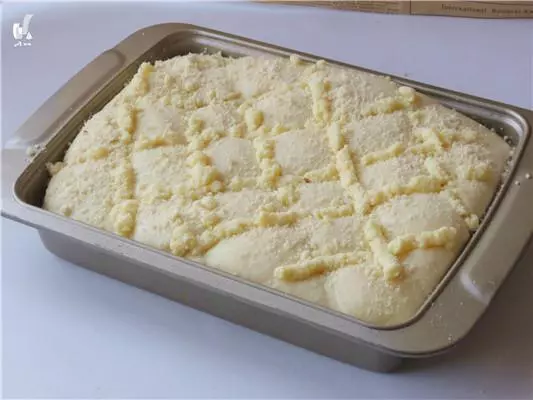
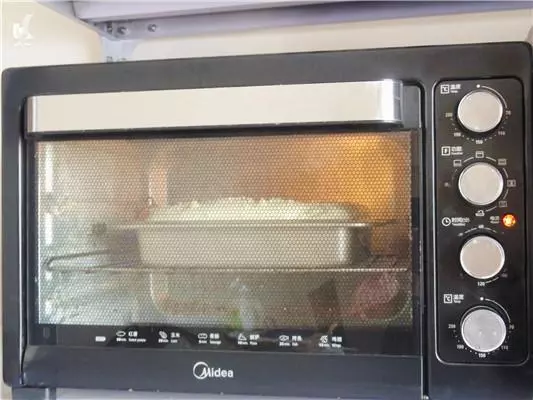
12烤箱放一烤盤熱水,發酵模式溫度設置35度左右(也可以根據自己的烤箱設定或者不設置),時間設置50分左右,直到麵糰發酵2-2.5倍 取出麵糰和熱水 美的烤箱160度預熱 麵糰表面依照劃開的紋路擠上卡仕達醬(其他果醬也可以的) 撒奶酥粒
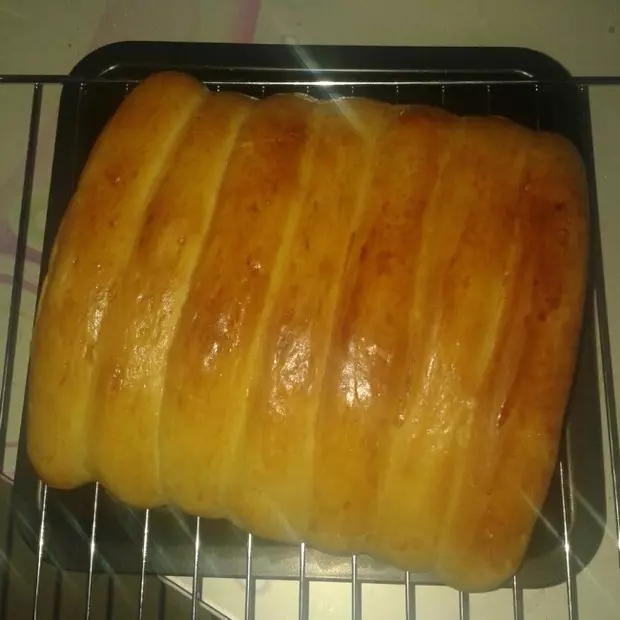
13放入預熱好的烤箱中層,上下管160度烘烤20-22分即可出爐
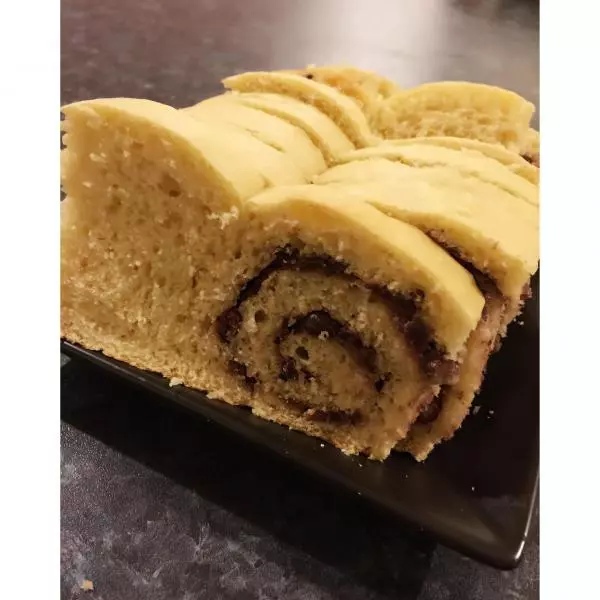
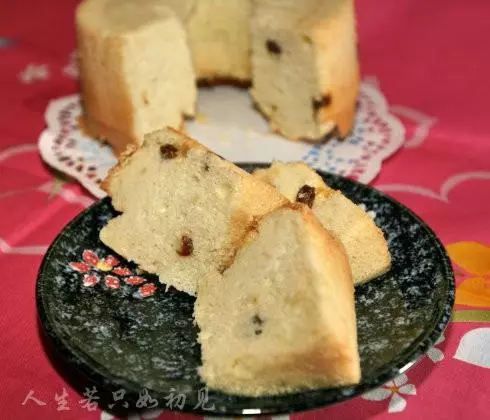
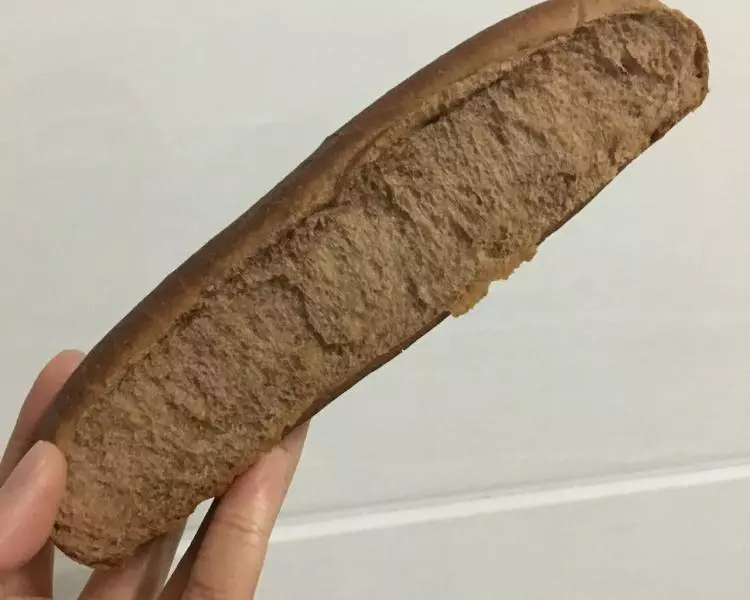
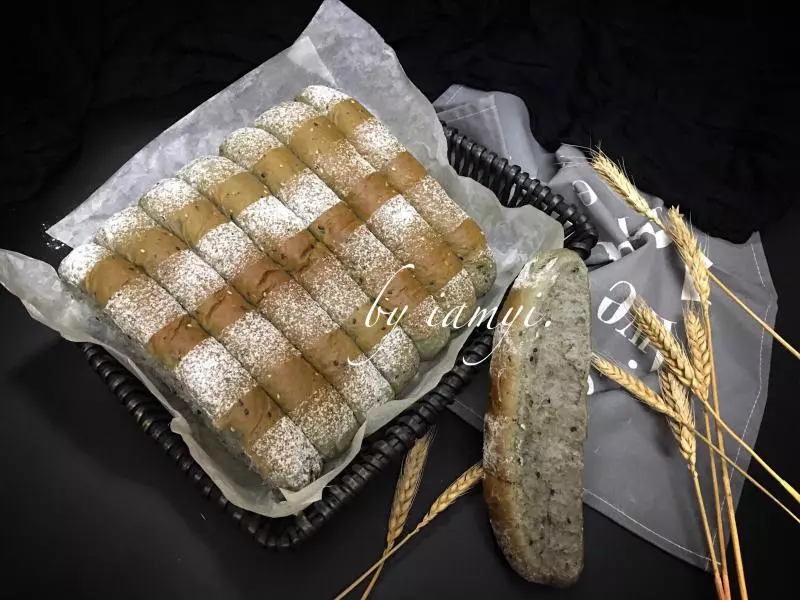
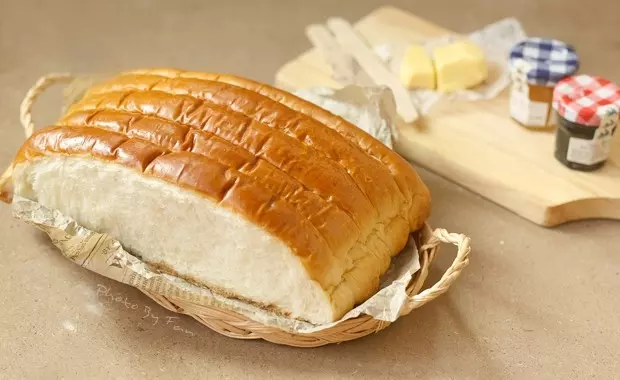
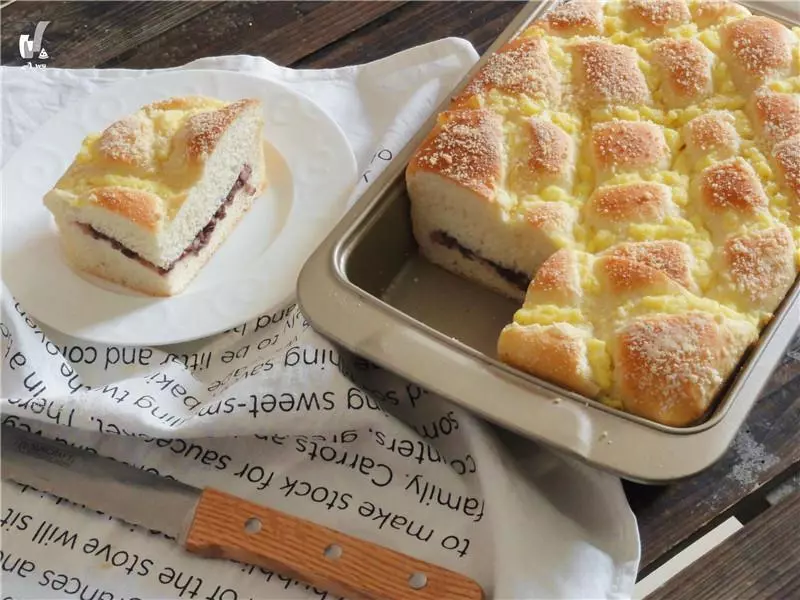
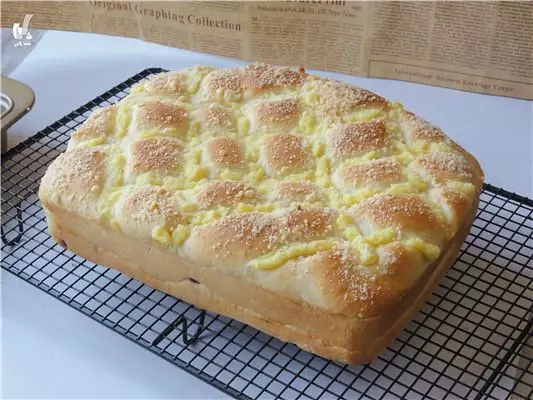
14出爐立刻脫模冷卻即可 冷透切塊
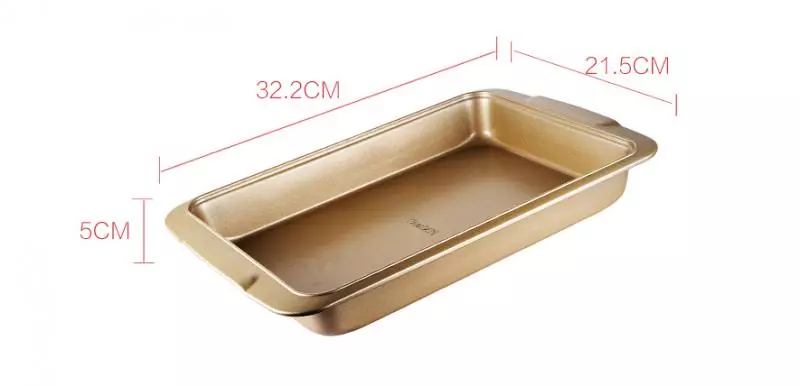
15附一張圖,烤盤尺寸參考
小技巧
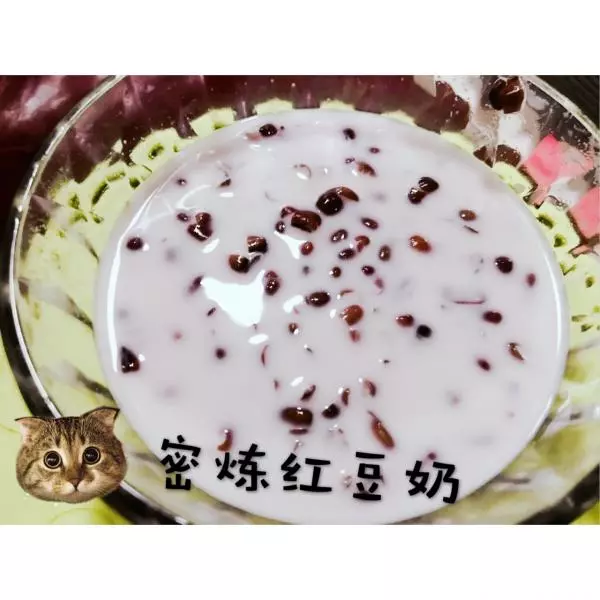
蜜紅豆做法戳這裡~~ 小貼士 1、液體量比較大,達到了百分之七十二左右,新手一定一定要預留水分,根據麵粉吸水性靈活調整。 2、整形隨意,可以做自己喜歡的形狀 也可以中間鋪沙拉肉鬆,表面撒些香蔥,咸口的想必更是美味 3、奶酥粒做法 室溫軟化30克黃油,用手動打蛋器攪拌順滑,加入30克細砂糖拌勻,篩入70克低粉用手搓成小粒。 一般用於麵包表面裝飾或者重油蛋糕表面裝飾 用不完可以冷凍保存。