簡介
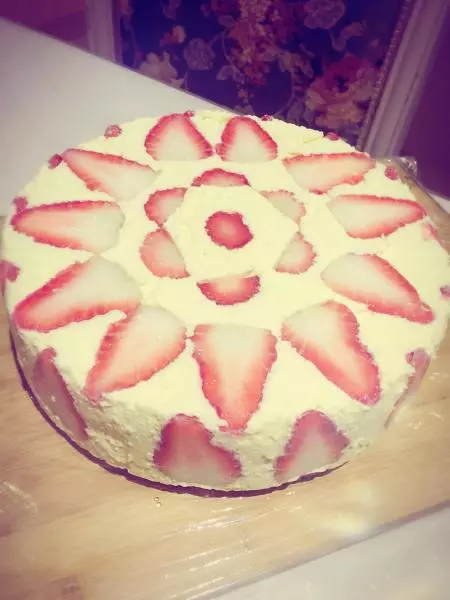
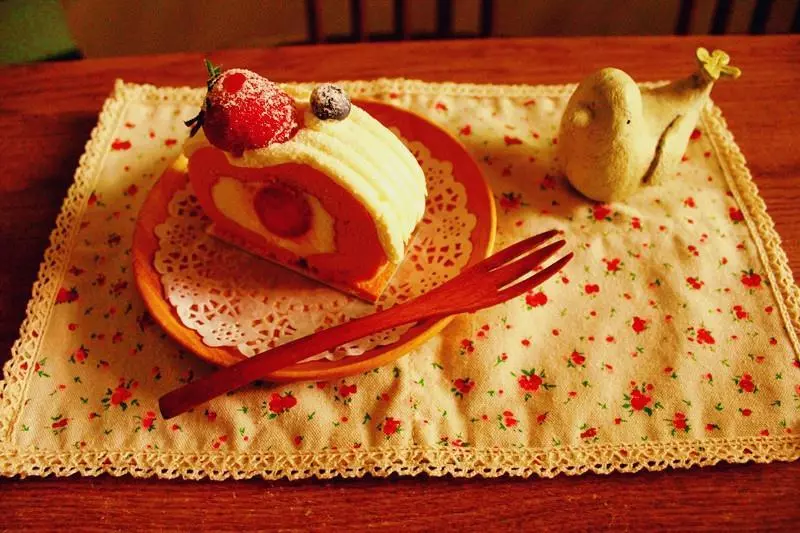
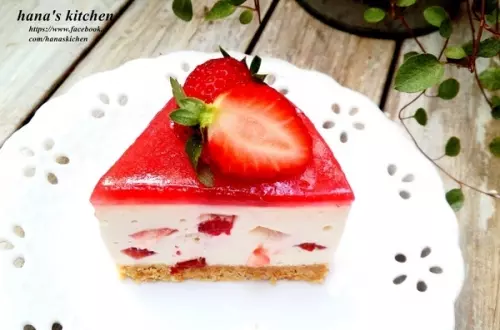
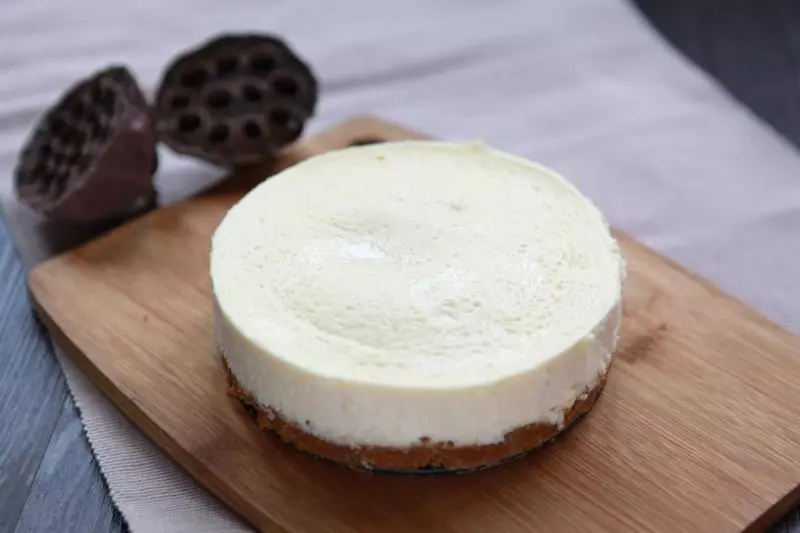
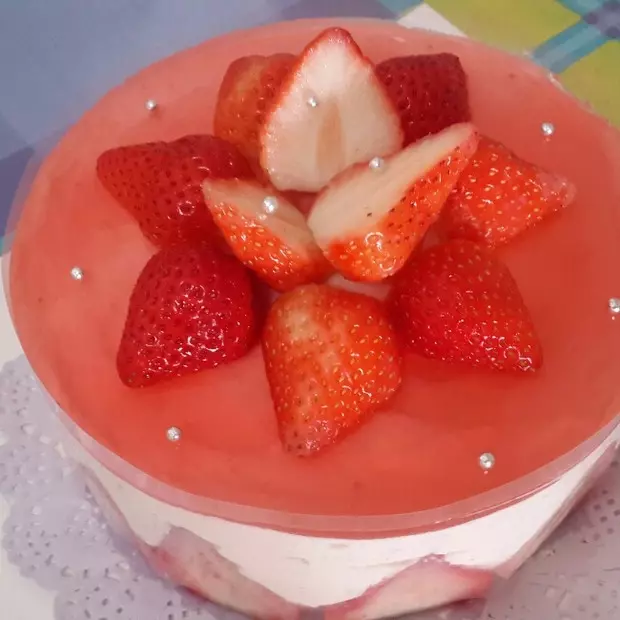
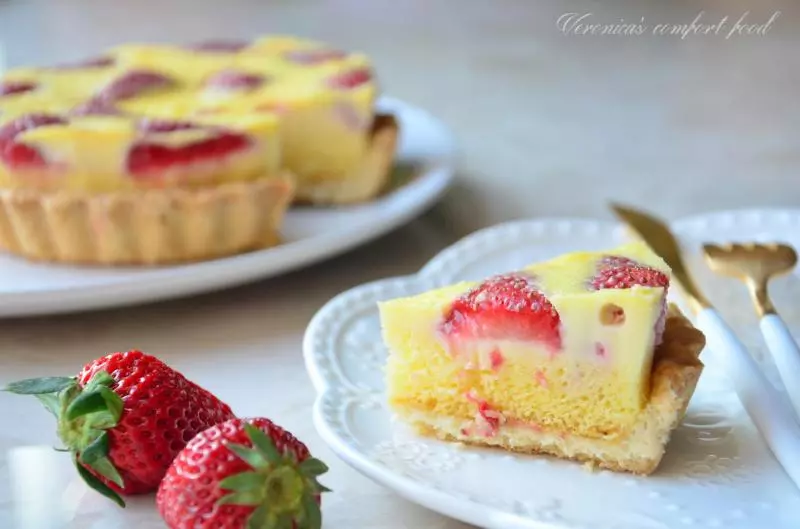
今天上的這個草莓乳酪蛋糕用到的是新鮮的草莓,以後會慢慢上些用草莓醬做糕點和菜肴的方子,這樣就不用擔心草莓醬消耗不掉了。
原料
奧利奧餅乾 90克(去掉奶油), 黃油 45克, 草莓 200克, 奶油奶酪 250克, 原味酸奶 50克, 細砂糖 90克, 檸檬汁 1小匙, 朗姆酒 1大匙, 鮮奶油 150毫升, 魚膠粉 10克, 水 50毫升
步驟
1將奧利奧餅乾的奶油餡去掉

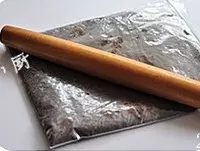
2放在密封袋內用擀麵仗碾碎成粉末狀
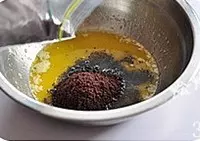
3黃油融化,將餅乾粉末倒黃油內
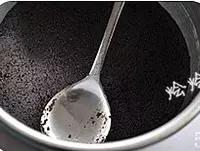
4用勺子將黃油和餅乾粉末拌勻

5將拌勻的餅乾末倒入模具中,用杯子或是湯勺壓實,然後放進冰箱冷藏備用
6將草莓洗凈去蒂瀝干水份

7草莓放果汁機內攪打成果泥

8將草莓果泥、砂糖、檸檬汁倒入不鏽鋼鍋內里加熱
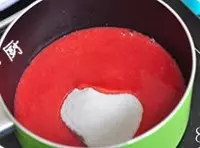
9沸騰後撈去浮沫,再繼續小火煮2-3分鐘

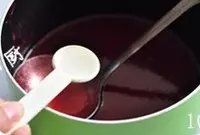
10關火,稍放涼後加入朗姆酒1大匙,攪拌均勻
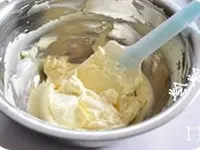
11將奶油奶酪放盆內,攪拌呈現柔滑的狀態(我用的是KIRI的芝士,所以直接用橡皮刮刀來攪拌,如果是卡夫的,建議隔熱水,用電動打蛋器來攪拌會比較好操作)
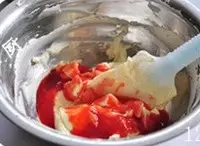
12分次少量的加入第10步放涼的草莓果泥,混合均勻
13加入酸奶攪拌均勻
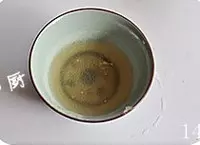
14魚膠粉和50毫升水混合,將魚膠粉泡發
15在泡發的魚膠粉里加入一部分的13步驟的草莓奶酪糊,並隔水加熱溶解
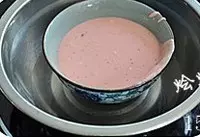
16再將16步驟倒回13步驟里,迅速的攪拌均勻

17用篩網過濾一遍蛋糕糊
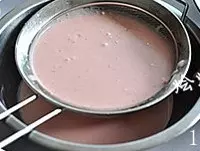
18會過濾出不少的草莓籽,棄掉不用

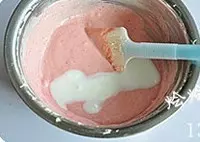
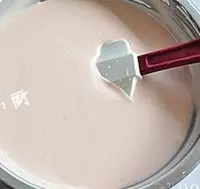
19最後加入鮮奶油

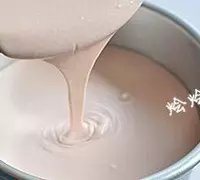
20用橡皮刮刀攪拌均勻
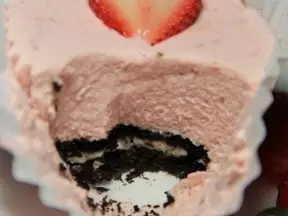
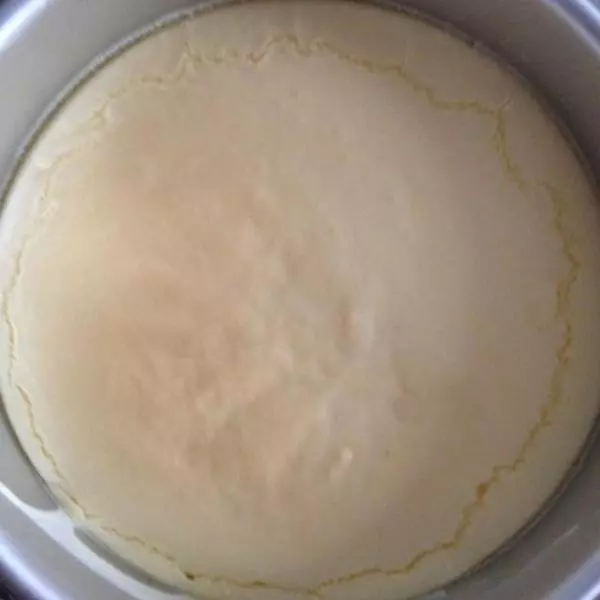
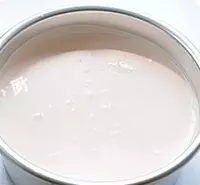
21倒入鋪有奧利奧餅乾底的模具里,放冰箱冷藏3小時以上
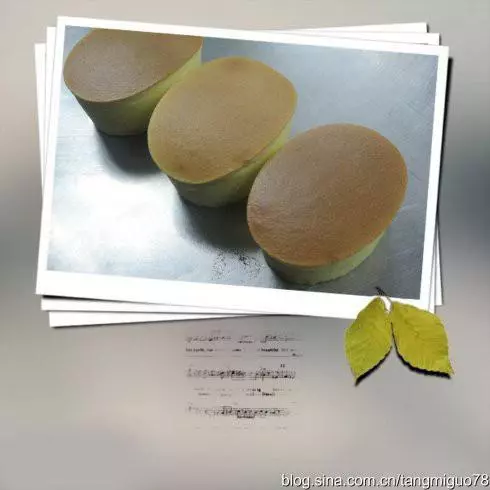
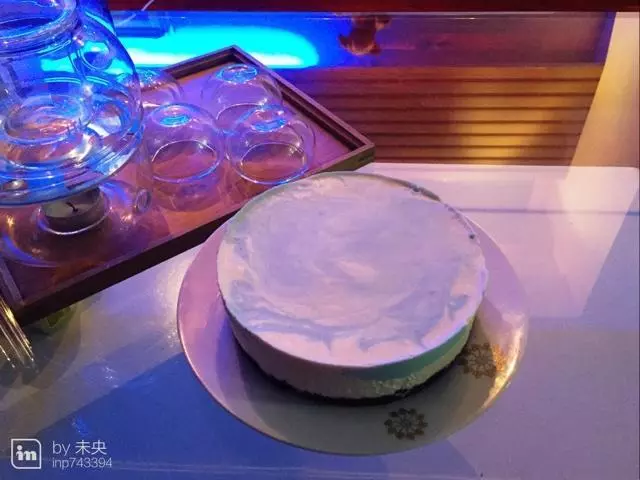
22待凝固後,用吹風筒在蛋糕模周圍吹一圈,或是熱毛巾在蛋糕模周圍捂一下,就可以很輕鬆的脫模了,再在表面裝飾即可
小技巧
1、配方中用到的鮮奶油是打發至6分發的,我是沒有打發,直接使用。 2、奧利奧餅乾的餡可以不去掉,一起使用也可以的。 3、我用的是KIRI的芝士,所以直接用橡皮刮刀來攪拌,如果是卡夫的芝士,建議隔熱水,用電動打蛋器來攪拌會比較好操作。