簡介
與原味酸奶蛋糕不同,這款酸奶蛋糕可以選擇自己喜歡的果味酸奶,讓做出來的酸奶蛋糕也帶有水果味。
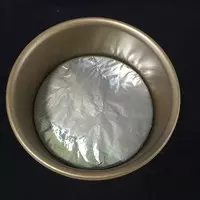
這是六寸模的量。
原料
帶水果味的酸奶 150克, 雞蛋 3個, 黃油 40克, 淡奶油 50克, 粟粉(玉米澱粉): 20克, 細砂糖 30克
步驟
1將蛋白和蛋黃分離,盛蛋白的盆要保證無油無水,蛋白先放入冰箱冷藏。
2黃油隔熱水融化;
3六寸活底蛋糕模包上一層錫紙備用;
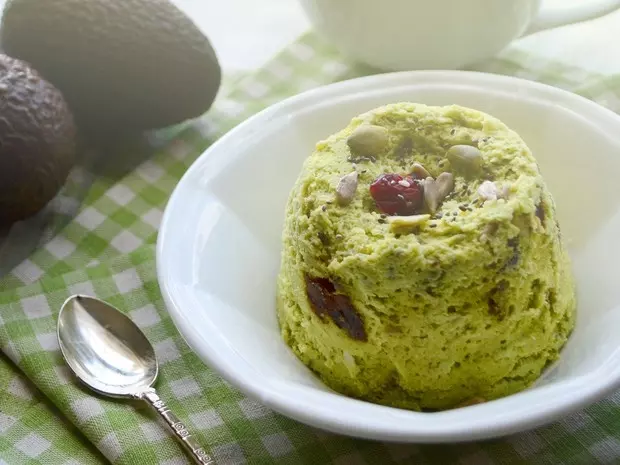
4酸奶我用的是桑葚帶果粒的;

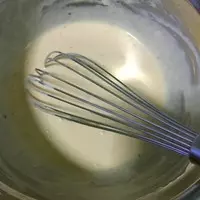
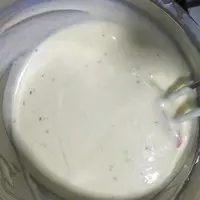
5酸奶加入融化的黃油攪拌均勻,再加入淡奶油攪拌均勻;
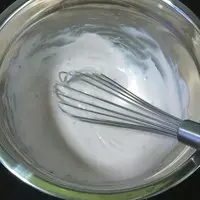
6蛋黃逐個加入到酸奶糊中攪拌均勻;(每加一個混合均勻後再加下一個)
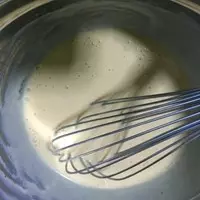
7將玉米澱粉過篩倒入酸奶蛋黃糊中攪拌均勻。
8烤盤裡注入溫水放入最下層,烤網放入倒數第二層,烤箱打開提前預熱至220度。

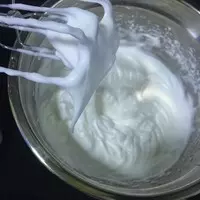
9把蛋白從冰箱取出滴幾滴檸檬汁,分三次加入白砂糖打至大彎勾;
10將蛋白分三分之一倒入酸奶糊中,翻拌均勻後倒入剩下的蛋白,翻拌均勻。
11將酸奶蛋糕糊倒入蛋糕模中,輕震兩下;

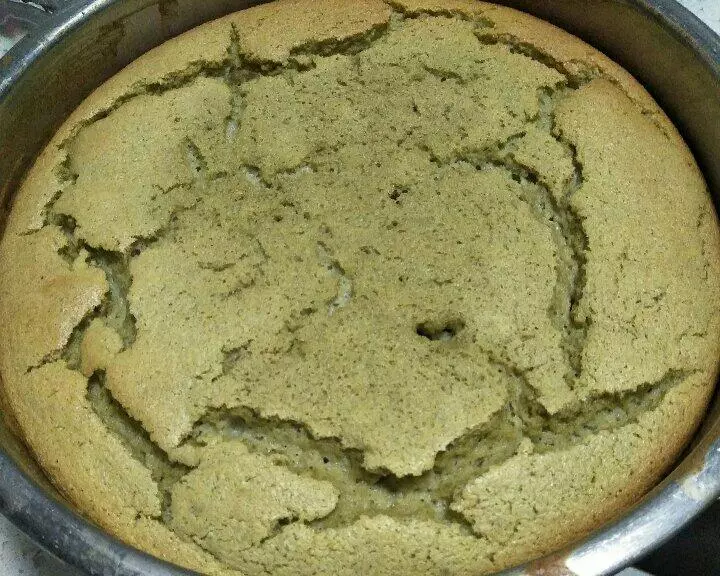
12將蛋糕模放入烤架上隔水烘烤,170度烤半個小時上色後轉150度30分鐘,

13烤完後讓蛋糕繼續在烤箱裡燜1小時左右
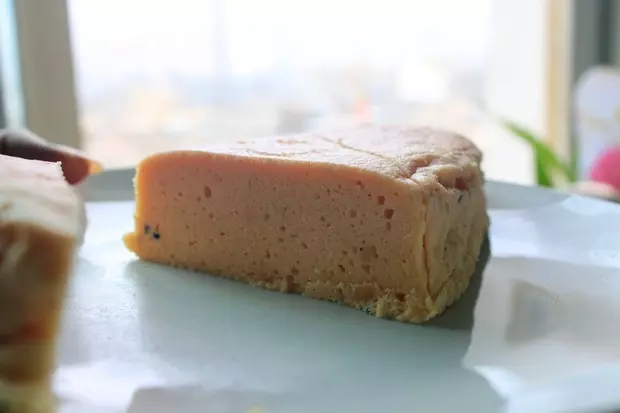
14出爐涼透後,連著蛋糕模一起放入冰箱冷藏4小時以上,
15涼透的酸奶蛋糕,四周會自然回縮,這是正常現象,脫模的時候只需要把活底模往上輕輕一頂即可輕鬆脫模。