原料
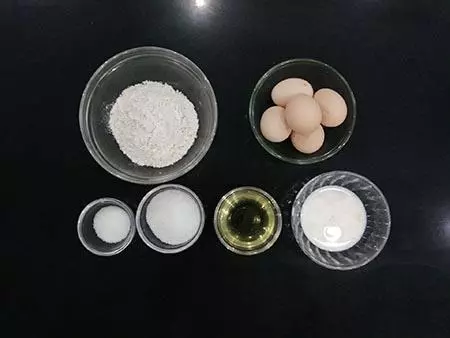
蛋黃: 5個, 砂糖: 90g, 牛奶: 50g, 色拉油: 50g, 低筋麵粉: 100g, 蛋白: 5個, 甜奶油: 適量, 黑巧克力: 適量, 玫瑰花: 2朵
步驟
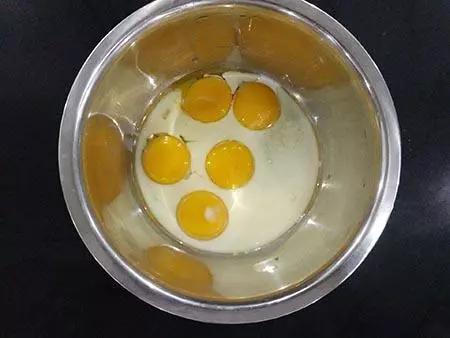
1將蛋糕材料備好。
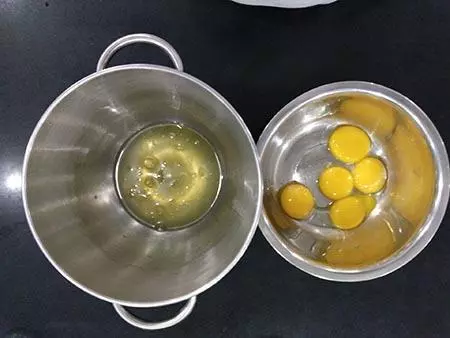
2先將蛋黃、蛋白分開的放在無水無油的盆中。
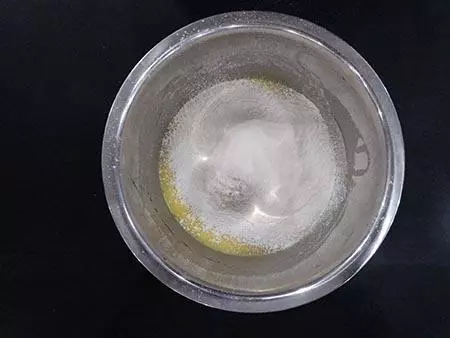
3將20克糖、牛奶和色拉油加入蛋黃攪拌均勻
4把低筋麵粉過篩加入攪拌均勻備用
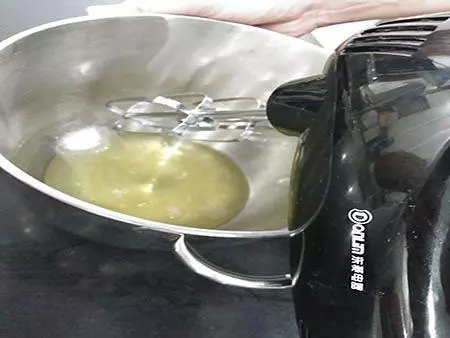
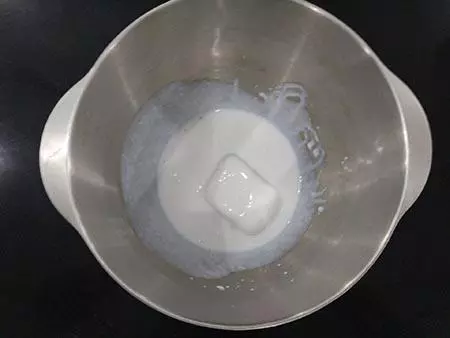
5將70克糖開2-3次加入蛋白中,用東菱電動打蛋器的低檔攪拌
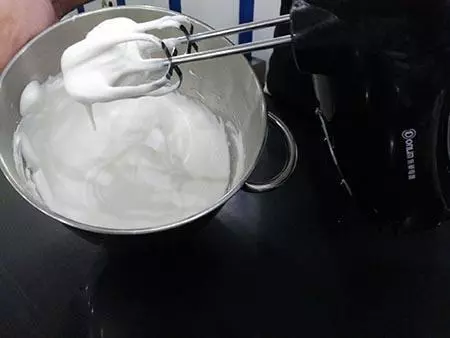
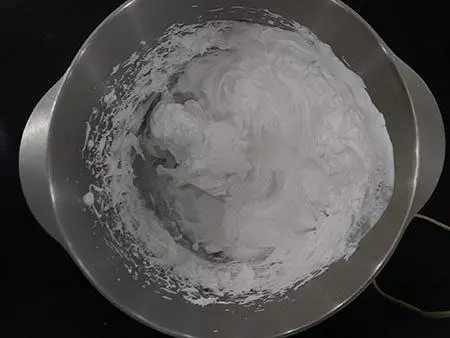
6攪拌成乾性發泡,並且起雞尾狀。
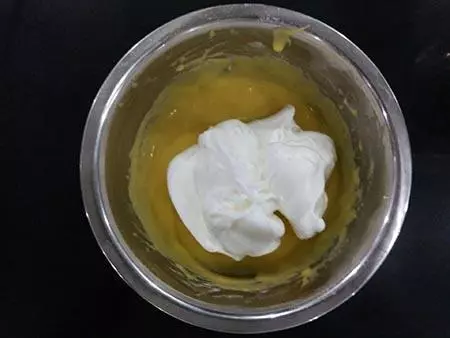
7將3分1的蛋白霜放過蛋黃麵糊中攪拌均勻
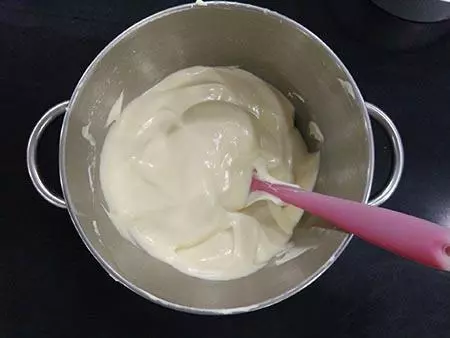
8再把攪拌的蛋黃麵糊放過3分2的蛋白霜中

9攪拌均勻
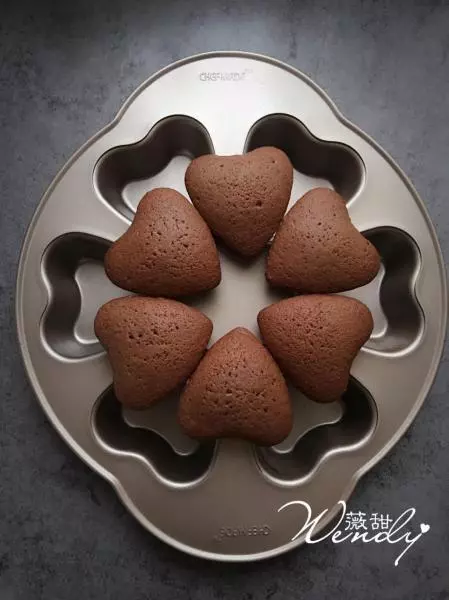
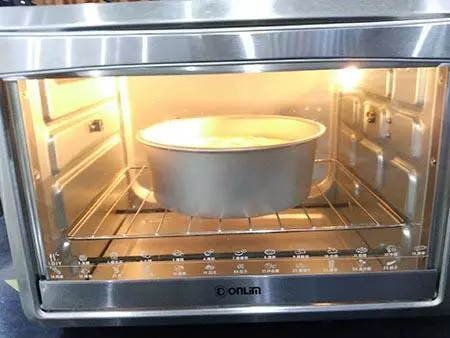
10將蛋糕糊放入蛋糕模中,放入東菱烤箱DL-K32H中進行烘烤,上管120度,下度130度低層,時間60分鐘。
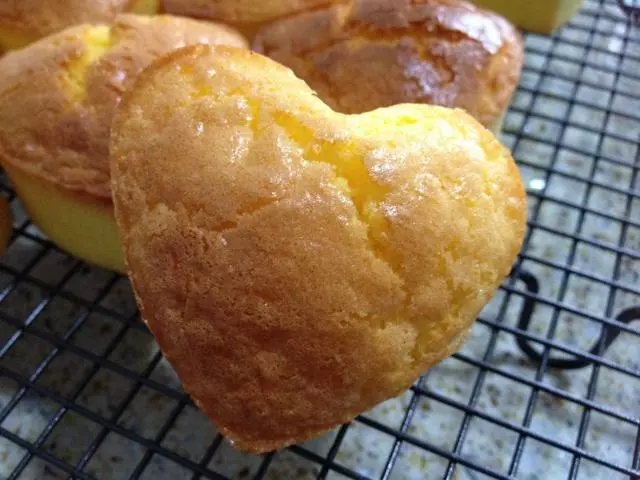
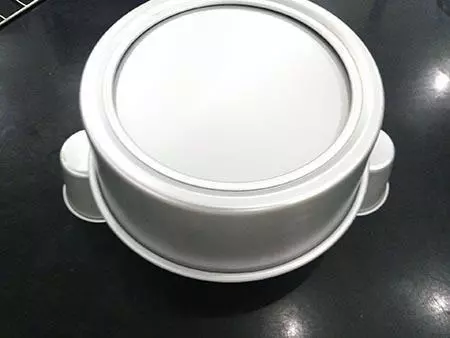
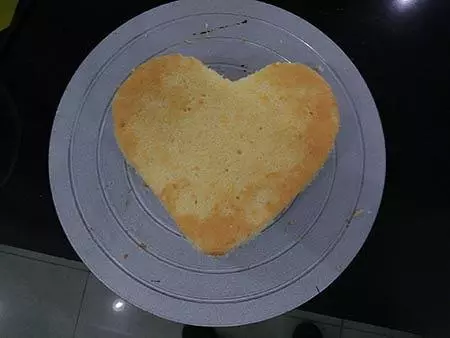
11把烤好的蛋糕倒扣放晾
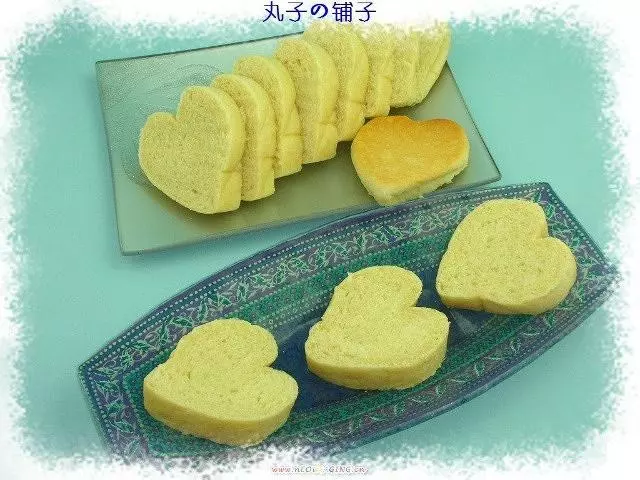
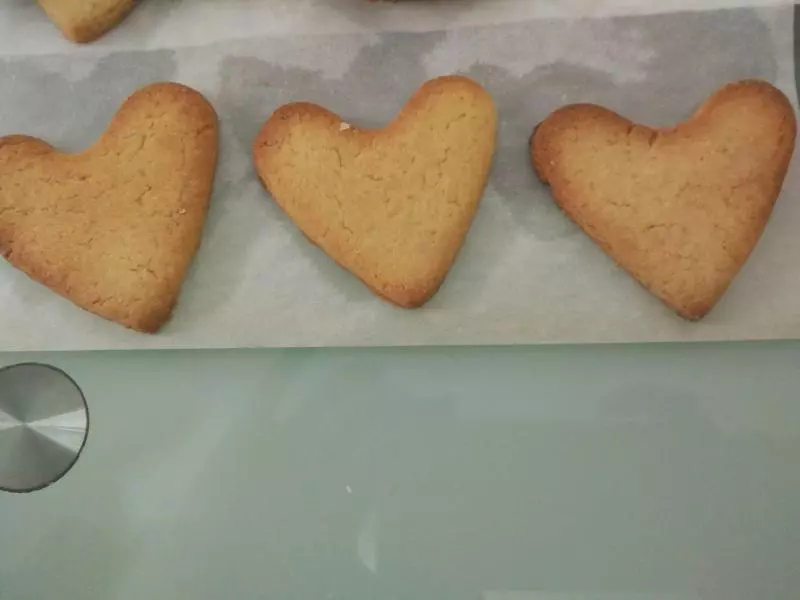
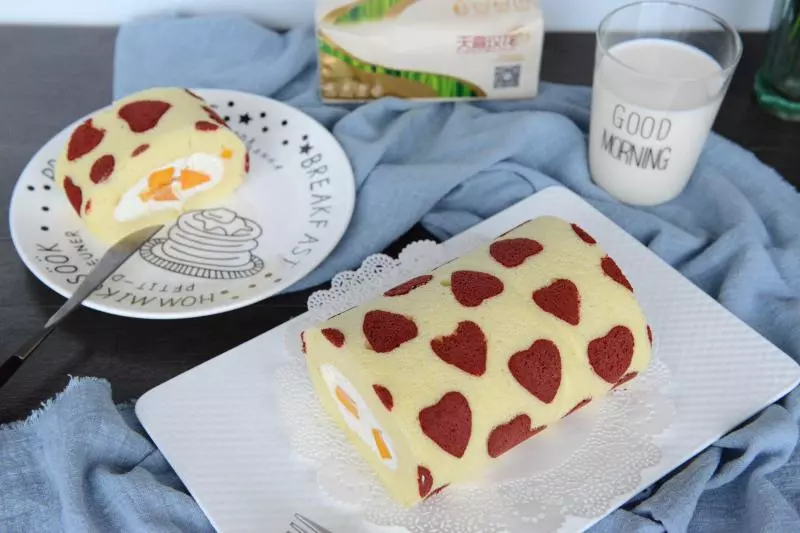
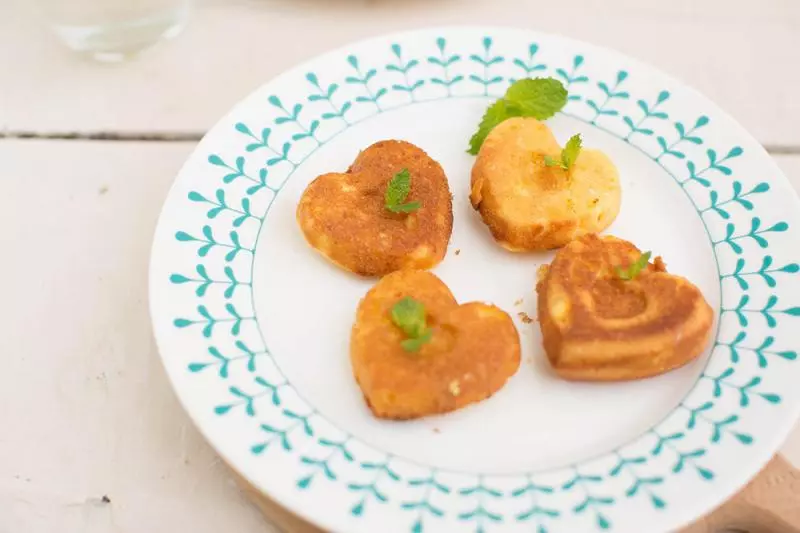
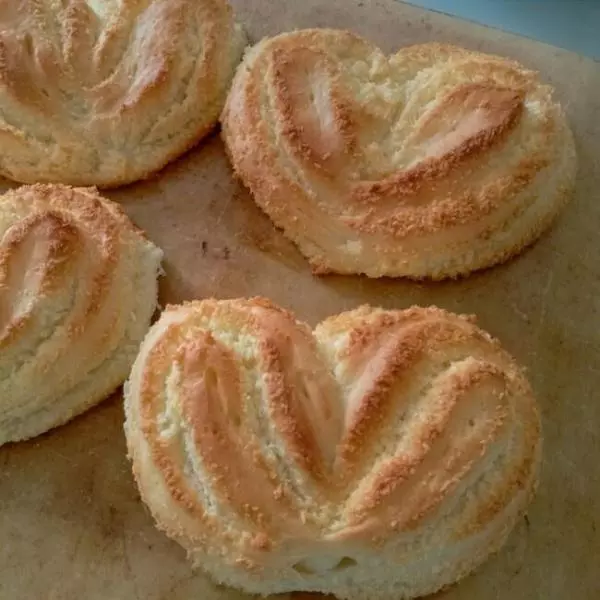
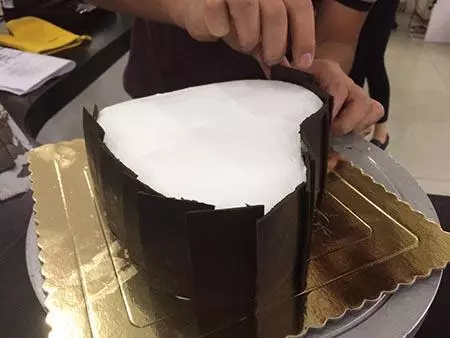
12用麵包刀把蛋糕切割成心形(如果有心形磨具就直接放磨具中烤了,用刀切,好虐心的哦)
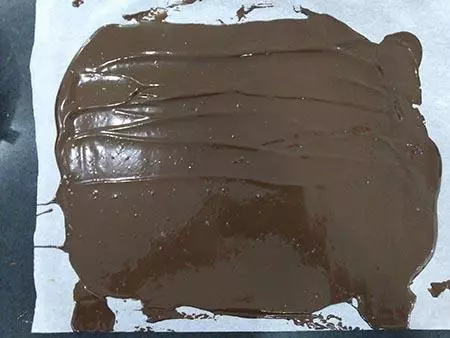
13將巧克力醬抹在油紙上,涼後分割成2*6cm的長方形塊狀
14將淡奶油進行打發
15打發至8-9成即可
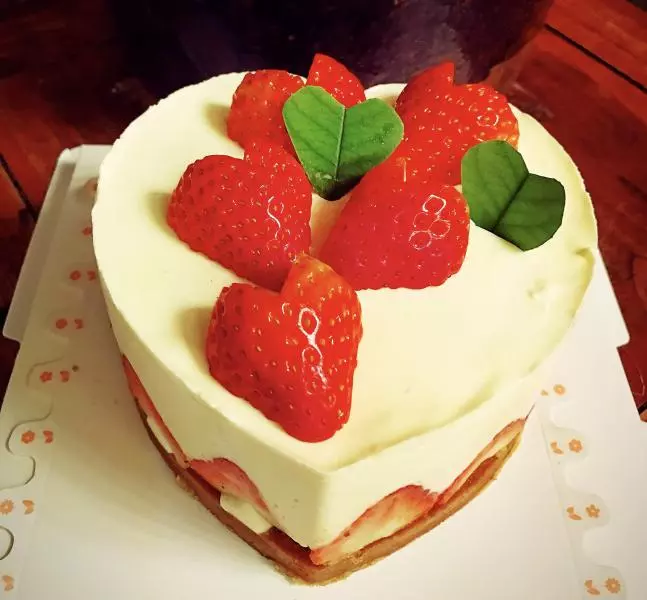
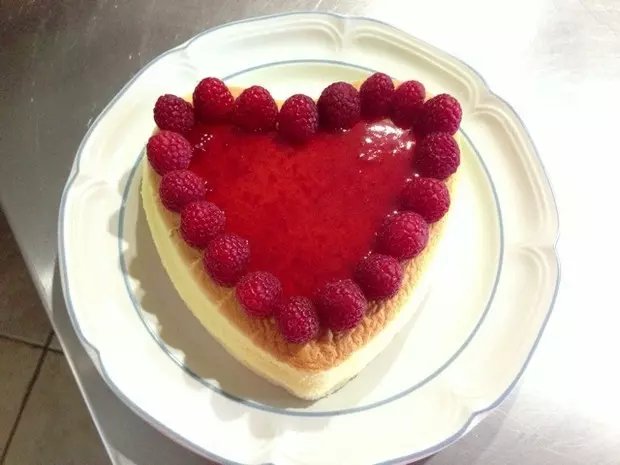
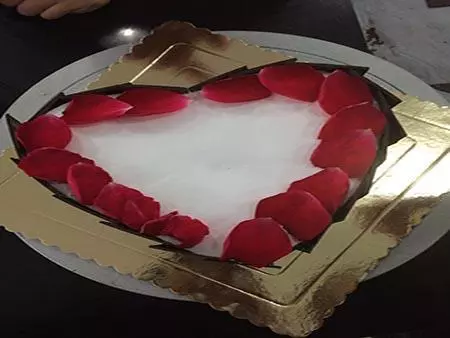
16將打發好的奶油抹在蛋糕上

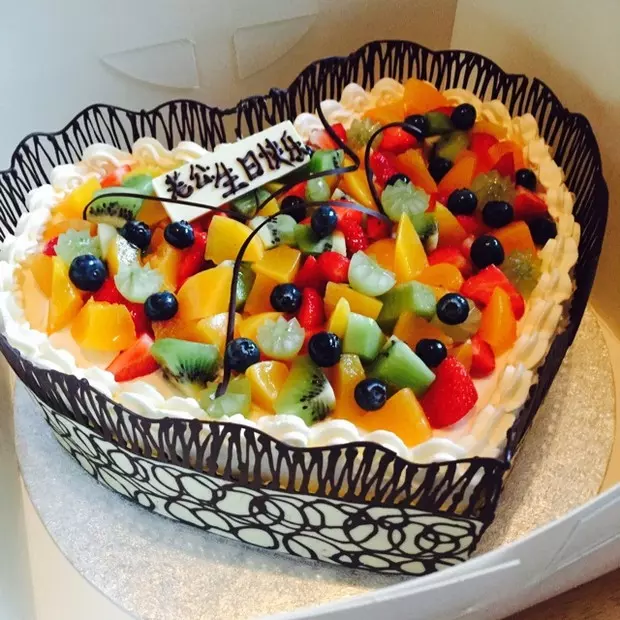
17將巧克力塊貼在蛋糕周邊,動作要輕哦
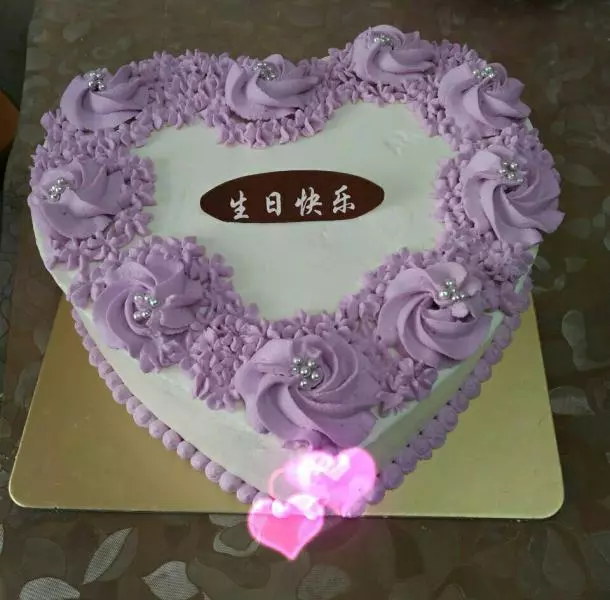
18用玫瑰花瓣做裝飾
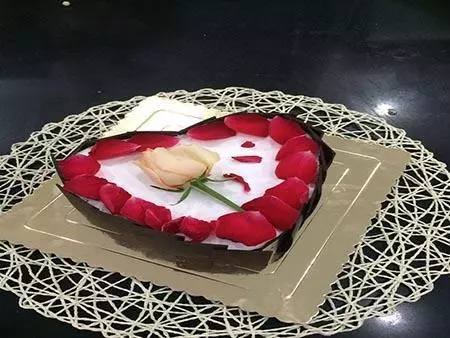
19放上玫瑰點綴
小技巧
在貼巧克力片的時候,一定要輕輕地貼,為了不破壞整體造型哦,然後是建議使用可以上下獨立控溫的電子式烤箱,還有使用200W以上的打蛋器哦,一直使用的是東菱的電烤箱和打蛋器,這次用到的是東菱的DL-K32H烤箱和HM925S—A打蛋器哦!