原料
雞蛋(可可戚風蛋糕): 2個, 低筋麵粉(可可戚風蛋糕): 28克, 可可粉(可可戚風蛋糕): 6克, 細砂糖(可可戚風蛋糕): 12(蛋黃)+24(蛋白)克, 油(可可戚風蛋糕): 16克, 牛奶(可可戚風蛋糕): 16克, 淡奶油(奶油): 250克, 細砂糖 (奶油): 25克, 水(糖酒液): 30克, 細砂糖(糖酒液): 10克, 櫻桃白蘭地酒(糖酒液): 10克, 黑櫻桃罐頭(裝飾): 13(奶油)+7(表面裝飾)顆, 黑巧克力屑(裝飾): 60克
步驟
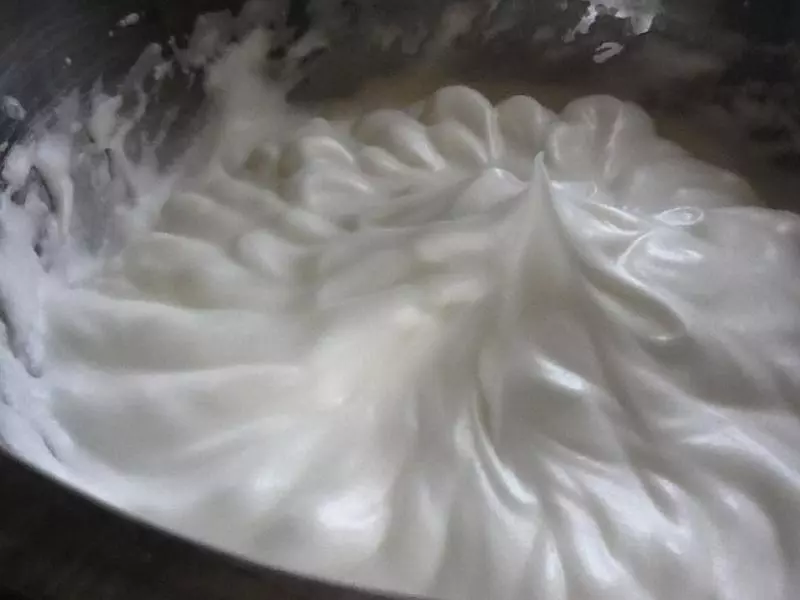
1蛋黃和蛋白分開,蛋白+糖打成硬性發泡,拉起打蛋頭,有一個短小直立的尖角即可。放入冰箱冷藏。
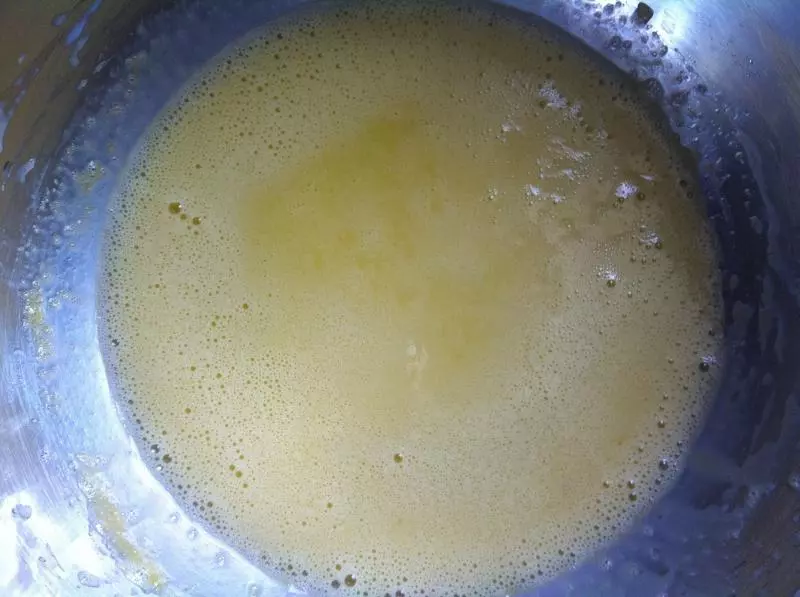
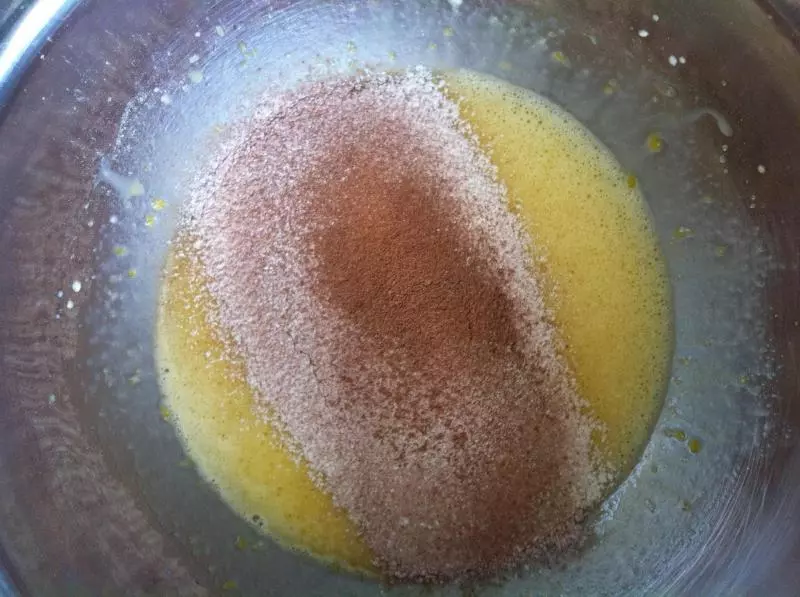
2蛋黃加細砂糖攪打均勻。
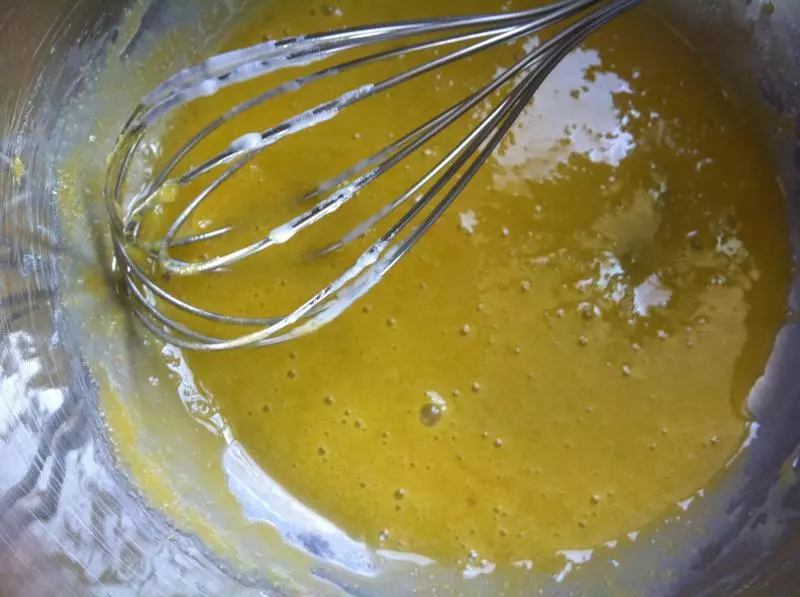
3加入牛奶和色拉油,攪打均勻。
4篩入低粉和可可粉,翻拌均勻。
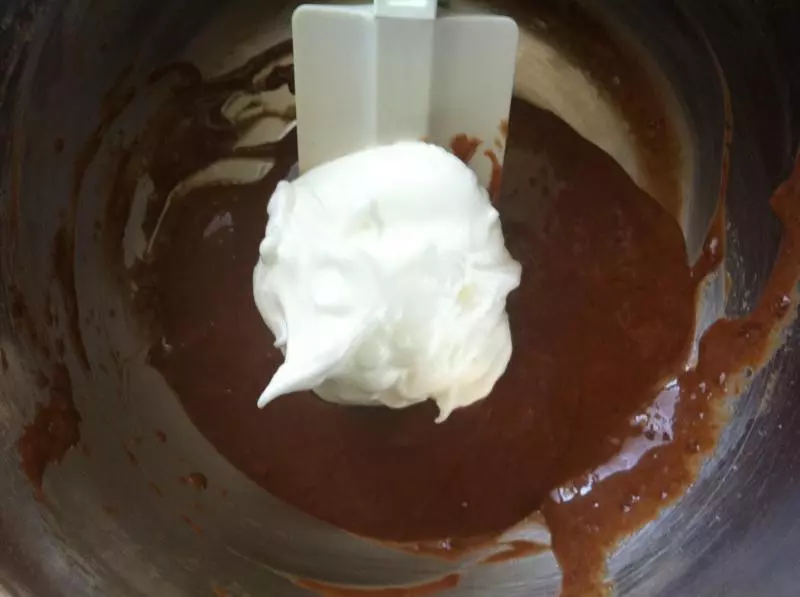
5將1/3的蛋白與蛋黃糊翻拌均勻。
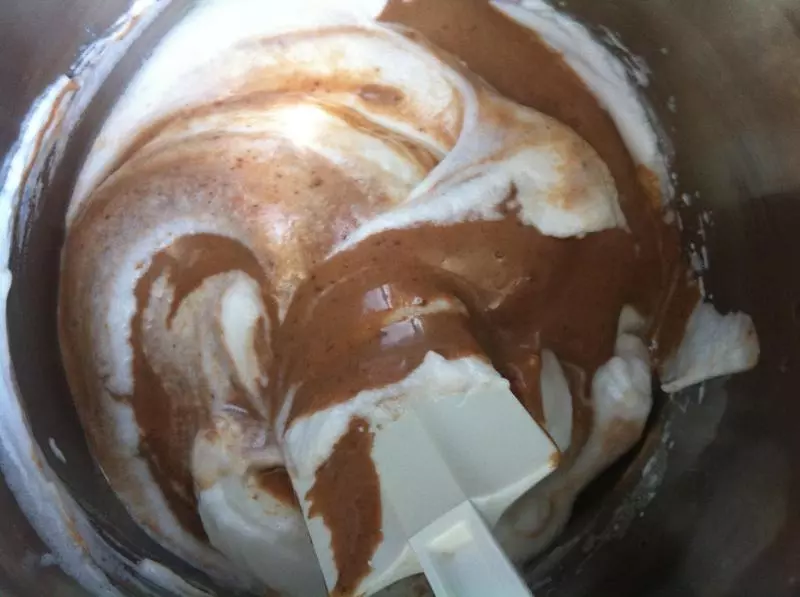
6再將蛋黃糊倒進蛋白盆中,繼續翻拌均勻。
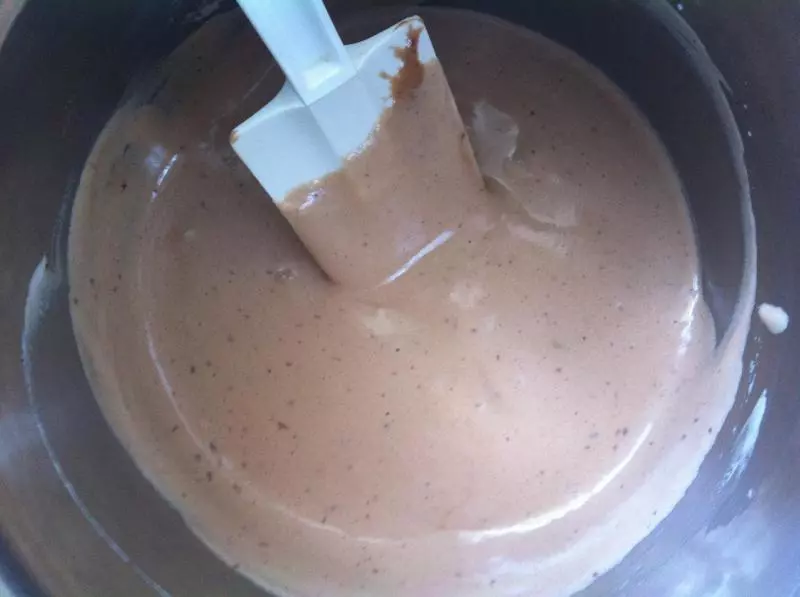
7翻拌好是這樣的。
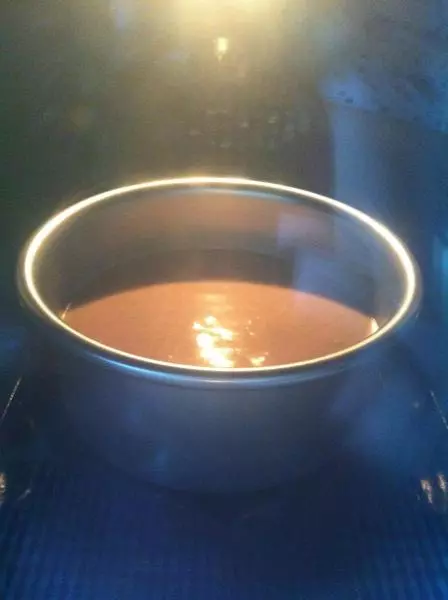
8倒入模具,入烤箱,中層,上下火150℃,30分鐘。
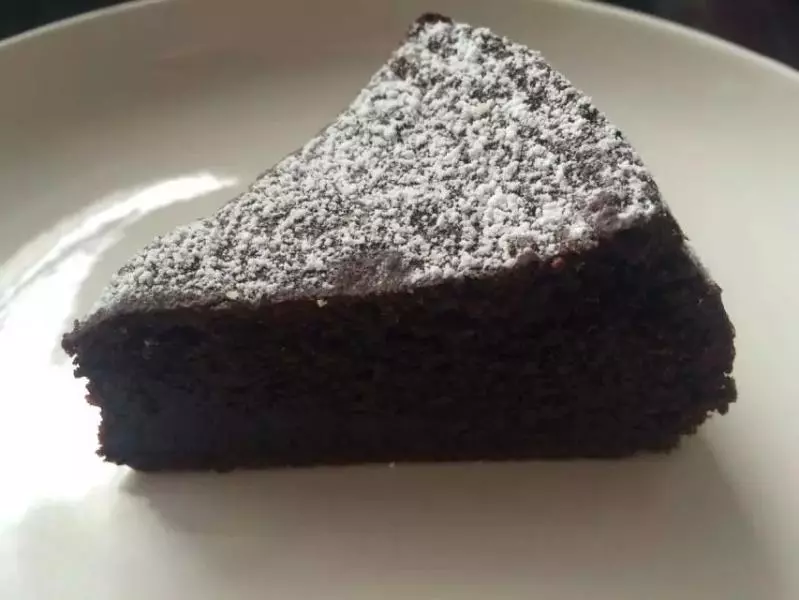
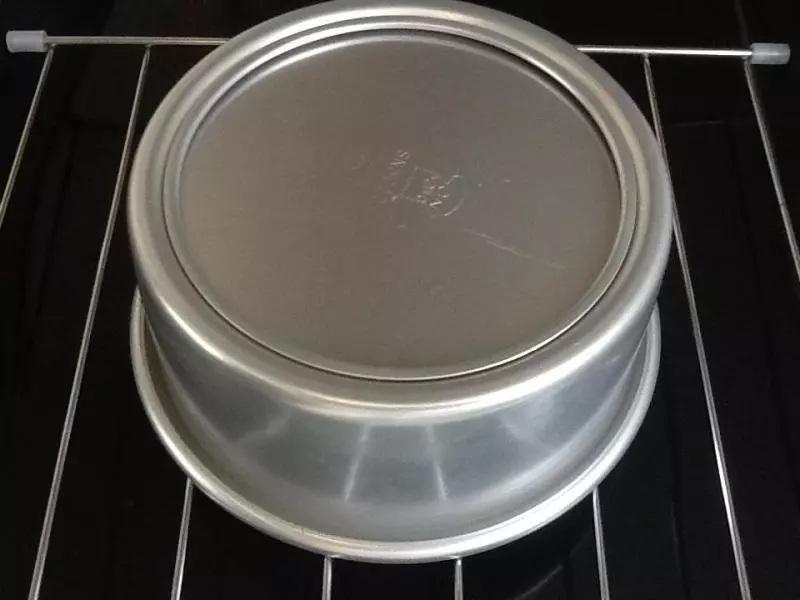
9烤好後,出爐倒扣在冷卻架上冷卻。等蛋糕完全冷卻後再脫模。
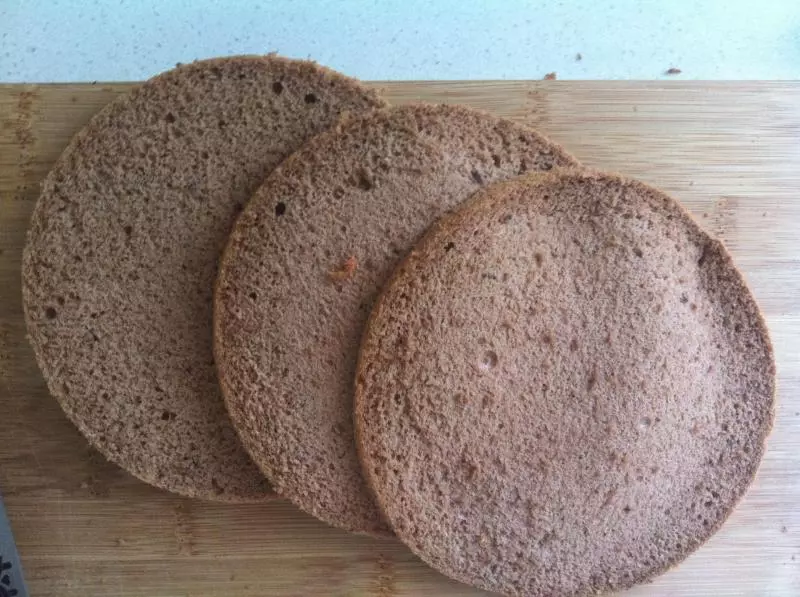
10分切成三片蛋糕片待用。
11烤蛋糕的時候可以準備裝飾材料和糖酒液。 取13顆罐頭櫻桃,切碎,吸干水分。

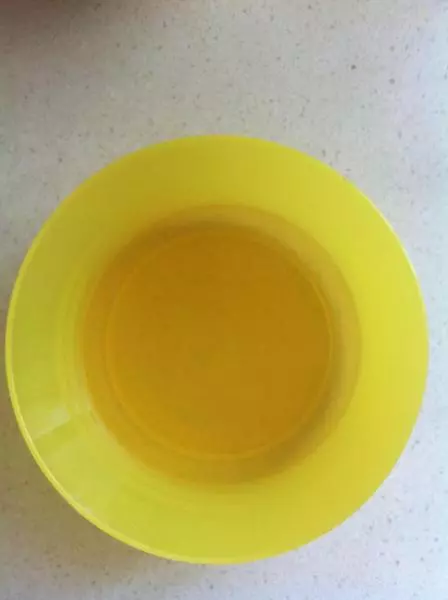
12將細砂糖倒入水中,加熱至糖完全溶化,冷卻後倒入櫻桃白蘭地酒,糖酒液就做好了。(沒有櫻桃酒用朗姆酒也可以)
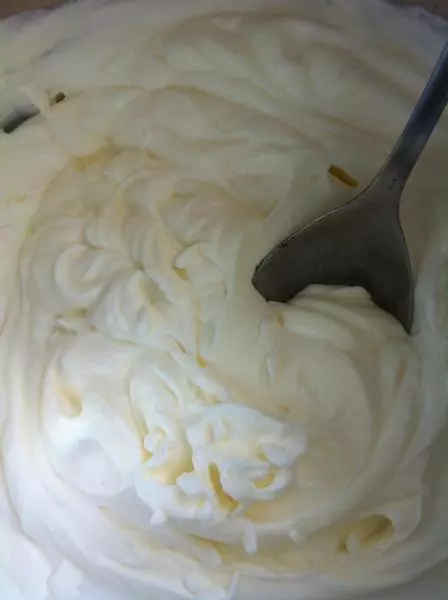
13淡奶油加糖打至可裱花的狀態,放入冰箱待用。
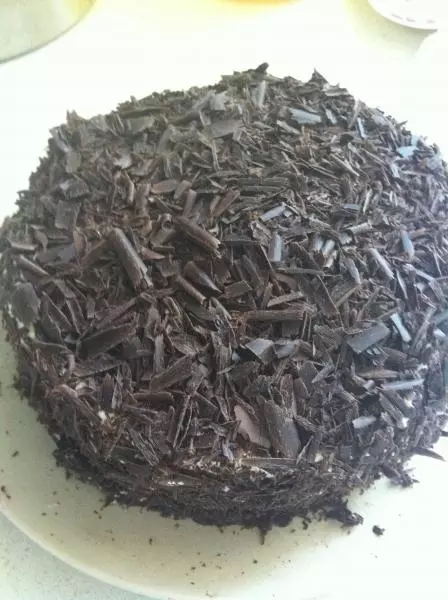
14將黑巧克力用刀刮出碎屑(忘了拍照片,可以看下面蛋糕上的巧克力碎屑)。
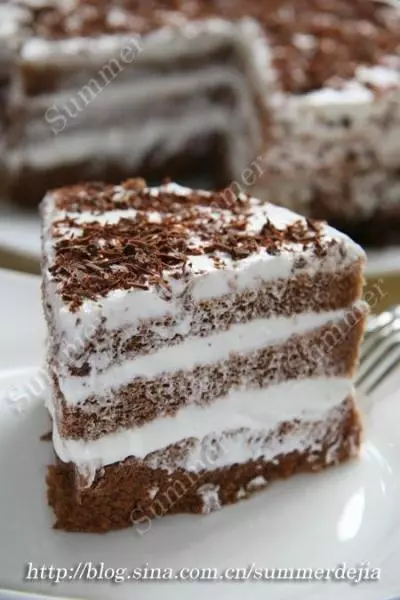
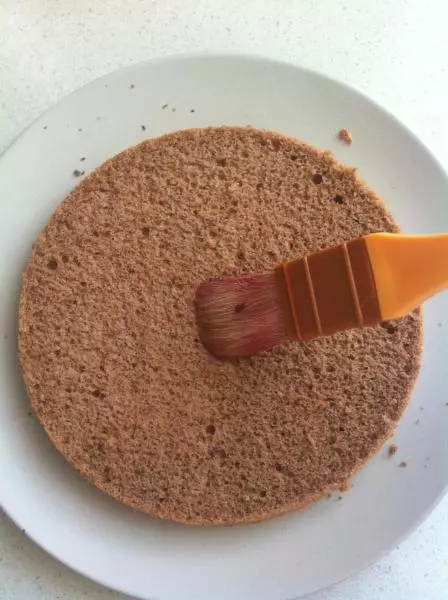
15準備工作完成後,開始裝飾蛋糕。 取一片蛋糕,刷上糖酒液。
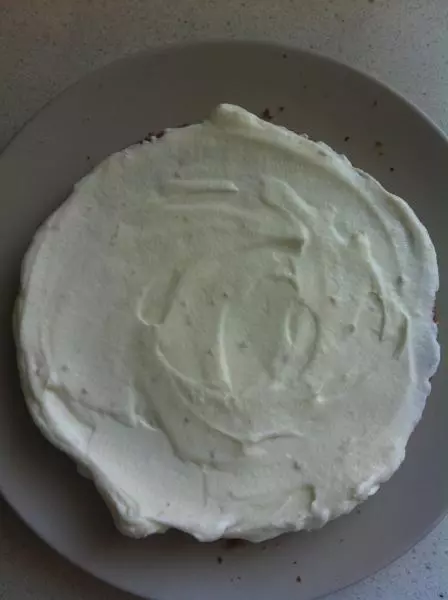
16抹上奶油。
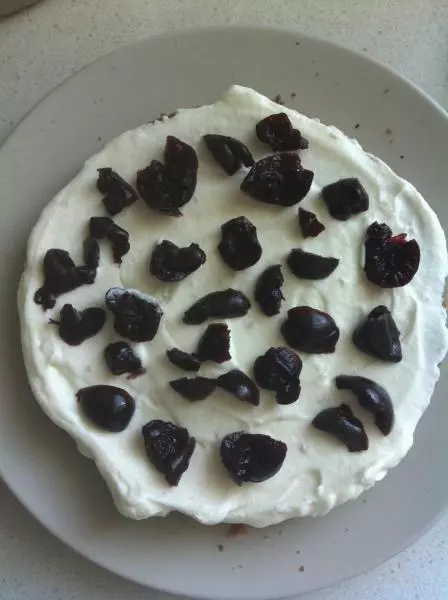
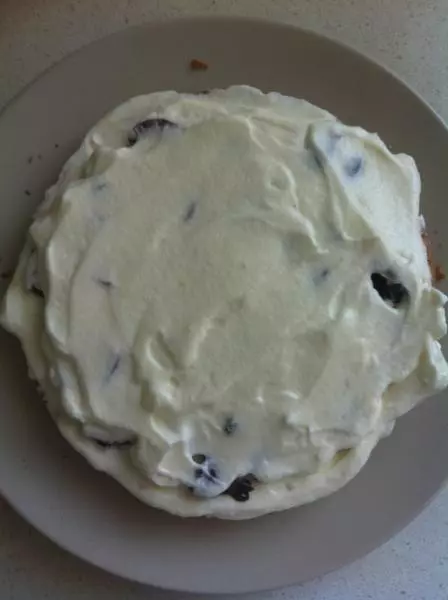
17均勻地擺上瀝干水份的碎櫻桃。
18再抹上奶油蓋住碎櫻桃。
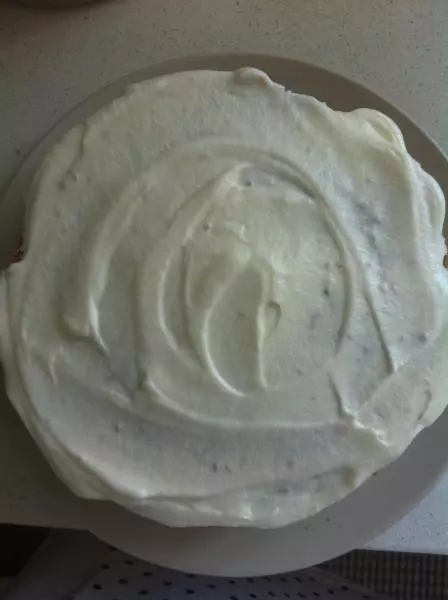
19重複這些步驟,最上面的一片蛋糕不要放碎櫻桃,只需要塗抹奶油即可。
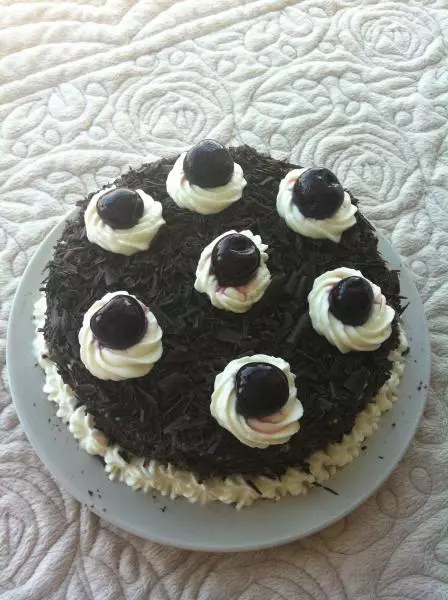
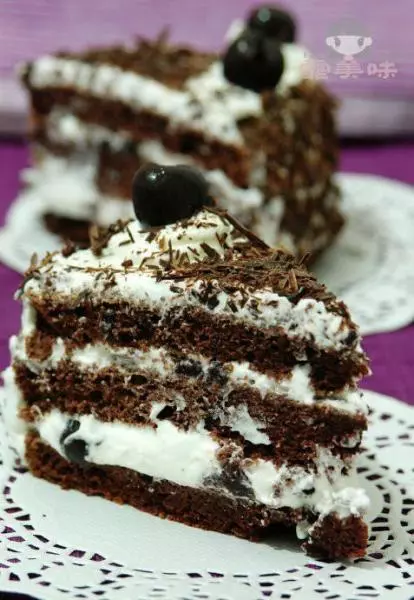
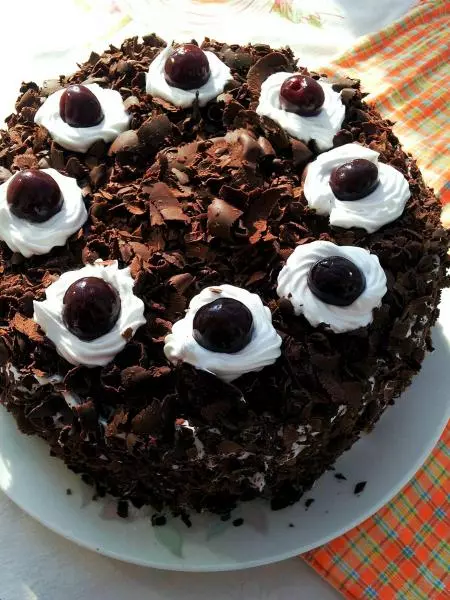
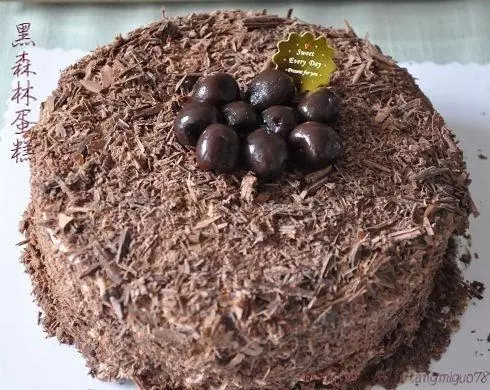
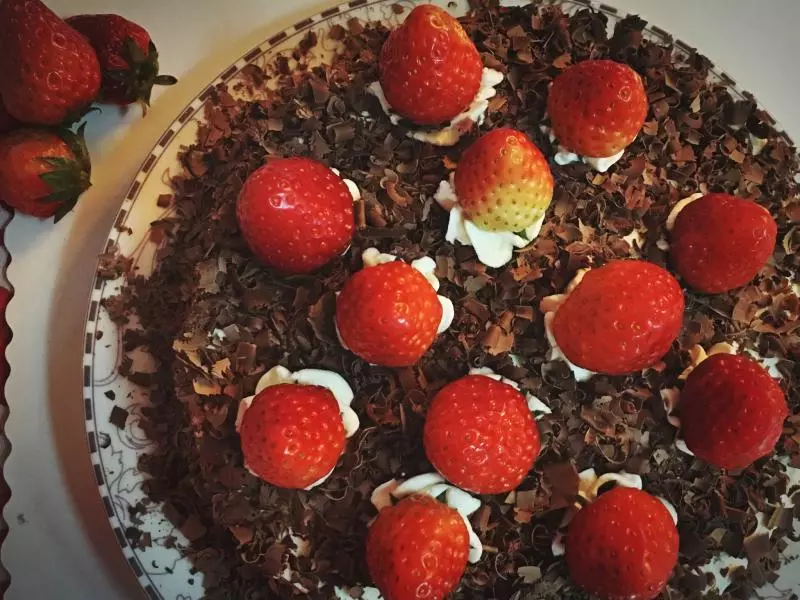
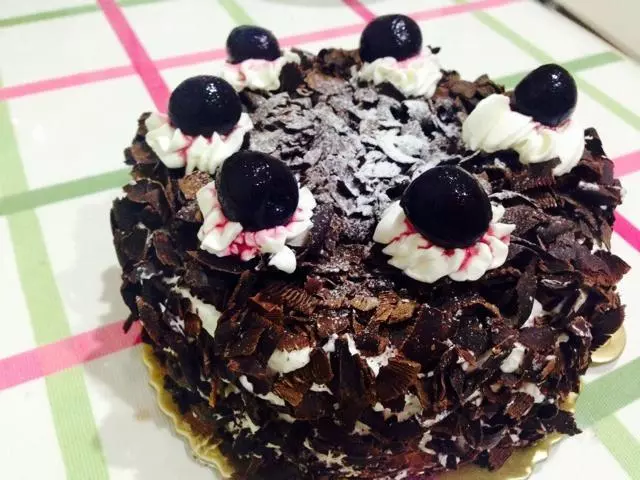
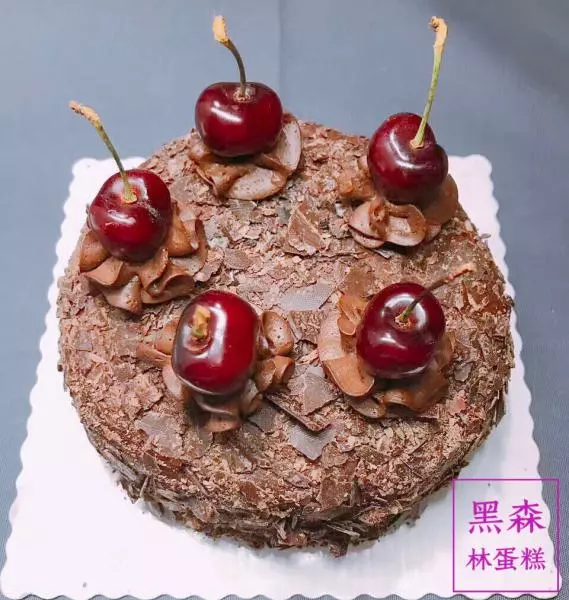
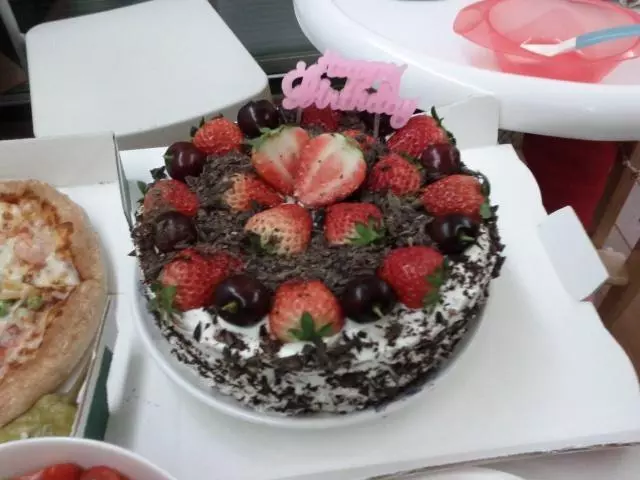
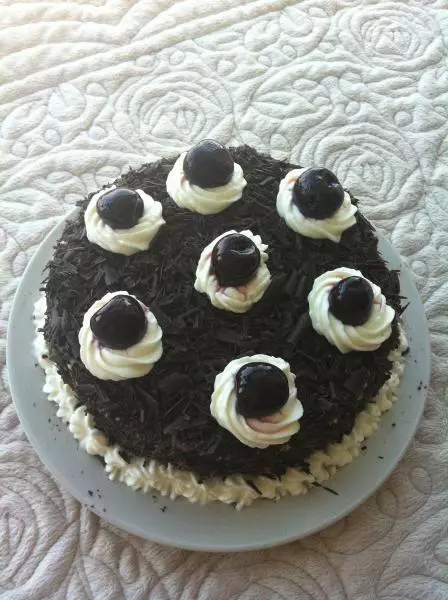
20看我抹得亂七八糟的,沒關係。看!撒上巧克力碎後就美觀啦!(黑巧克力碎屑就是這樣的)
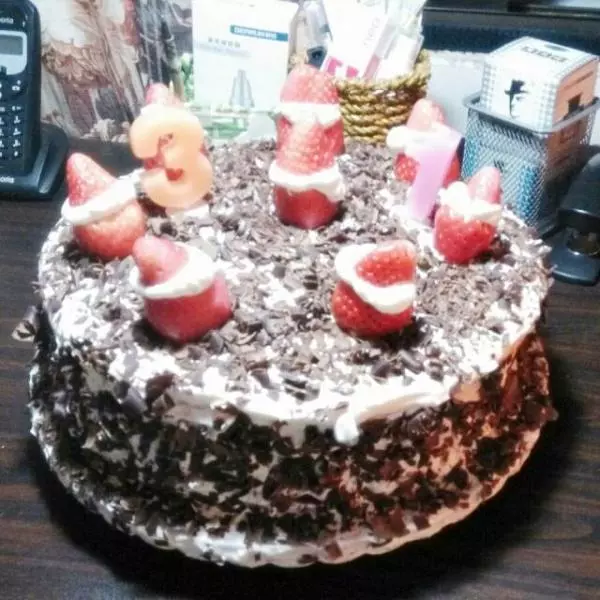
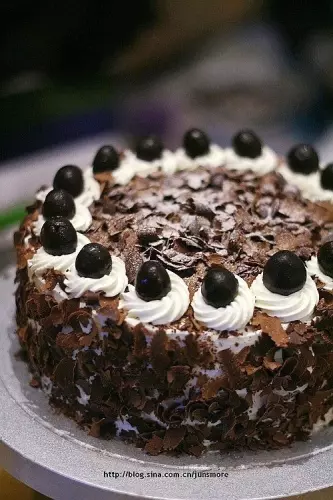
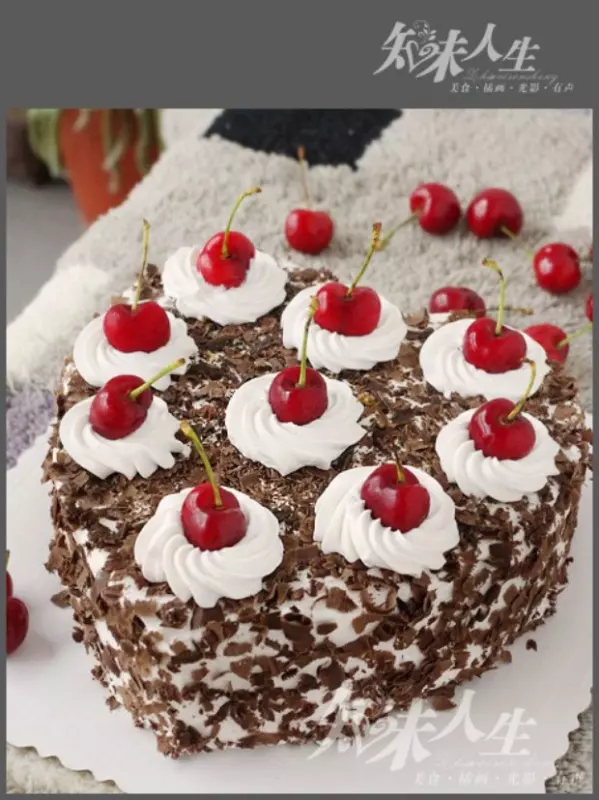
21用菊花裱花嘴在巧克力上擠出七朵花,下部沿著邊擠一圈。
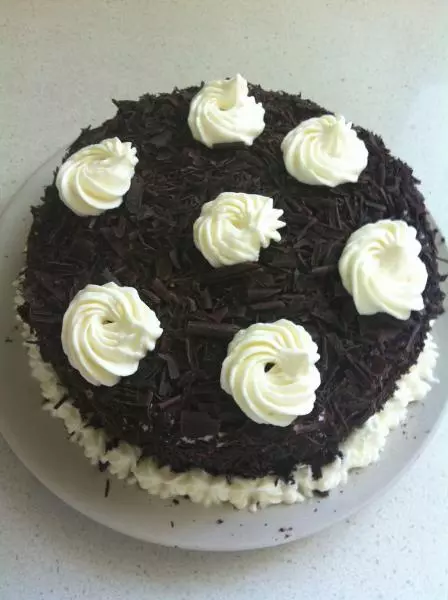
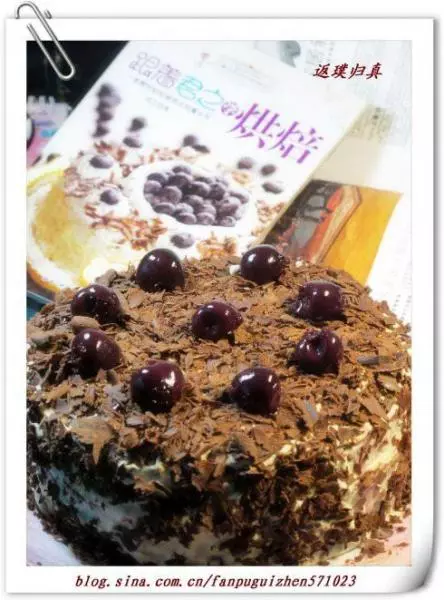
22放上完整的黑櫻桃就大功告成啦!